Jane Porter
(Tarzan)
Please be aware that we do not make commission order or hire any of the costumes
This tutorial requires 5-8 experience in sewing

Materials:
Blouse:
Simplicity 5671
1 metre white cotton
Small buttons
1 metre cord
Purple fabric to make cravat
Small piece of netting for sleeve
Brooch
Lobster Tail Bustle:
Using same floral print cotton
Hook and eye
3 metres plastic boning
First Petticoat:
1.1/2 metre white cotton
1/2 metre soft tulle
1/2 metre stiff net
1” wide piece of any ribbon
Hook and eye
Second Petticoat:
4 metres dark cream cotton
Hook and eye
3 metres cream lace trim
Bodice:
5 metres Fabric acquired from website for bodice and skirt: Regent Home of Sewing in Ditsy Floral print cotton in Gold B. This was used on the Bodice, skirt, apron, bustle and bustle piece
https://homeofsewing.co.uk/product/ditsy-floral-printed-polycotton-fabric-16/
1 metre canvas for lining
Approximately 5 metres of boning
Cravat:
Small piece of purple fabric
Brooch
Skirt:
4 metres amber tassel trim
Stiffener for waistband
Hooks & Eyes
8 metres yellow Bias binding
Brown belt
Spats:
https://www.etsy.com/uk/listing/252197784/1940s-vintage-spats-pattern-steampunk?ref=yr_purchases
1/2 metre ivory synthetic faux leather
1/2 metre cotton liner
Press fasteners
Covered buttons
1” wide brown elastic
To make the blouse:
Using Simplicity 5671, we altered the pattern pieces into the style we required. Using one layer of white cotton and facing, sew the blouse pieces together.
Using Simplicity 5671, we altered the pattern pieces into the style we required. Using one layer of white cotton and facing, sew the blouse pieces together.

We made our own mandarin collar to the style we required. Two pieces of white cotton and one piece of stiffener

Sew together all three pieces across the top edge only, do not sew up the bottom edge, remembering to clip the curves. Turn the right way out.

Place pins at the half way point of the collar and blouse neck and pin these together, make sure you leave 2cm either end free and move onto making the facing

Make up facing pieces for the front of the blouse and across the neck and sew these together.

Using a piece of cream bias tape space out the loops and hand sew onto the tape. Tack this to the blouse front edge

|

|
Sew facing on top of the collar and down the facing front, enclosing the looped tape

|

|
This shows the facing now sewn on, remember to clip the corners and any curves

Turn the facing the right way out and press. You can now see the loops at the edge. Putting the blouse front together, make a mark for the position of the buttons.

|

|
(turn up the bottom of the blouse)
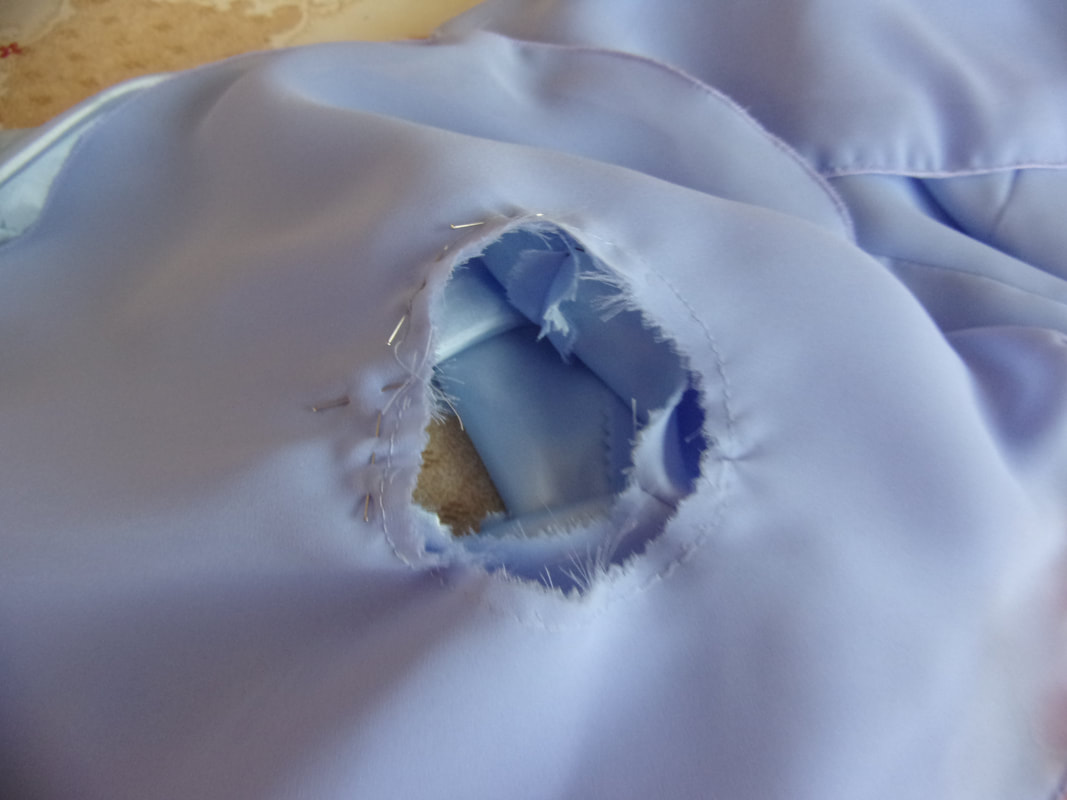
Cut out 2 pieces for the sleeves and run a gathering stitch around the top edge. Gather the sleeve, pin and sew into the armhole
Cut out 2 pieces for the sleeves and run a gathering stitch around the top edge. Gather the sleeve, pin and sew into the armhole
|

|
This completes the blouse

Cravat:
I cut a pattern in a bow tie shape, this is approximately 28cms wide, but this will vary depending on the space you have available. Cut two pieces of purple fabric, sew around the edge leaving a space to turn the cravat the right way out. Fold the cravat in half and attach a brooch of your choosing

|

|

PETTICOATS:
White petticoat:
The pattern for this was bought from:
https://trulyvictorian.info/product/tv170-victorian-petticoats/
Following the pattern, we put all the pieces together. The back seam is left open for now. Overlock or turn up hem

Using the stiff netting fabric, cut an oblong piece as long as the skirt and twice as wide this is for the front half of the petticoat, cut a piece of soft tulle for the back piece and divide in half. Attach one half to one side of the stiff netting and the other half to the other side of the stiff netting. Pleat the netting

Sew the netting to the waist of the petticoat

Sew up the back seam and leave a top gap of approximately 8” then neaten the seam

Attach a piece of ribbon to the petticoat and use a hook and eye to close it. This completes the white petticoat

Second petticoat:
This is made from the same pattern except we used the cream fabric. This photo shows the pleats pinned in
Place to fit the waistband. This is modelling over the lobster tail bustle which I will show you how to make next.

In the pattern, there are instructions for making the pin tucked piece at the bottom of the petticoat we cut fabric 4m 37cm x 22.5cm to make this and would be far easier to watch the video on the construction, but this is what the final pin tucks look like:

Gather across the top and attach this to the bottom of the petticoat

Sew up the back seam and neaten the opening, leaving a gap of approximately 8”

Cut a piece of fabric to fit your waist, plus extra for seam allowance. Make a waistband and attach this to the skirt. Finish with a hook and eye closure

Attach the lace trim to the bottom of the skirt. This completes the second petticoat.

Lobster Tail Bustle:
The pattern for this was bought from this website:
https://trulyvictorian.info/product/tv163p-1887-imperial-tournure-paper-pattern/
And made up exactly as per the pattern
The pattern for this was bought from this website:
https://trulyvictorian.info/product/tv163p-1887-imperial-tournure-paper-pattern/
And made up exactly as per the pattern

Skirt:
This is an A line 3/4 skirt using the pattern from the petticoat to create the front piece, the back piece has to go over the bustle so must be longer in length at the back

At this stage the back seam is sewn and neatened

We then made an apron, this is shown on the video. The dimensions I used were 36cm waist, 100cm length and 120cm at the widest part. I then divided the apron down each side to make the pleats

|

|
Using bias binding, I then attached this to the side, turned it at the bottom, then attached it on the opposite side in one go.
The bias was then turned to the inside and hand stitched.

|

|
This shows the finished bias. Do not sew any bias to the waist at the top

Then cut a waistband that finishes edge to edge at the back. You have to find your half way point and attach the apron at the same time as the skirt. The opening at the back will overlap. Attach two pairs of hooks and eyes

I want the skirt to finish approximately 2” above the length of the trim on the petticoat. I then placed bias around the bottom of the skirt to this length. I will then cut off the excess. Turn the bias under and run a sewing line to neaten

I attached two lengths of ribbon to the bottom of the apron to tie at the back. This completes the skirt and apron

|

|
I now want to make a small bustle piece, which I made up myself. Measuring around my waist to just past the half way point, I made the larger piece 13” long and the shorter piece 8” long.

|

|
I then ran a piece of bias around the curve of small piece. Turned this under and sewed it down, then put both pieces together and ran bias around both pieces beginning and ending at the centre waist

|

|
I then attached a tassel fringe around both pieces. I put a snap fastener at both edges so this will attach to the skirt waistband.

This completes the bustle piece

Bodice:
Using the pattern, I then altered the pieces for my fit. I cut one set of fabric pieces and one set of canvas liner

I then cut boning channels using the bias tape on all of the canvas pieces. Allow 2cm top and bottom to enable turn up and neck seam

|

|
Mount the outer fabric to the canvas and sew all the pieces together

I made the choice of having lapels like the Disney doll version, so I cut a pattern. Each side has an outer and a liner, sew these together leave a gap on the side of the neck edge

You only need to sew a seam along two sides, clip the bottom small curve only. Once turned out the right way, pin and tack this to the outer front bodice piece. Allow 1.5cm at the front edge of the bodice.

I used the front pattern piece of the bodice and neck to make a facing for the front edges. This was then sandwiched the lapel to the bodice, then turn the right way out. The shoulders can now be sewn together.

Making my own sleeve pattern, I cut two pieces. I also need a wide piece of fabric and a narrow piece of fabric to make the bottom of the sleeves into a cuff and band that fitted loosely around my arm. Leaving this for now, I need to make a pin tuck ruff.

To make the ruff:
Using white cotton fabric I cut a piece 155cm x 12.5cm and marked every 2 cms, the first mark was made 1.5cm from the edge and finished the same at the other end. This was starched and ironed and folded on the marks.

|

|
I ran a sewing line 0.5cm from the edge of each fold. When finished, I ran a gathering stitch along one long edge. I then neatened the bottom edge of the larger cuff piece

|

|
I gathered the white ruff and sewed it to the bottom of the cuff. I turned up the bottom of the band

I now attached the band to the bottom of the cuff and turn the cuff up. Run a gathering stitch along the top and bottom of the sleeve and attach the sleeve to the cuff

|

|
Sew up the side seam. After gathering the sleeve and putting it into the bodice, I decided to give the sleeve a bit more lift, so I cut a smaller sleeve pattern out of net, gathered it across the top and sewed it onto the sleeve seam

|

|
I then decided on the final length of the bodice and ran a piece of bias across the bottom. I opened the facing flat first, cut off the excess, turned the bias under, turned the facing to the inside and sewed it down

|

|
I sewed on hooks and hand made bars to fasten. This completes the bodice

|

|
Spats:
Cut out two pieces of faux leather, remembering to make an opposite pair. Cut out two pieces of cotton liner for each piece. Sew the pieces together, remember to cut the curves on the seams

|

|
Make a mark as to where you want the elastic to be. This shows 2cms sticking out. Sandwich the elastic between the leather and the cotton pieces. We decided at this stage that it would be easier to sew only one end of the elastic in for now, sew around the spat, leaving the side edge open to turn it the right way out and a small opening for the other end of the elastic, this was sewn in last as it needed quite a stretch. (seen on video). Turn the spat the right way out and sew up the gap on the side

|

|
I wanted the top piece to overlap the bottom and sewed on a line of snap fasteners. The buttons aren’t going to be used, they are just sewn near the edge for show. To put them on, the elastic goes in front of the heel

This completes the spats

The cloche hat was bought from: Ebay
The wig was bought from: Dream wigs by Tanya https://www.facebook.com/profile.php?id=61568439311579
The umbrella was bought from: Ebay
The plush toy was bought from Ebay

|


|
This completes the Jane Porter costume