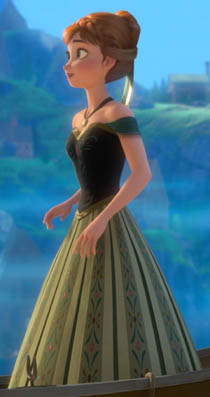
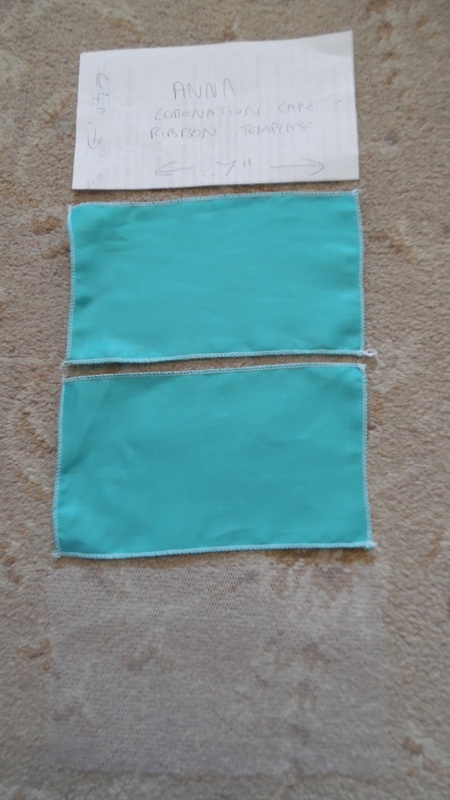
Anna
from Frozen
Coronation
Dress
from Frozen
Coronation
Dress
For this costume, you will require intermediate to experienced expertise in sewing, bodice making and use of an overlocker.
Difficulty factor 8 - 10
Difficulty factor 8 - 10
Please note, that we do not make costumes to order or to hire. These are one off costumes designed for Tracy.
Please use these instructions in conjunction with our videos, as they contain more information on items needed, their sources and technique
Please use these instructions in conjunction with our videos, as they contain more information on items needed, their sources and technique
Materials:
Using Simplicity S0746
We used the pattern "as is" to a large degree, except we gave the bodice a side opening
Under Petticoat:
5 Metres White polyester Crepe
Any scrap cotton for the waistband
1/2 metre of bridal veiling net
1" wide elastic
Over Petticoat:
5 Metres Beige Cotton Fabric
Skirt:
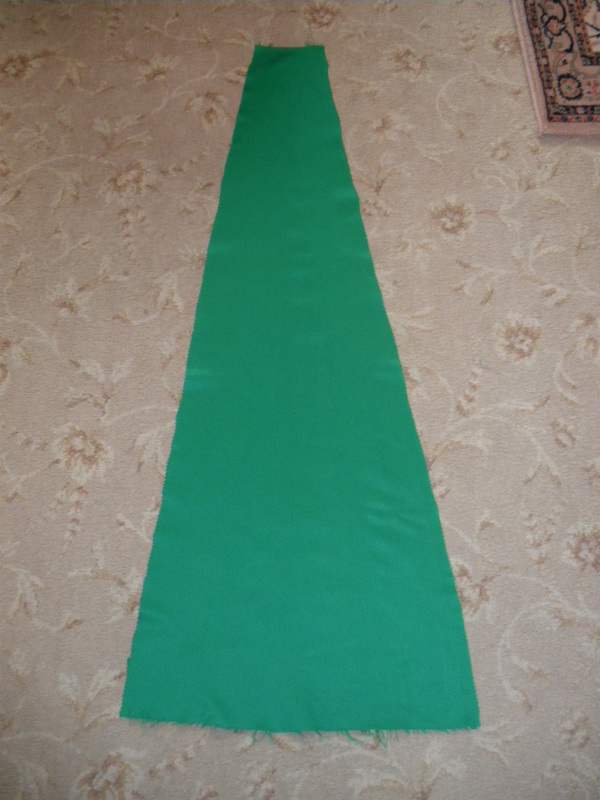
1 Metre Pale Olive Green lightweight Duchess Satin/Silk? (did not know the name of the fabric)
1.1/2 Metres Sage Green Duchess Satin
2.1/2 Metres Grass Green Duchess Satin/Silk? (did not know the name of the fabric)
Scrap fabric for waistband
6" invisible green zip
Hooks and Eyes
Fusible Hemming Tape 25mm wide
Stiffener for waistband
2 small pieces of velcro
Paints:
Dylon fabric paint: Green (15)
Royal Blue (8)
White (12)
Block Craft fabric paint: Olive Brown
Acrylic craft paint: Dusty Rose
Bodice:
1/2 Metre Black Cotton Velvet
1/2 Metre Coutil (any colour)
1/2 Metre Blue Cotton fabric, but any dark colour will do
Small amount of Forest Green Satin to make the sleeve
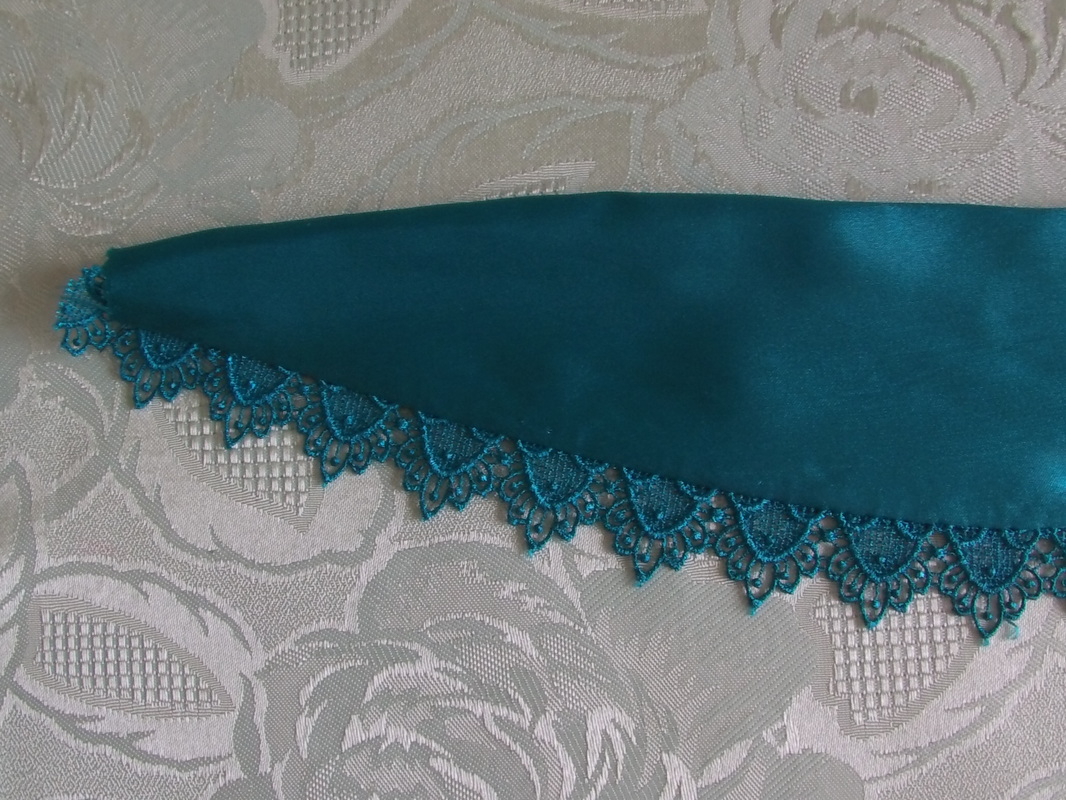
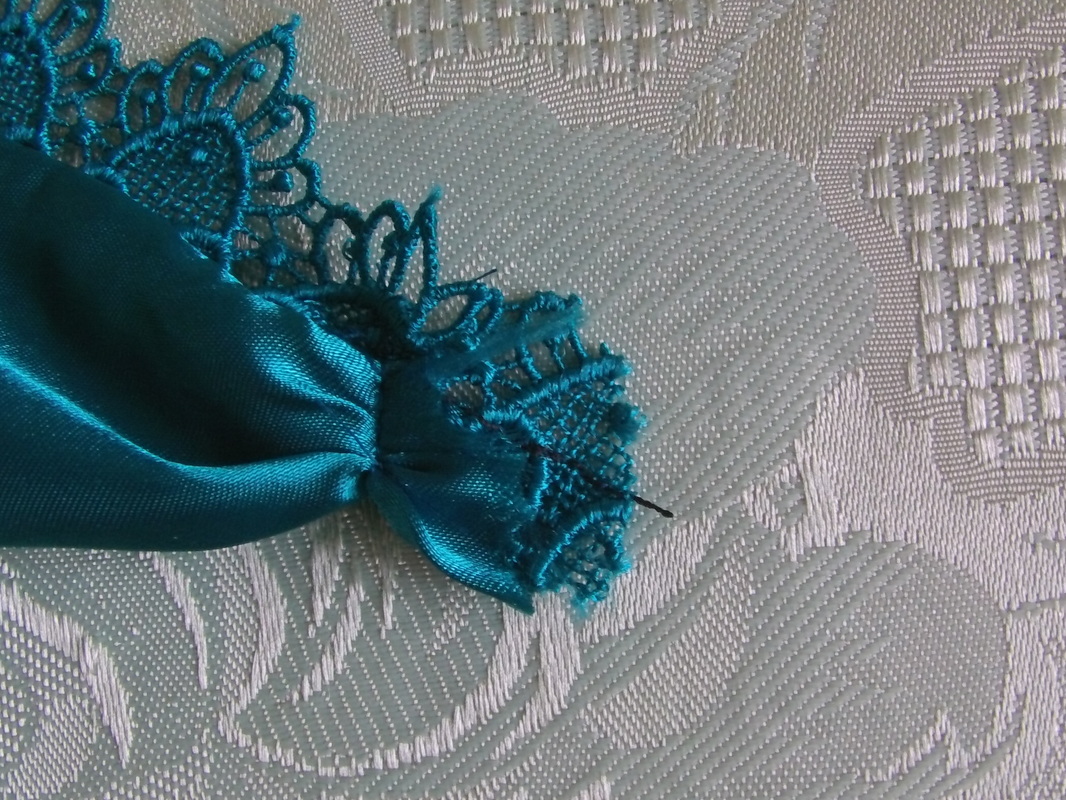
Small amount of blue/green 1" lace trim
19mm Olive Green Bias binding
1 Metre waist tape
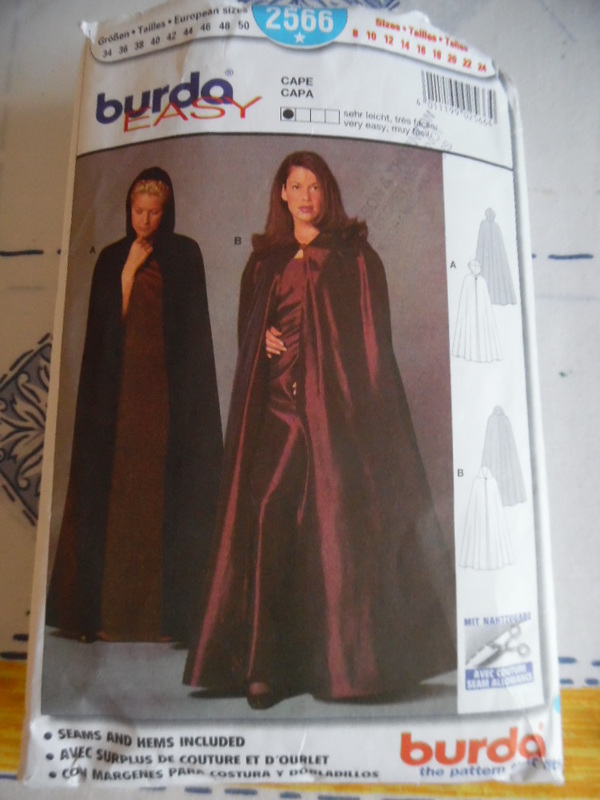
Cape:
Burda Easy 2566 Cape Pattern
2 Metres green Poly/crepe (or fabric of your choice)
Blue, green and light blue felt
1 metre of Green/blue ribbon or a scrap of fabric to make your own ribbon
Large hook and eye
2 stud fasteners
Tracedown paper
Under Petticoat:
|
As we have done in many of our videos, the white and beige petticoats are full circle. For the opening, you will need a circumference wide enough to put over your head as this skirt is going to be elasticated. We had a hole 36" in circumference. Try cutting a small diameter first and try it over your head, if you can't get into it, make the hole bigger until you can put it over your head with ease. Because of the size of the waist, make sure you make your petticoat length longer than you need by at least 30cms. (12").
After sewing up the side seams of both petticoats, put one inside the other and pin together. |
|
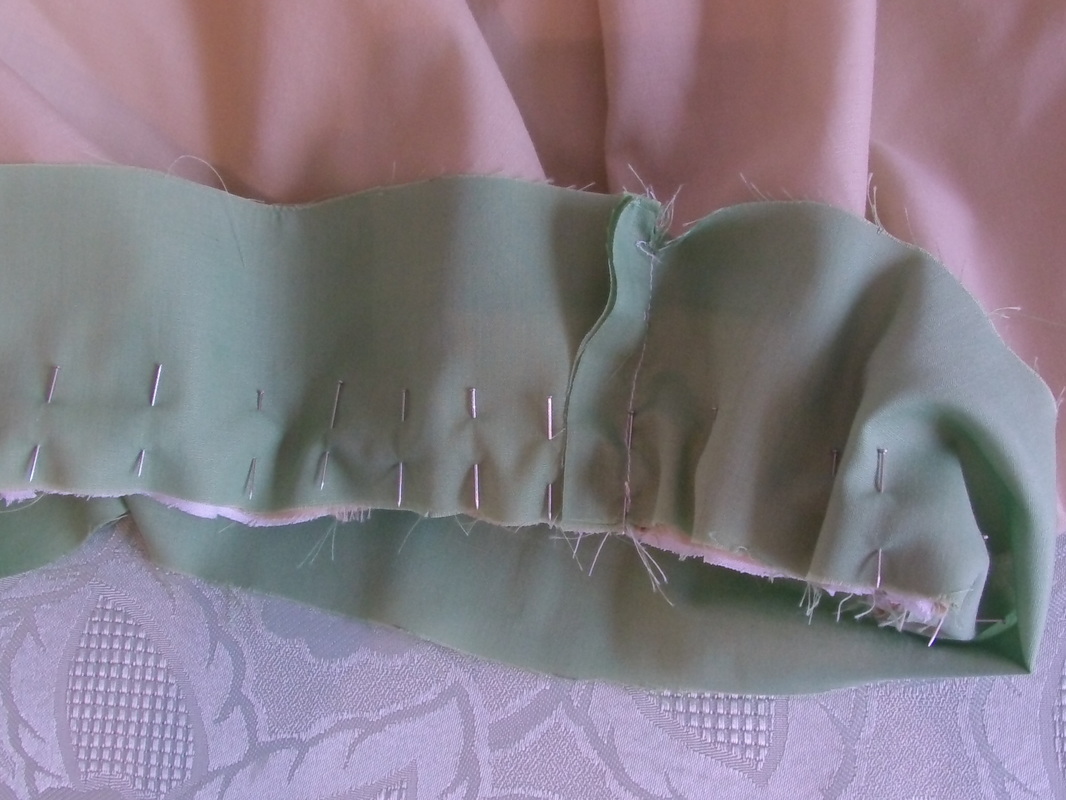
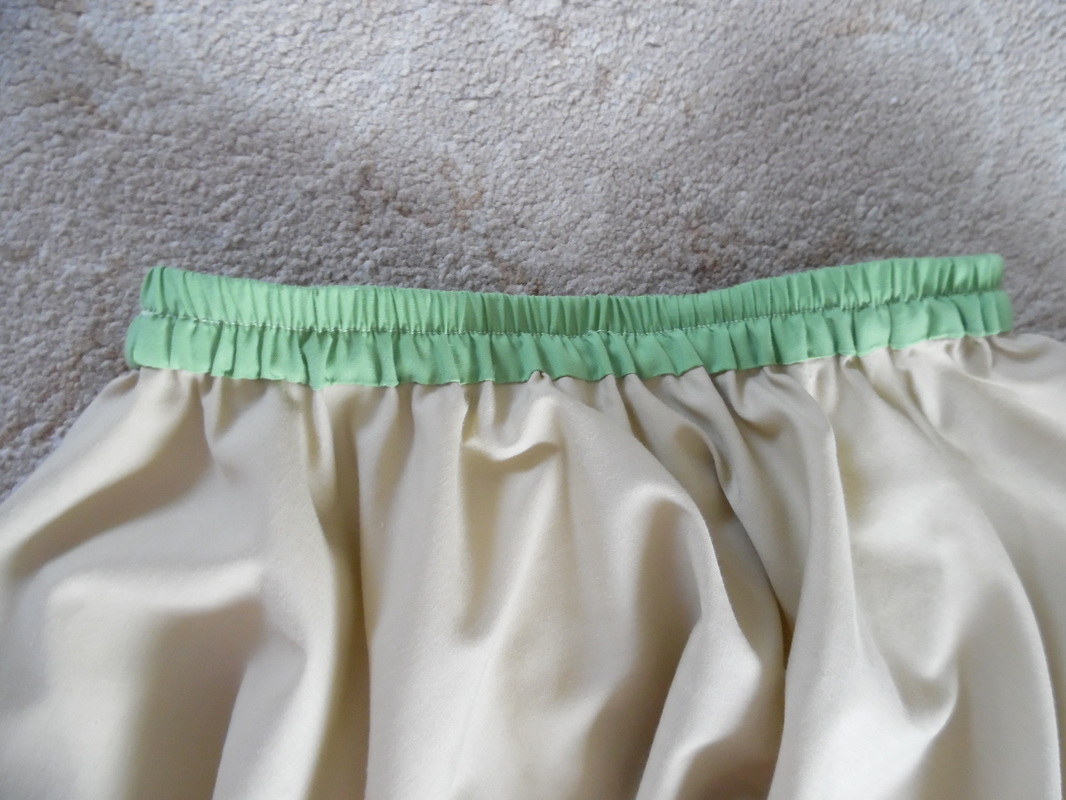
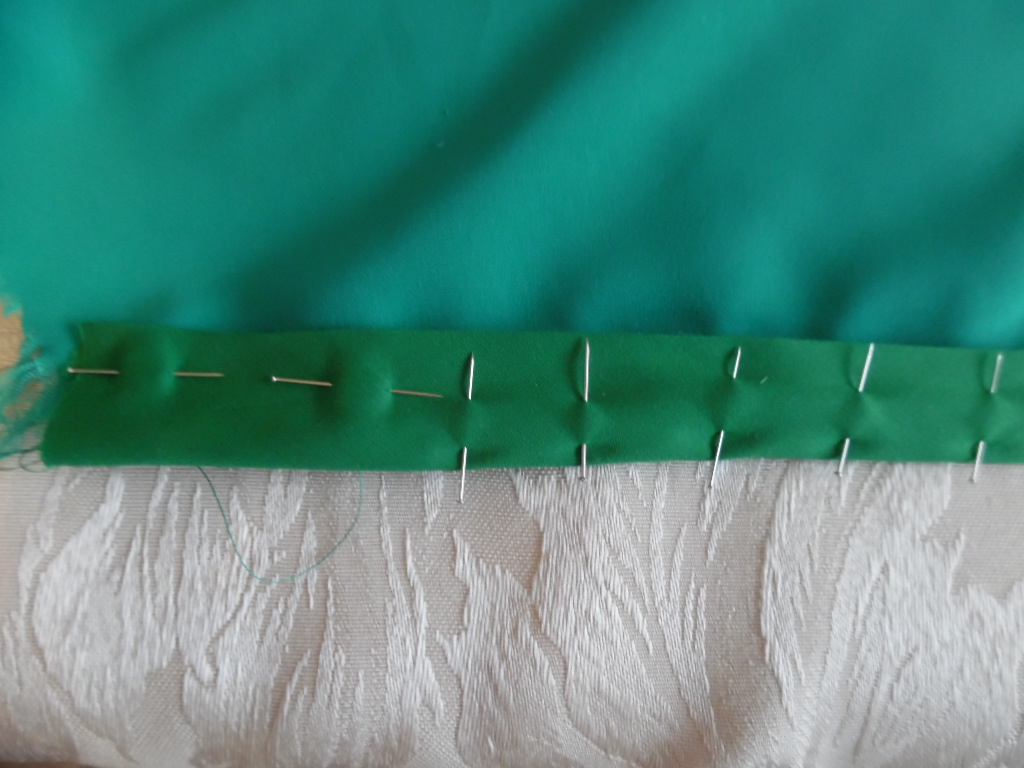
Cut a scrap piece of material for your waistband, to the circumference of the hole. Ours was 37" long to allow for a seam. Pin and sew the waistband onto the top of the petticoats.
Turn the waistband to the inside and handsew, remembering to leave a gap of approximately 2" (5cm) to allow access for the elastic. |
|
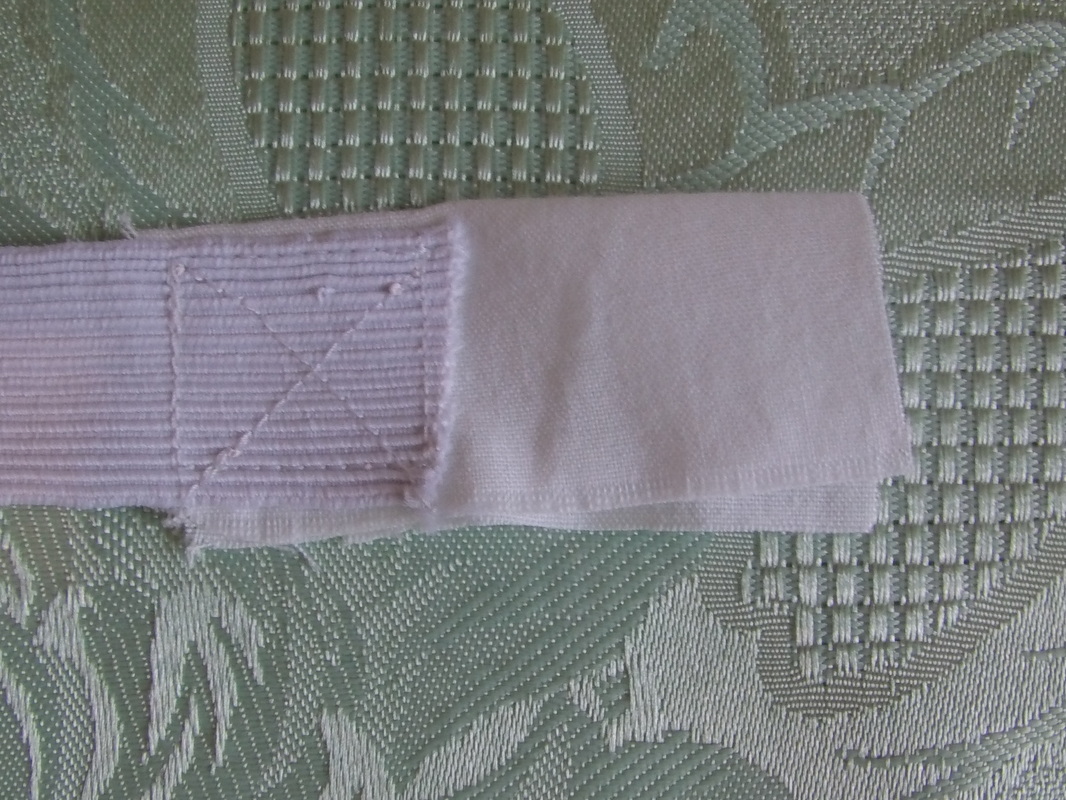
Before threading the elastic into the waistband, cut a scrap of oblong material and sew the end of the elastic to half of it as shown. Thread the elastic through the waistband then join the other end of the elastic in the same manner. (More details on the video). Close the gap with hand sewing.
|
|
The video shows how to sew a line of stitching half way up the elastic, this will stop it moving out of place when you wash it.
|
|
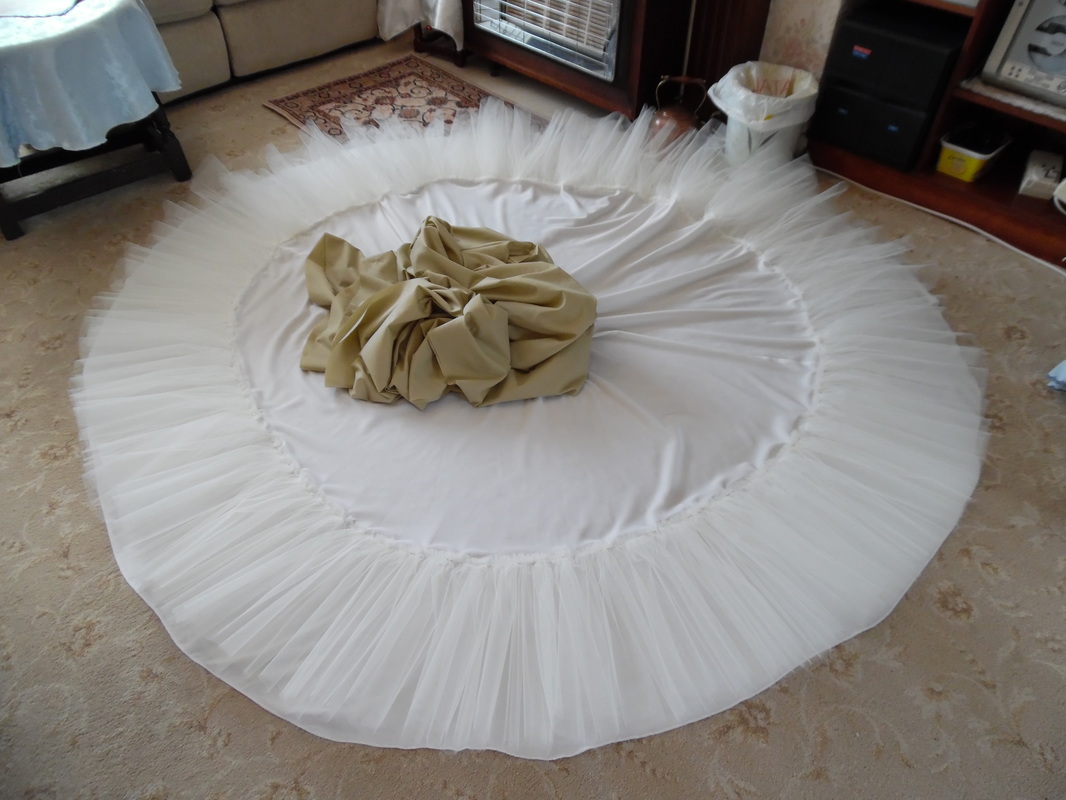
VERY LIGHTLY gather a strip of netting, approximately 30cm wide and sew onto the under petticoat.
|
|
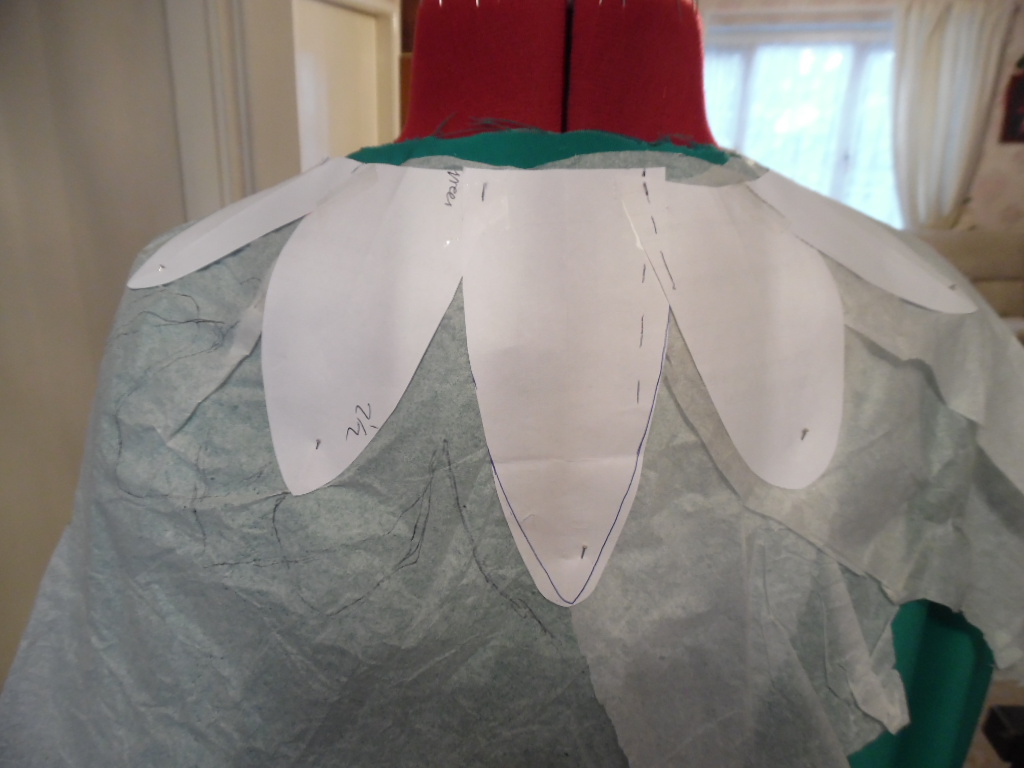
Cut a piece of beige fabric, to the same circle pattern approximately 20cm wide. We used the same idea for Anna's Cold Weather Skirt. Pin this in place and use a semi circle to make your scallops, we used a 9cm wide mug to get out pattern. Draw your pattern on, then sew over the lines. Make sure all your scallops are the same distance from the edge of the material.
The finished length needs to be just short of the dress length. |

|
Cut around the scallops approximately 1cm, then snip the curves and into the "v"s. Turn the right way out and press.
We used an over locker to finish off the rough edge just above the scallops. |
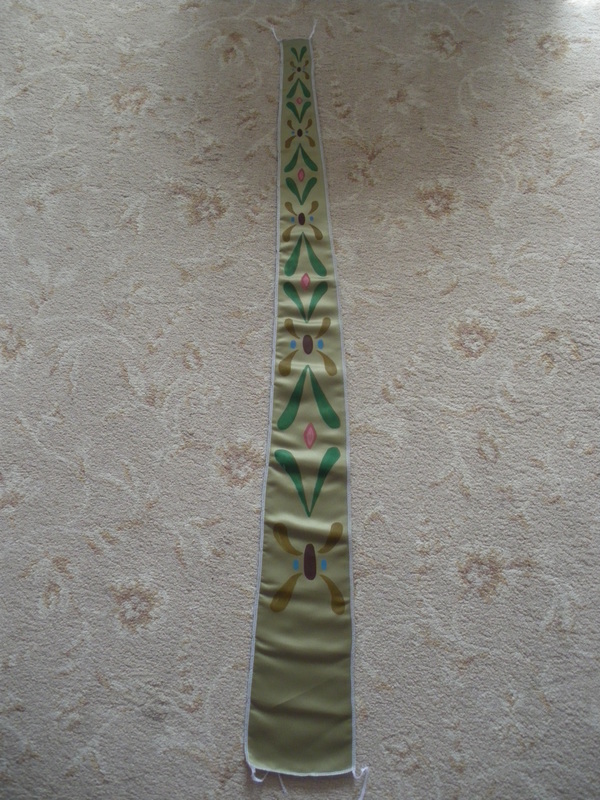
The finished petticoat.
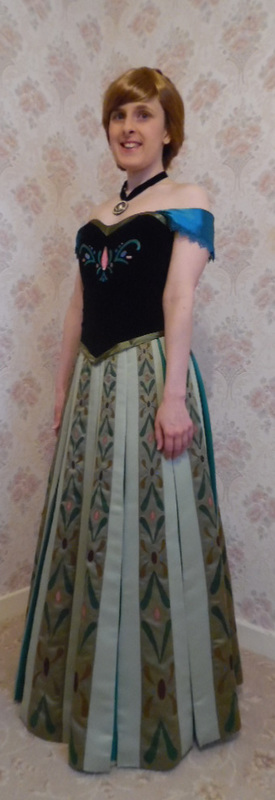
To Make the Skirt:
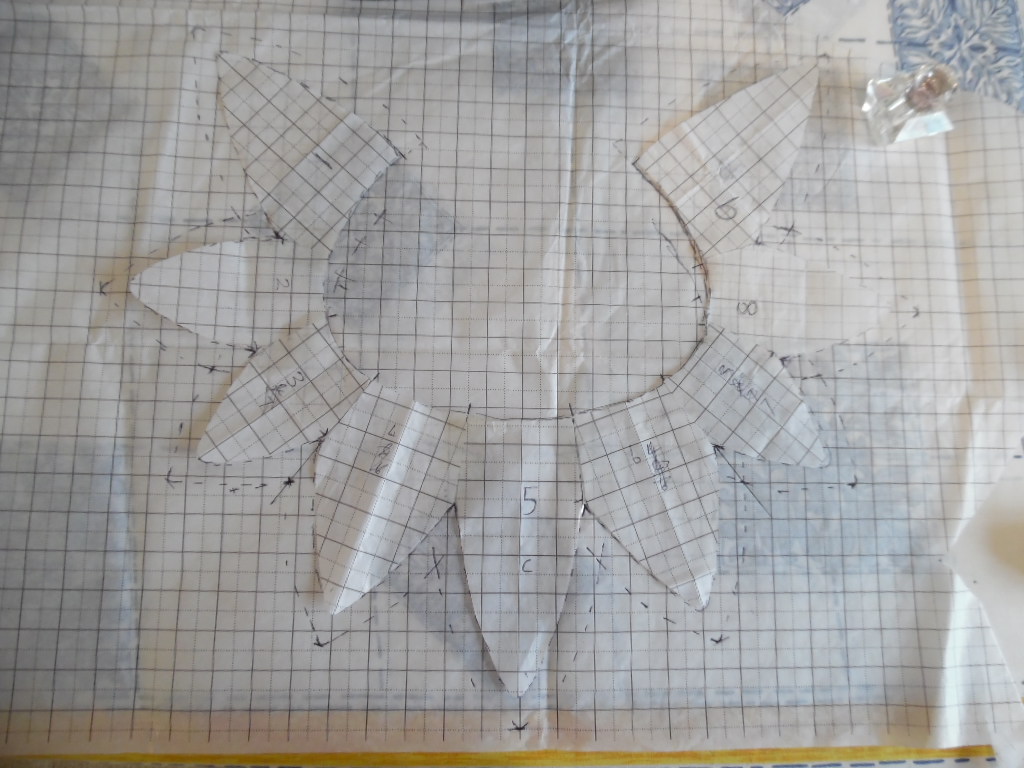
We advise making a mock up first to work out the required panels for your waist measurement.
The Simplicity pattern suggests cutting out appliques for the decorative panels, but Tracy decided to paint them instead. The pattern also suggested sewing the decorative panel directly onto each larger panel, we found this created air pockets and puckers using the materials we had, so opted to make them in sections. (More info in the videos)
|
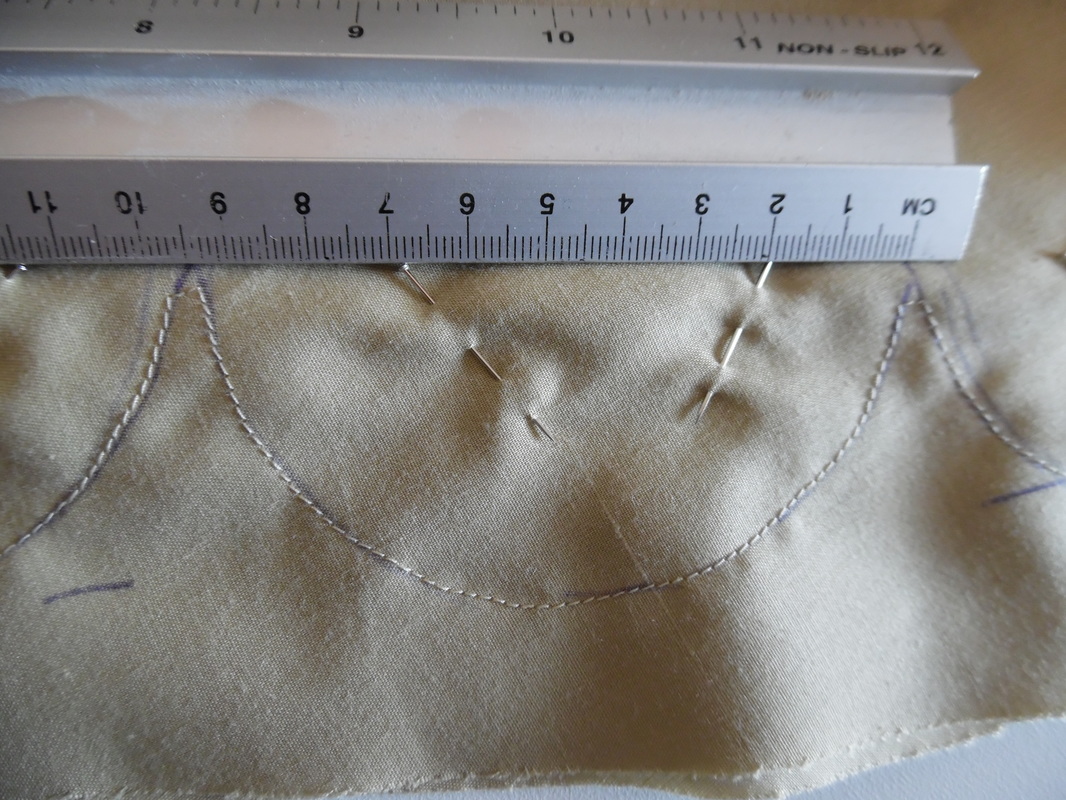
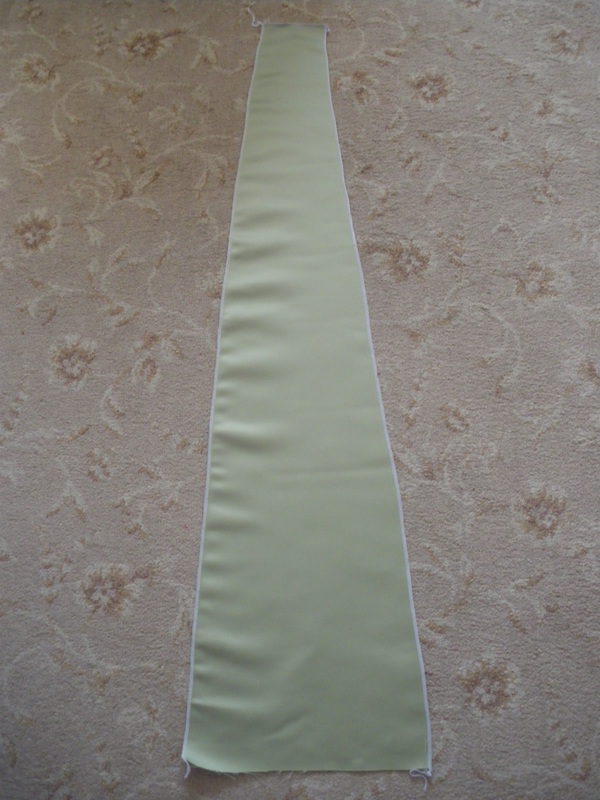
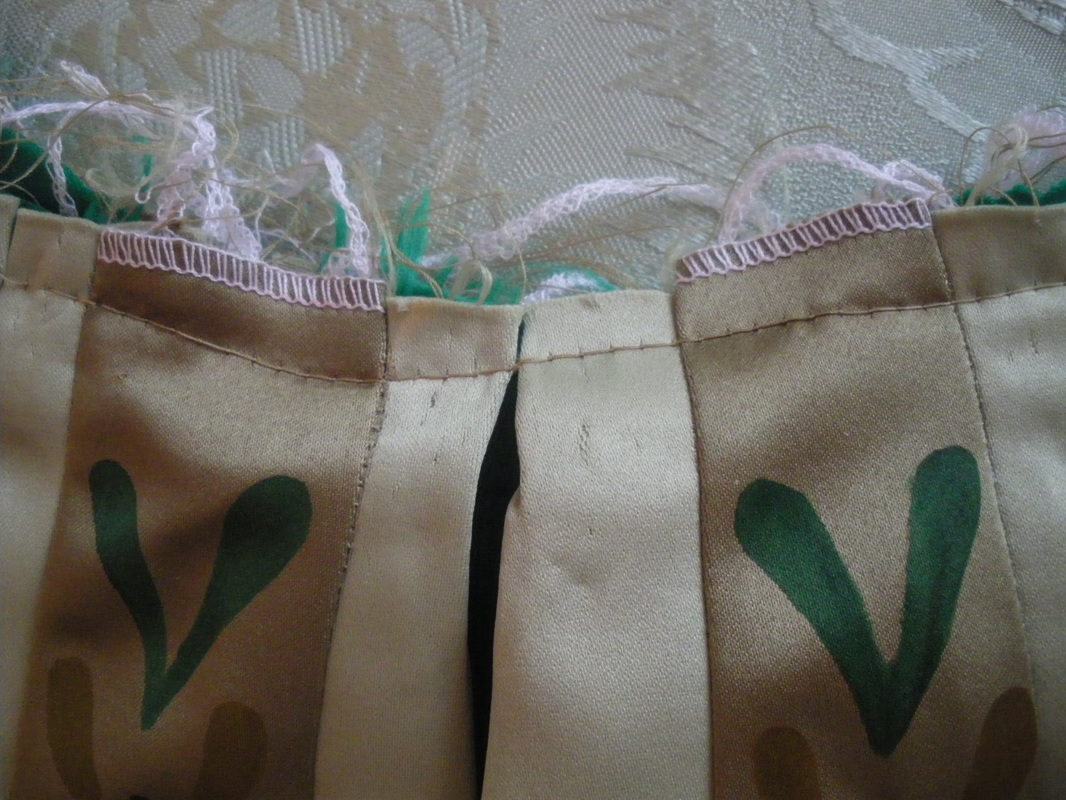
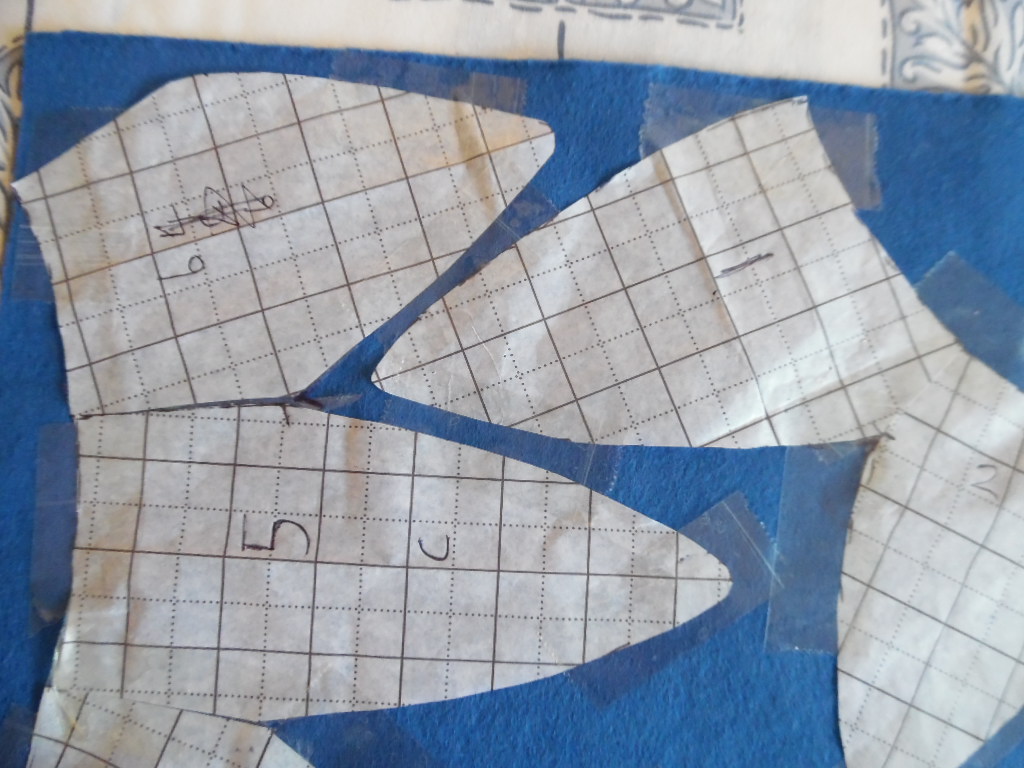
Using the Olive Green fabric, cut out the required amount of panels to fit you, using the pattern piece provided. We found that 10 was enough. We started by overlocking the edges, but found this was drawing the fabric too much, so opted for pinking the edges instead. Tracy then used tracedown paper to copy the image onto the fabric, but left off the last image, as we were unsure of the length at this point and could be painted later.
|
|
|
|
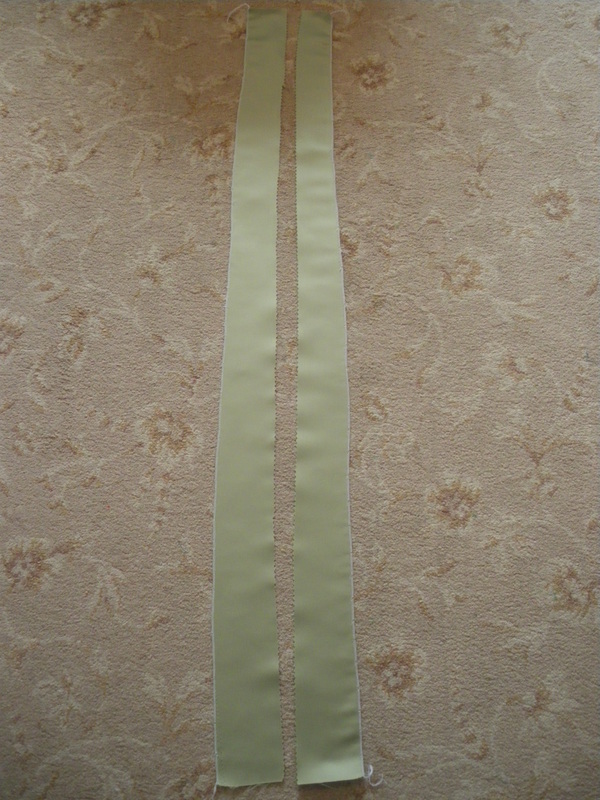
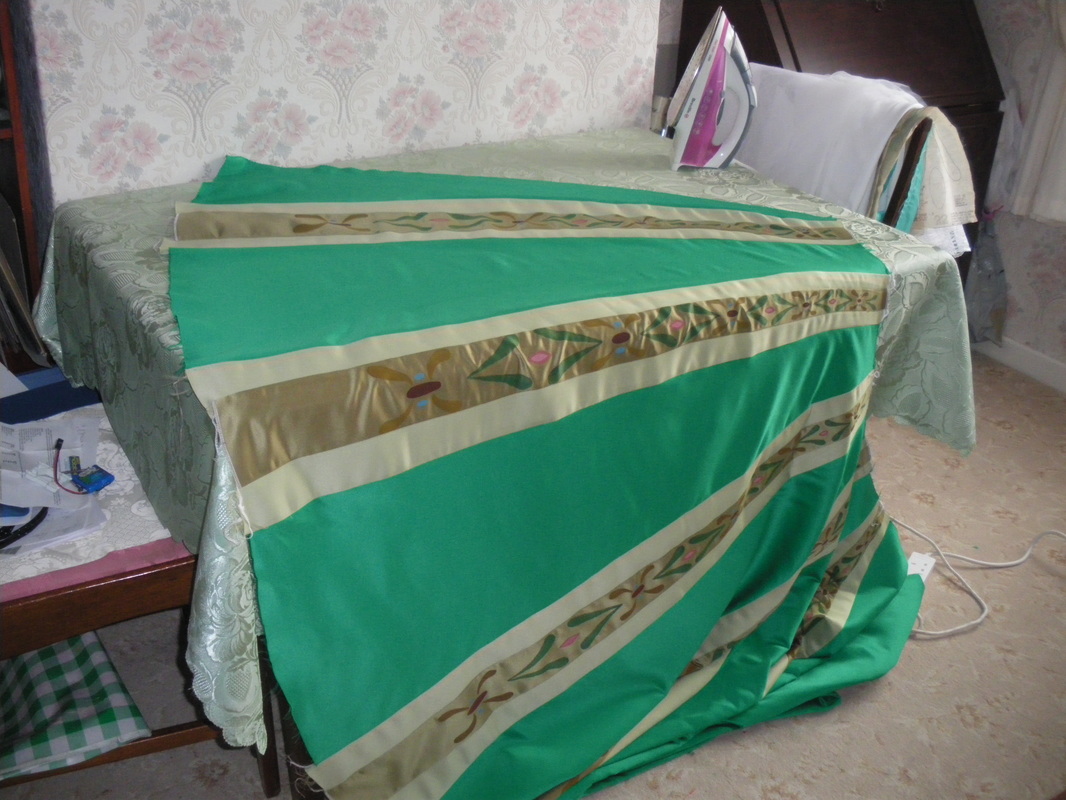
As shown on our video, Using Sage Green, this is where we deviated from the Simplicity pattern. Instead of laying the decorative panel onto the fabric and sewing it on, we cut the panel into two strips and joined the decorative panels into the middle.
|
|
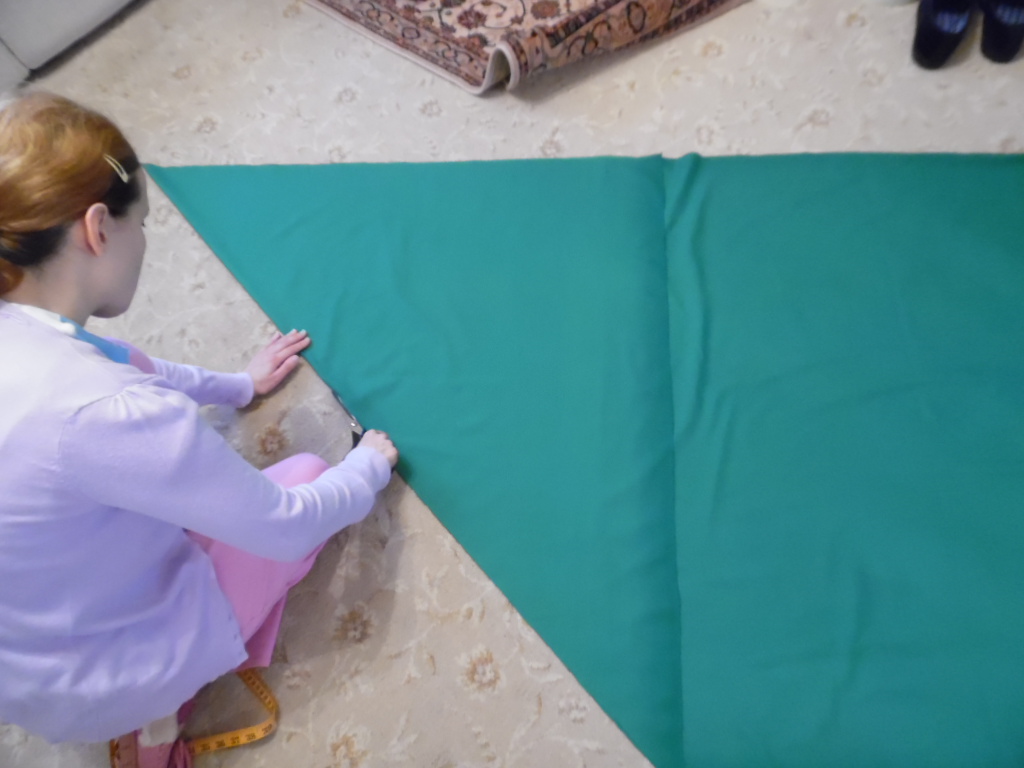
Using Grass Green, cut the panels as per the instructions. This is another deviation we made when putting the pleats in. We found that it didn't hang right, so didn't iron the pleats in at this stage. (the video shows more detail)
|
|
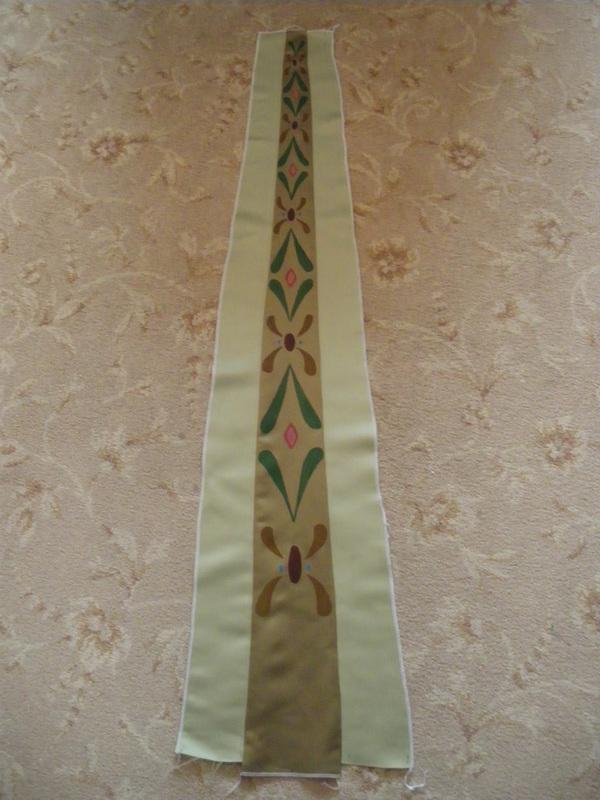
Now sew all the panels together, remember that the Simplicity pattern uses two half panels for the centre back, this will be the back seam.
The video shows how all the pleats are put in place. |

|
|
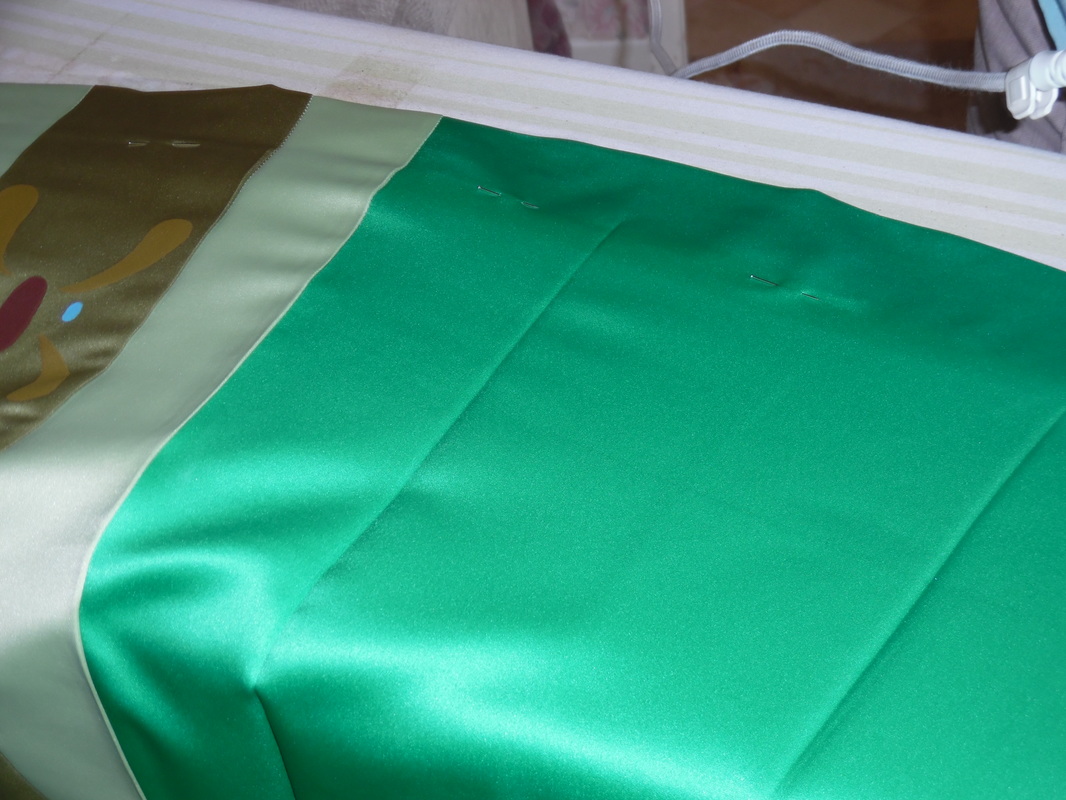
On the first picture you can see the "pinked" edge of the back seam on the far left. This is showing how the olive green fabric is turned under slightly to the inside and centreing the panels at the top and bottom before pressing. Then a line of sewing around the waist to hold all the pleats.
|
|
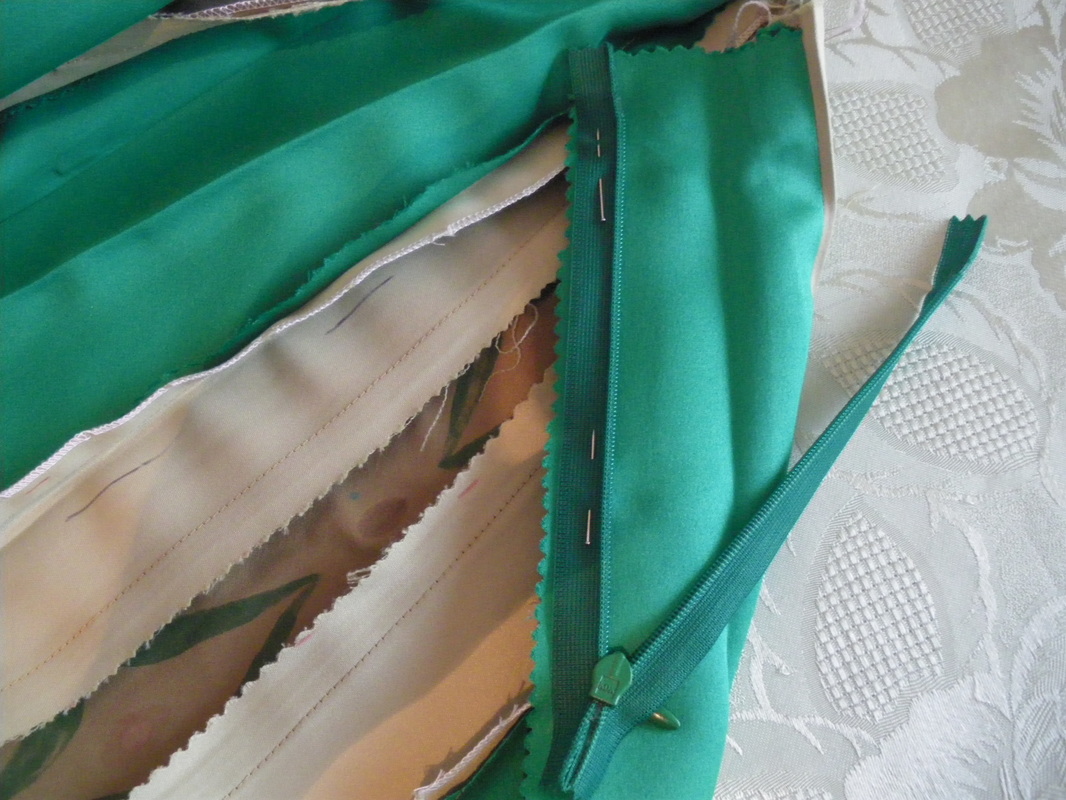
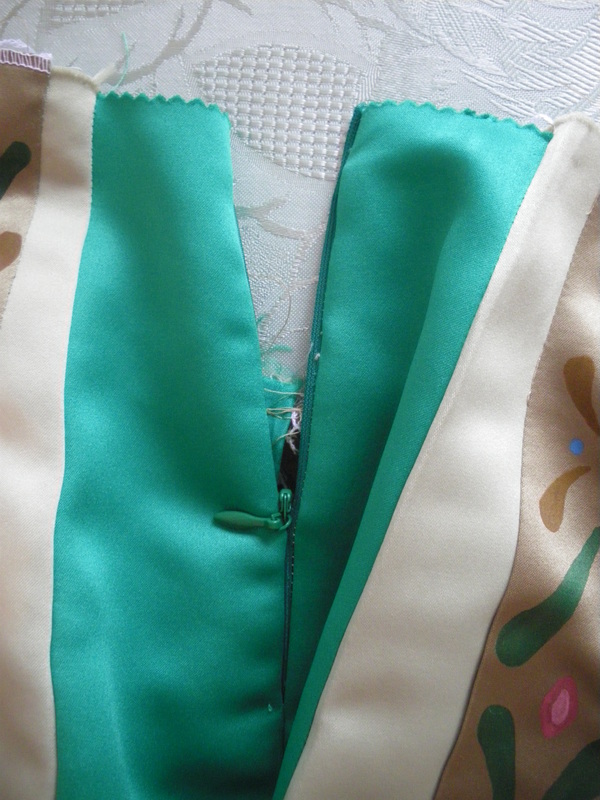
Sew in your zip and sew up the back seam.
|
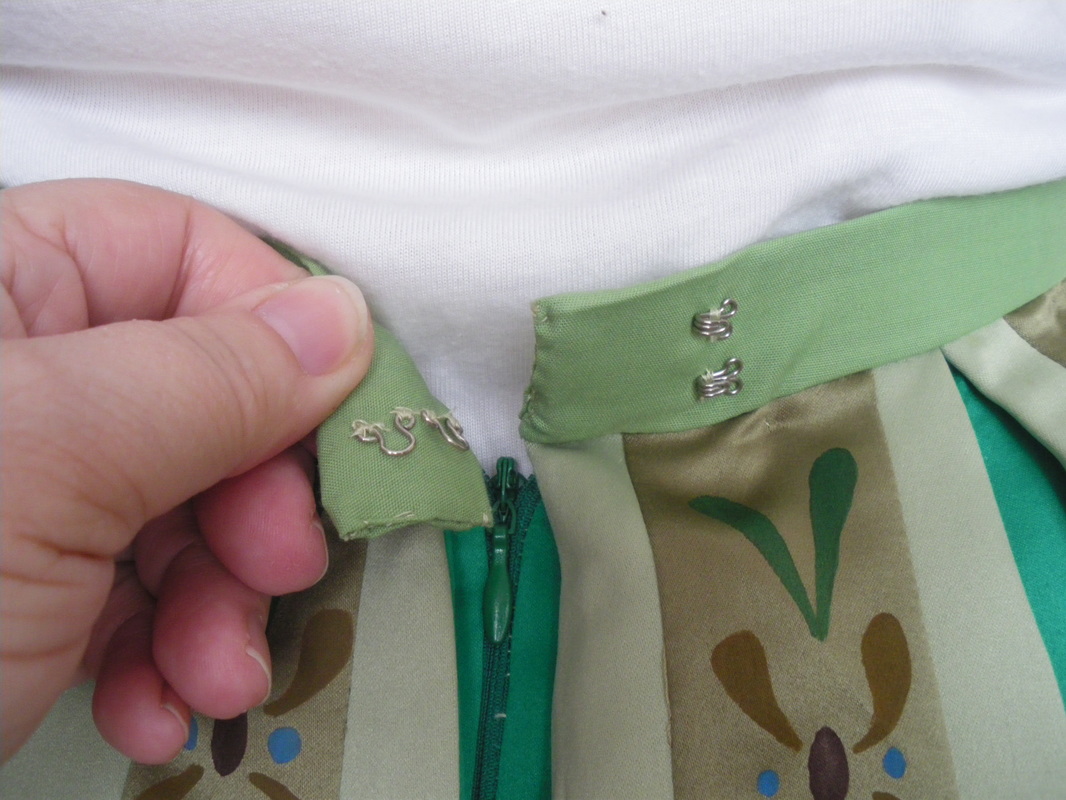
Cut a scrap of cotton material for the waistband. Measurement will be: your waist plus 5cm (2") over lap. Finish with 2 sets of hooks and eyes.
|
|
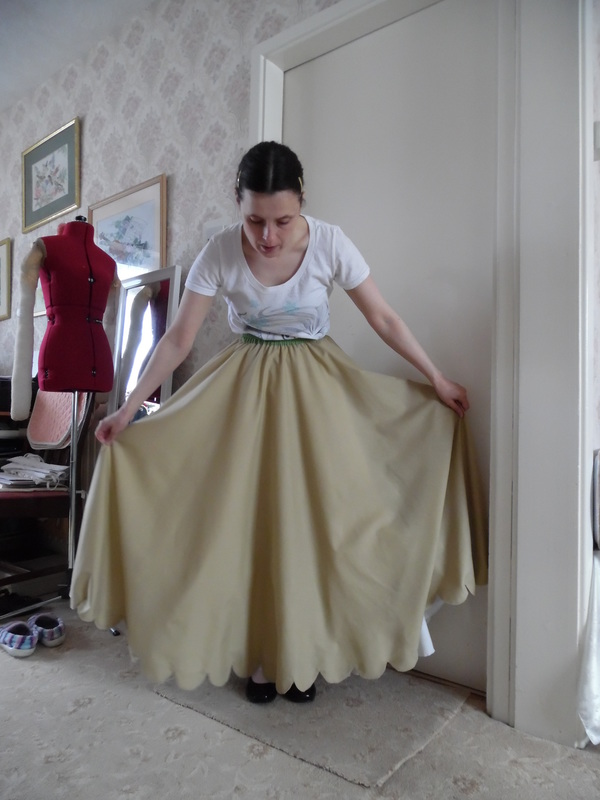
After getting the correct length, we used fusible hemming tape to turn it up as we didn't want to see any sewing. Tracy then finished painting the motifs.
|
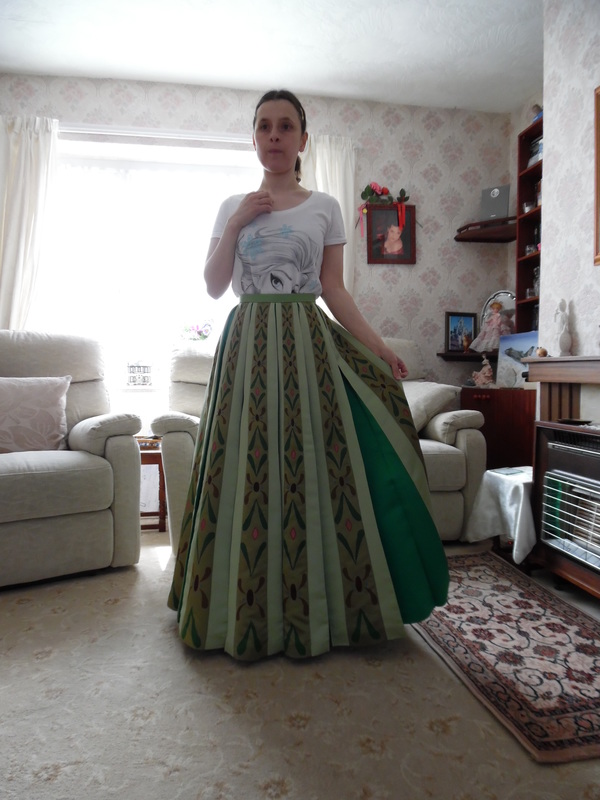
The finished skirt
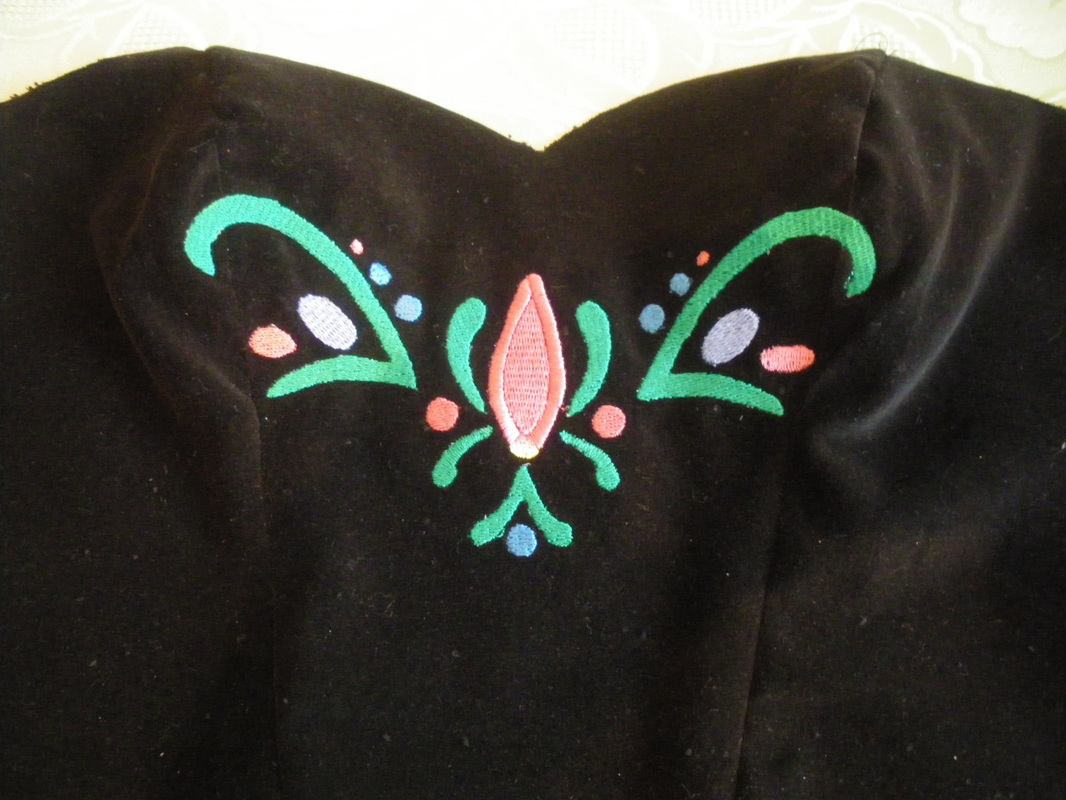
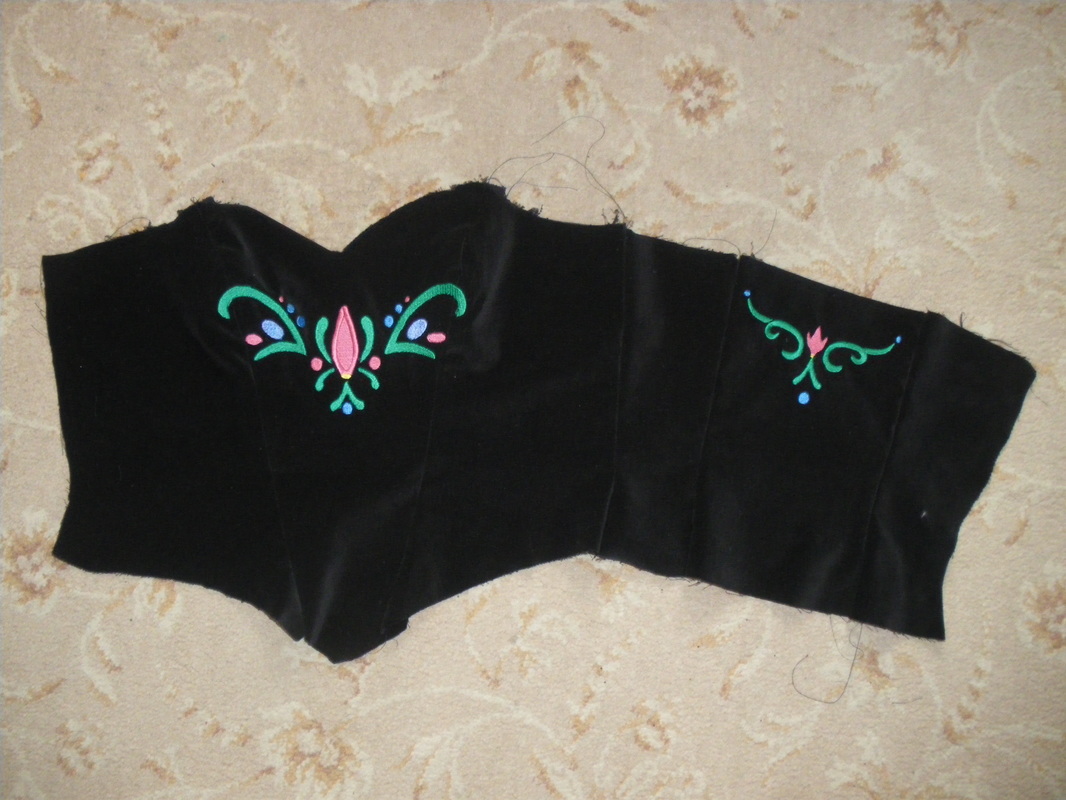
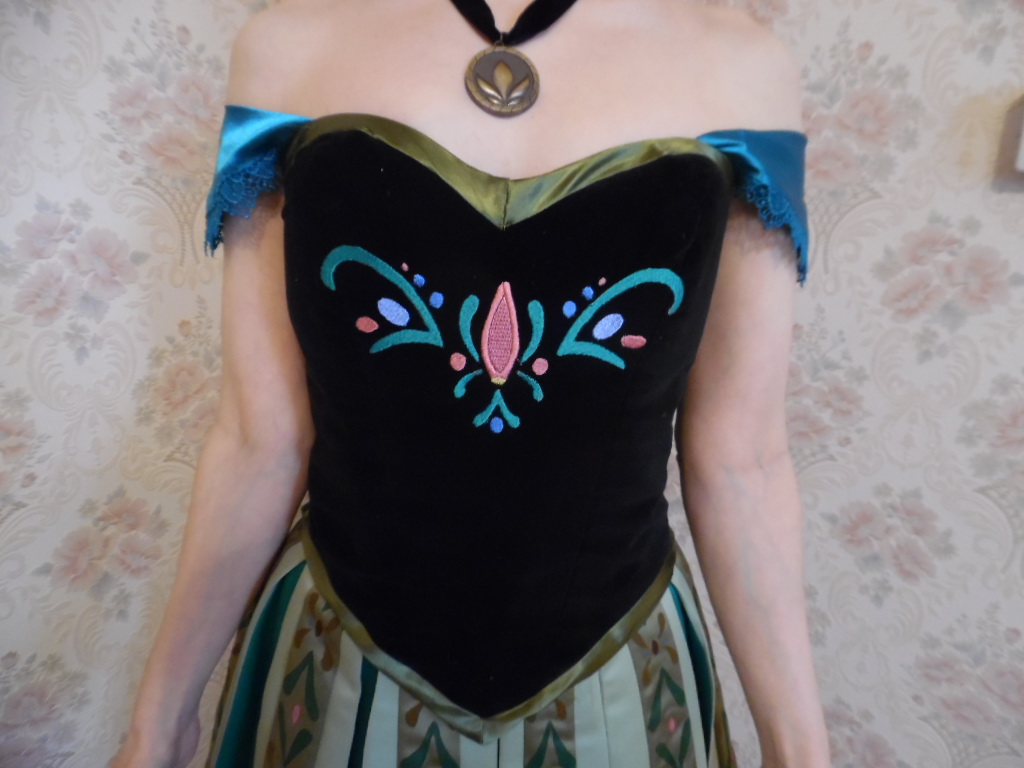
To make the Bodice:
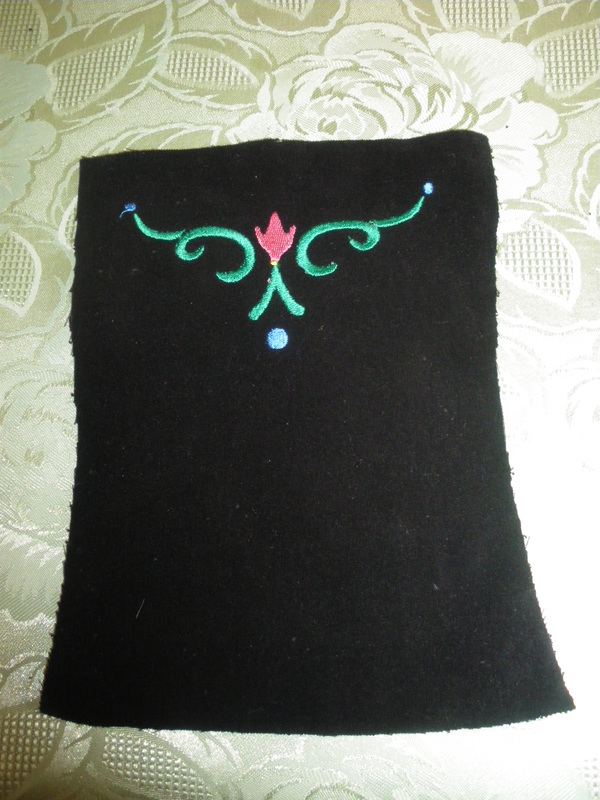
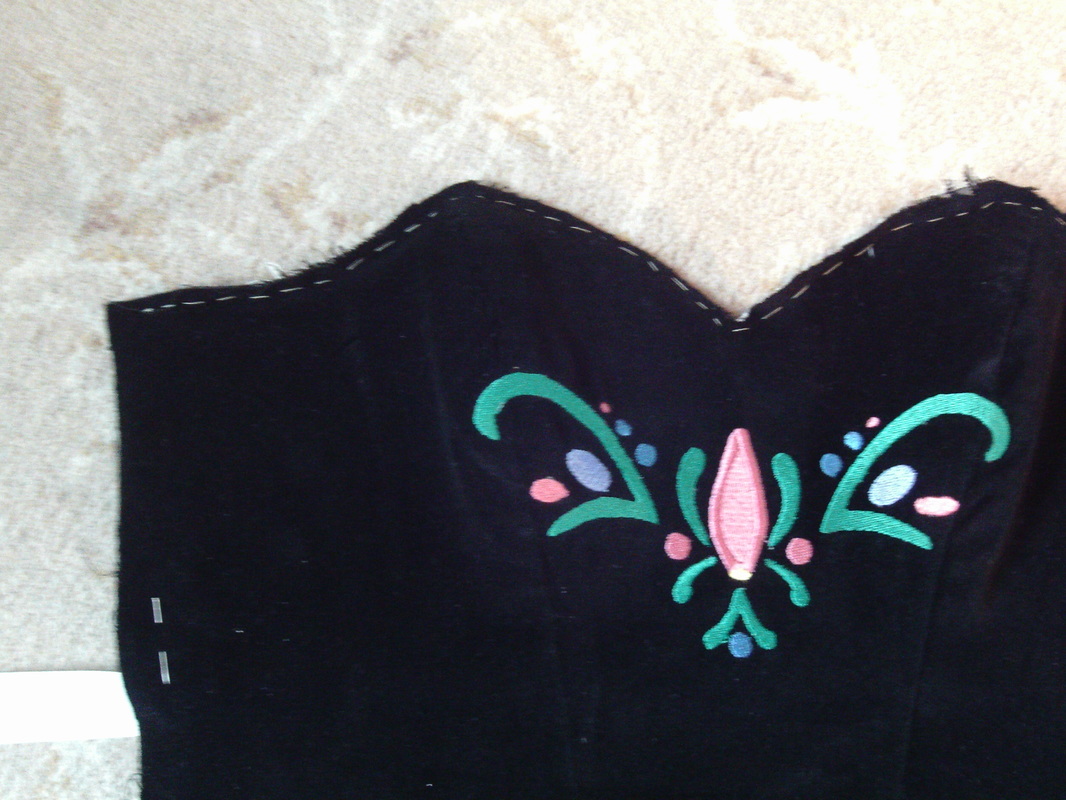
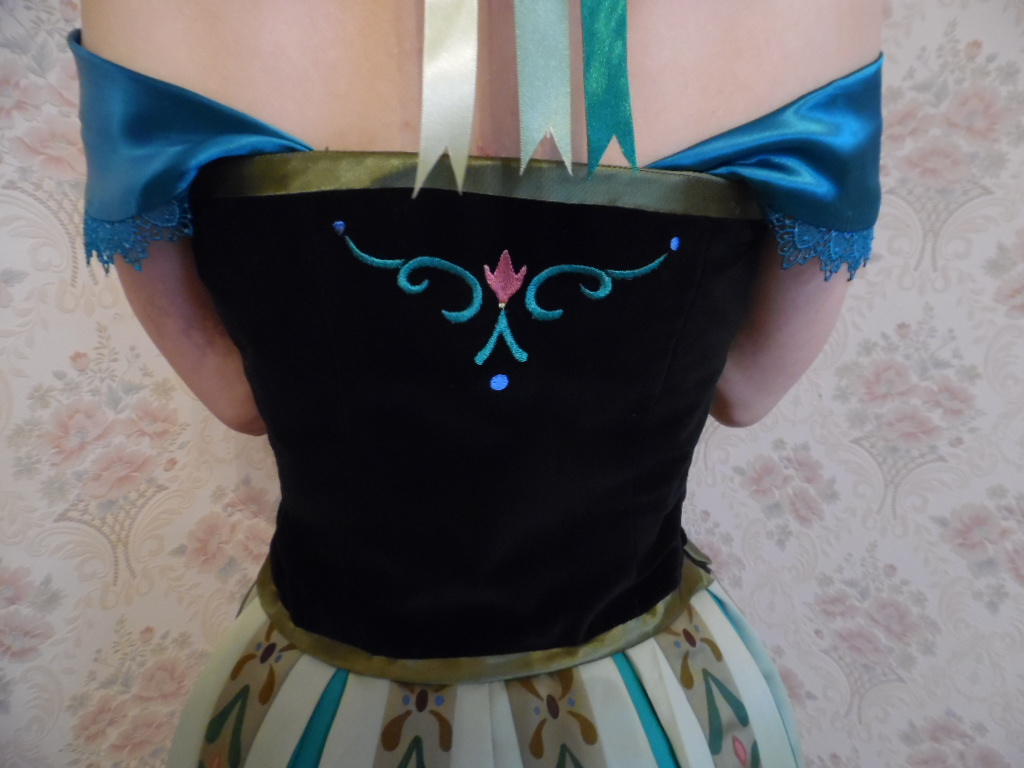
We made a slight alteration to have the zip on the side opening so I could have an embroidered back panel. As usual, Mom used her skills with the embroidery machine to make the design.

|

|
|
The front design went over the seams slightly, so it had to be put together before sewing. Instructions for avoiding "hoop burn" when embroidering velvet can be found in our Anna From Frozen video tutorial
|
|
Our zip will be on the right, but you can also put it on the left if you so wish.
|
|
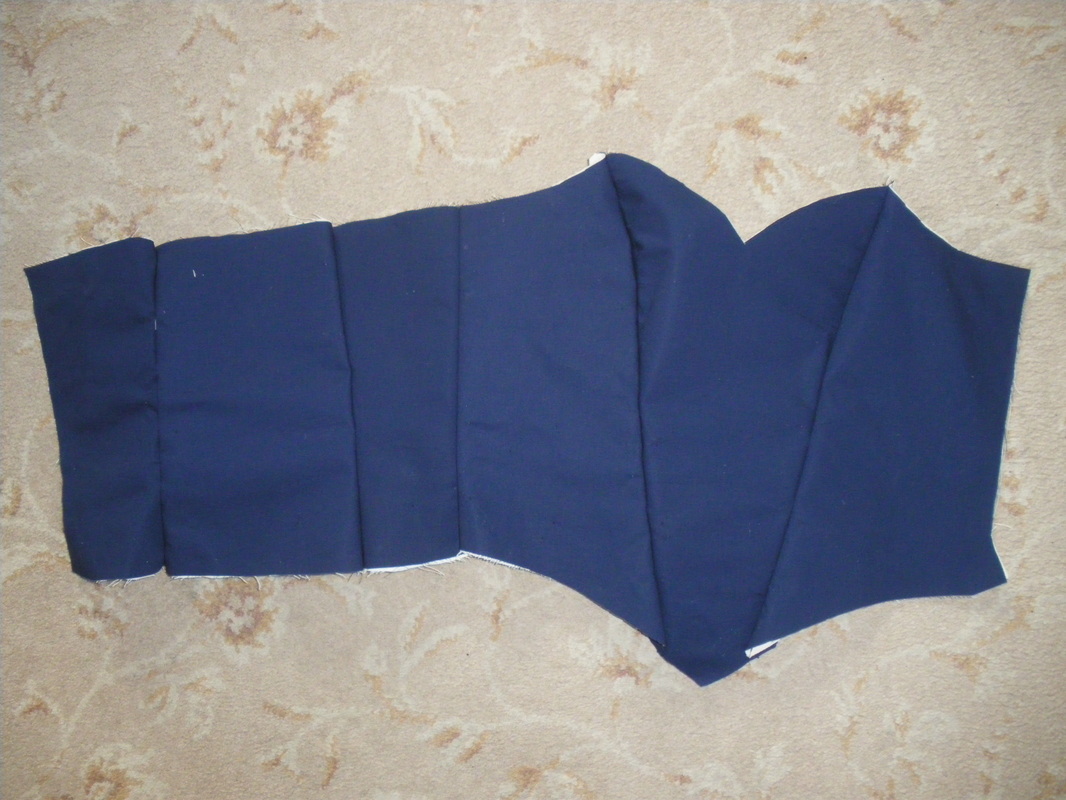
The liner and coutil are mounted and sewn together as one piece.
|
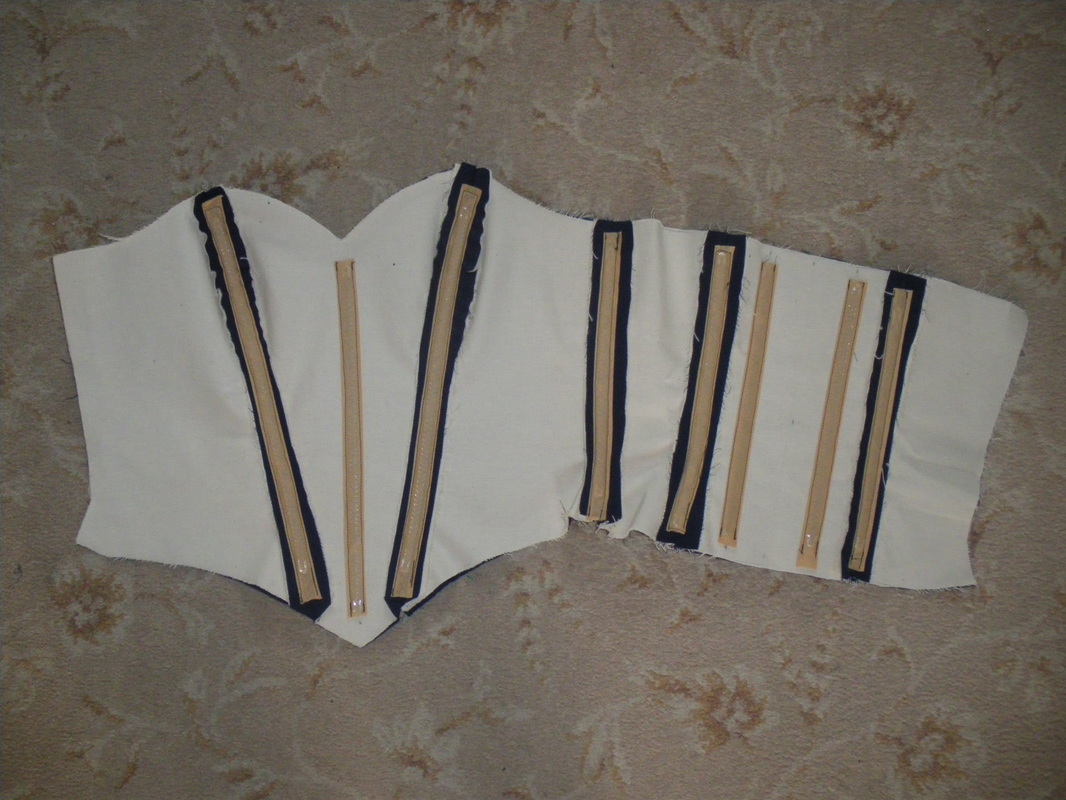
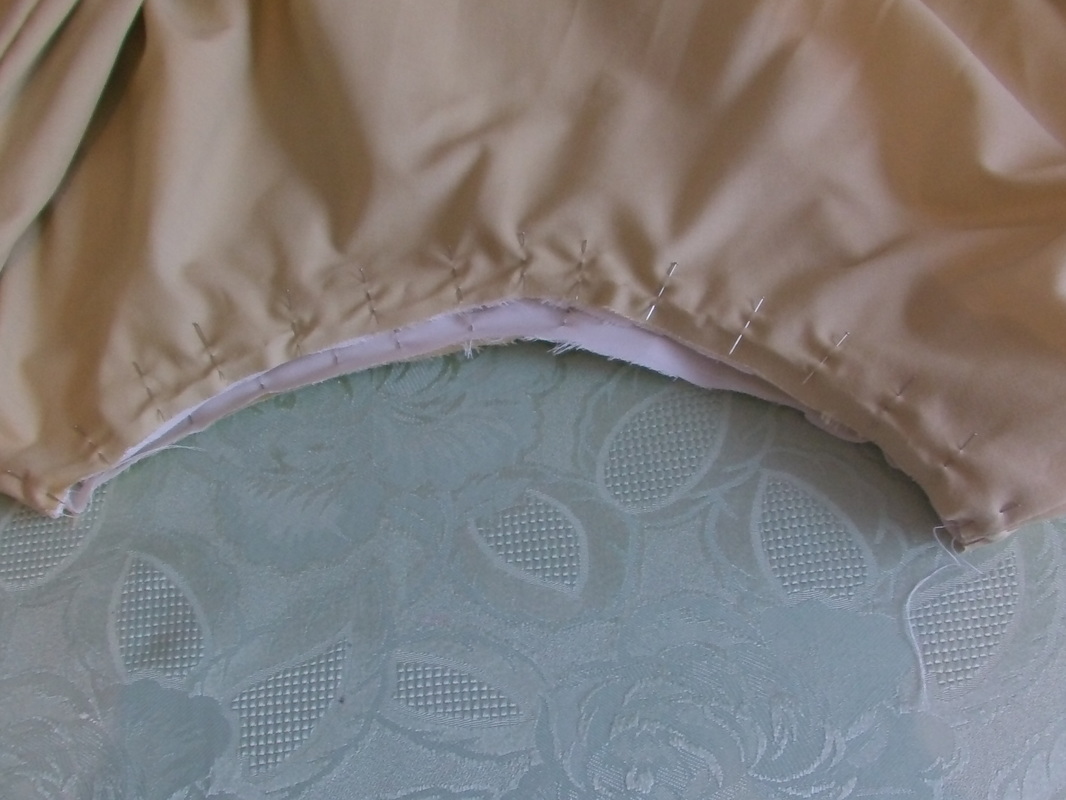
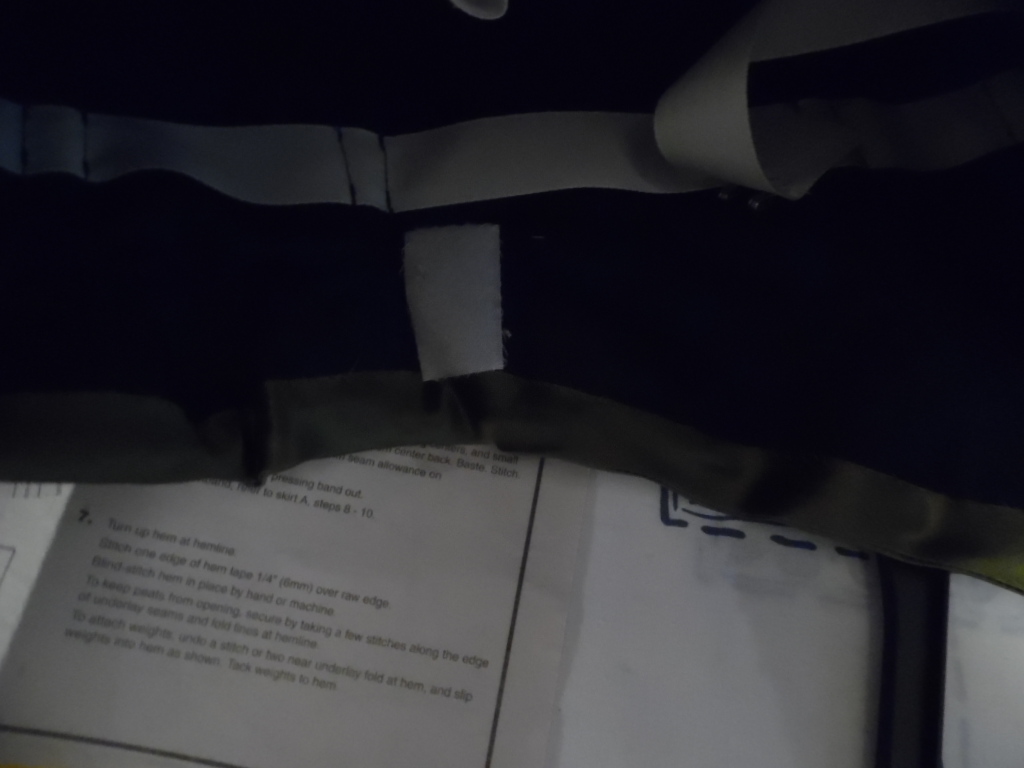
Position the boning and enclose in channels on the seams. There are two extra boning channels on the back piece, but no boning on the side opening and one channel at the centre front.
|
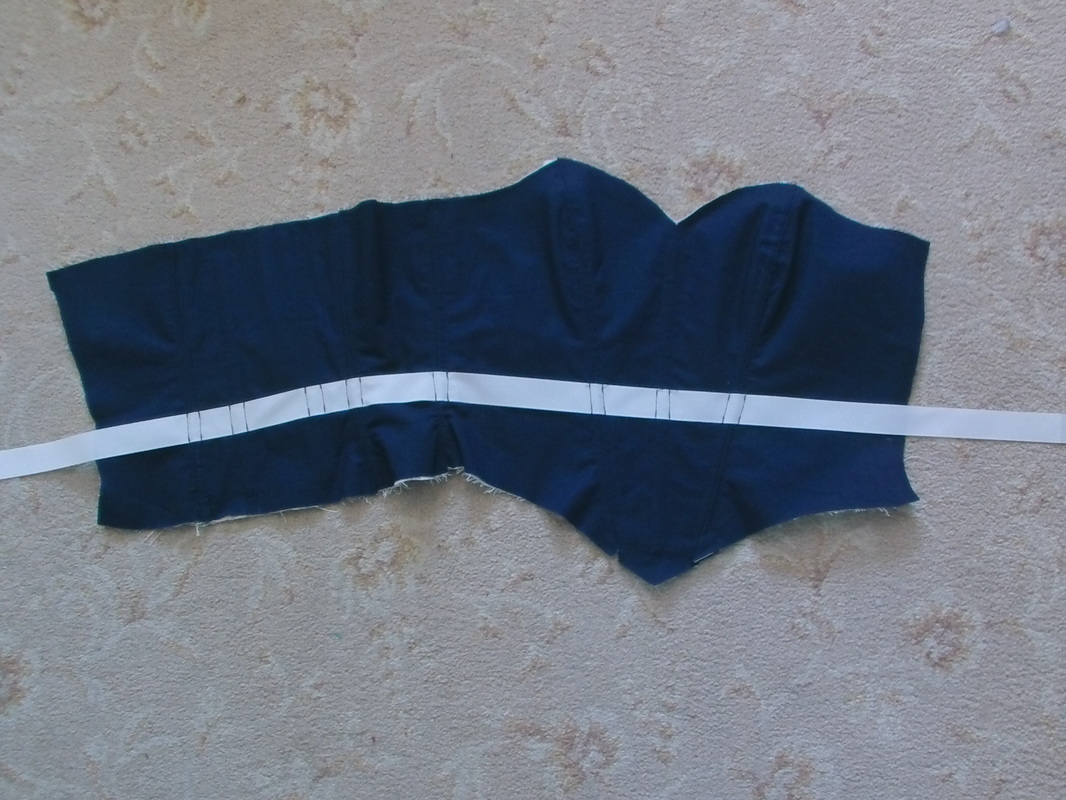
Position the waist tape and either machine or hand sew onto the seams being careful to avoid the boning channels.
|
|
Tack or pin the liner to the fabric top and bottom and pin the sides for now (or tack, its up to you, but remember you want the waist tape to face outwards.)
|

|
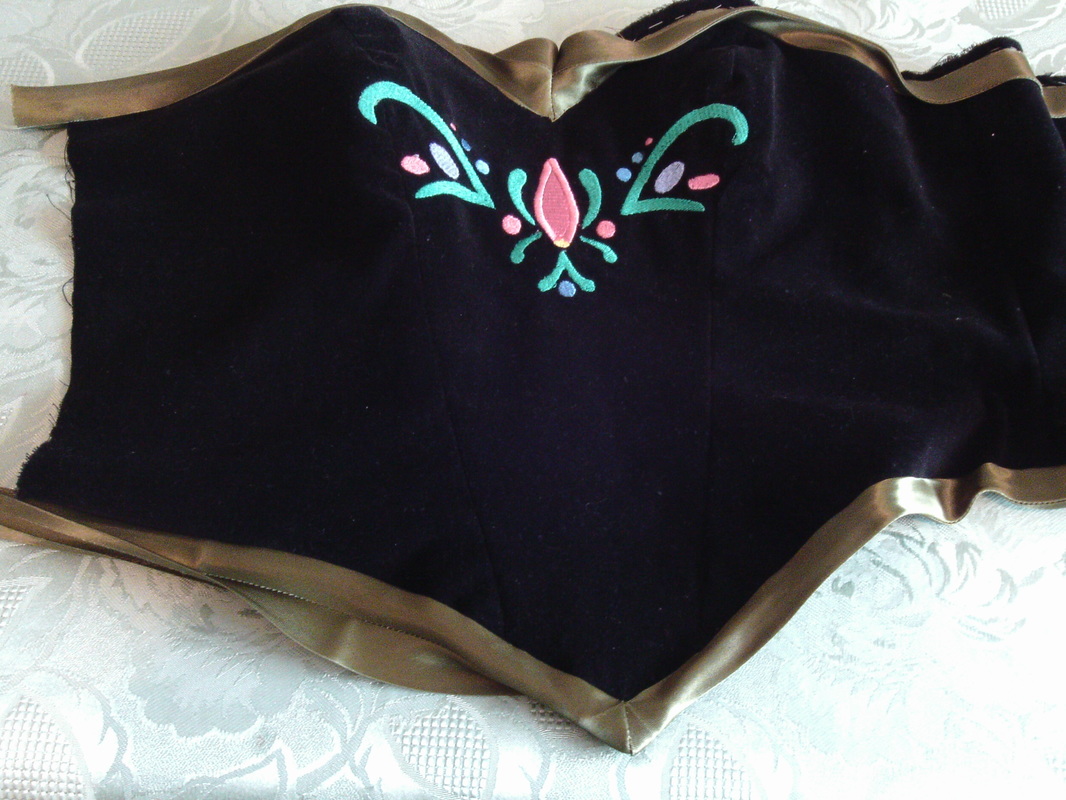
As with the other Anna, we sewed two strips of bias together first. This picture shows the internal "v" for the top of the bodice, you do the opposite to create an external "v".
|
|
Sew on the bias so that half is showing at the front and half at the back. On the inside, hand sew in place.
Unfortunately, we didn't film the zip being put in. Basically, we over locked the side seam, sewed in the zip, then hand stitched on the inside. 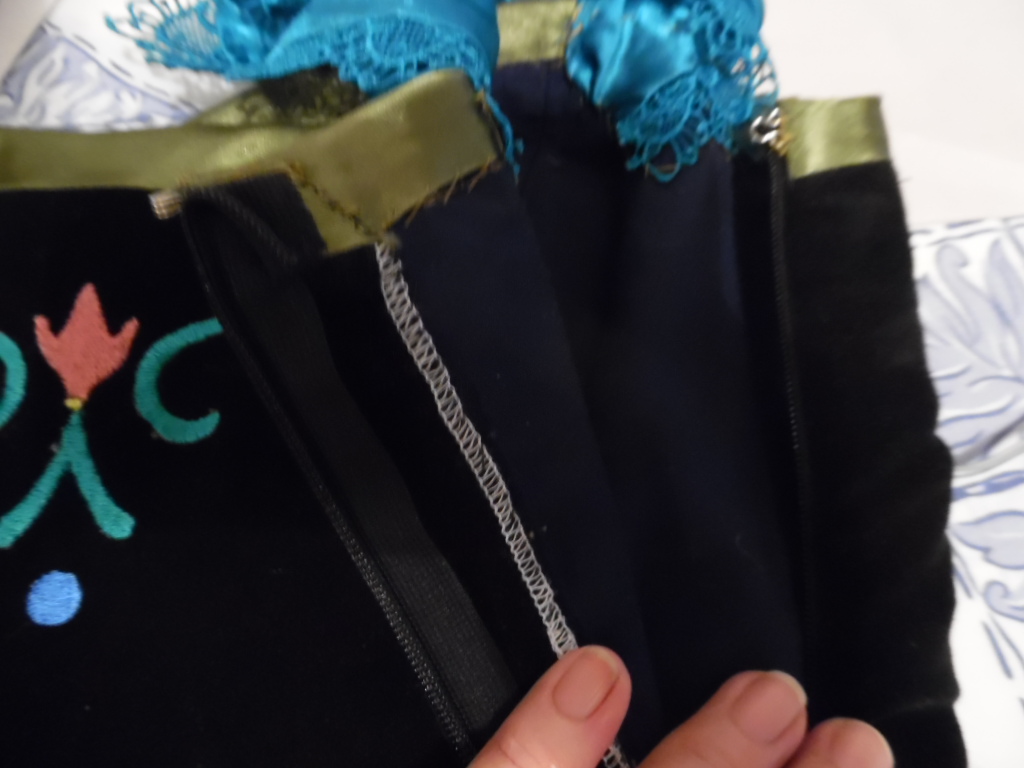
|
|
|
Make up the sleeve as per the instructions and hand sew to the front and back of the bodice.
|
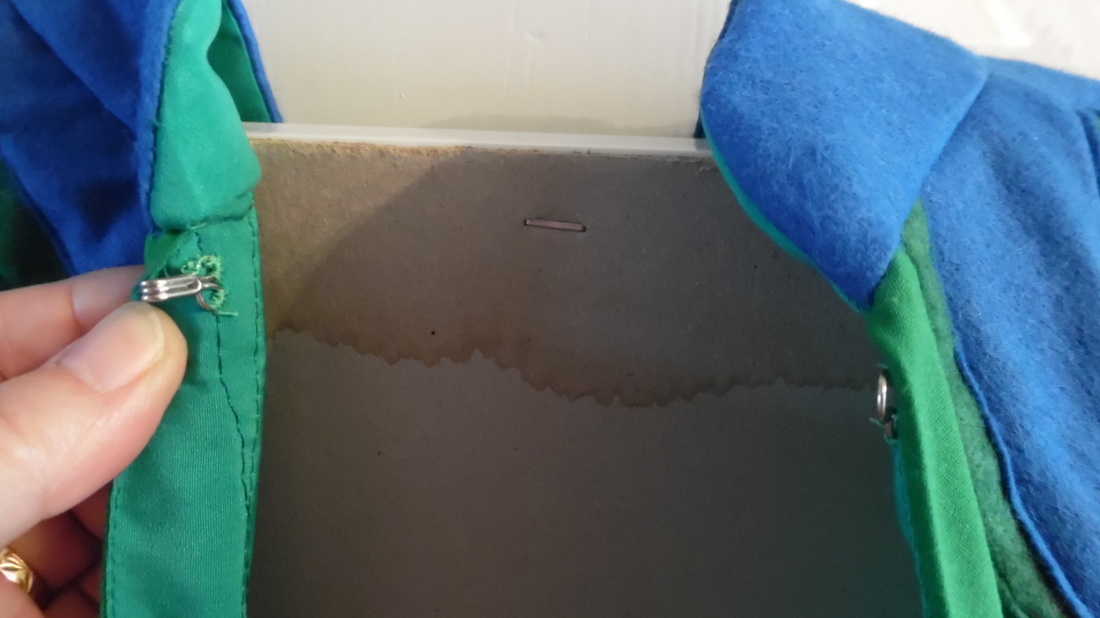
The last thing we did, was attach small pieces of velcro to the inside of the bodice at the waist and corresponding pieces on the waistband of the skirt, so that the two items stay in place and won't lift up.
|
This completes the bodice.
Just a quick video below showing how the panels open to reveal the inside.
This completes the dress
To make the bodice:
To make the bodice:
|
We used Burda Easy 2566 Cape Pattern as it was with no alterations, except to make a mandarin collar like Anna's snow gear blouse and cape.
|
|

|
Using cut outs, we did a rough design pattern first.
|
|
After a bit of a tidy up, we decided to make the collar design in three sections to make it more manageable. These were then cut out of blue felt.
Using the green poly/crepe, fold a 90 degree angle and cut 3 or 4 diagonal strips about 5cm (2") wide
|
|
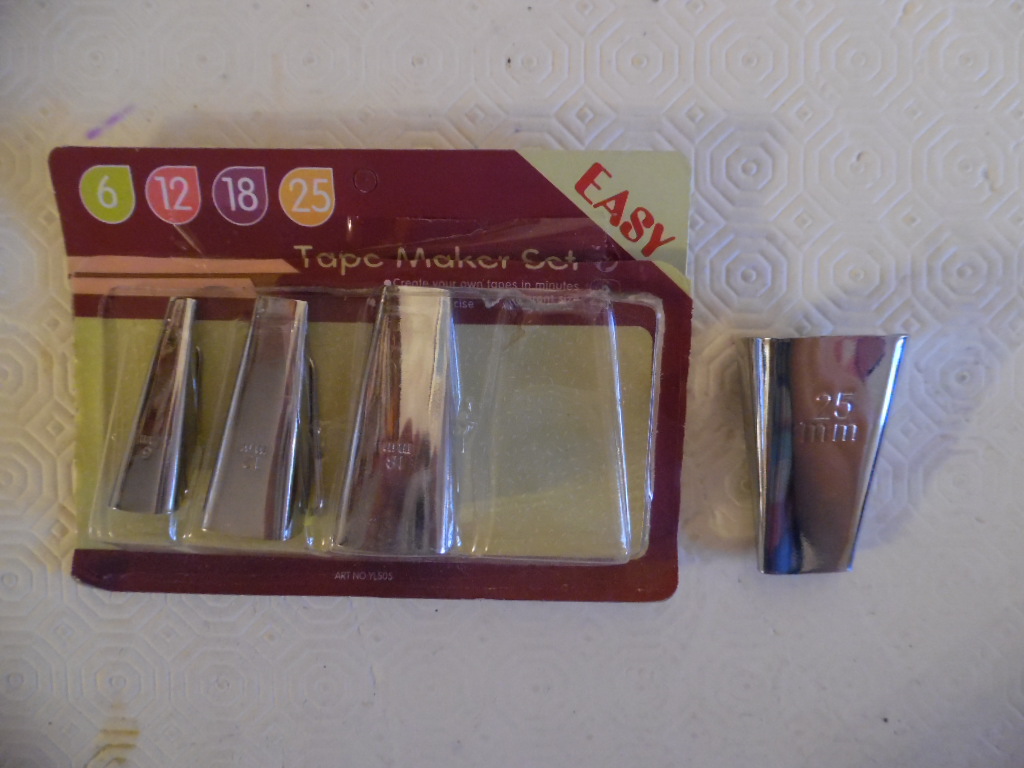
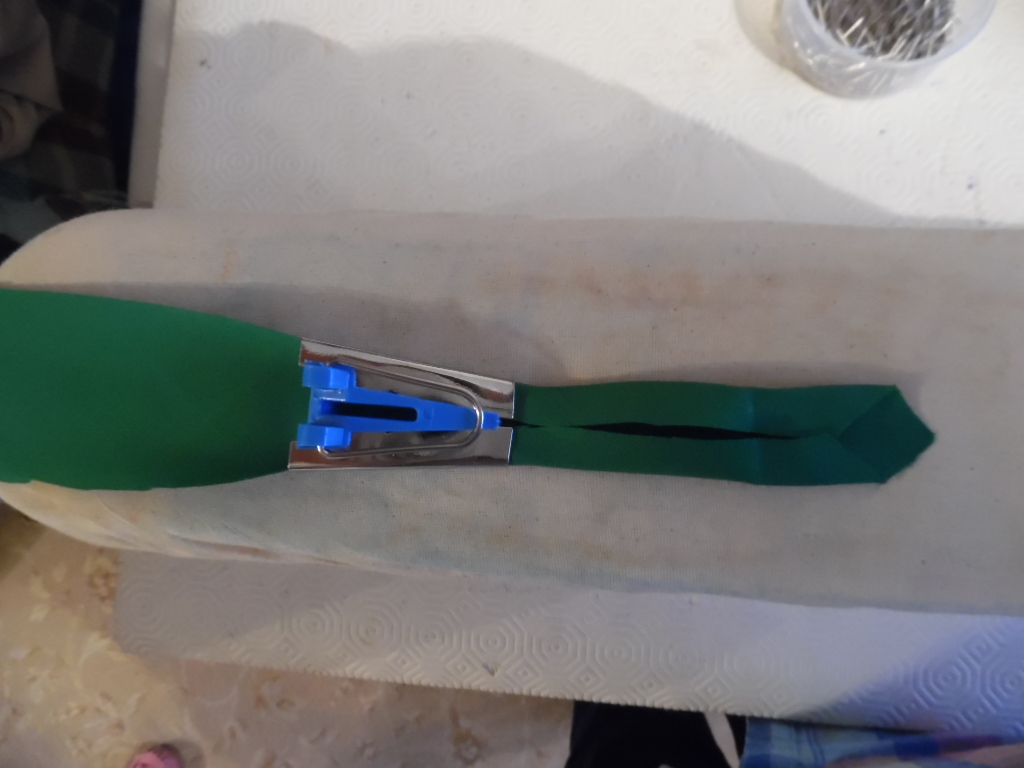
I bought a pack of 4 different sized tape making tools, as they may come in useful on a later project, but you can buy them individually. I used the largest one 25mm to make my bias strips. As the fabric feeds through, iron as you go. I found it useful to cut a point to start as this helps to thread the fabric through the tool.

|
|
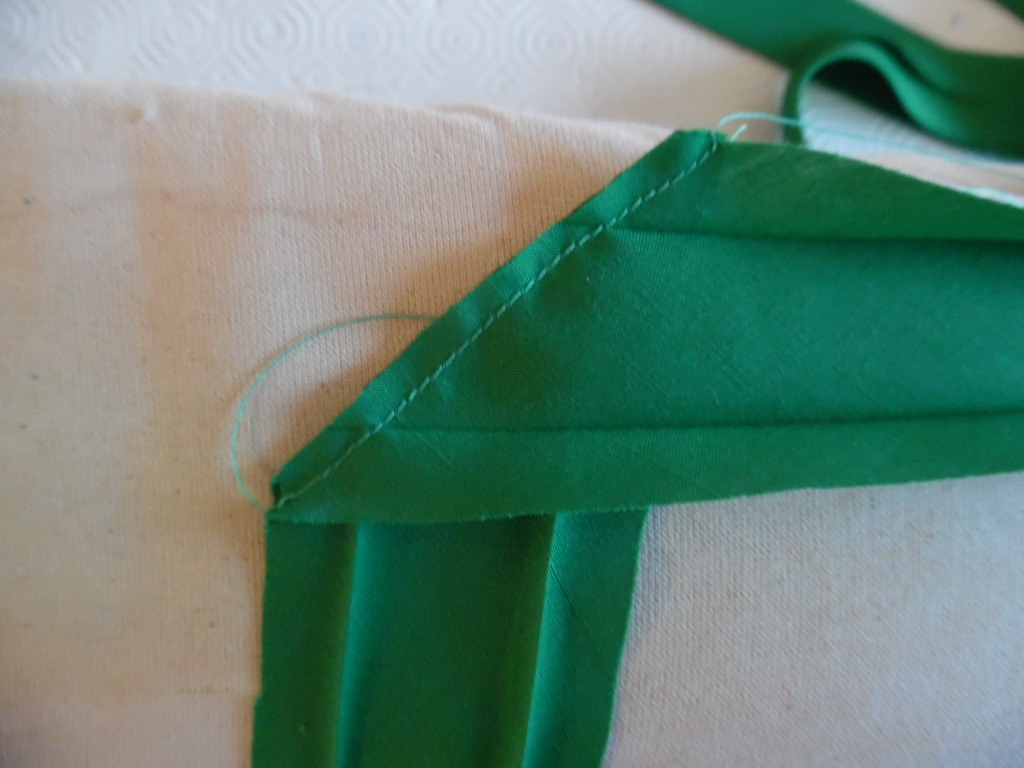
To join your strips together, lay the ends at 90 degrees right side to right side, then sew a diagonal line and trim. Re-iron the join.
|
Working from the wrong side of the front edge, sew the bias in the first crease, all the way around the edge of the cape.
|
|
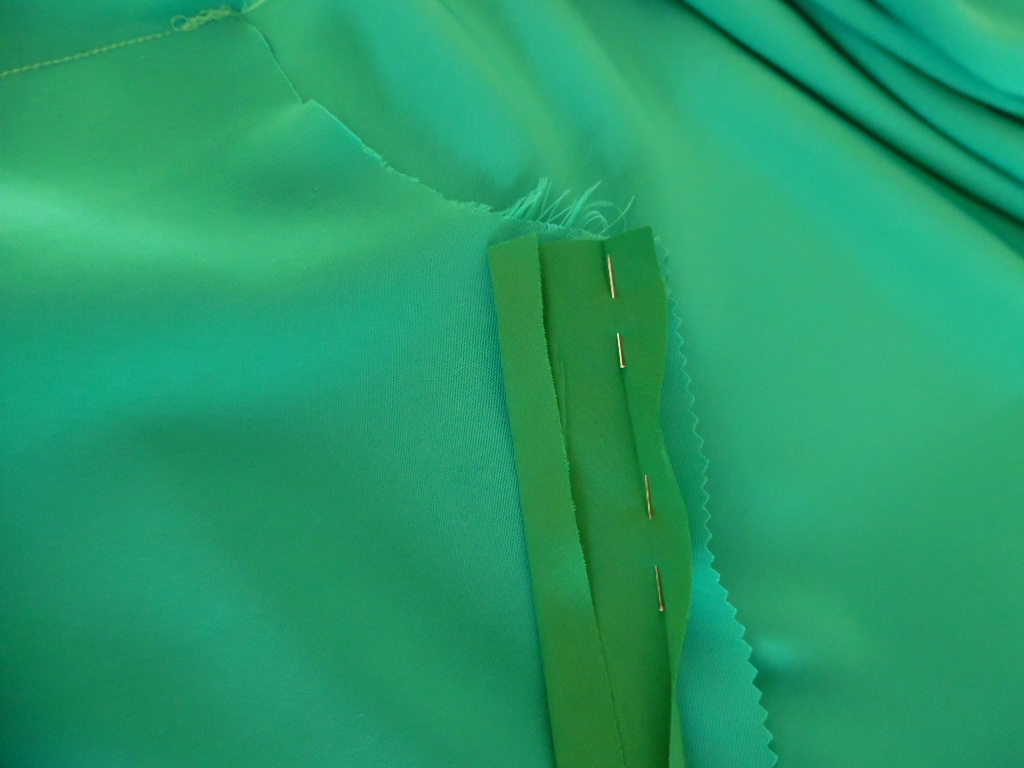
Turn the bias to the right side of the cape edge, pin and sew along the outer edge.
|

|
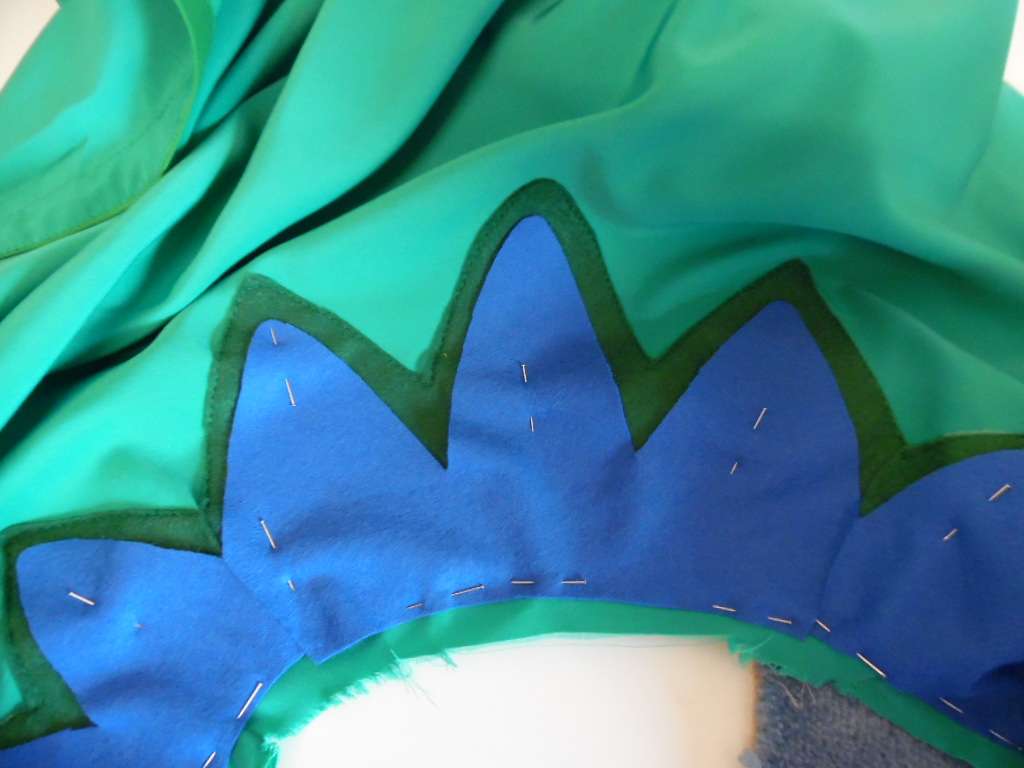
Lay the blue felt sections on top of the green felt and draw around them, leaving a margin of about 1.5cm
|
|
You have two options, to can either cut out the green sections on double sided adhesive paper and stick them on, or place them on the cape and sew around them.
I sewed on the blue sections over the top of the green ones, making sure to leave about 1cm from the neck edge. |
|
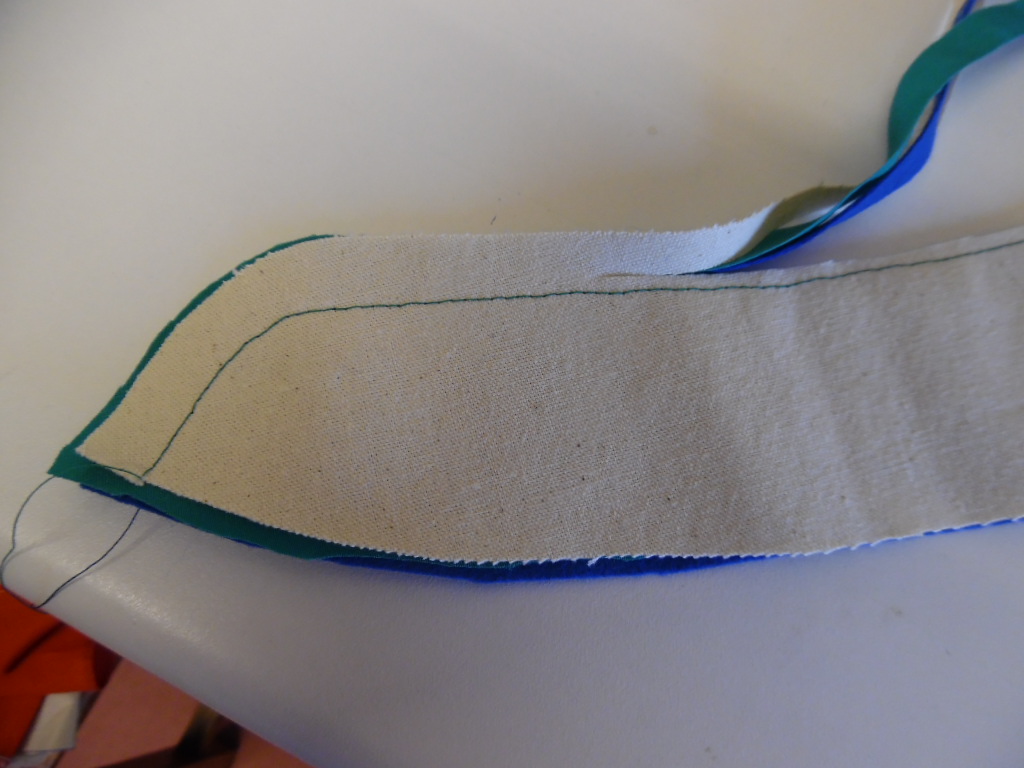
Get an accurate measurement of the collar edge and cut three layers of: blue felt, stiffener and green cotton liner.
Sew around the edge and trim off the excess. |
|
|
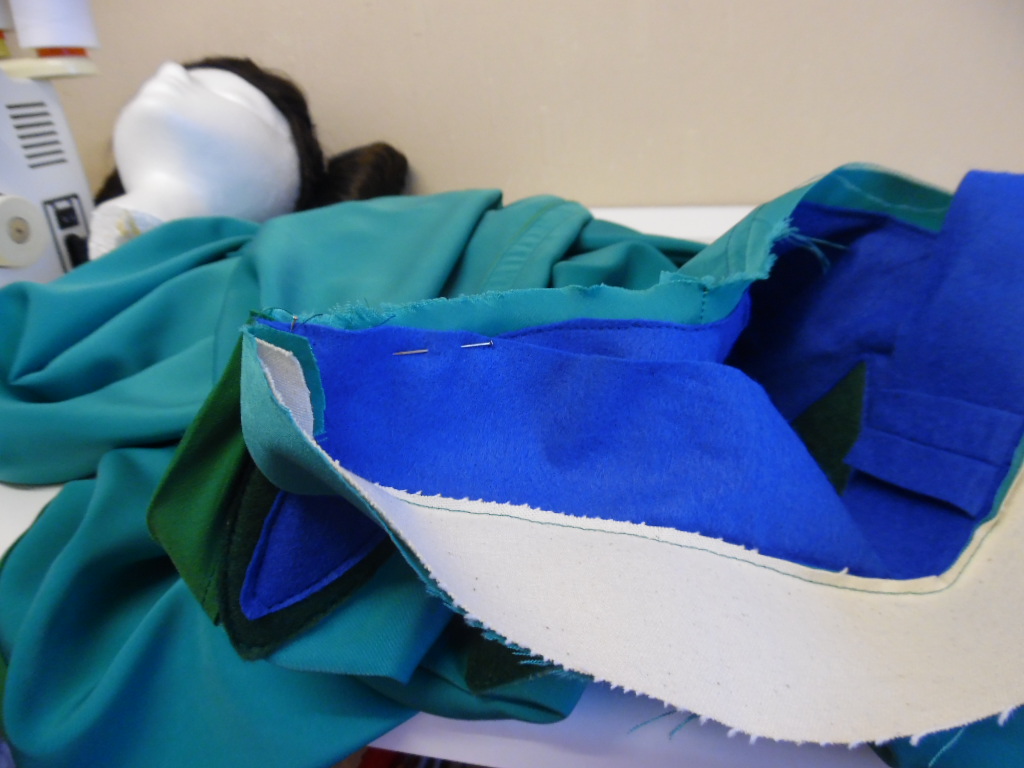
Sew the blue felt side to the collar, turn to the inside and hand sew the liner in place. Then sew a large hook and eye to the top of the cape.
|
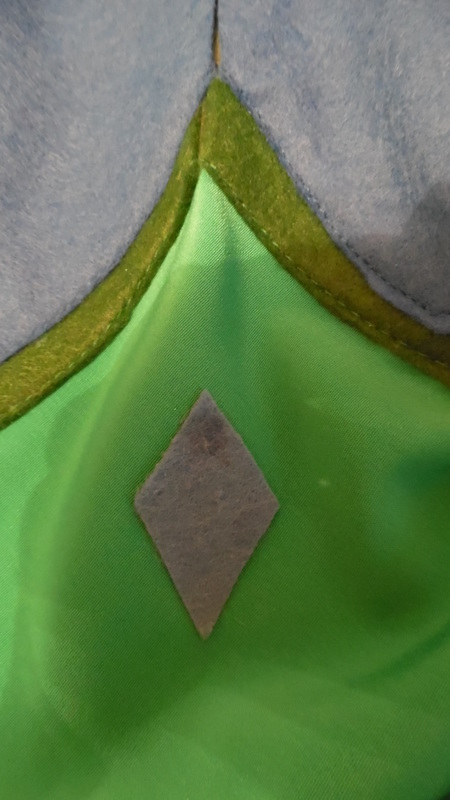
Cut out 6 light blue diamonds and stick them on.
(The camera has distorted the colours, it really is light blue!) |
|
|
Cut two pieces of fabric and one piece of stiffener each measuring approximately 4" x 7" (10cm x 18cm) . Lay the two pieces of fabric together, then the stiffener. Sew all the way round, except for a gap on the long edge to enable you to turn it the right way out.
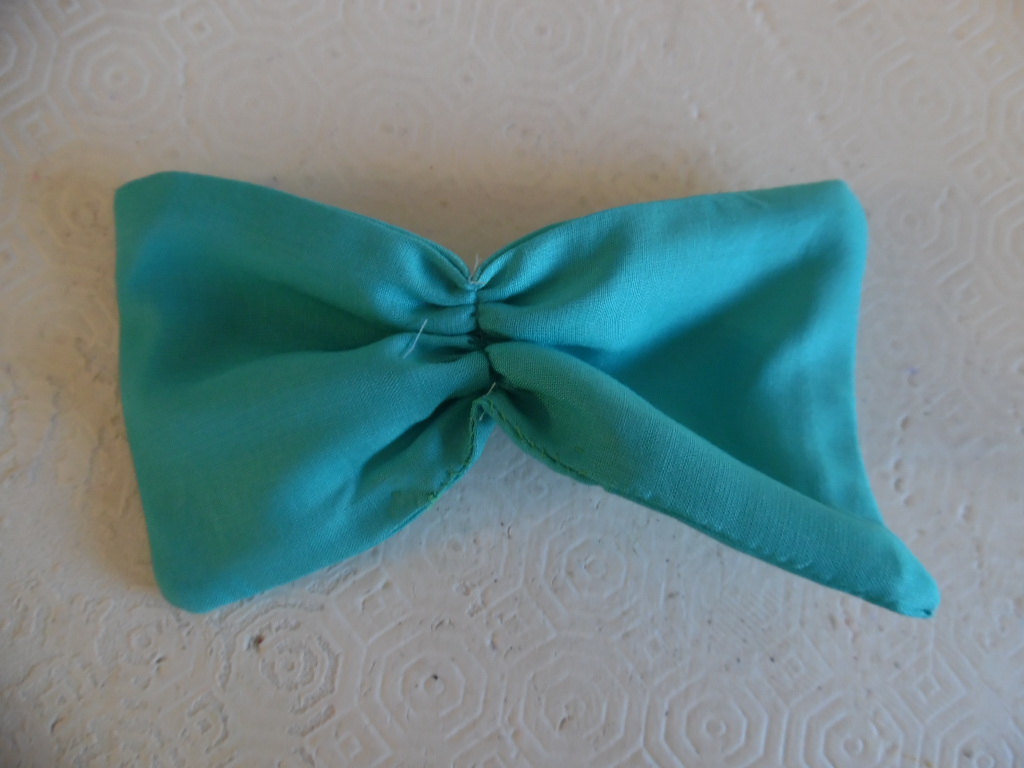
|
Run a gathering stitch across the bow.
|

|
Cut a short piece of fabric approximately 4" wide (10cm) x 4", sew all the way around and leave an end open, sew, then turn the right way out. Wrap around the centre of the bow and hand stitch in place.
|

|
Sew two stud fasteners to the back of the bow and onto the top opening of the cap.
|
|
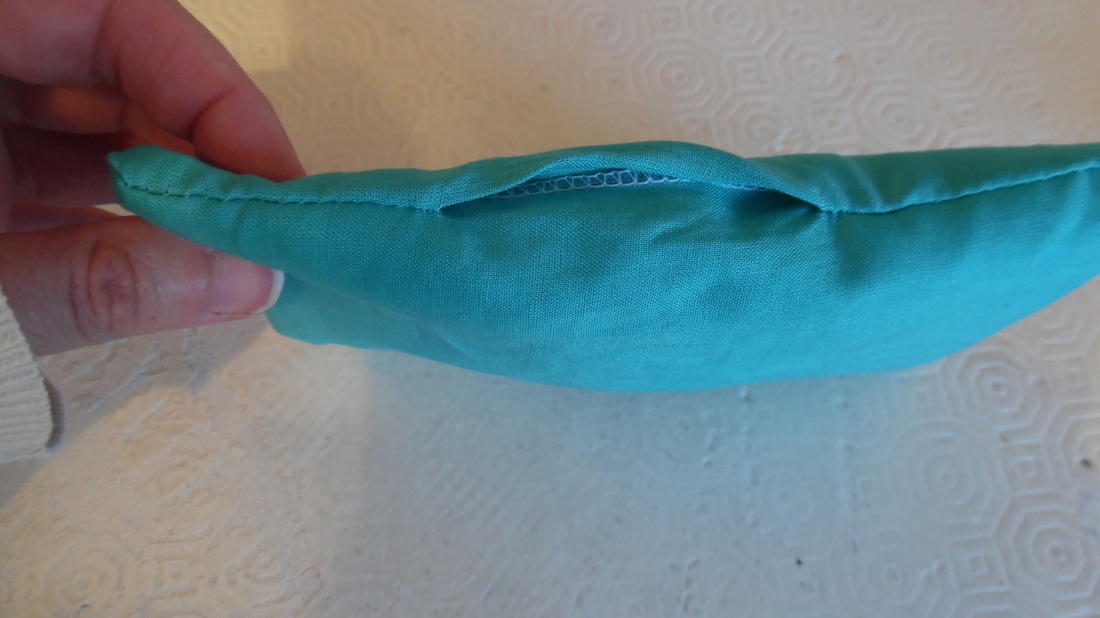
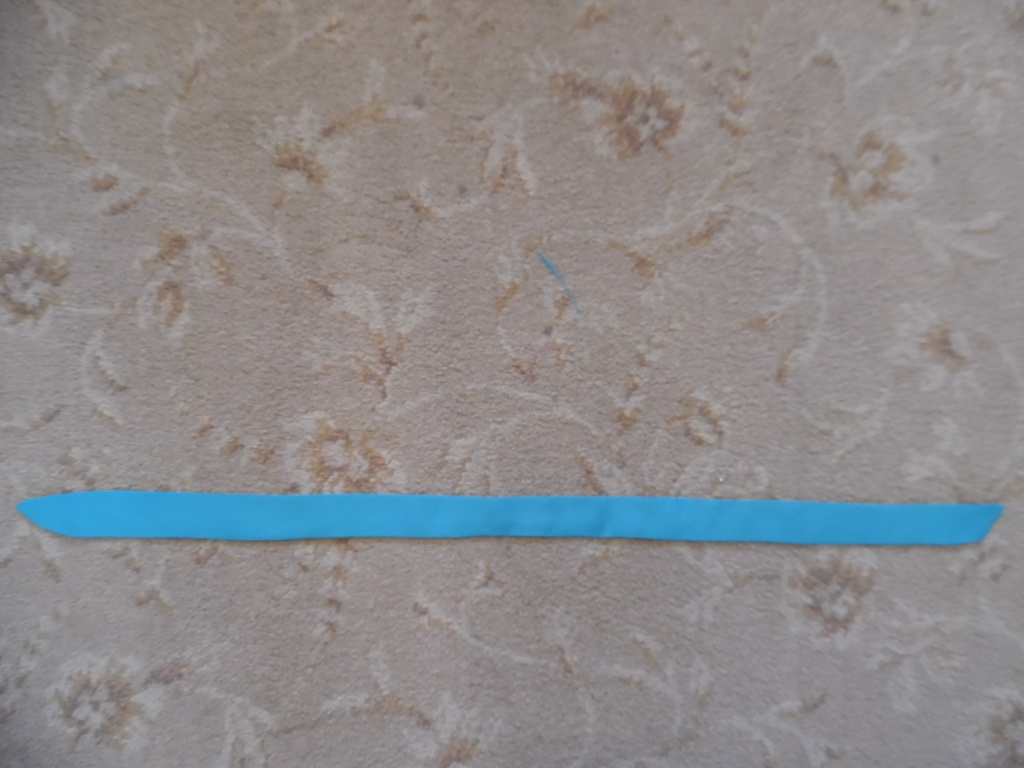
Cut a piece of fabric approximately 3" x 26" (8cm x 66cm). Sew all the way around except for leaving a gap and the centre of the long edge. Sew a diagonal at the end of each piece. Turn the right way out and hand sew the gap.
|
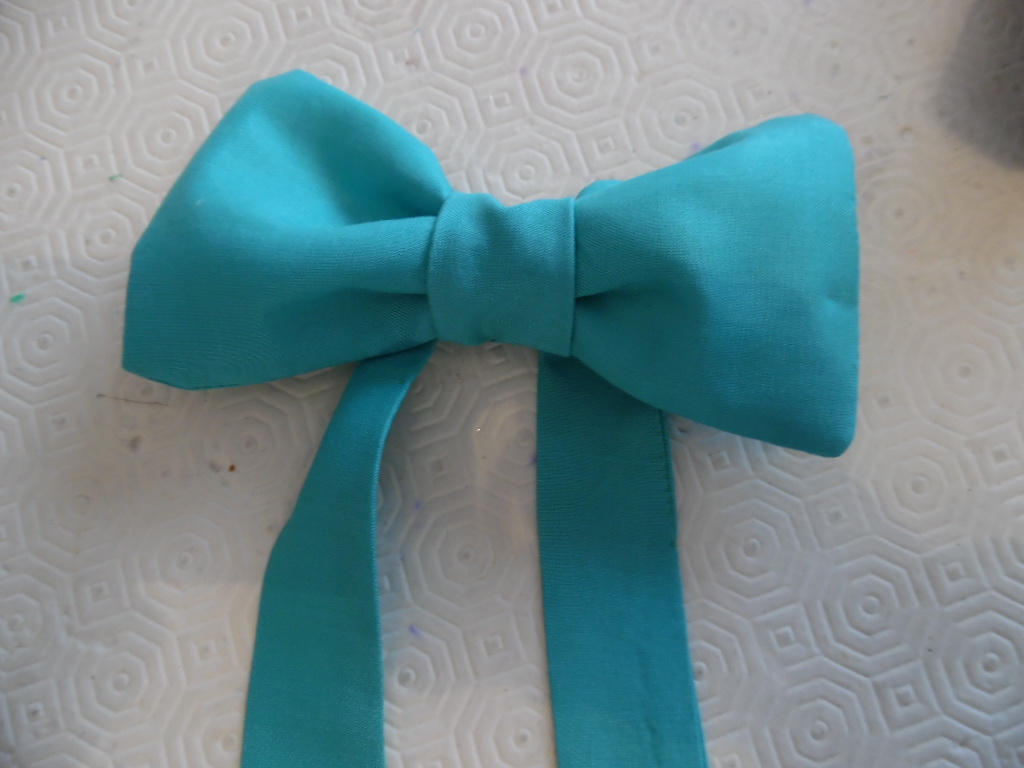
|
Thread the strip through the back of the band at the back of the bow and hand stitch in place.
|
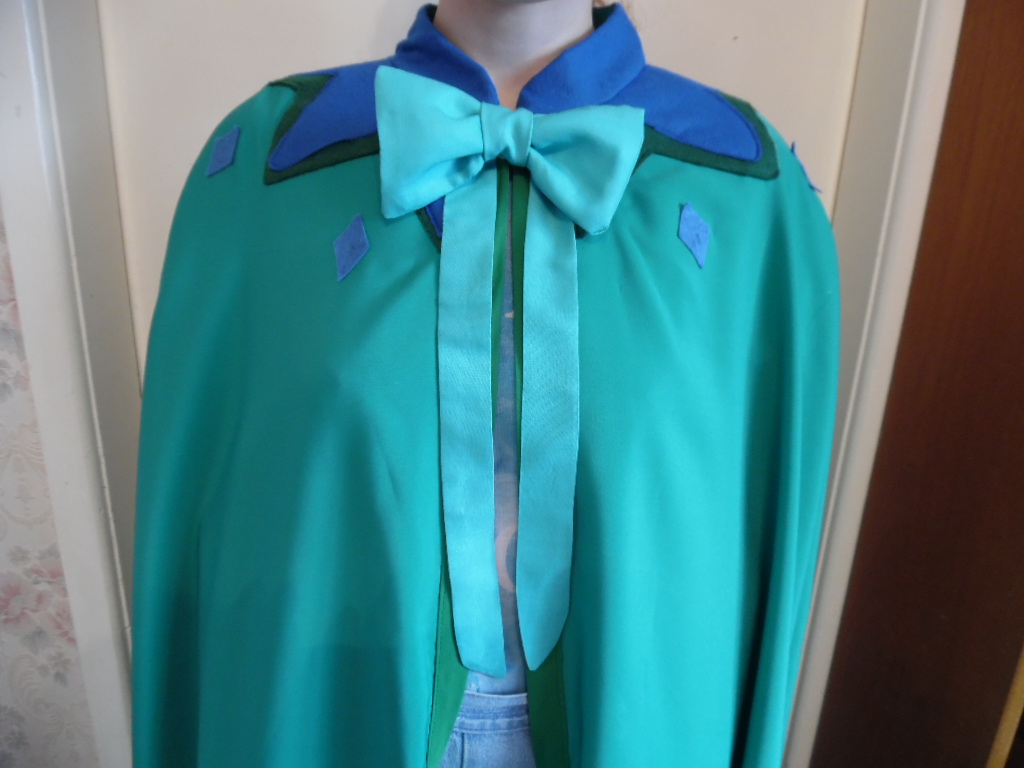
This completes the cape.
