For this costume, you will require intermediate to advanced experience in sewing, with skills for corset making.
Difficulty factor 8 - 10
All videos for making the complete costume can be found in our "video tutorials" link
Difficulty factor 8 - 10
All videos for making the complete costume can be found in our "video tutorials" link
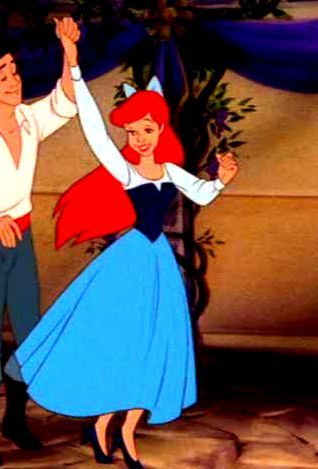
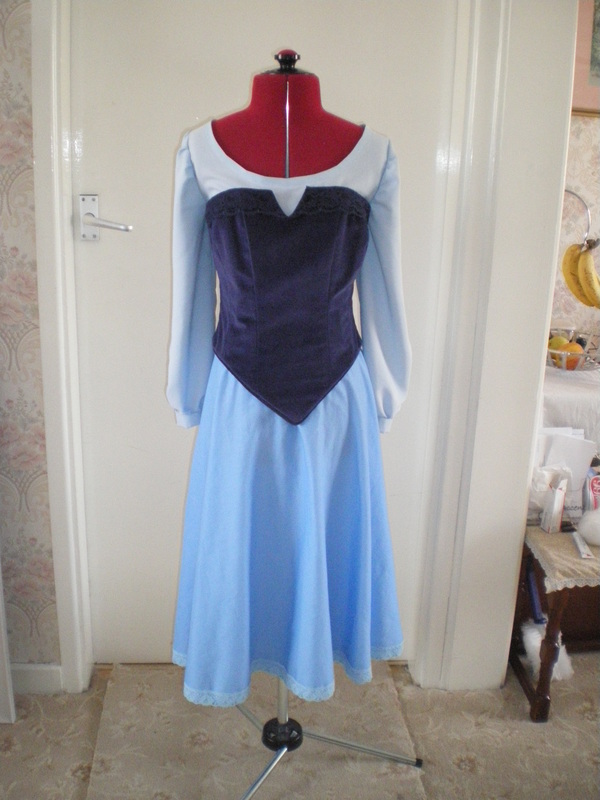
Ariel's Blue Sight Seeing Dress
From The Little Mermaid
From The Little Mermaid
Materials:
Corset:
New Look 6480
1/2 metre Navy Blue Cotton Velvet
1/2 metre Coutil
1/2 metre Dark Blue Lining
1 metre Dark Blue lace
2 metres narrow blue ribbon for lacing
2 metres of spring boning and 20 metal end caps(or 10 pieces of pre-cut boning with end caps fitted,)
1 metre pipe cording
2 metres navy blue cord for hoops
Skirt:
2 metres Blue cotton fabric
2 metres White cotton fabric
3 metres white lace (optional)
3 metres blue lace (optional)
Blouse:
New Look 6732
1 metre Light Blue crepe
Extras:
Invisible zip to fit
Blue Ribbon:
Small section of blue cotton
Rectangle of stiff netting
Rectangle of wadding
To Make the Blouse:
|
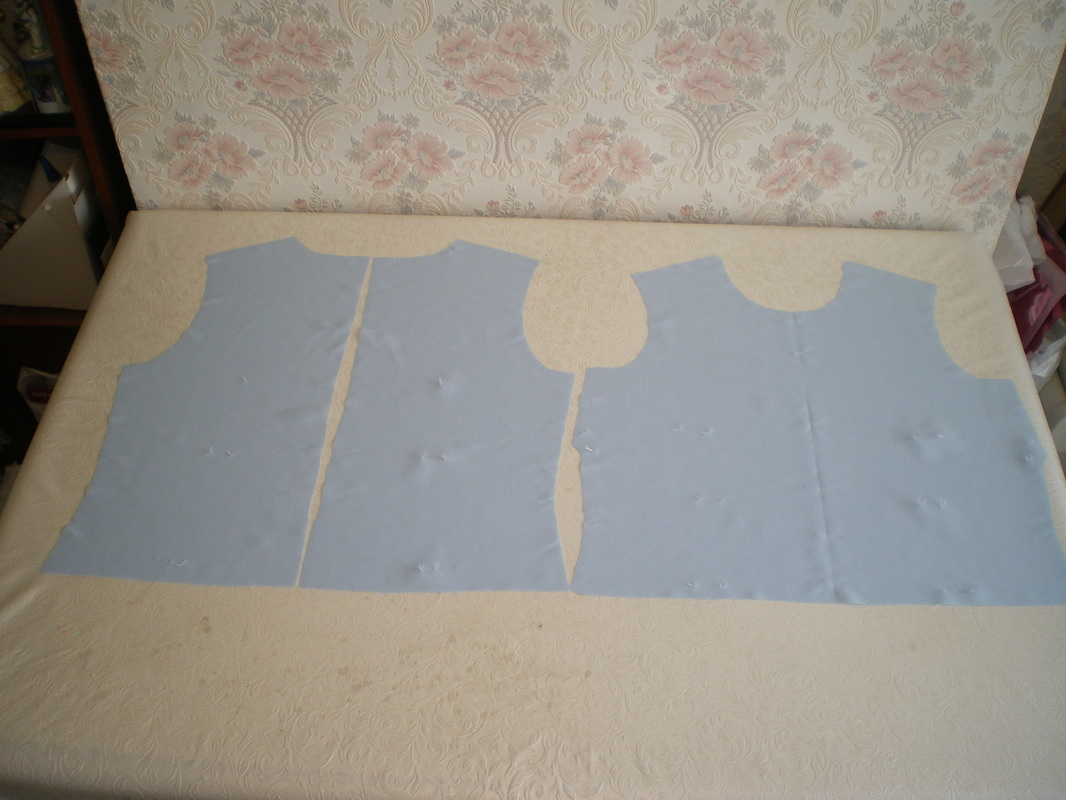
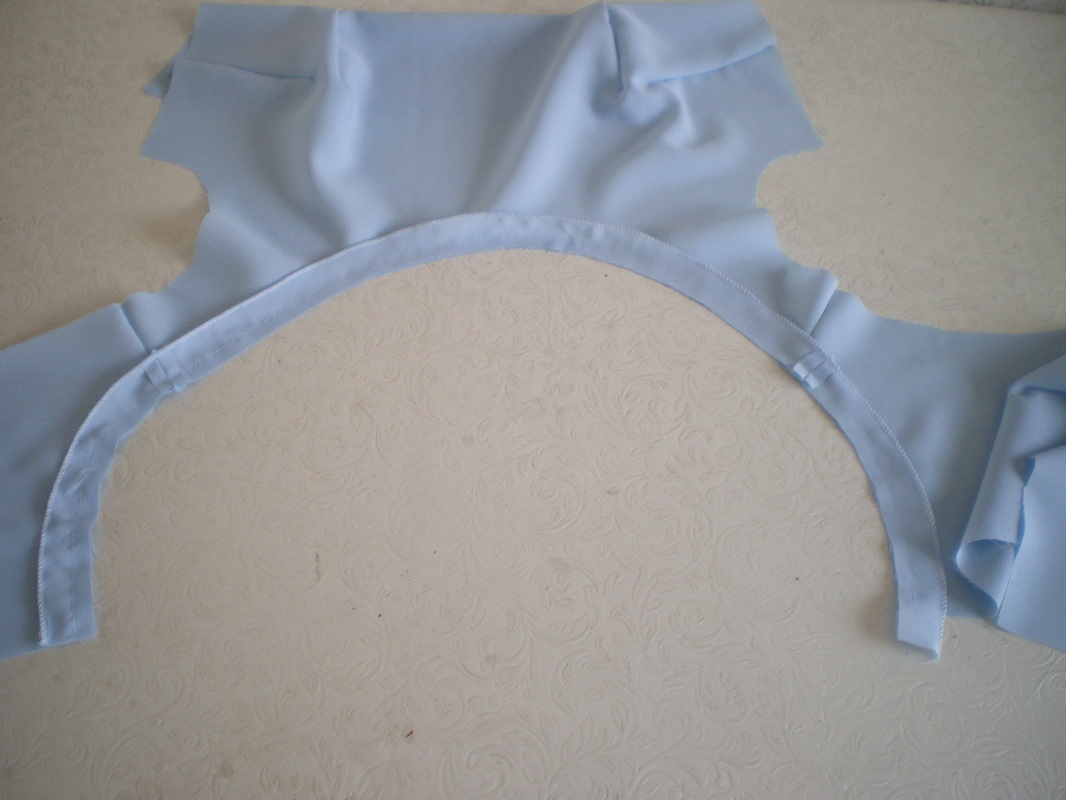
Using New Look pattern 6732. I used the back pattern as per the pattern pieces, but split the fabric up the middle. I made the front piece on the fold and kept the darts in the same place. I now need to put a scoop neck for the front and alter the back pieces as appropriate.
|
|
This shows the scoop that was cut. Put in all the darts where appropriate on the pattern and join the pieces at the shoulder.
|
|
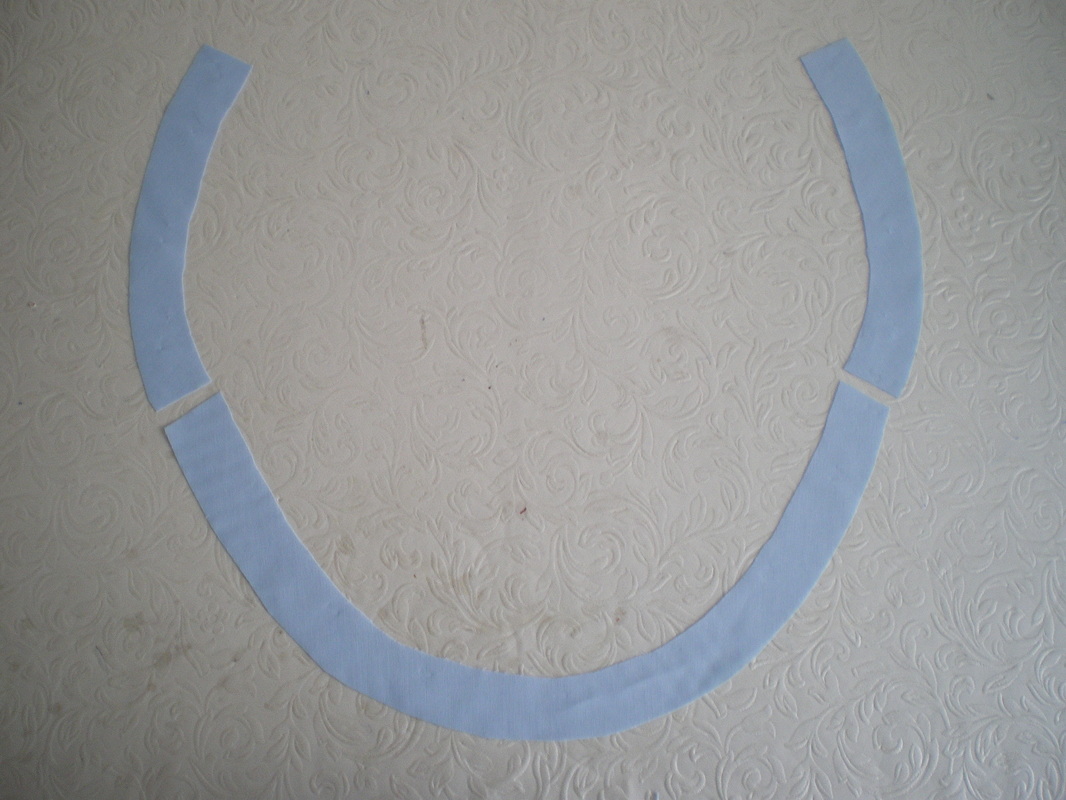
For the facing, lay the pattern pieces down flat and draw the scooped curve onto fabric for the back and front pieces. This should be about 2-3cms wide. Join the seams and overlock or turn over an edge to neaten.
|
|
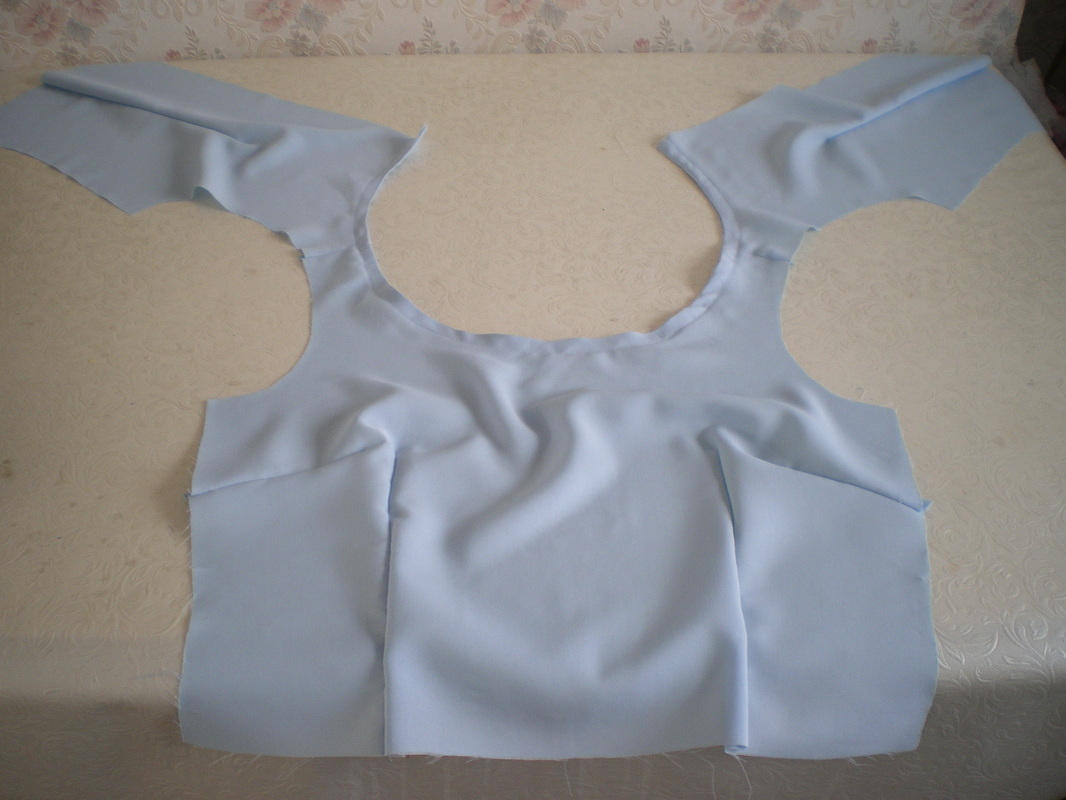
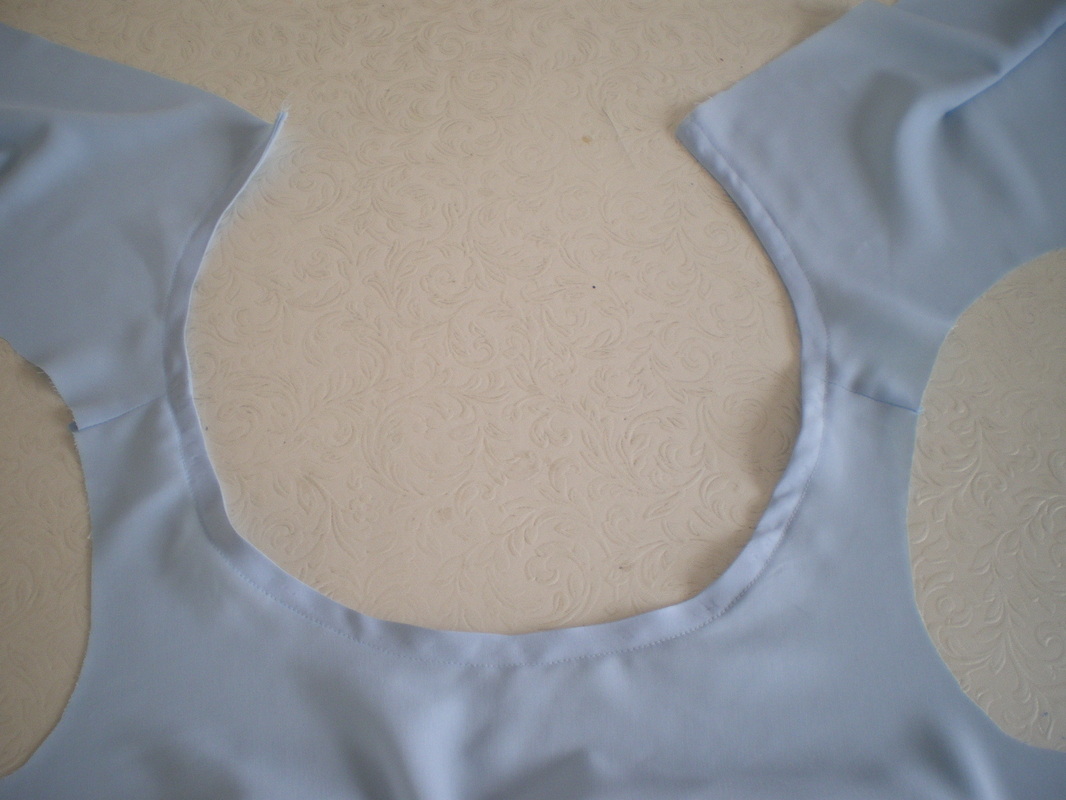
Sew the inside curve of the facing to the blouse.
|
|
After clipping the curve, fold the lining to the inside and run a sewing stitch around the neckline.
|

|
Insert the sleeves as per the instructions (I made my sleeves slightly narrower so they weren't so baggy). Add the cuff as per the instructions and put in a buttonhole and sew on a button. This completes the blouse as the back is left open waiting for the zip to be inserted after the skirt is made.
|
To make the skirt:
|
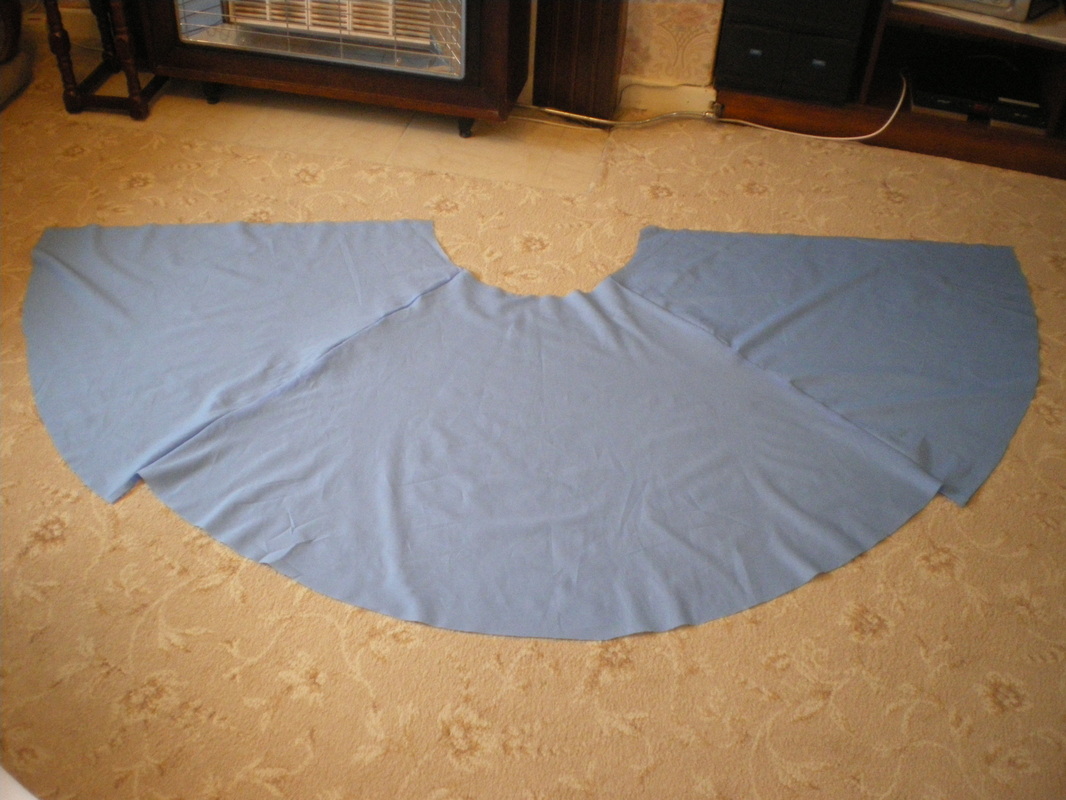
I didn't use a pattern for the skirt. Just took a measurement from the waist to the finished length (add 10cm to the length) and cut out a scoop. You can either cut out a full half circle skirt, or a front and two back pieces. Also cut the same pattern from the white cotton fabric for the petticoat.
|

|
Put the blue skirt and white petticoat together and sew onto the blouse at the waist. I overlocked mine for neatness.
|

|
Next you will be putting in the zip and closing up the back seam. The zip should be long enough to extend at least 12cm into the skirt.
|
|
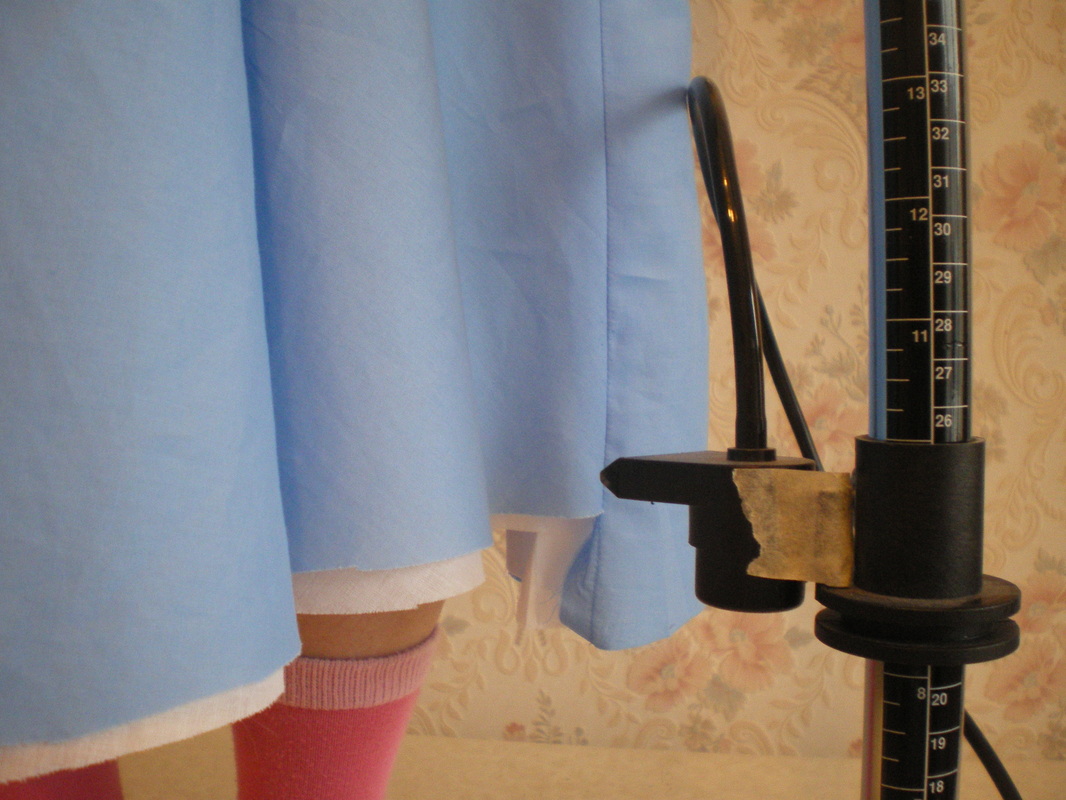
If you turn up a lot of skirts, or not too good at getting a straight edge, a hem marker is an invaluable tool to have. Not only can someone do this for you - but - you can also do it yourself using the extended pipe, press the "bulb" at the end to puff a small piece of tailor's chalk onto the fabric. After marking, cut both pieces of fabric at the same time.
|
|
I sewed on a piece of blue lace to the bottom of my skirt, this is optional. I also reduced the length of the petticoat and sewed on some white lace.
|
This completes the skirt.
To make the corset:
To make the corset:
|
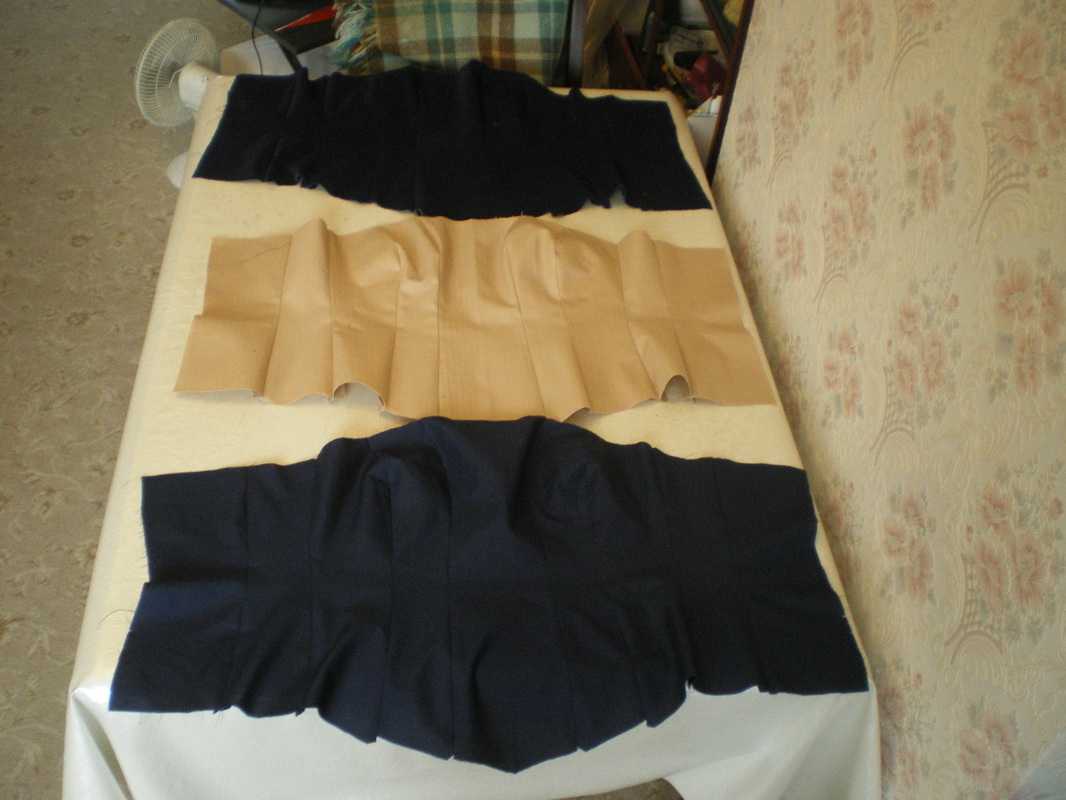
You will need to make three layers, one velvet, one coutil and one of lining. You are aiming to have a back opening with at least a 2" (5cm) gap.
|
|
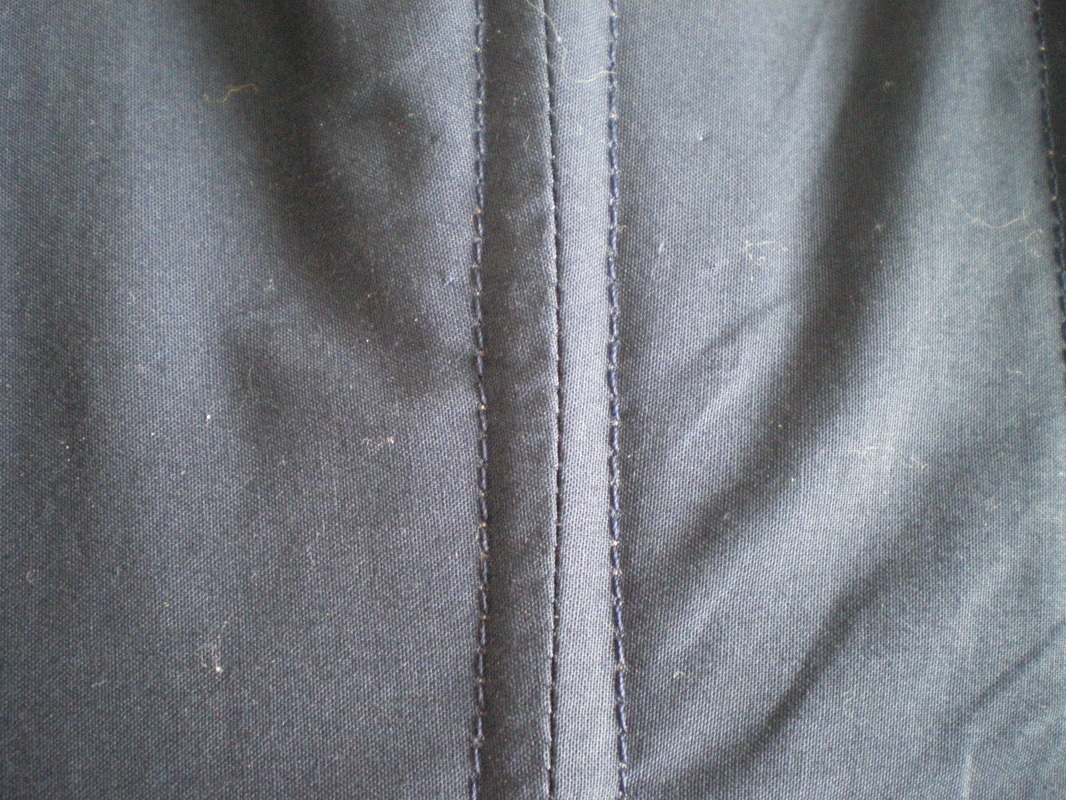
There are several ways of boning a corset and plenty of youtube videos showing you exactly how to do them. The boning goes between the lining and the coutil. Whichever method you choose, all layered corsets are put together virtually the same. my method is as follows: Put the coutil and lining wrong sides together and at the seams, sew them together using two rows of sewing, to create a "pocket" for the boning. This is done at all the seams, and and extra "pocket" is sewn 3cm in from the back opening.
|
|
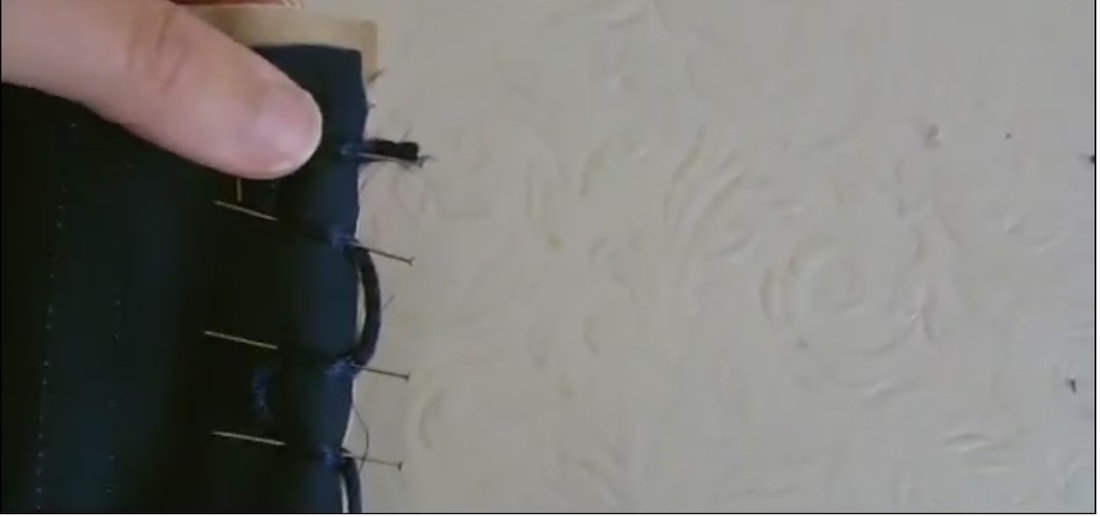
Using the navy blue cord I am going to create loops at the back opening. Note that when the corset is turned the right way out, the loops on the left will show and not the loops you can see on the right. Pin the cord to the lining and coutil pieces, then run 3 or 4 rows of sewing stitches down the whole length to secure the hoops in place.
|
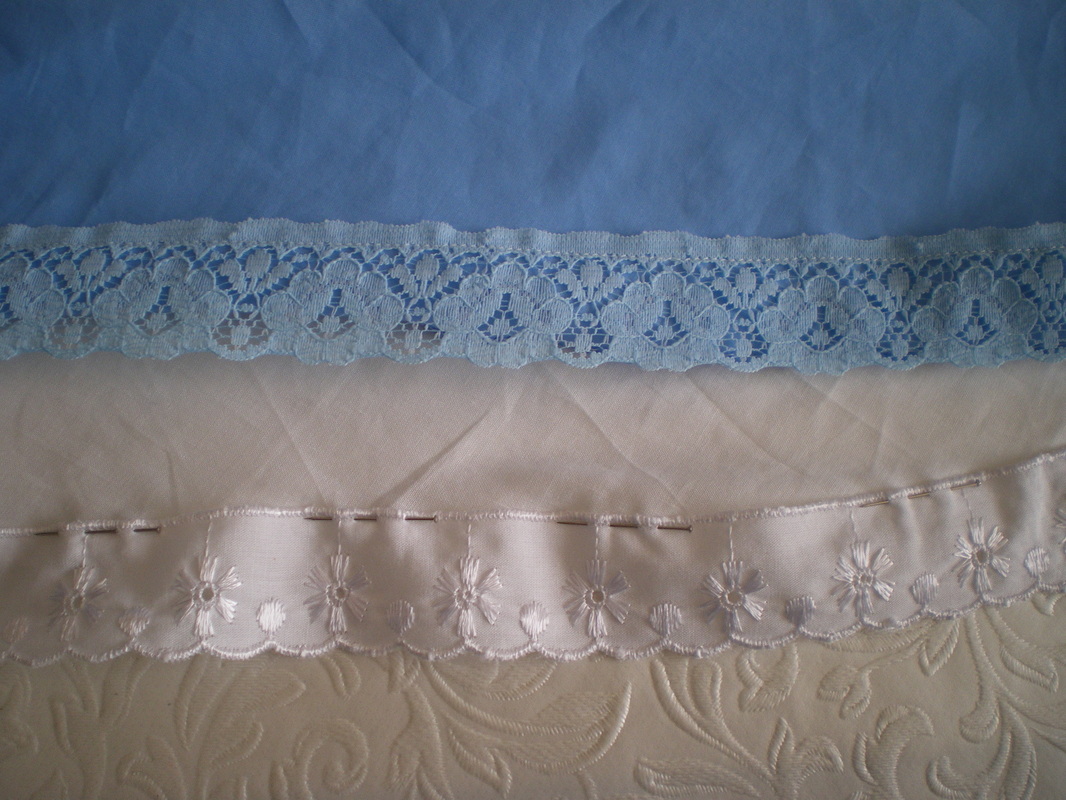
I wanted to put a strip of lace at the top of my corset. So I pinned my lace to the top of the cotton velvet on the outside, then in this order: coutil/lining/lace/velvet - I then pinned all the pieces together. You then place the paper pattern for the middle section on the centre section of the corset and mark where the "V" will be sewn. Sew all the pieces together, remembering to sew the "V". This is where the tricky bit comes in, when you sew where the loops are, feel for where the cord is and sew slightly to one side. Before turning the whole corset the right way out, remember to clip into the "V"
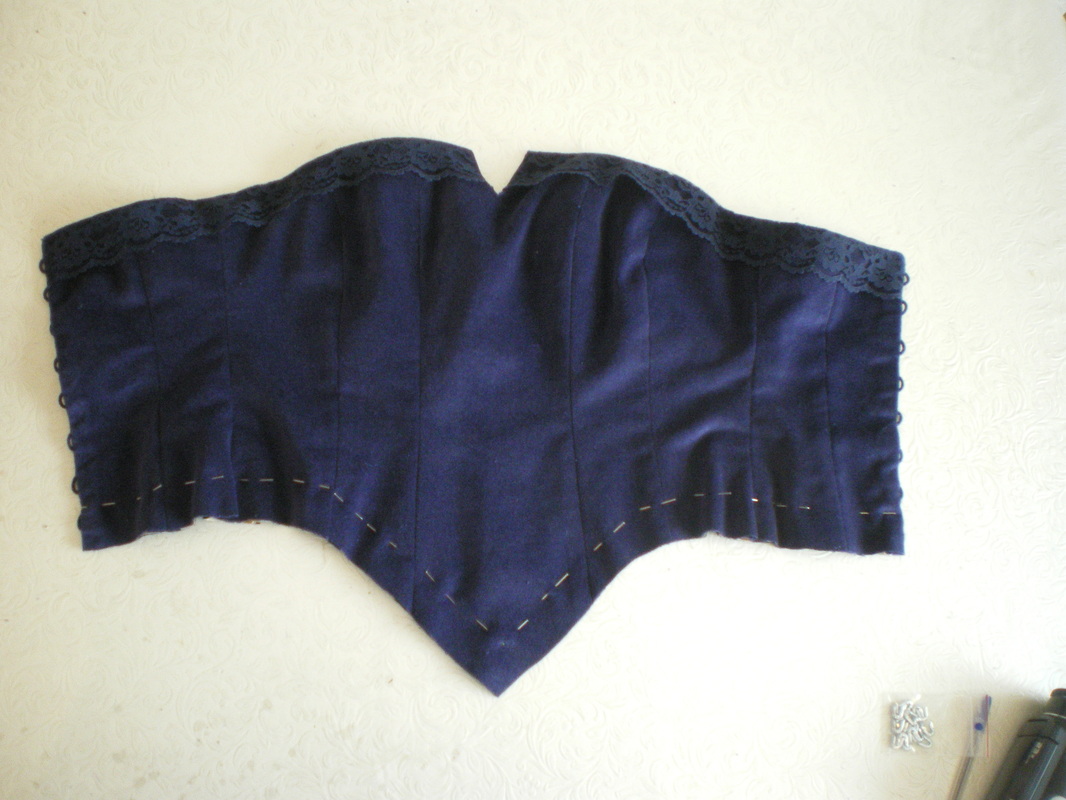
|
When turned the right way out, it should look like this, with just a small amount of loop showing. Now insert the boning, this needs to be 1.1/2cms shorter than the finished pocket. Next, mark with pins or tailors chalk, where the piping is going to be along the bottom and do a sewing line. Attached the piping, neaten the edge, turn under and hand stitich to finish.
|
For the piping, cut a strip of cotton velvet on the bias (diagonal) approximately 4cms wide and long enough to go around the bottom of the corset. All instructions for making the piping are on our video tutorial, as is the complete making of this costume.
|
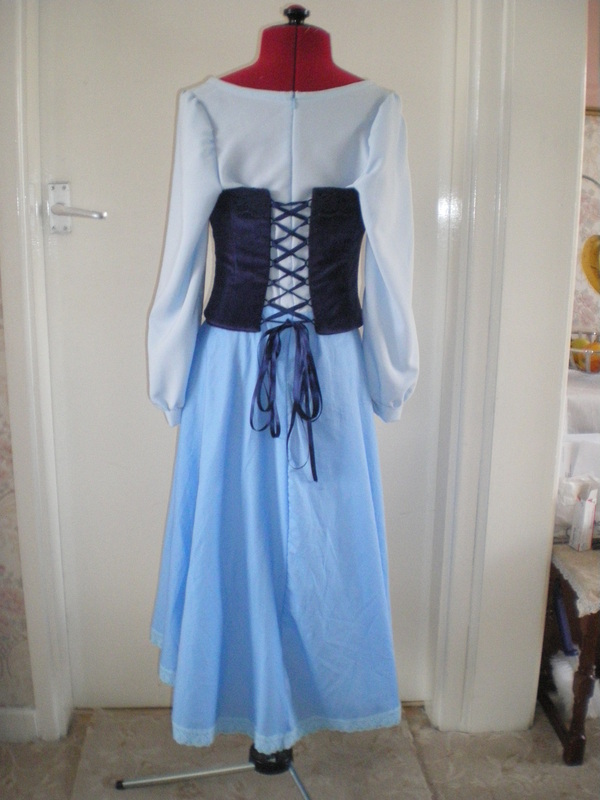
On the mannequin, I had threaded the ribbon from top to bottom, this should be laced from the bottom to the top, then any extra lace can be tucked into the corset after tieing a bow.
|
This completes the costume, please see our video tutorials for full instructions.
