Georgian Stays
Please use the written tutorial in conjunction with our video tutorial
For this costume, you will require experienced expertise in sewing, bodice making and boning
Difficulty factor 10 - 10
Please note, that we do not make costumes to order or to hire. These are one off costumes designed for Tracy.
Please use these instructions in conjunction with our videos, as they contain more information on items needed, their sources and technique
Difficulty factor 10 - 10
Please note, that we do not make costumes to order or to hire. These are one off costumes designed for Tracy.
Please use these instructions in conjunction with our videos, as they contain more information on items needed, their sources and technique
Materials:
1/2 metre Brocade fabric
1/2 metre canvass
Scraps of cotton fabric
3 metres approx of suitable trim
2 metres of 1mm cord
2 metres of 2mm cord
3 metres of bias binding
50 metre roll of Synthetic Whale Bone 5mm wide (www.venacadavadesign.co.uk)
Top stitch thread (Gutermann colour 111)
Awl
Trace Down Paper
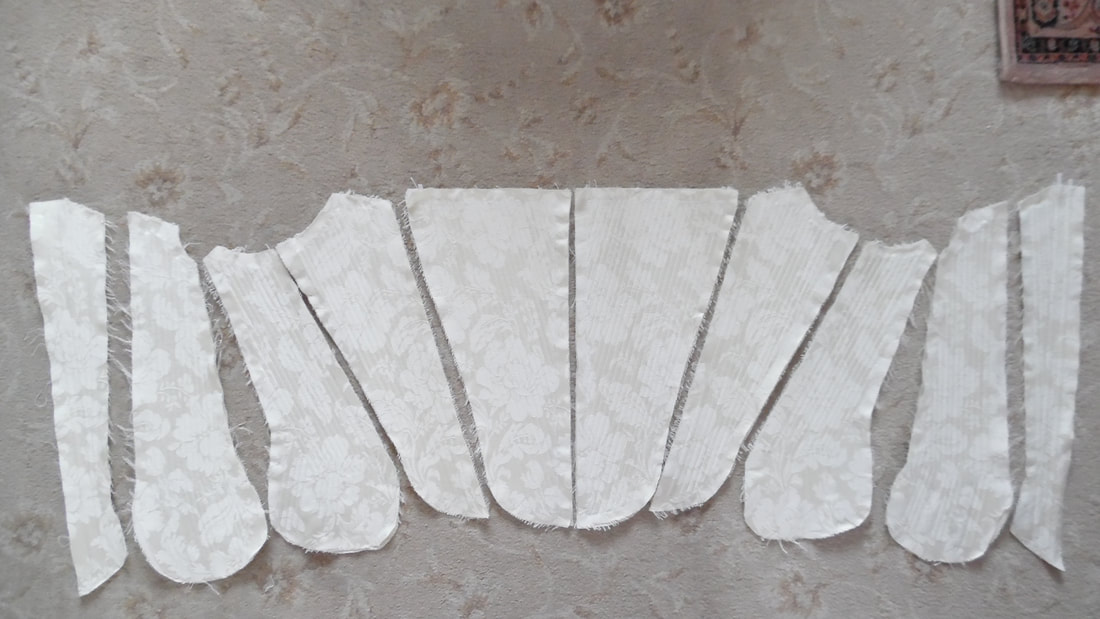
Using a combination of "Corsets and Crinolines" and "Period Costume" books, Tracy eventually came up with a set of patterns that fitted her body shape. Please see video for more information.
|
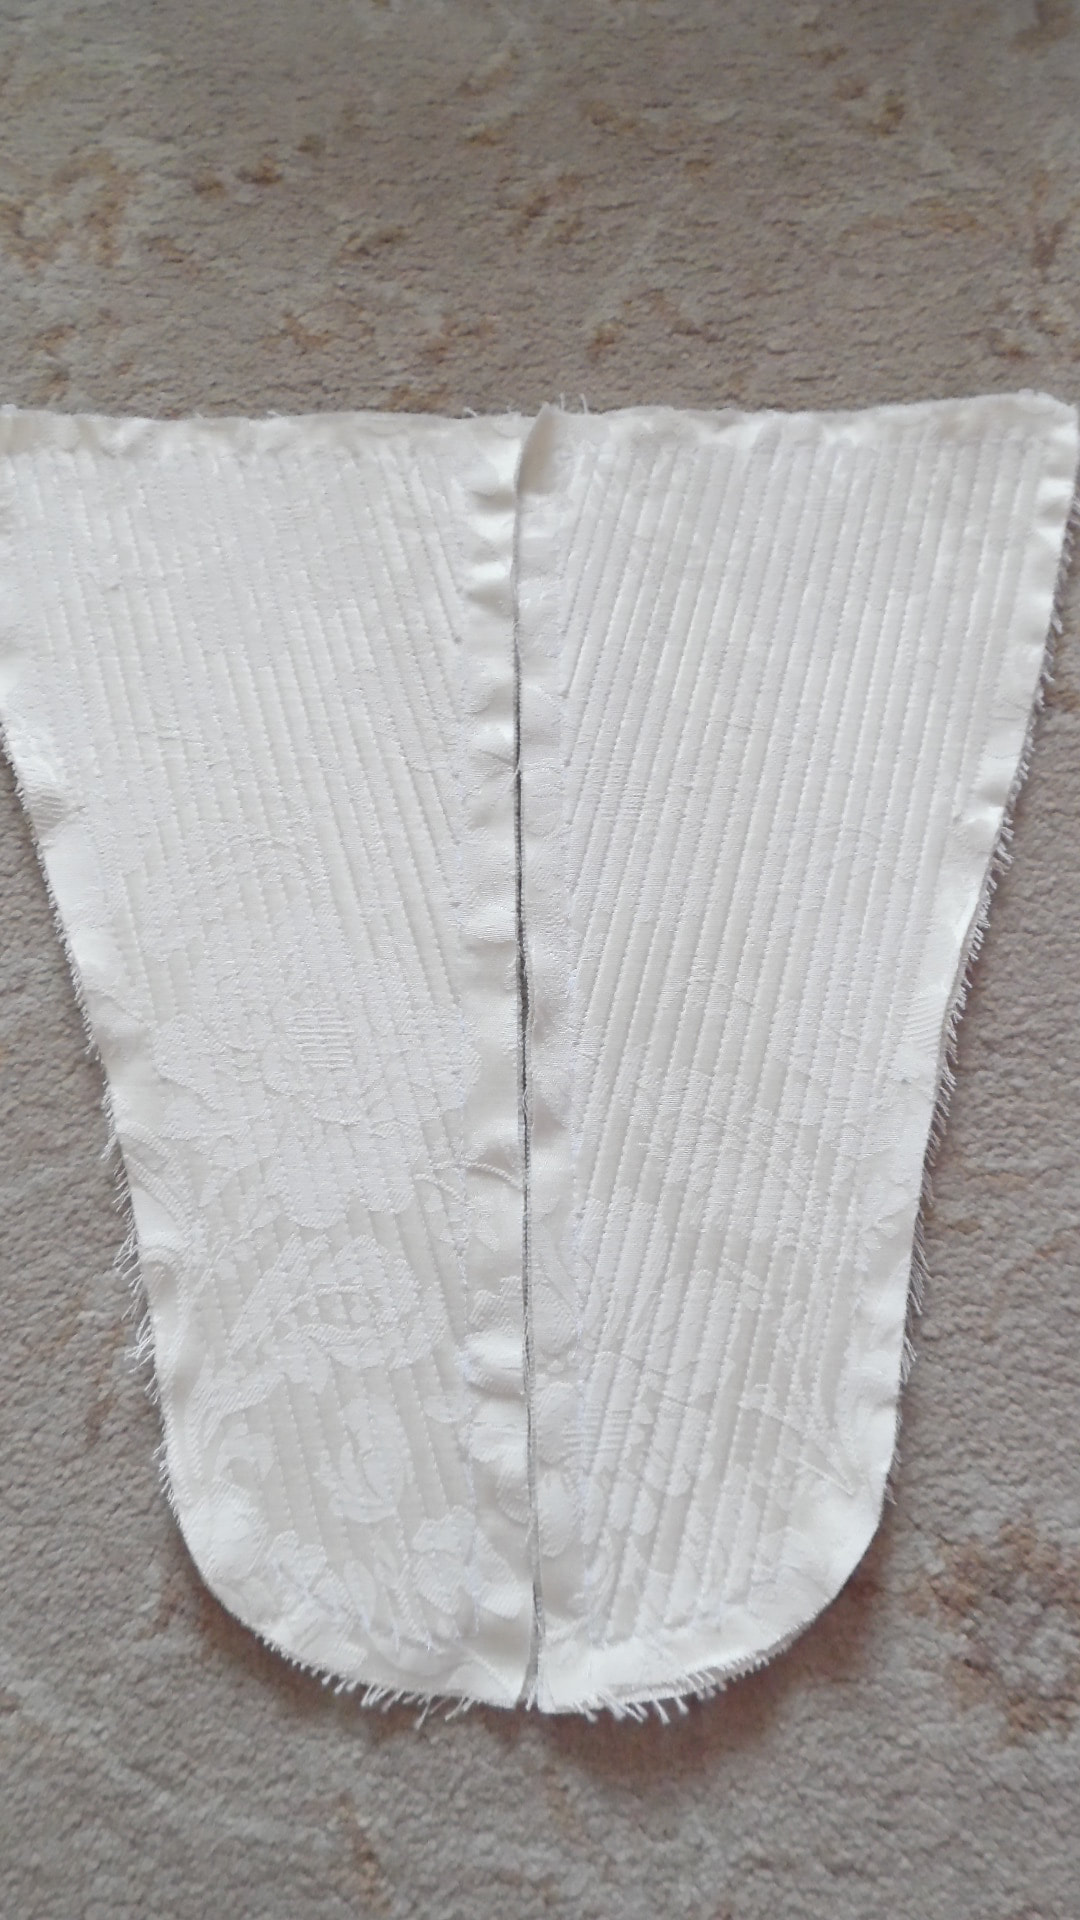
We started with the stomacher, the finished design was slightly altered at the end because it needed a better fit.
See video for construction |
|
|

|
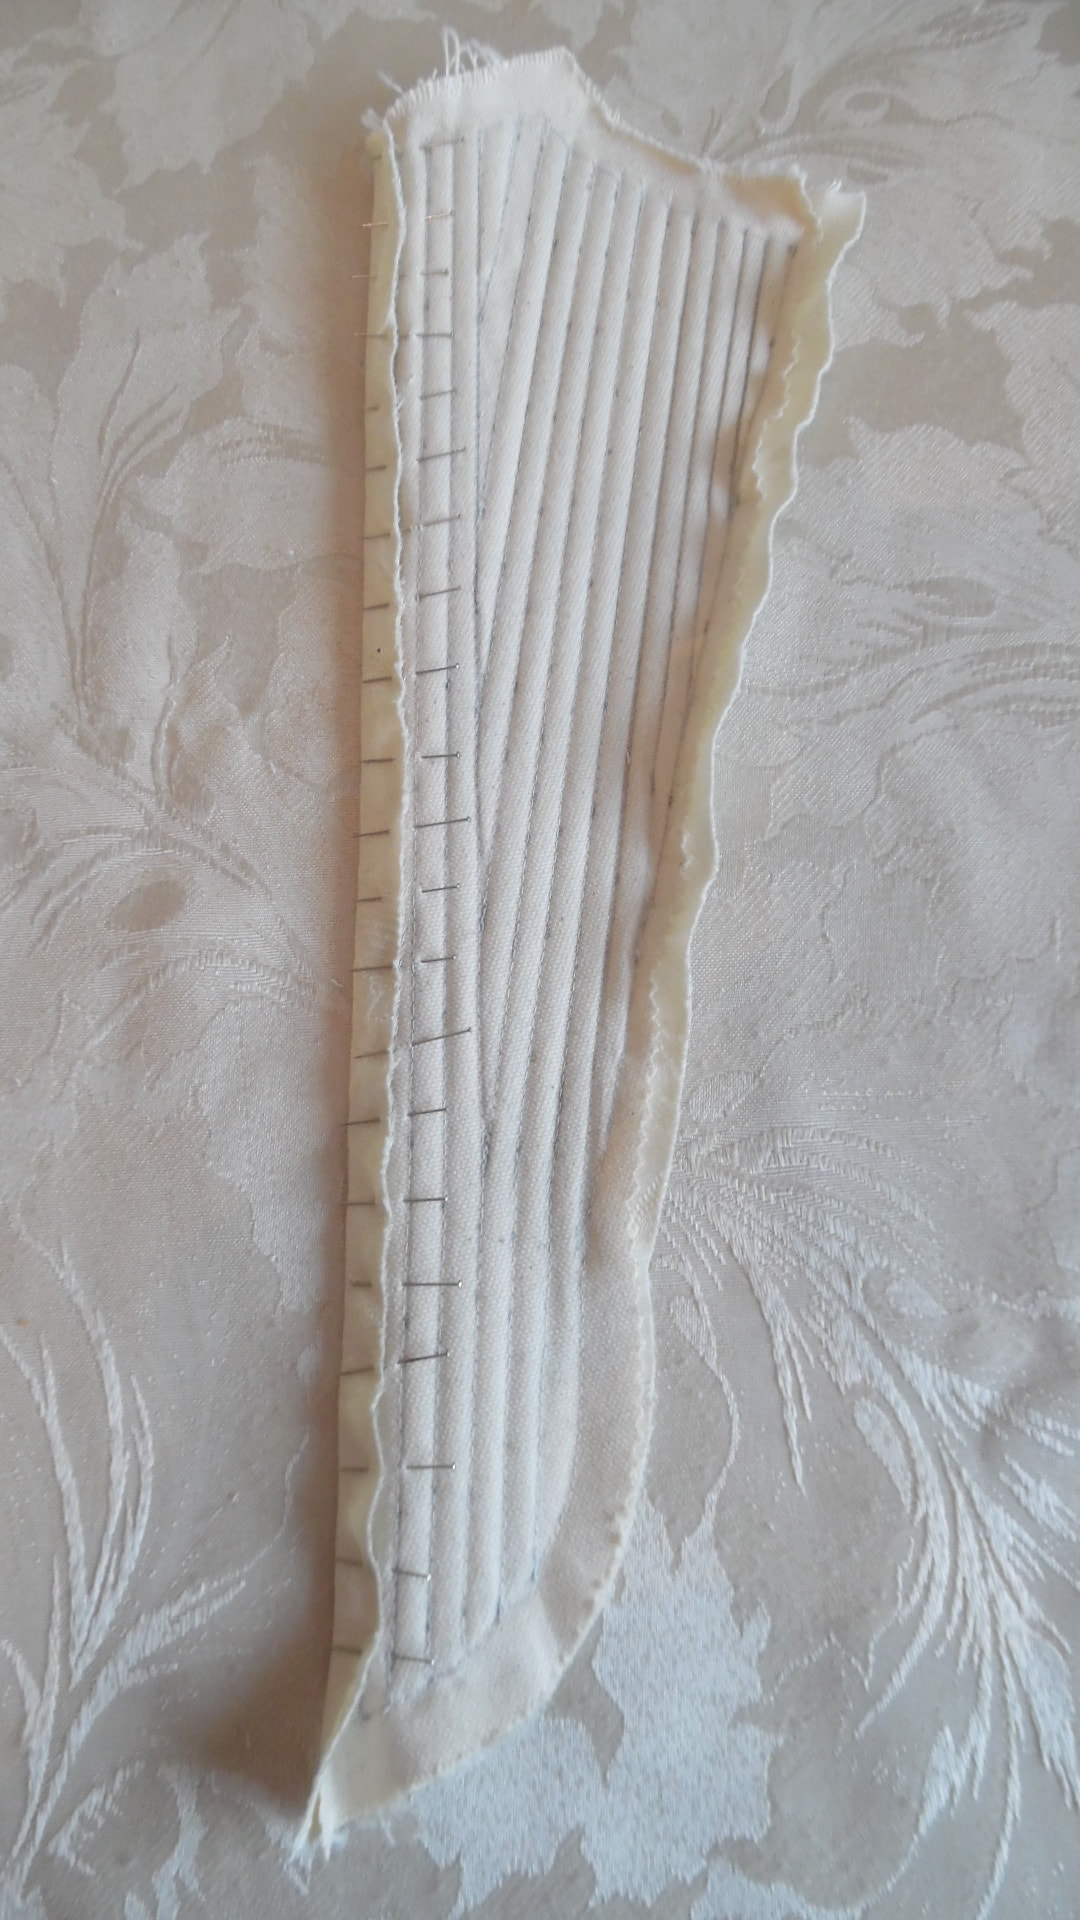
I mounted all the pieces of brocade and canvass by machine sewing all the way round for stability. After drawing all the boning channels on the back, I inserted the boning, you will notice that I didn't cut around the tassets, as it makes it easy to do the bias binding and doesn't cause any fraying.
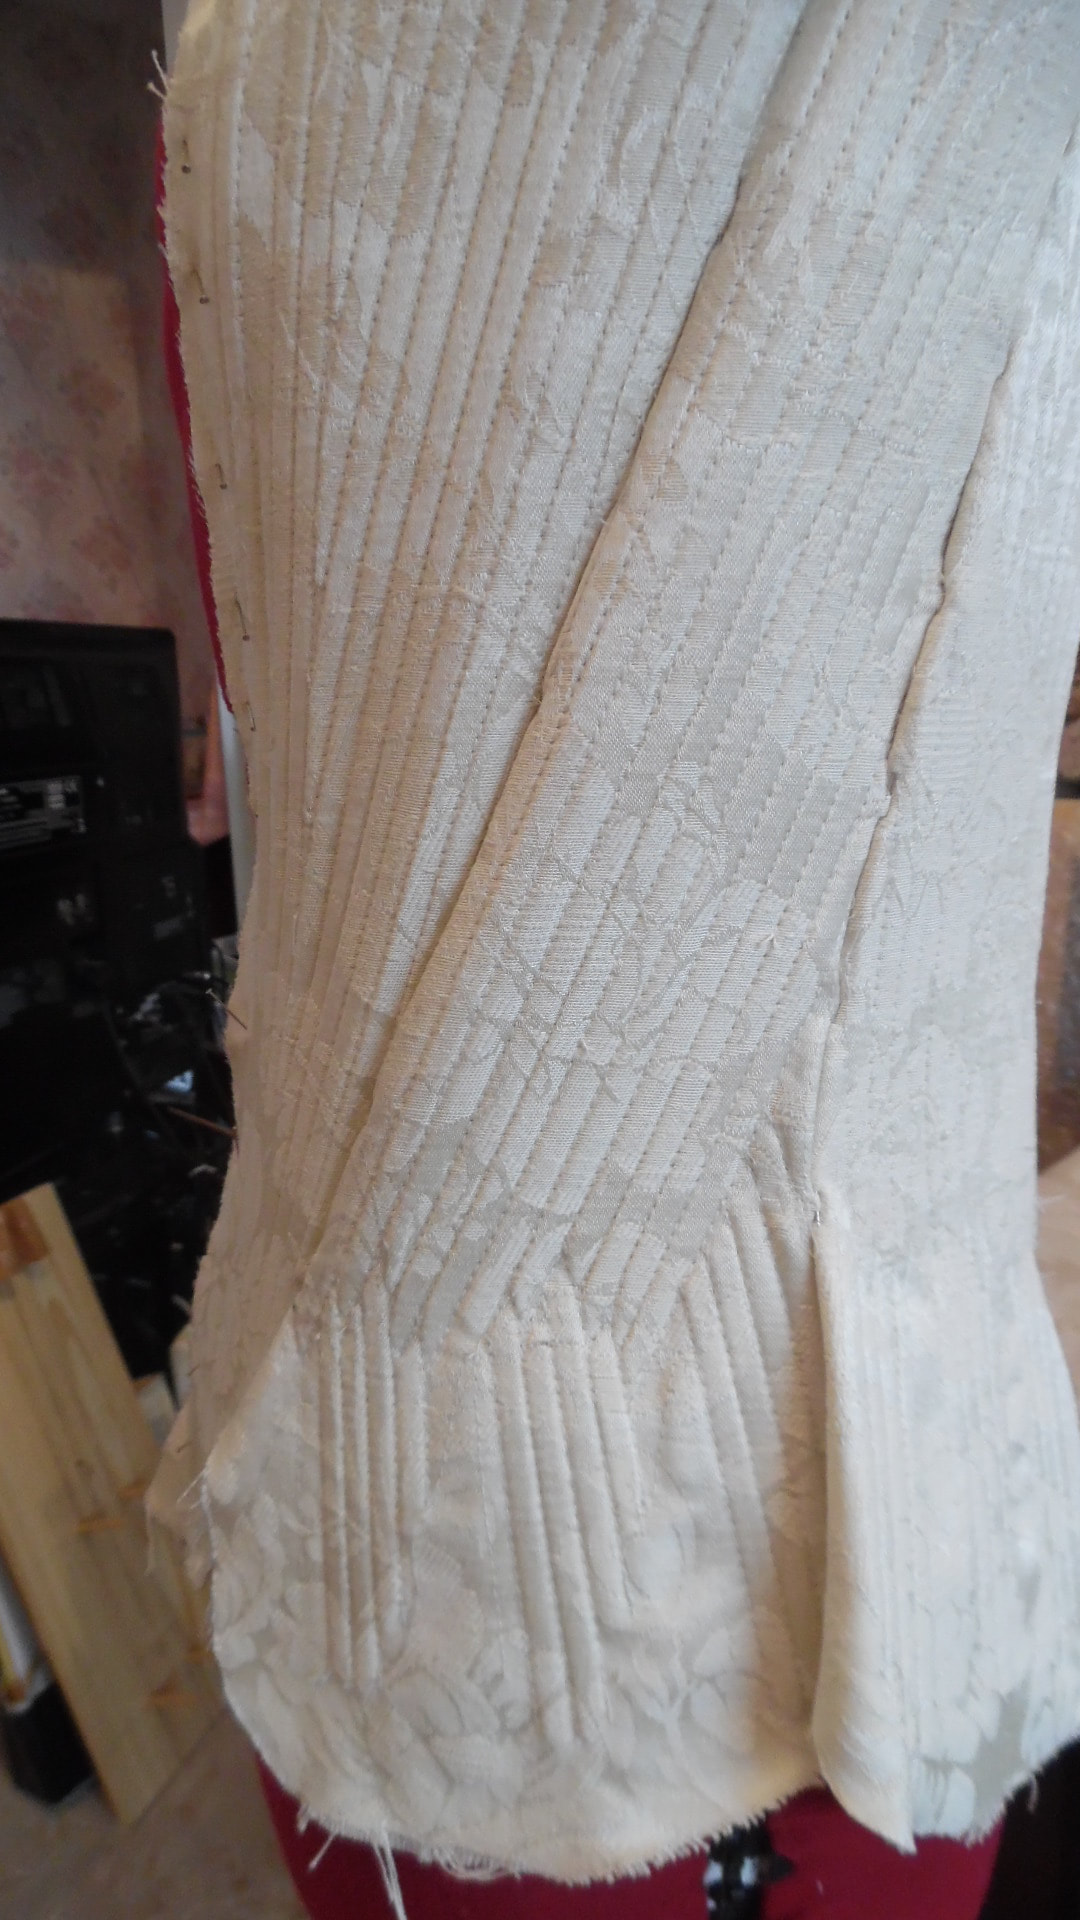
This shows what the finished boning will look like.
|
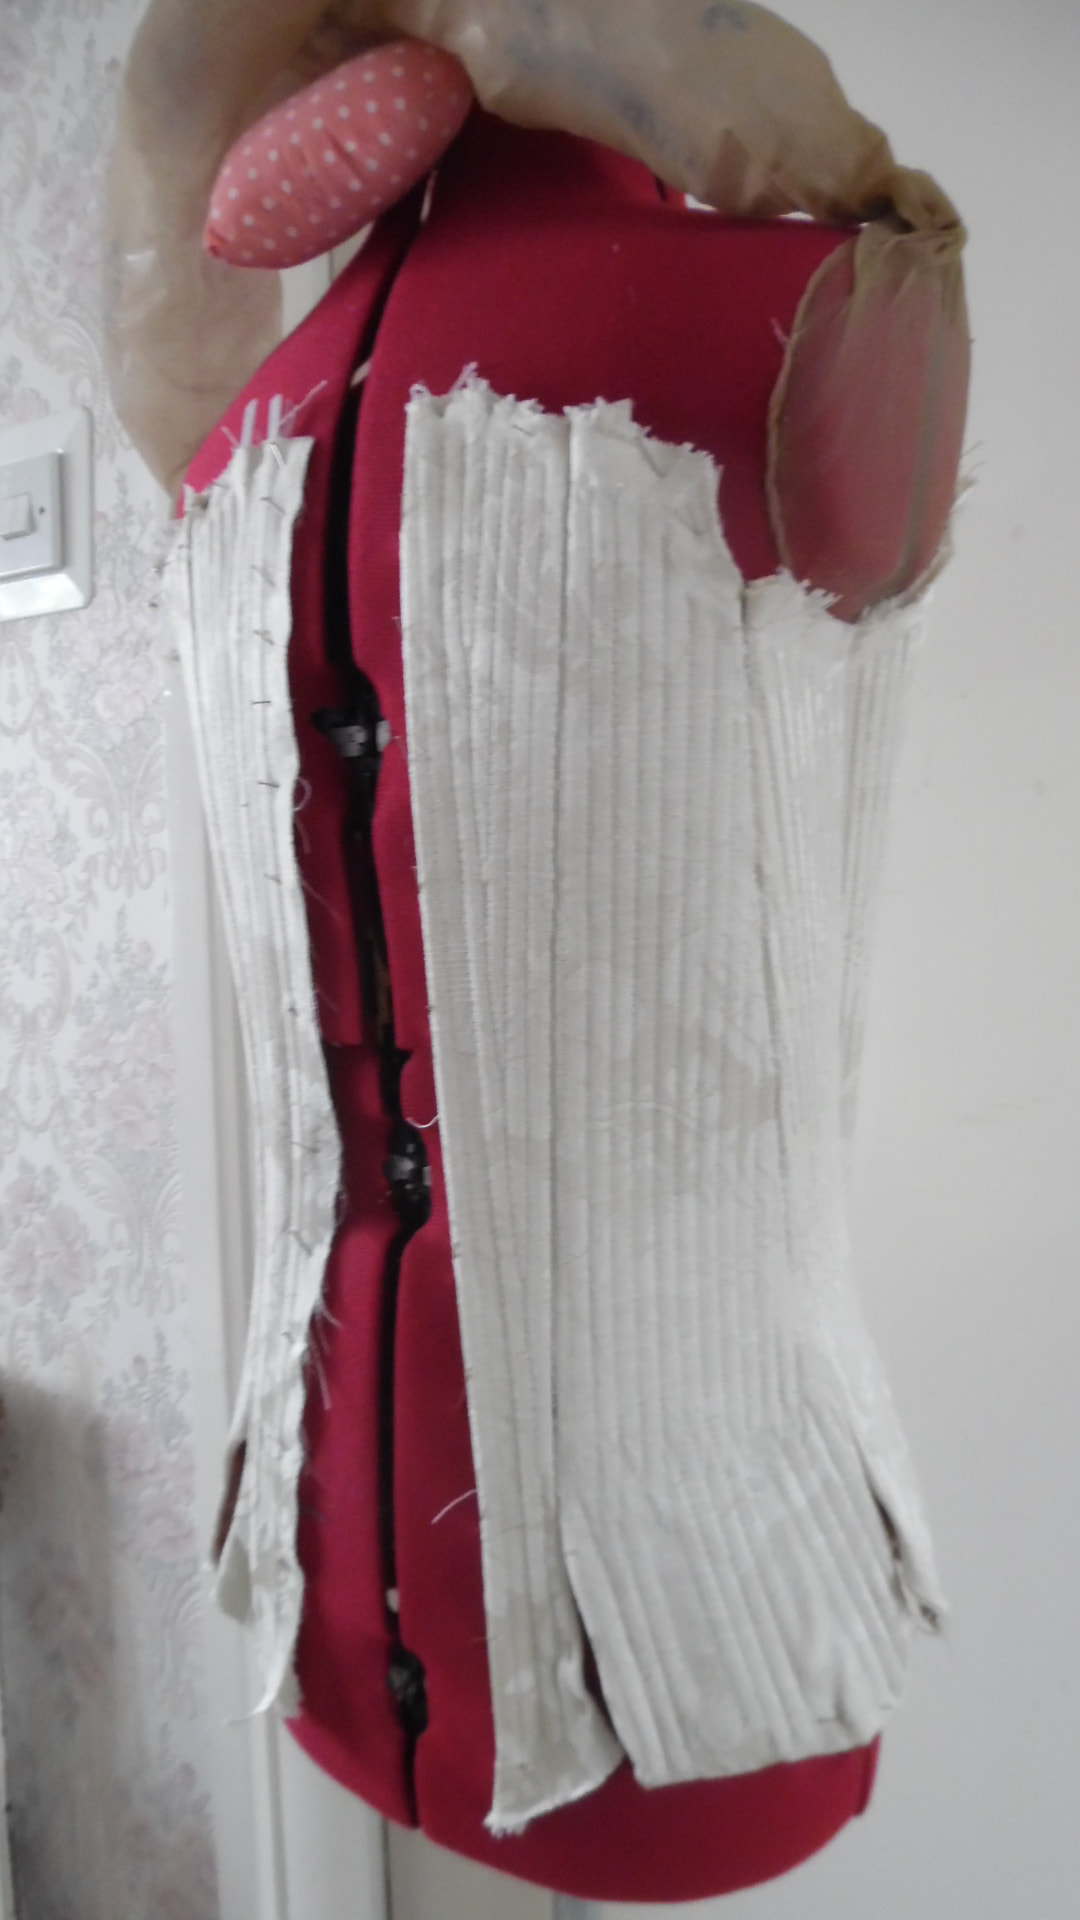
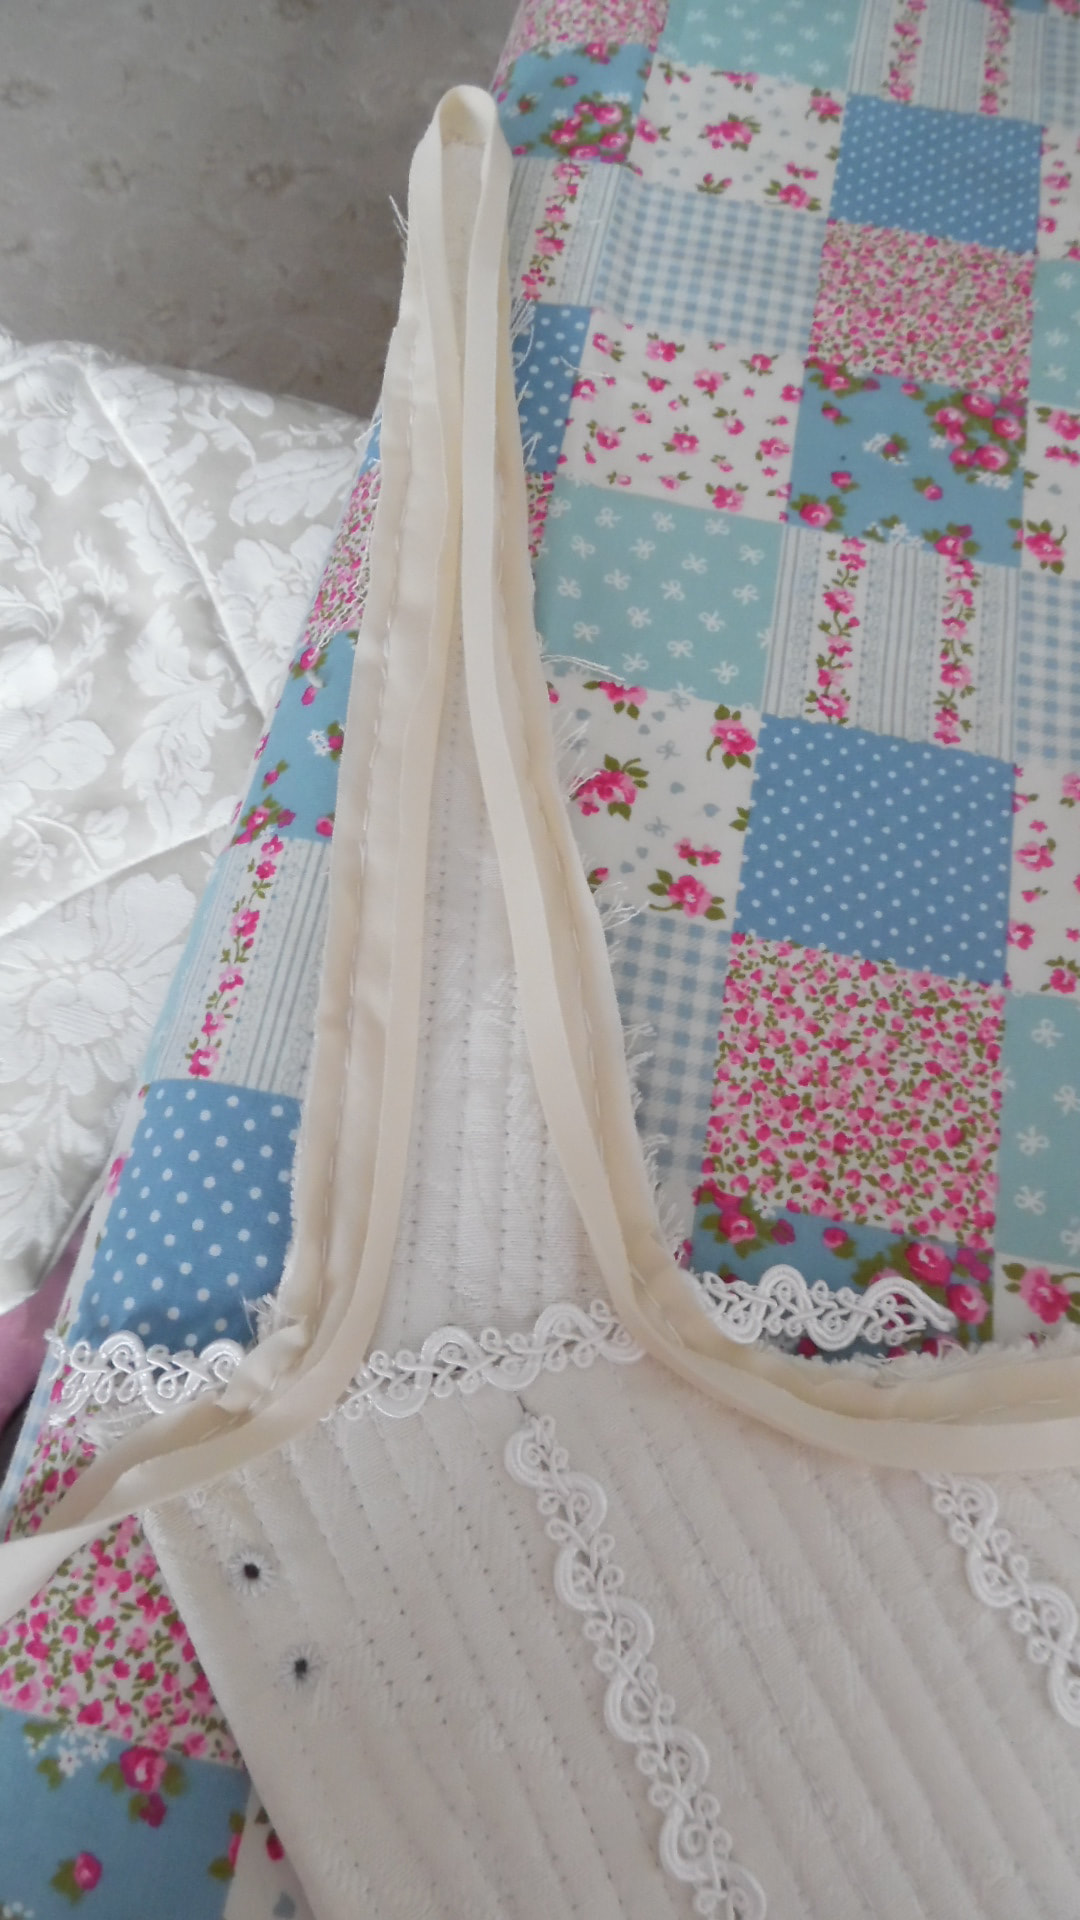
When all the pieces have been boned, the fabric is turned at the edges and whip stitched.
|
A good tip is to use pins - frequently to keep everything flat, only the sides need to be done. Cut back the canvass fabric before turning.
|
Using a "Mantua" stitch, sew all the pieces together. DO NOT SEW FROM TOP TO BOTTOM, LEAVE THE TOP TURNING HEM OF 1.5CM UNSEWN.
|
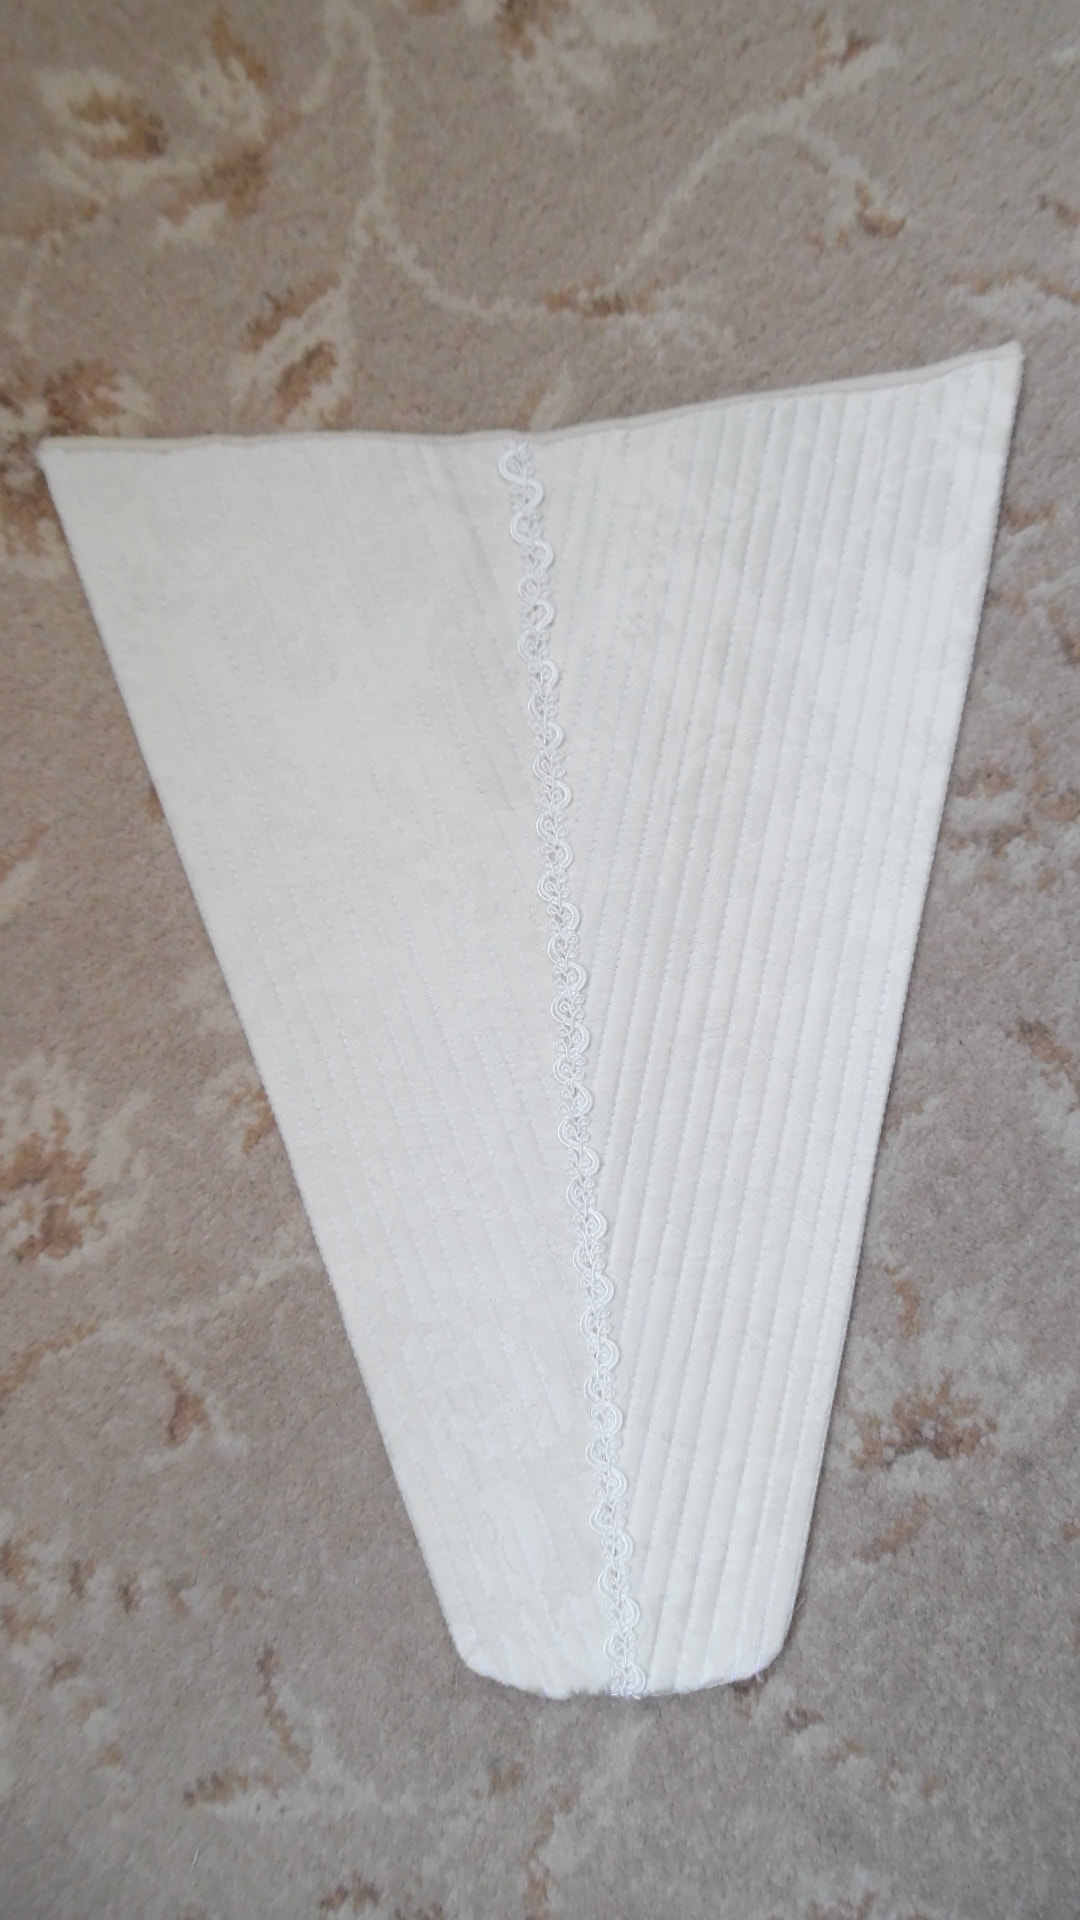
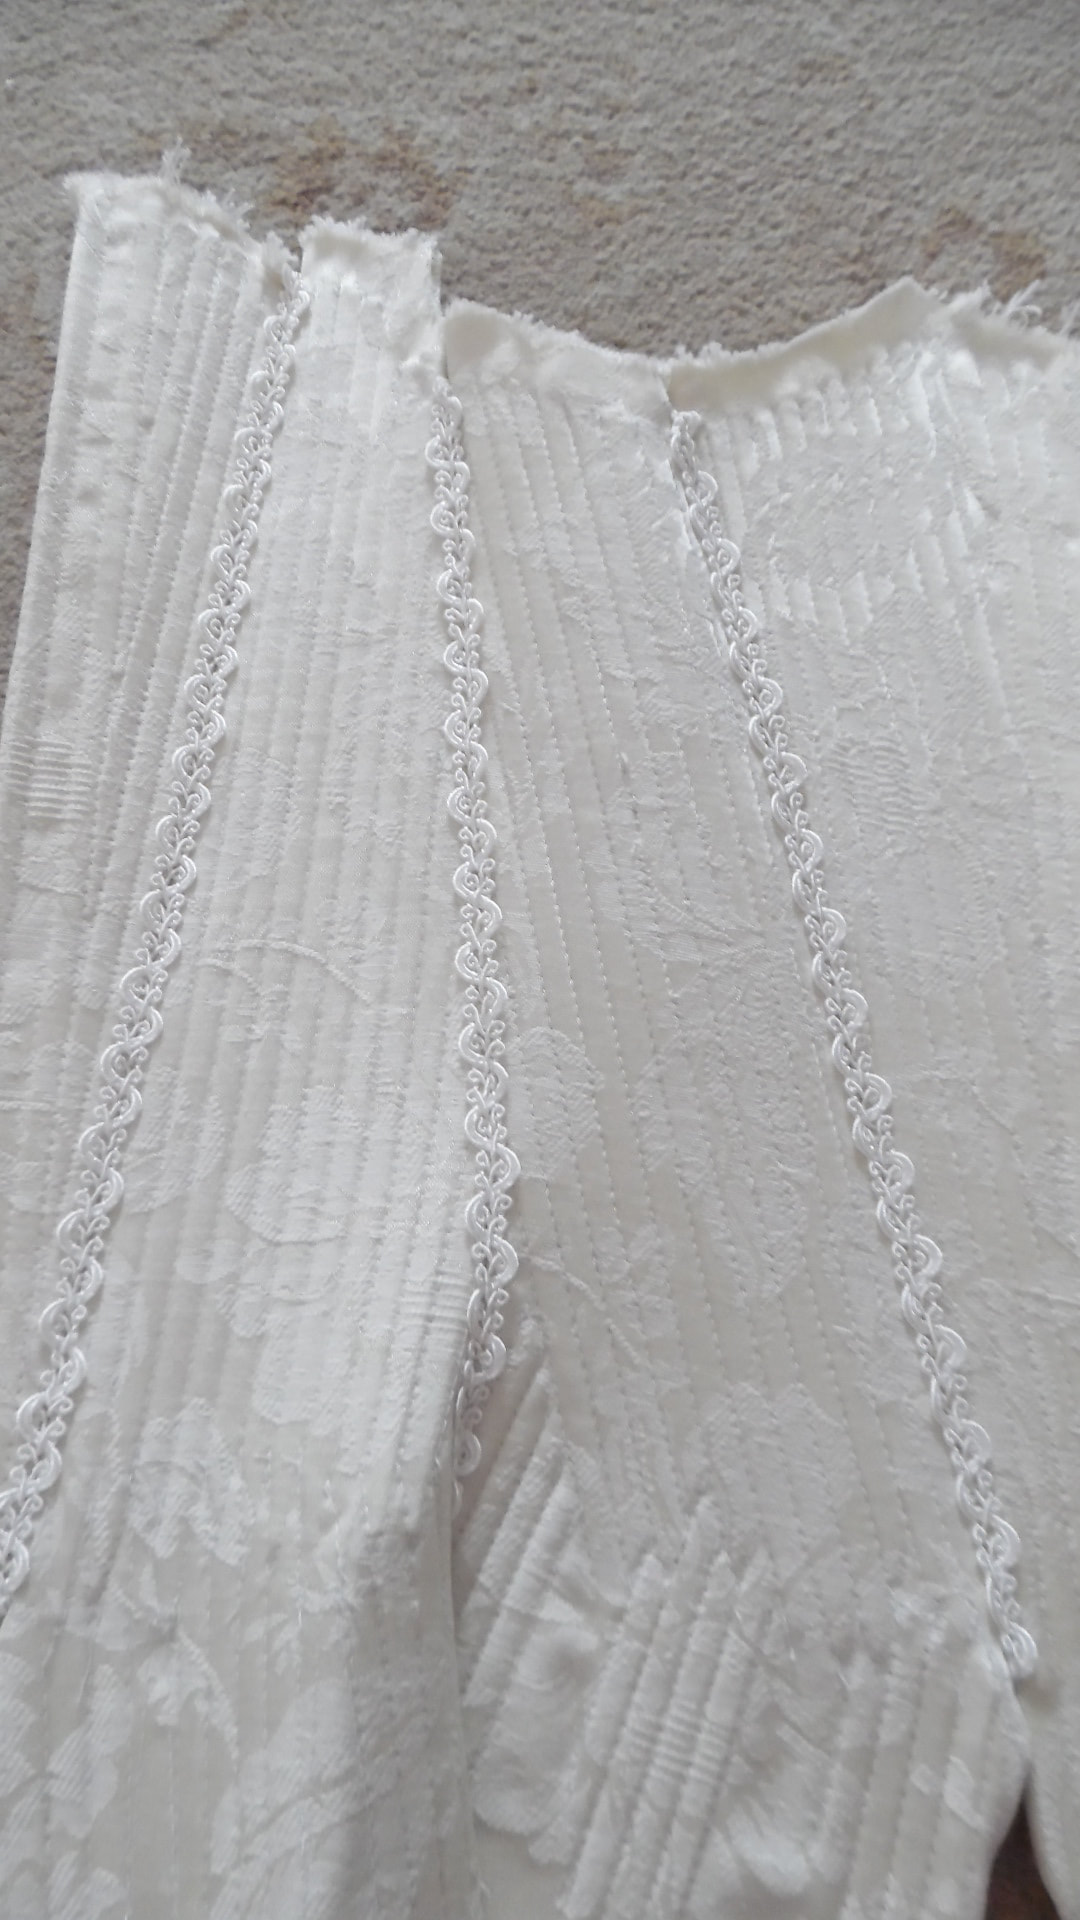
See video on how to sew the pieces together. Using a decorative trim, sew it down the seams.
|
|
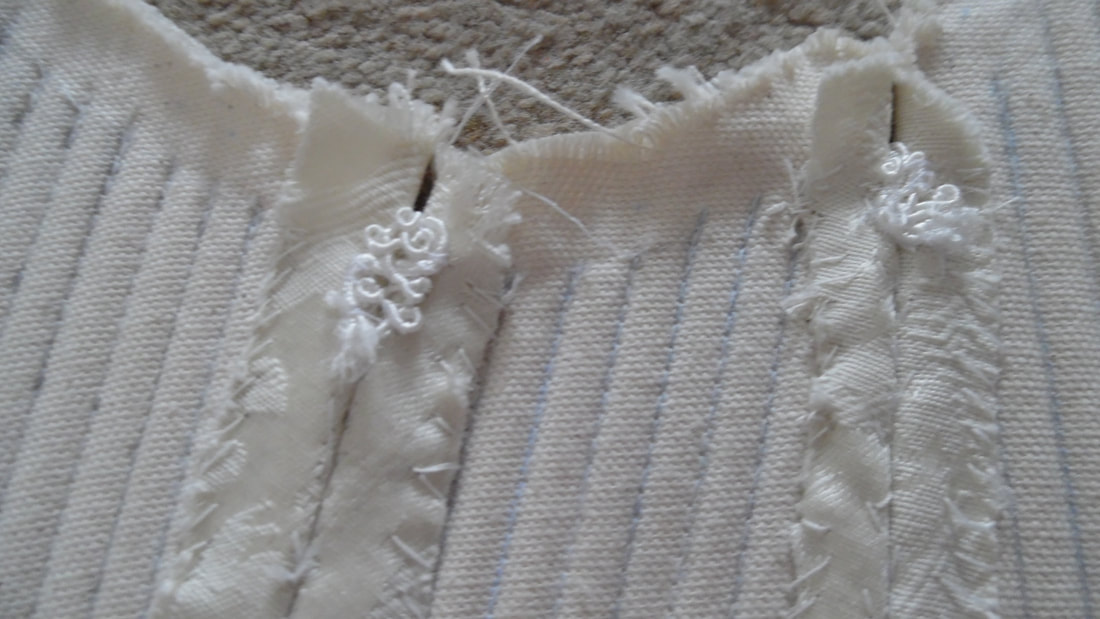
Allow 2-3cms at the end of each trim to pull it to the back and sew the trim down.
|
|
Sew the eyelets. Full instructions on the video
|
|
Having watched several videos on youtube, Tracy decided on this method. If you want to do this in a different manner, the choice is yours.
|

|
Construct the shoulder straps, sew onto the stays using the same Mantua seam, then sew on a strip of trim. Do not cut off the excess just yet.

|

|
Sew on the bias, going over the trim and all the way up the strap, continuing to the front of the Stay. Use the same method as the Tassets. At this stage you can cut off the excess trim before turning your bias to the back.
Cut out liner pieces to match, turn over the edges and hand sew in place |
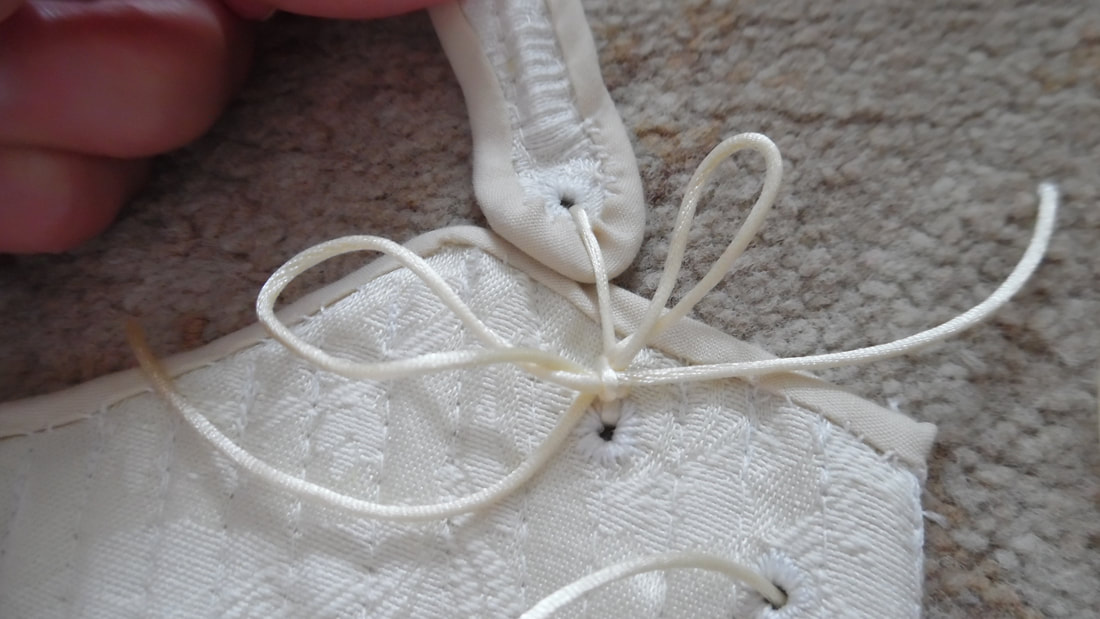
Create an eyelet in the Stay and one at the end of the shoulder strap, you can use cord or a ribbon.
|
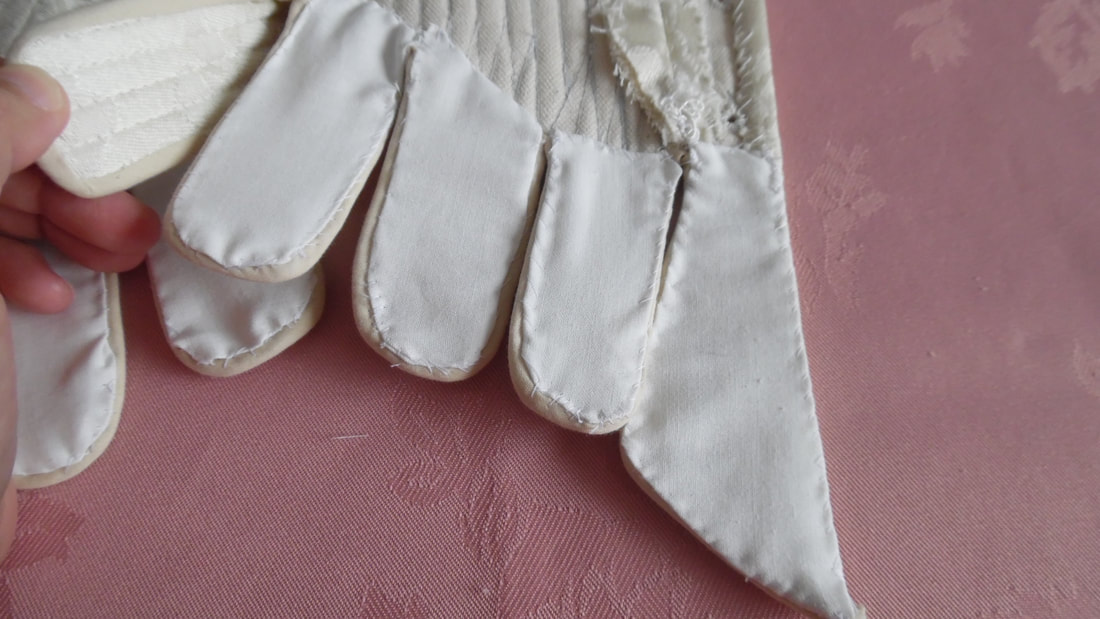
Cut out the tasset liner pieces, turn an edge and hand sew.
|
|
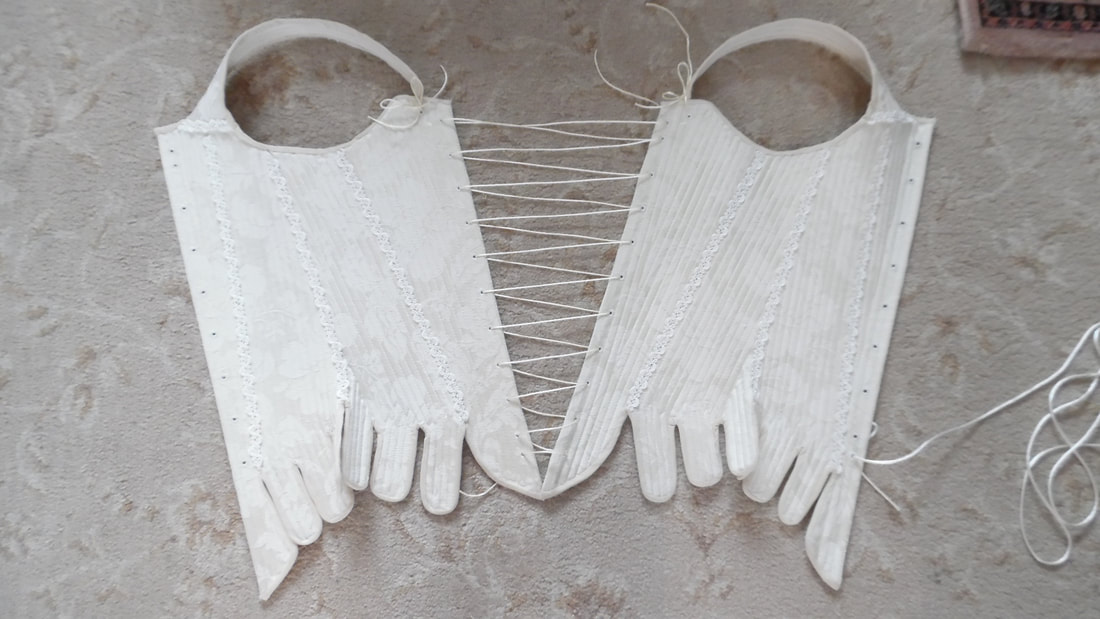
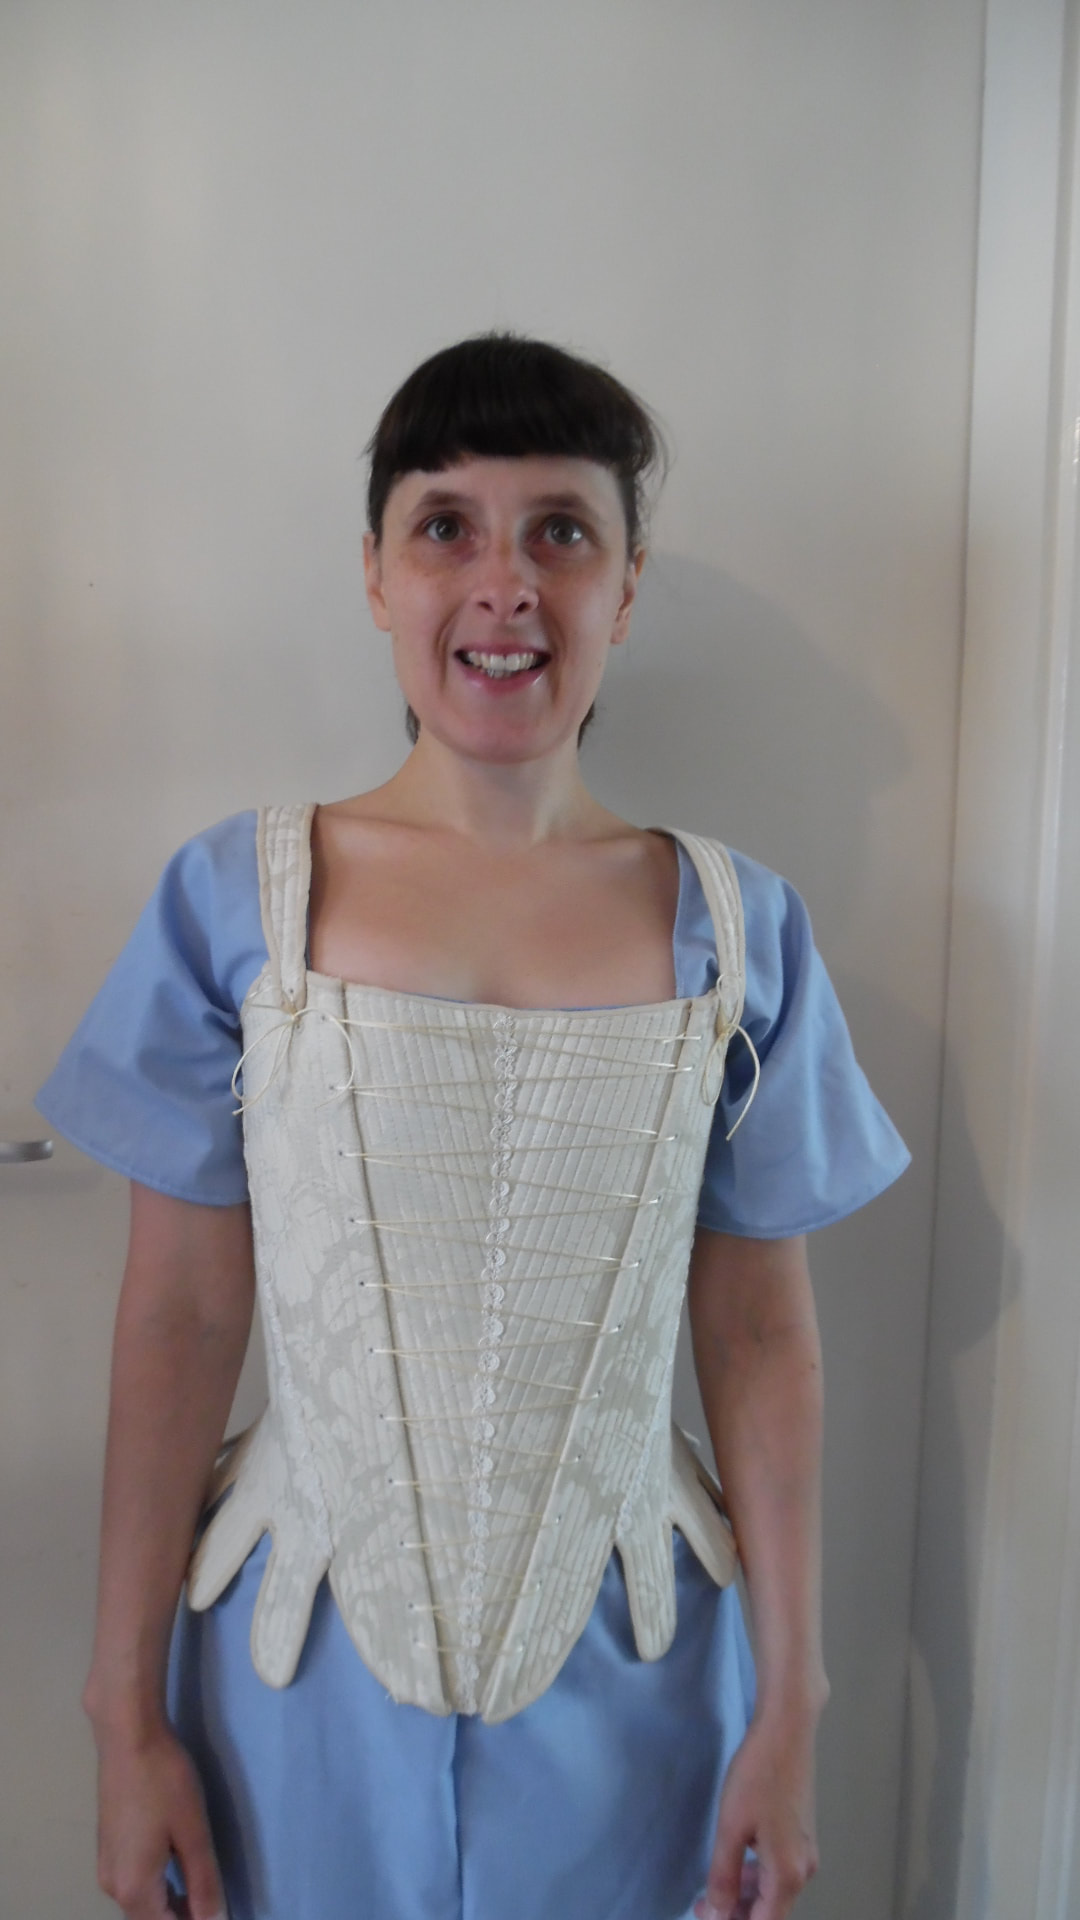
Using the 1mm cord, lace up the front. (You could if you wanted, make this any type of cord you like, you could even use ribbon). Some people prefer to get in and out of their Stays by lacing up the front. Tracy has decided to make the front lacing a "Fixed" cord and lace up at the back.
|

|
|
This completes the stays.
