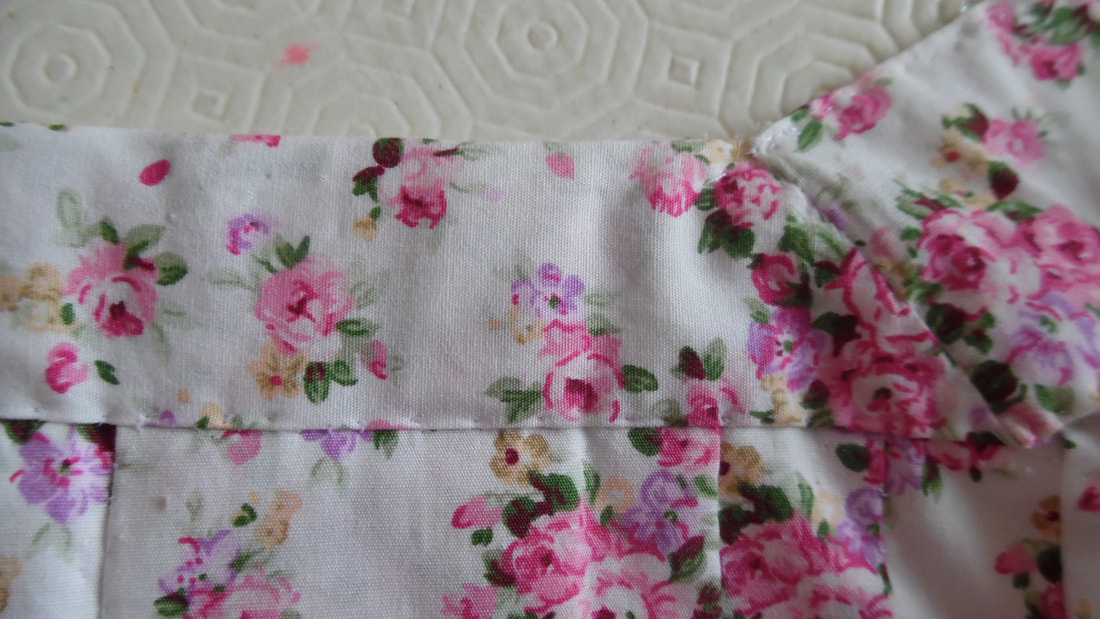
Back Pleat
and
Front Skirt
and
Front Skirt
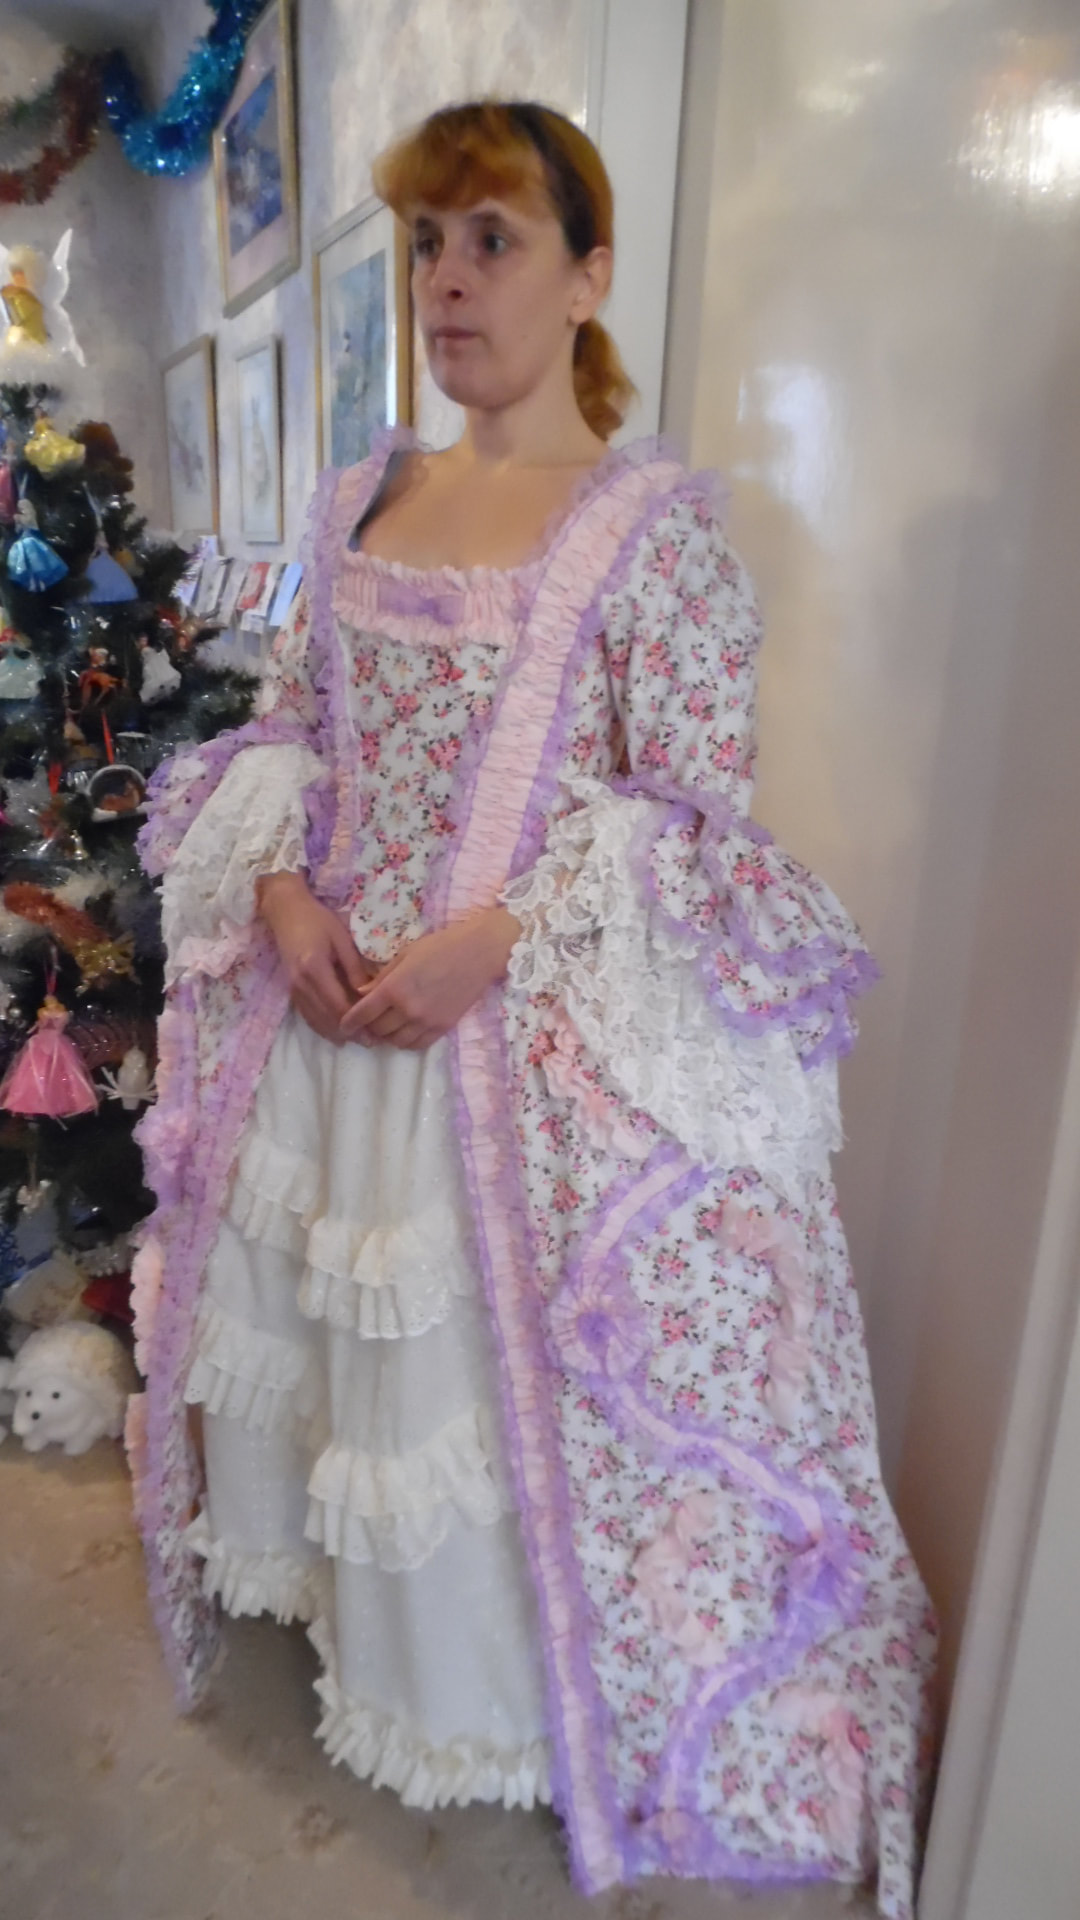
For this costume, you will require intermediate to experienced expertise in sewing
Difficulty factor 10 - 10
Please note, that we do not make costumes to order or to hire. These are one off costumes designed for Tracy.
Please use these instructions in conjunction with our videos, as they contain more information on items needed, their sources and technique
Difficulty factor 10 - 10
Please note, that we do not make costumes to order or to hire. These are one off costumes designed for Tracy.
Please use these instructions in conjunction with our videos, as they contain more information on items needed, their sources and technique
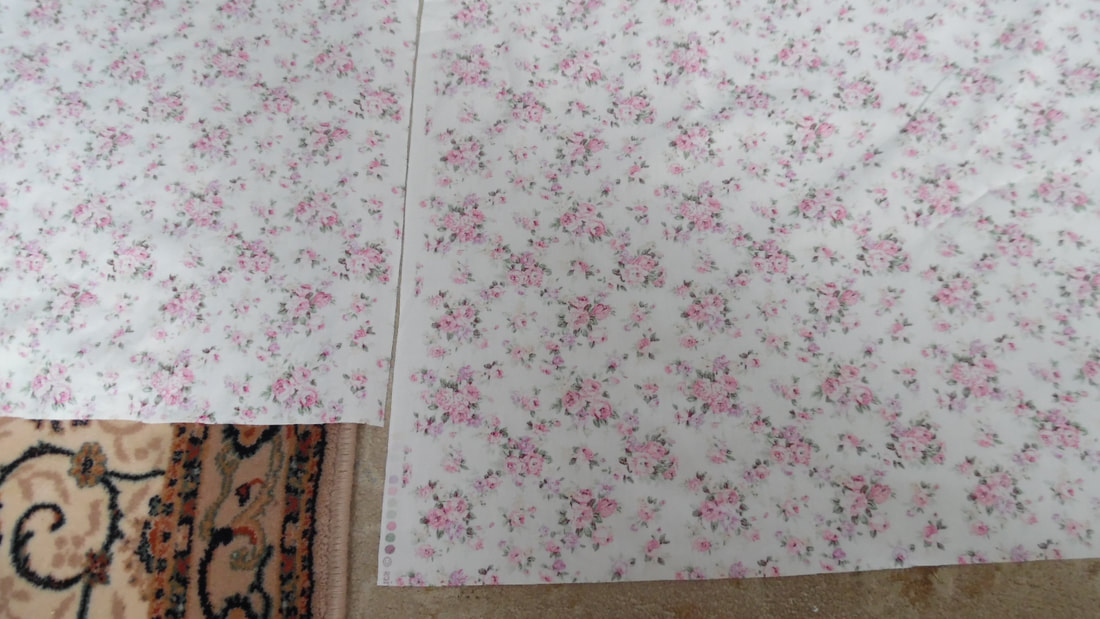
Fabric bought from FabricFreya (Etsy)
https://www.etsy.com/uk/transaction/1460328859
Materials:
3 Metres of fabric 44" wide for the back (112cm) (substitute for your measurements)
120cms of fabric for the skirt front
30cms for the sleeves
Total fabric 5 metres
1 Metre pink cotton fabric for trim
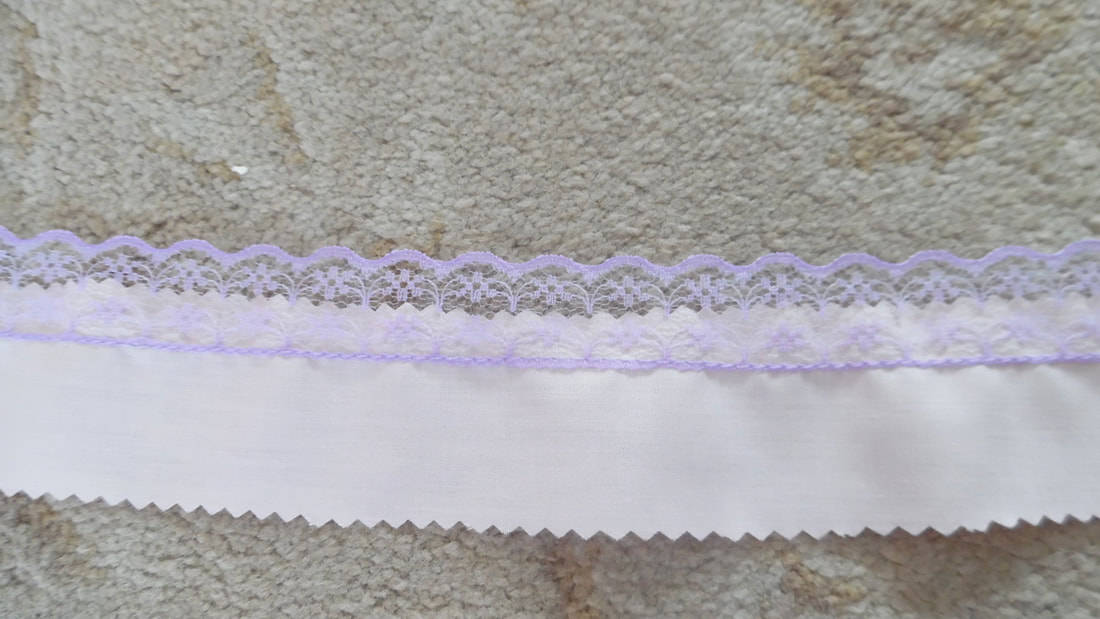
10 metres lace ribbon trim
https://www.etsy.com/uk/transaction/1460328859
Materials:
3 Metres of fabric 44" wide for the back (112cm) (substitute for your measurements)
120cms of fabric for the skirt front
30cms for the sleeves
Total fabric 5 metres
1 Metre pink cotton fabric for trim
10 metres lace ribbon trim
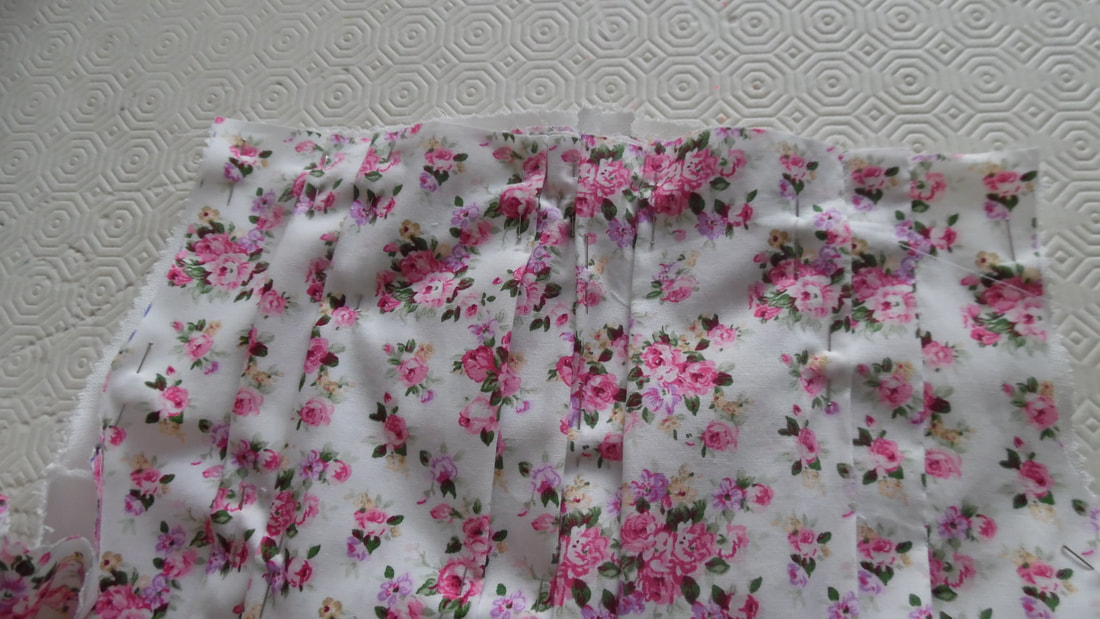
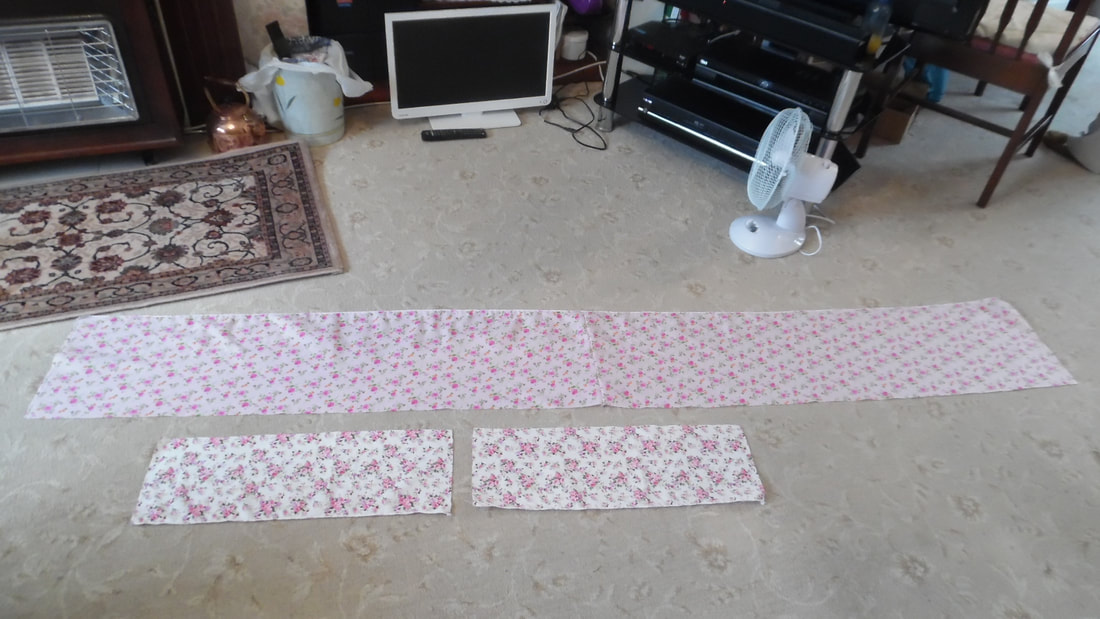
Follow the measuring instructions for the length of the "Train".
|
If you're making it traditionally Georgian, then you would need 4 lengths of fabric at 20" wide to make the back pleat. You can if you want use 44" wide as we are, you can still put in a false seam if you want, to make it look like you have used 4 lengths of material.
We have decided to just make 2 lengths of fabric 44" wide You have to consider the pattern on the fabric, especially if you need to line it up to match. There is a definite flower pattern on our fabric, so before cutting a second piece, it needs to be matched, cut off this excess first, then you can cut it to your length. Sew up the back seam and press it open. |
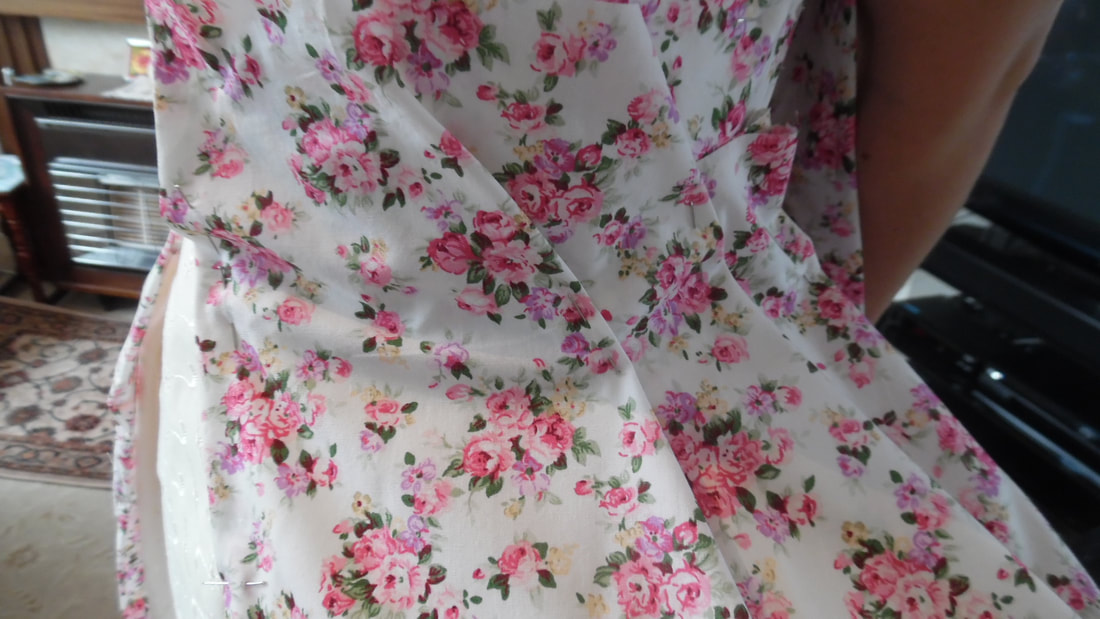
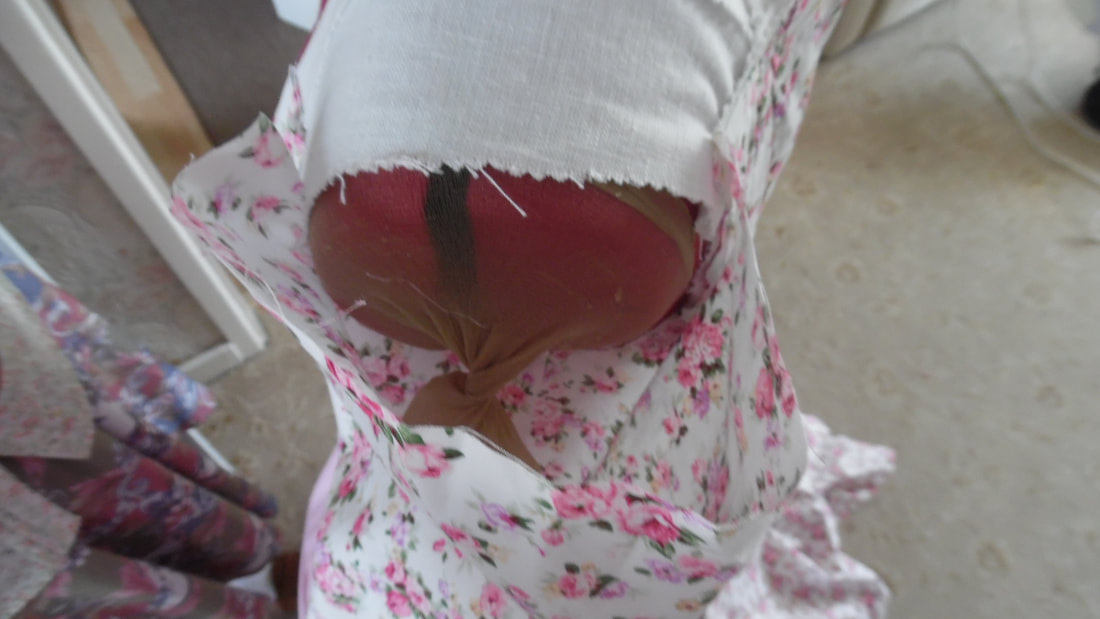
Now to pleat. I hope that the picture explains it, but if not, its on the video. Where I have put a question mark, is where you decide how wide you want the pleat to be.
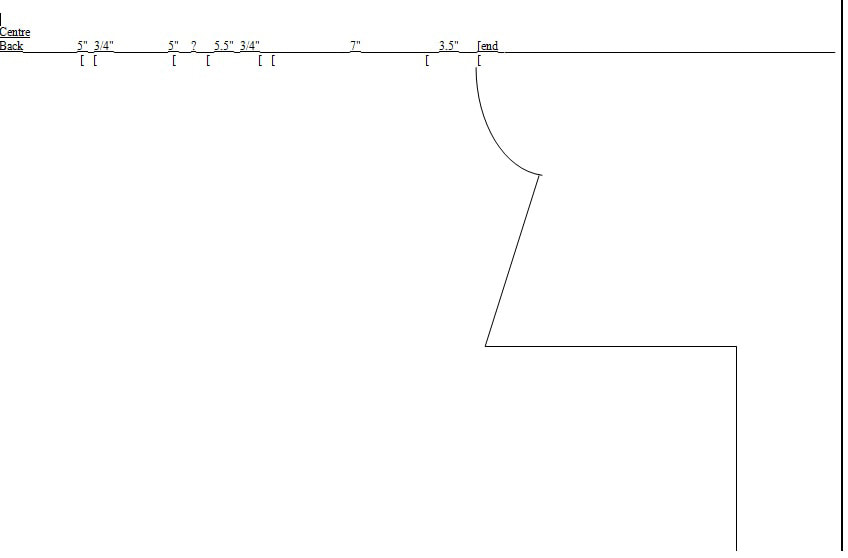
This shows the "hidden pleat", being pushed under the last pleat out of sight.
|
|
|
Place the bodice pattern at your finished width and cut as per the video instructions.
|
|
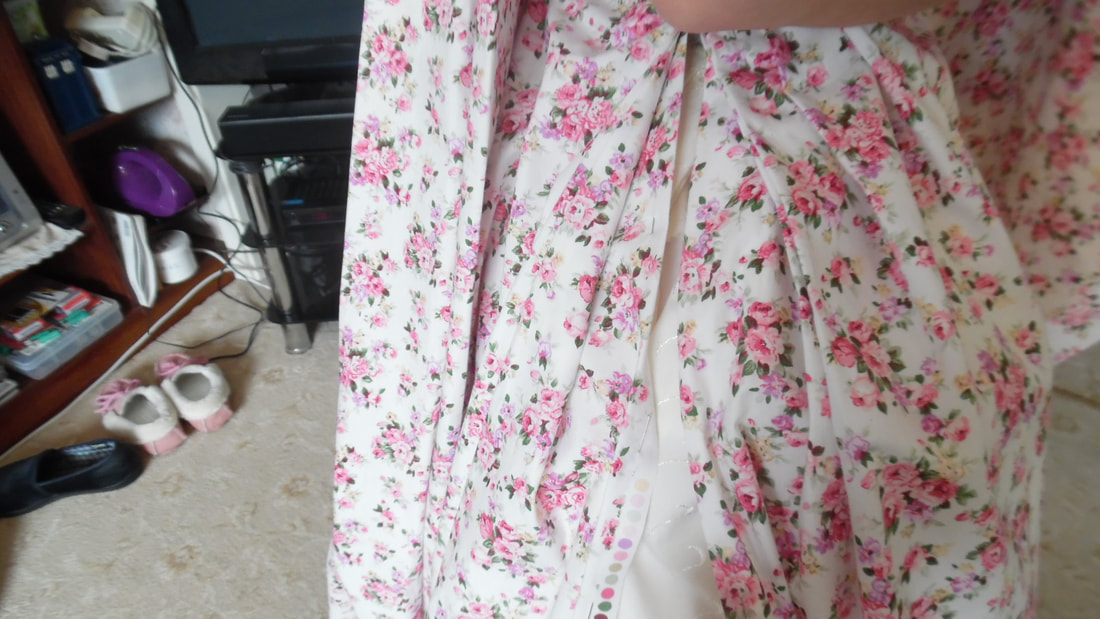
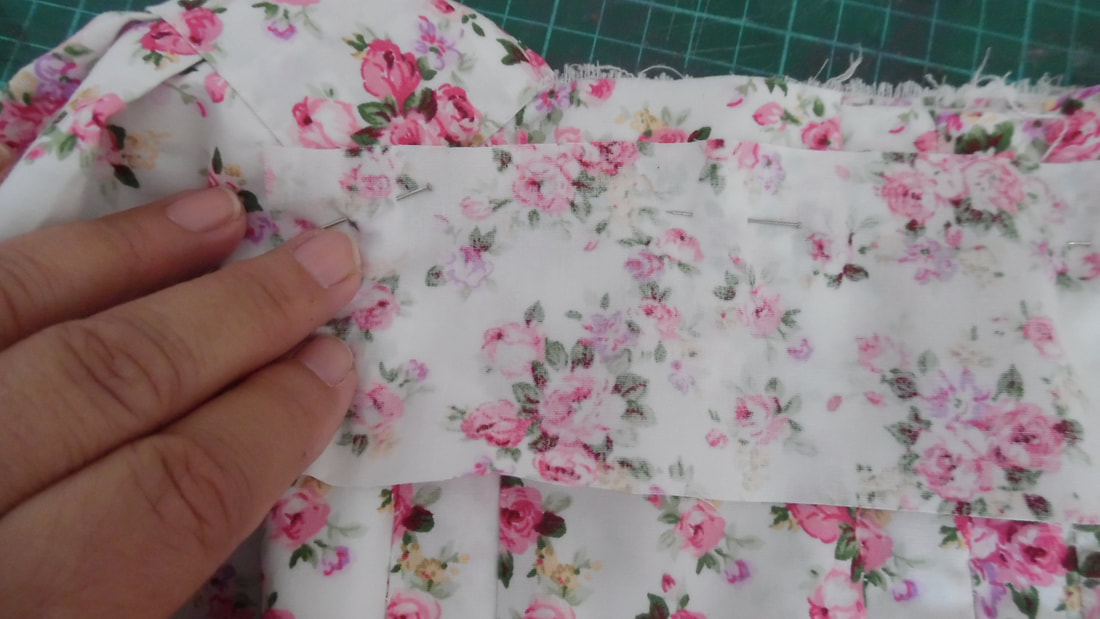
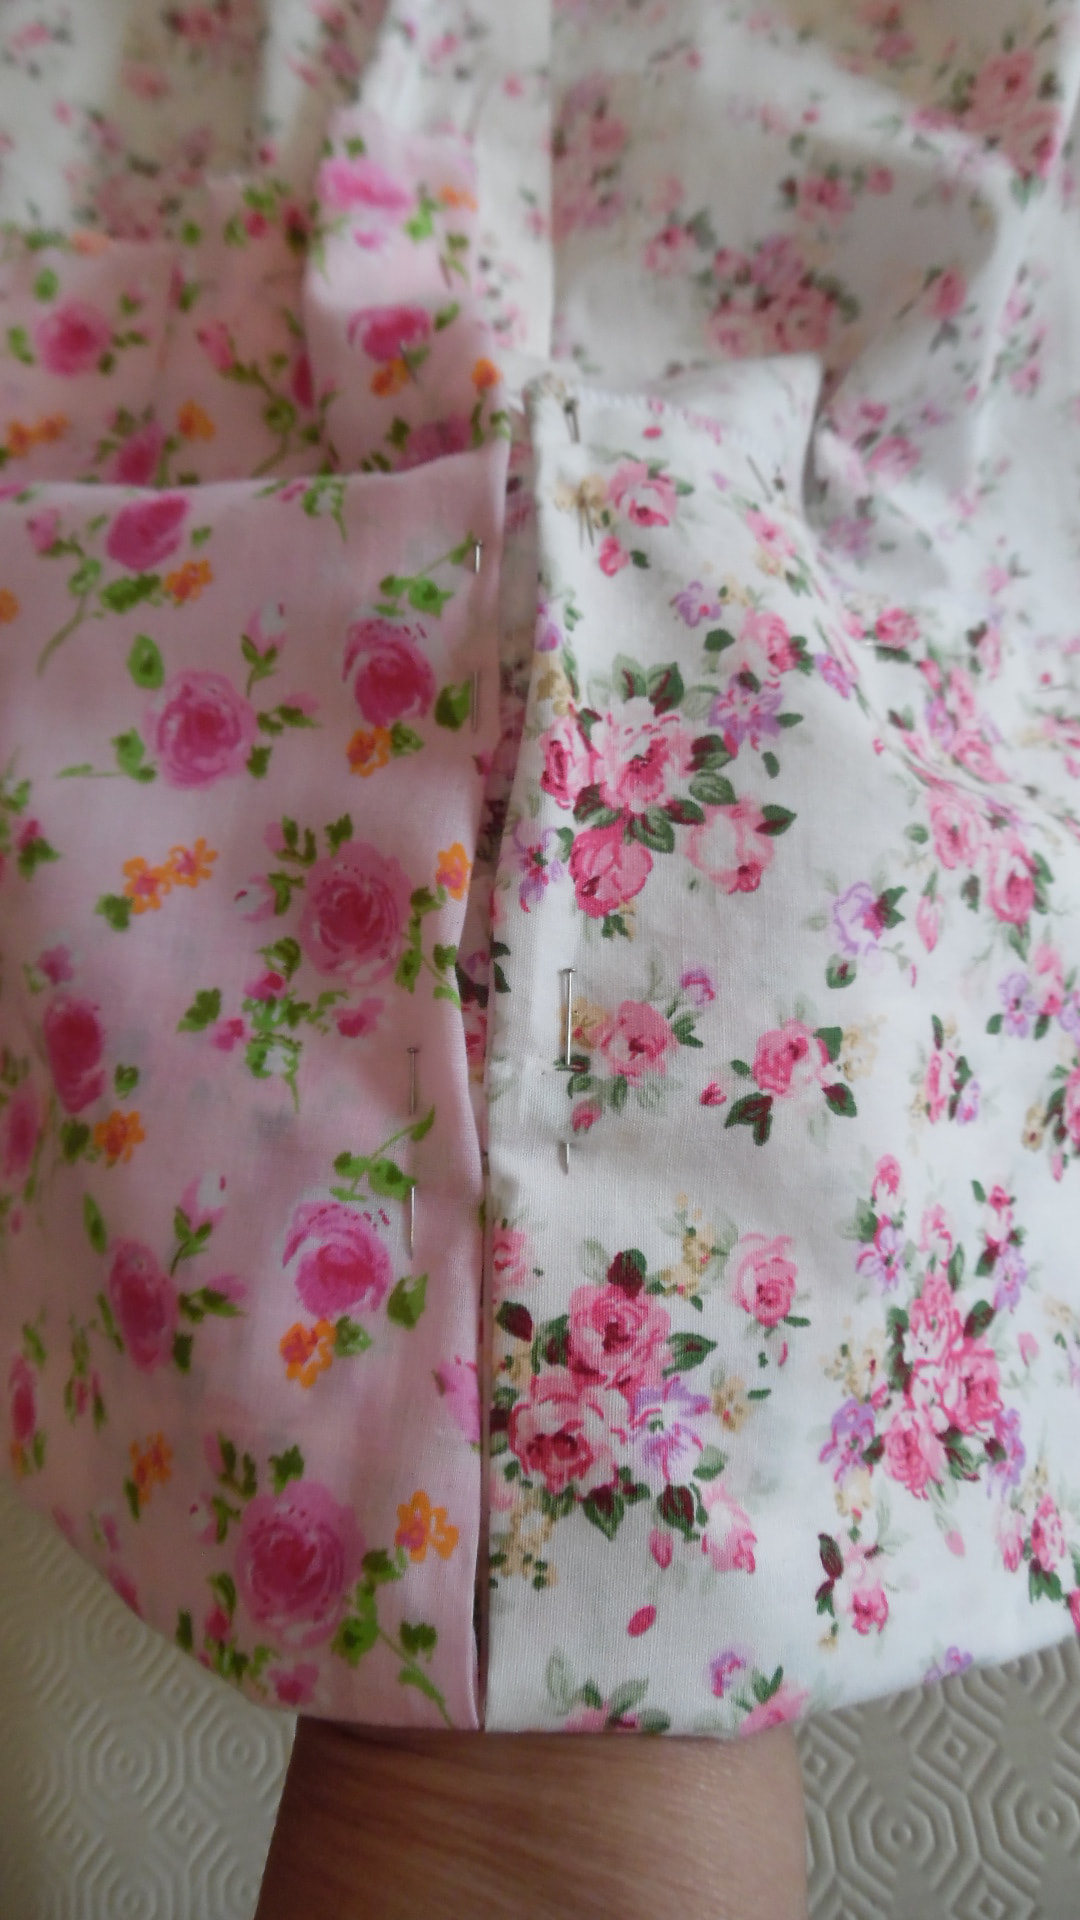
The finished pleats should fit exactly the width of the bodice back. Put the two fabrics together wrong side to wrong side and pin in several places to secure.
NOTE: If you read ahead, you will see that at this stage, the back pleats are NOT sewn onto the bodice. You make the bodice up as a separate item. We got this wrong :( |
|
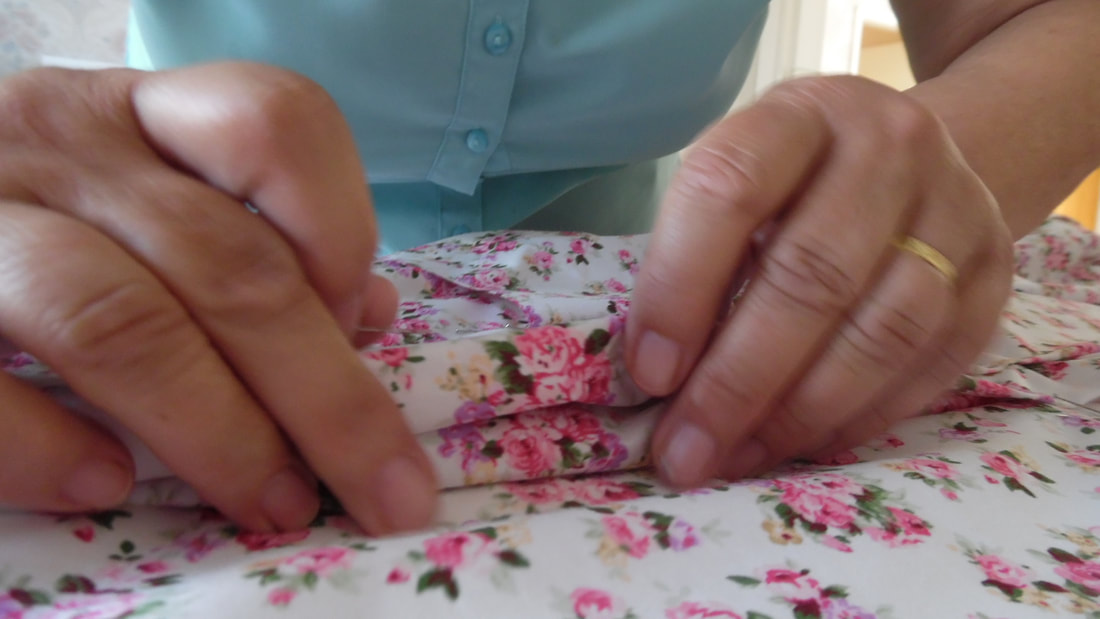
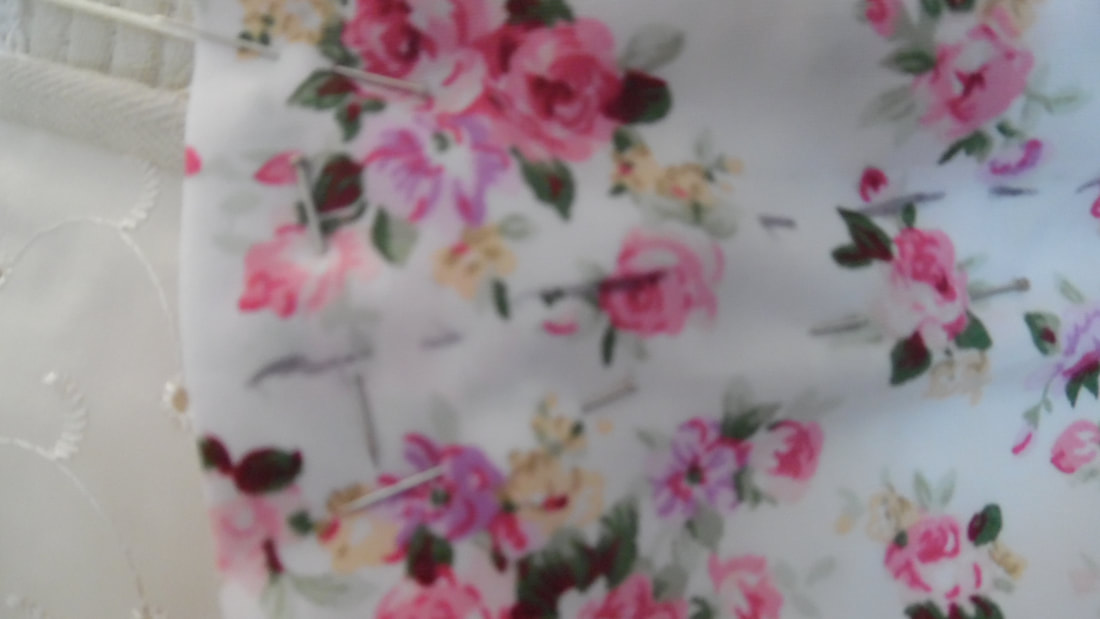
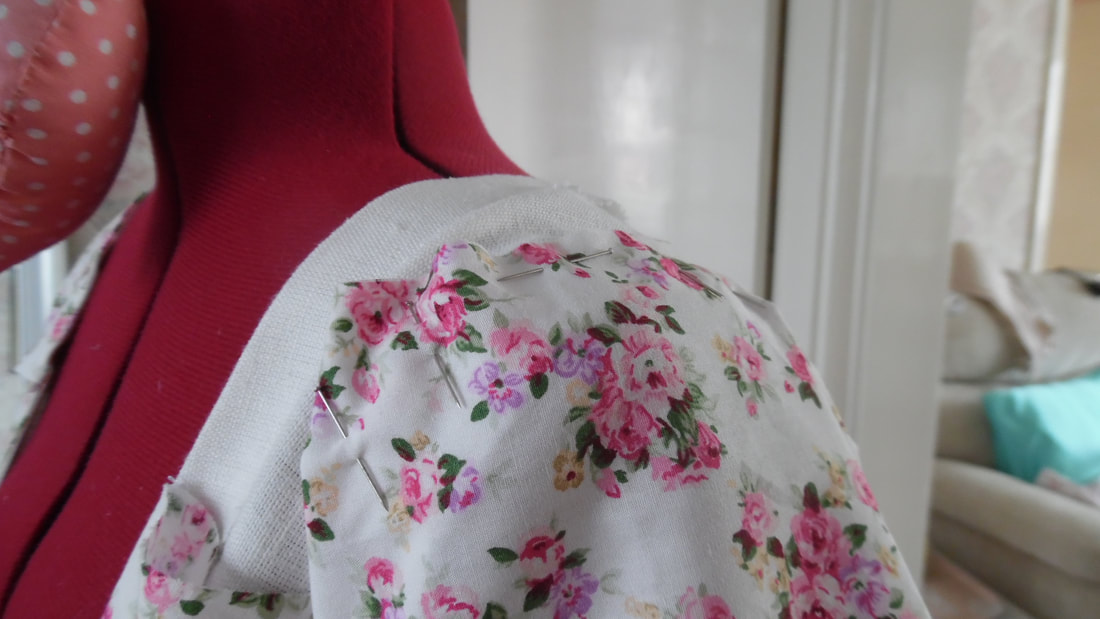
You may find it diffiult to see in this picture, but the pleats have been "prick stitched" at the edges right through to the bodice.
|
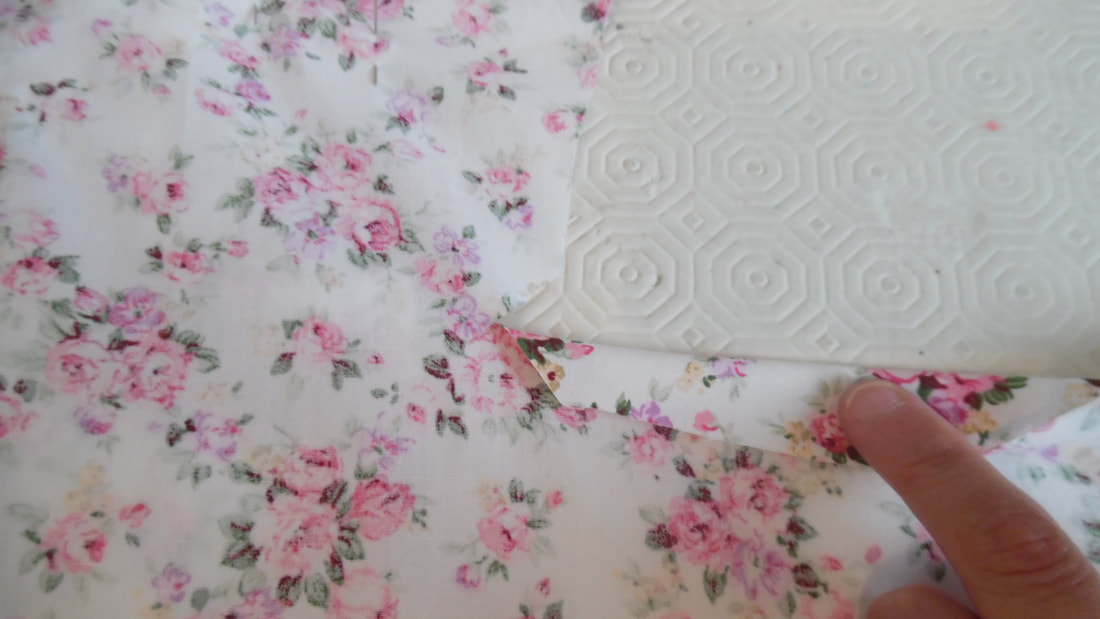
Cut a 2cm diagonal at the arm hole edge of the bodice and turn a side hem of 2cm.
|

|
|
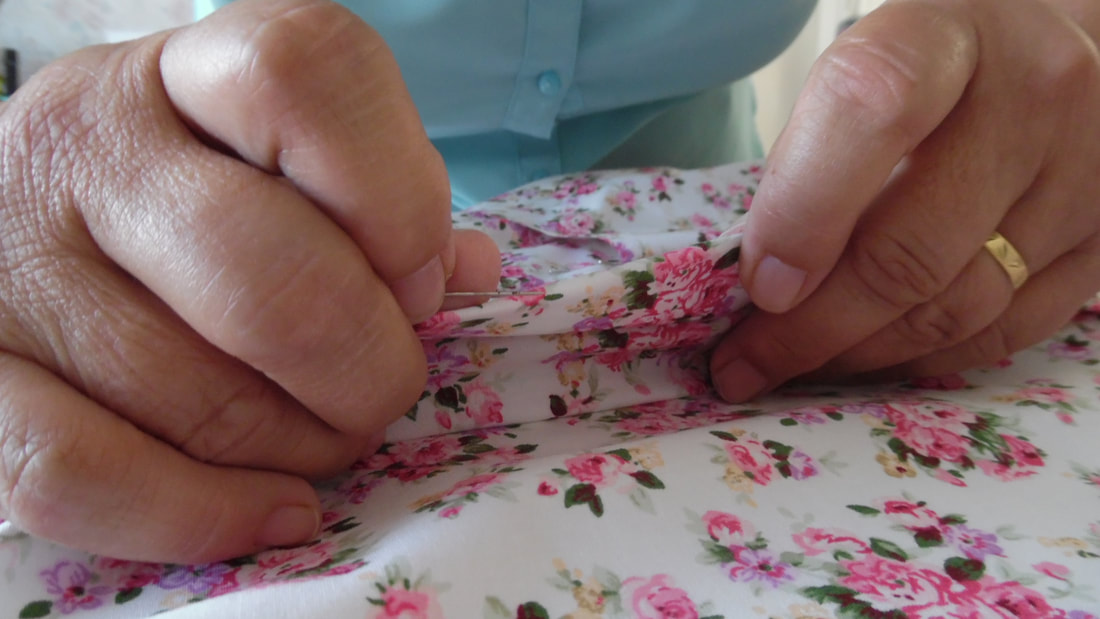
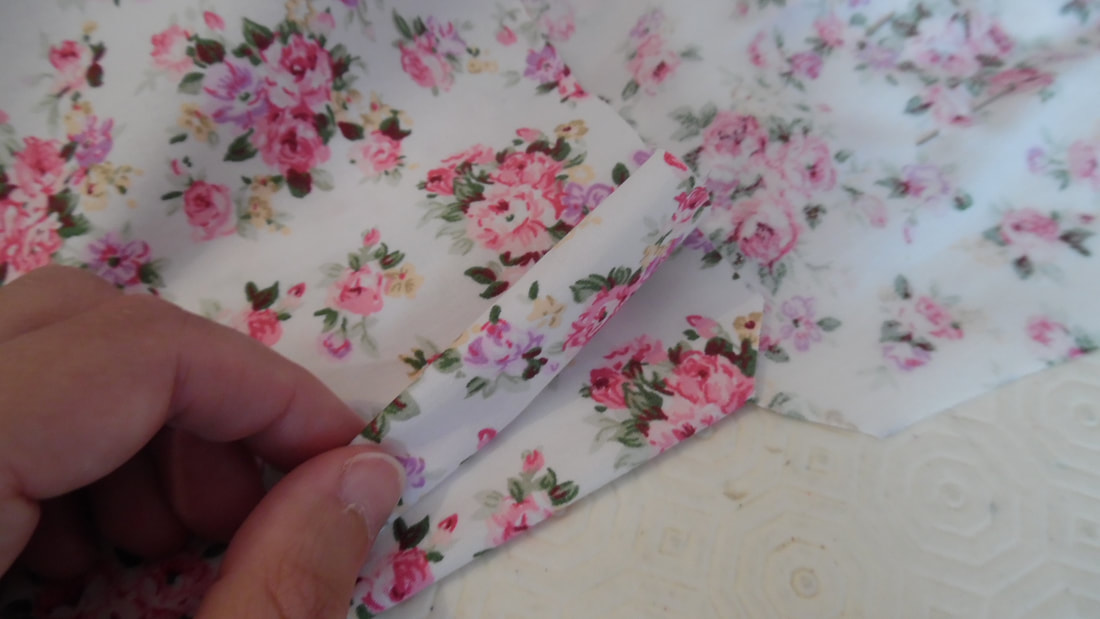
Create pleats approximately 1.1/2" wide, finish with the turned seam on the outer edge.
|
|
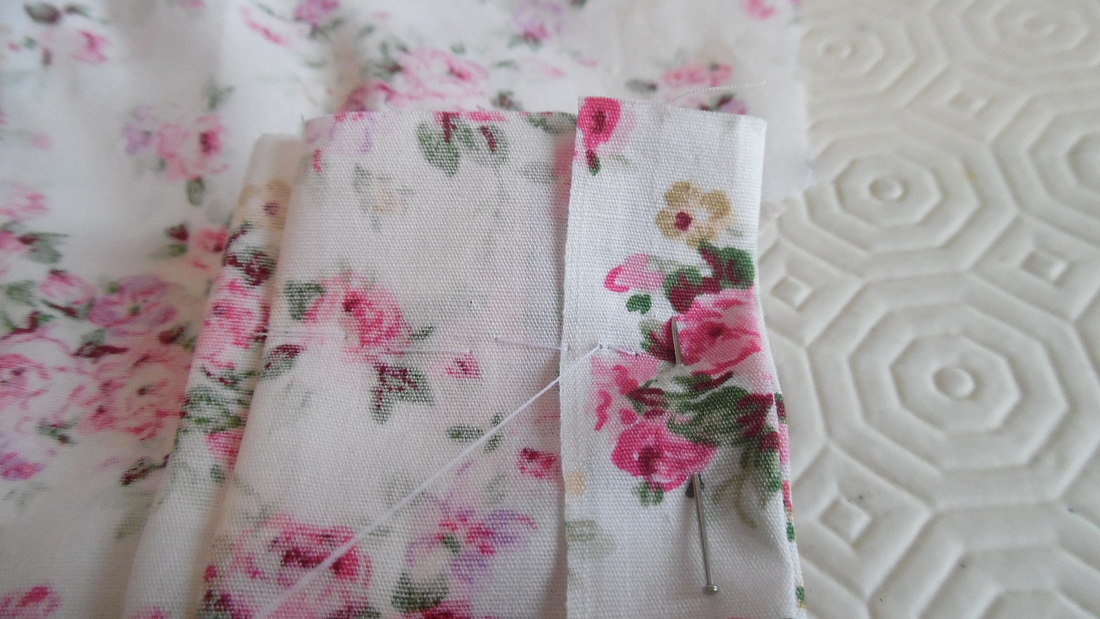
Run a sewing line across the pleats to hold in place.
|
|
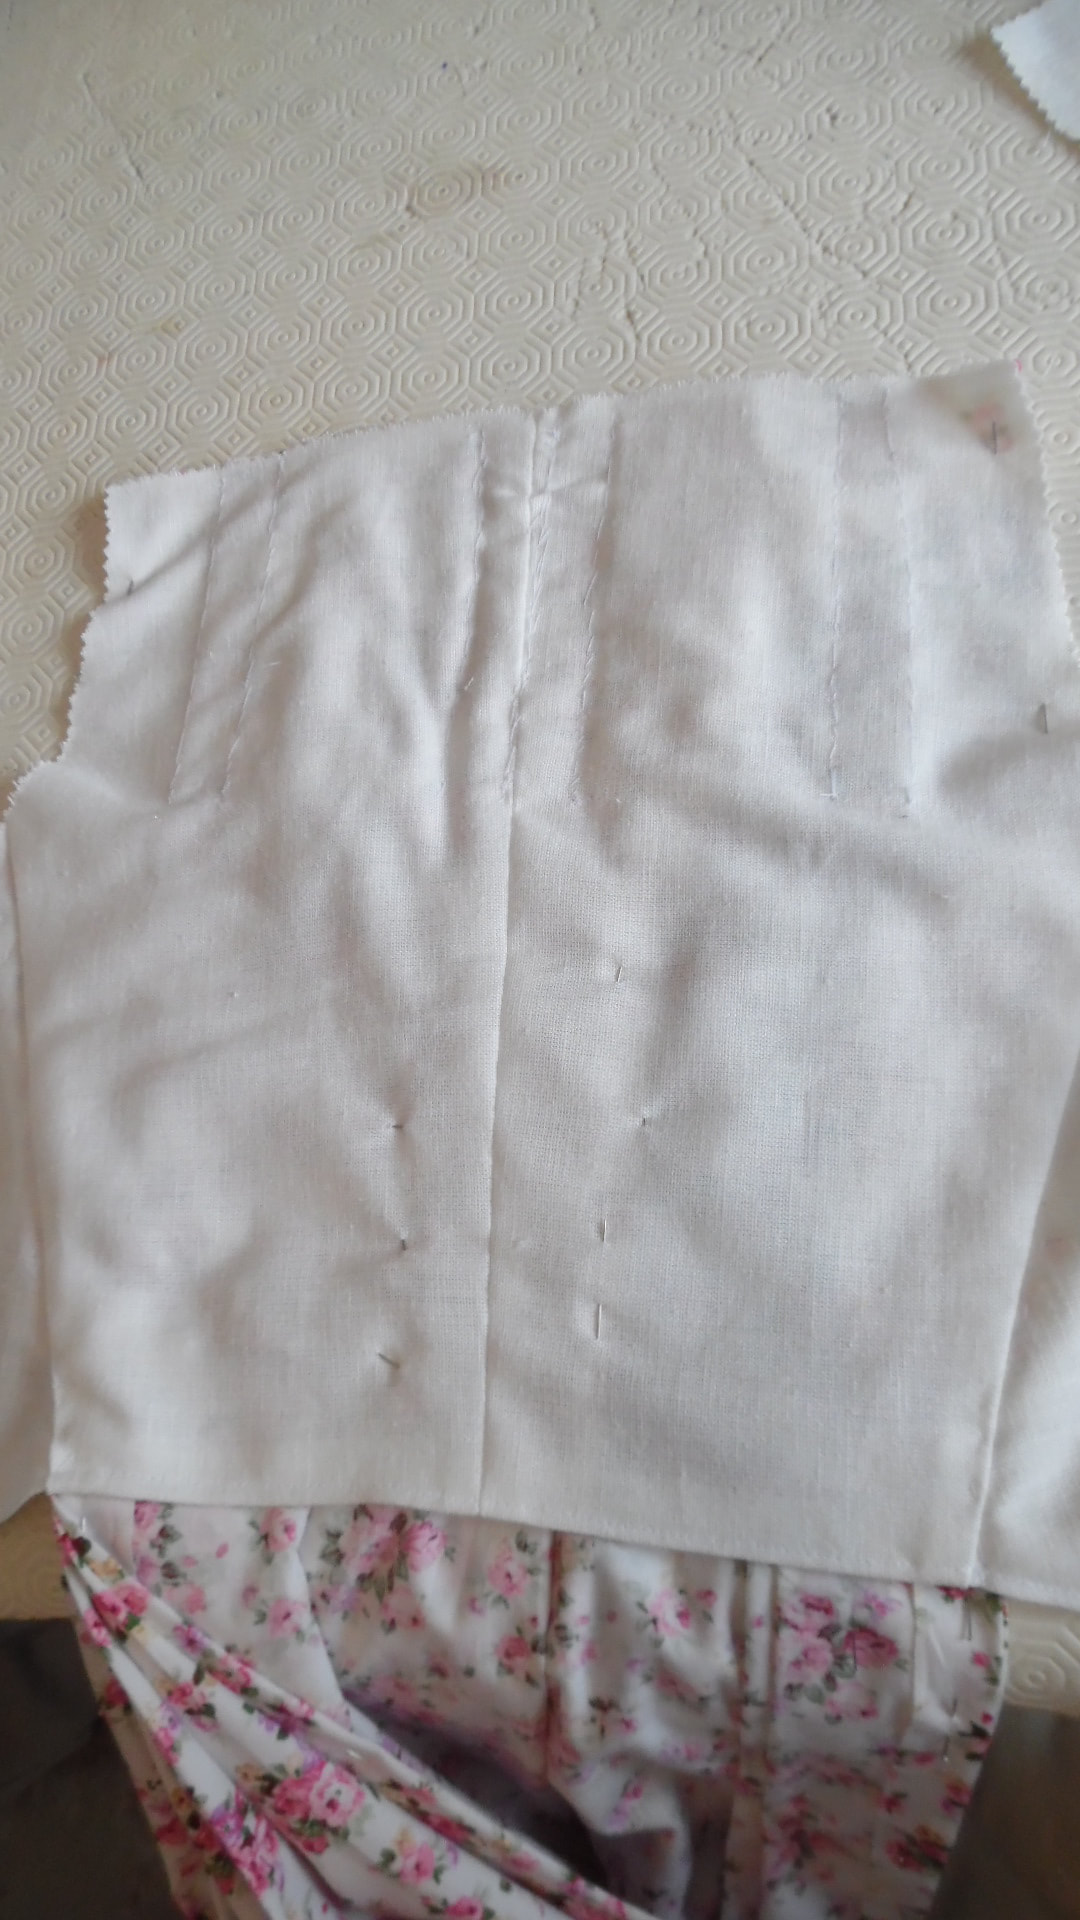
Turn a hem on both bodice fronts.
|
|
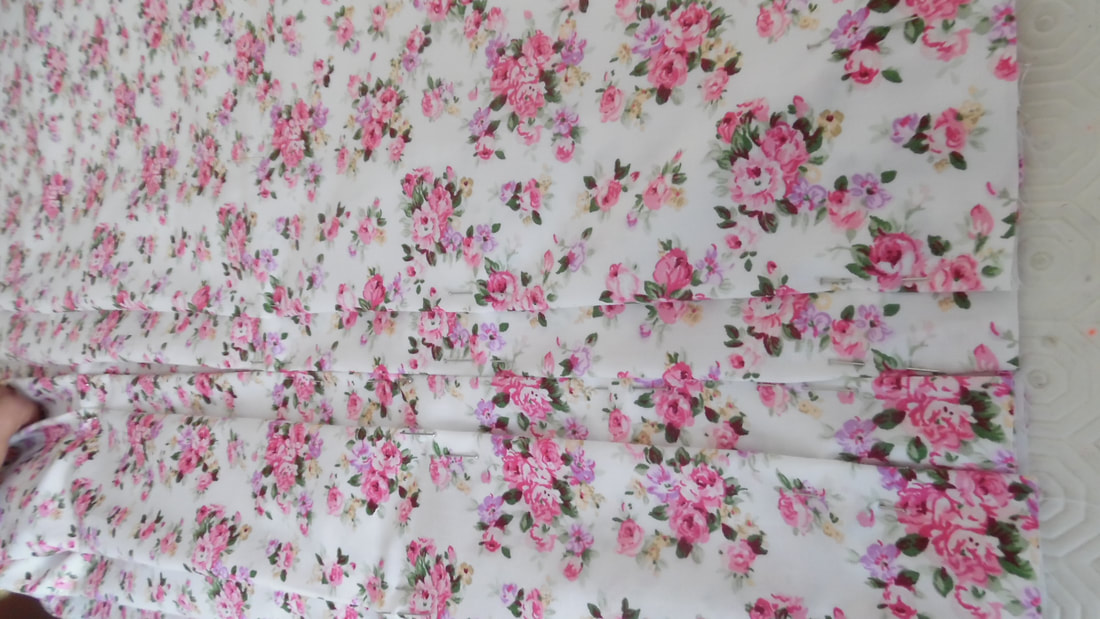
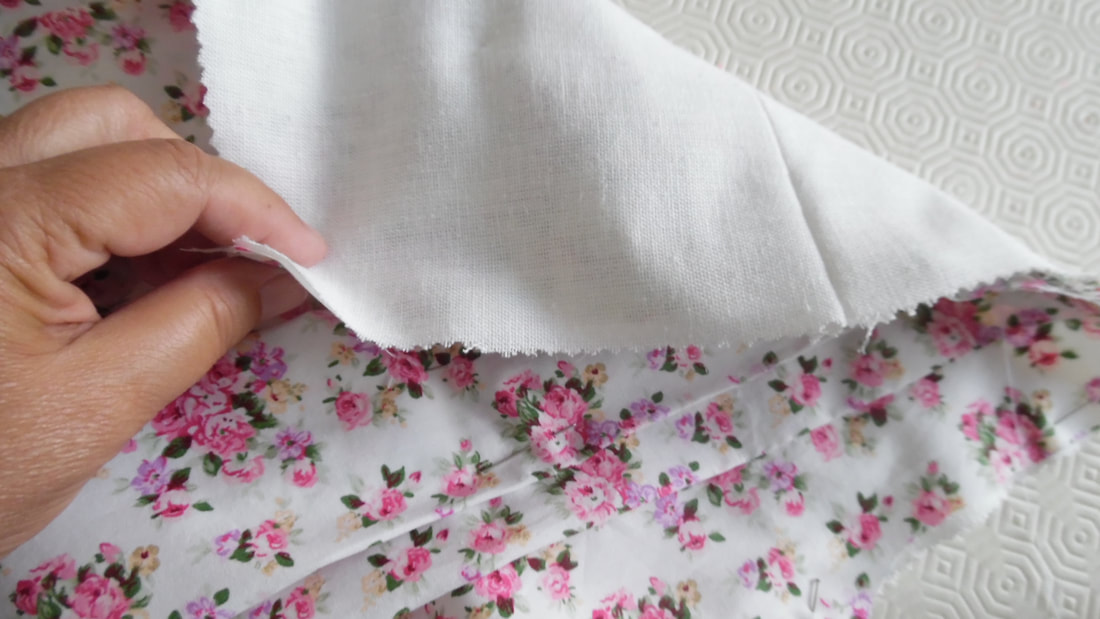
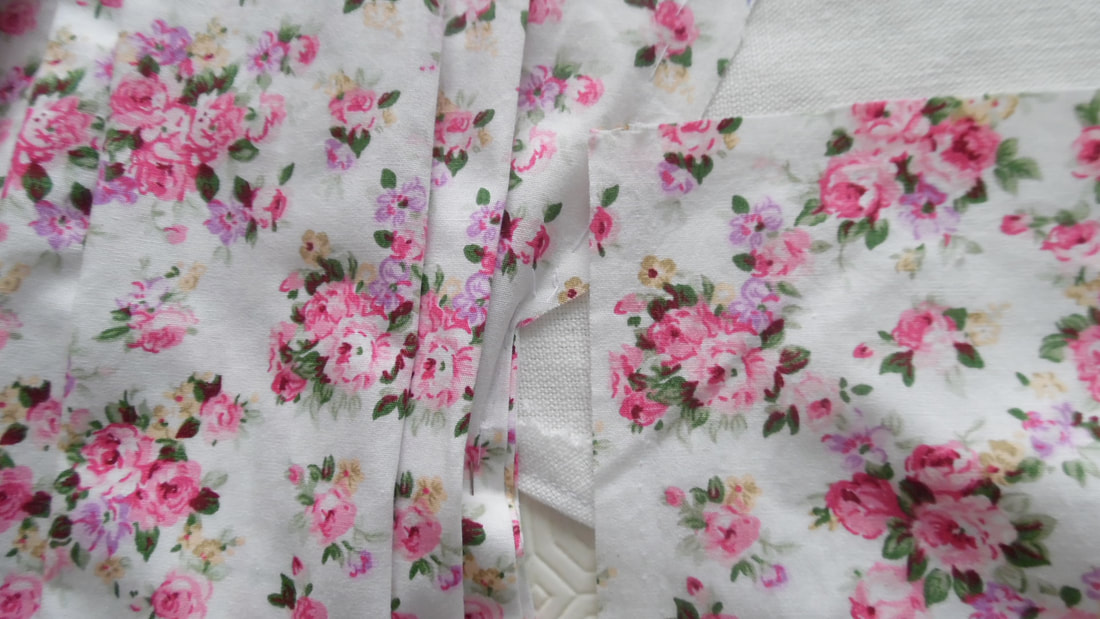
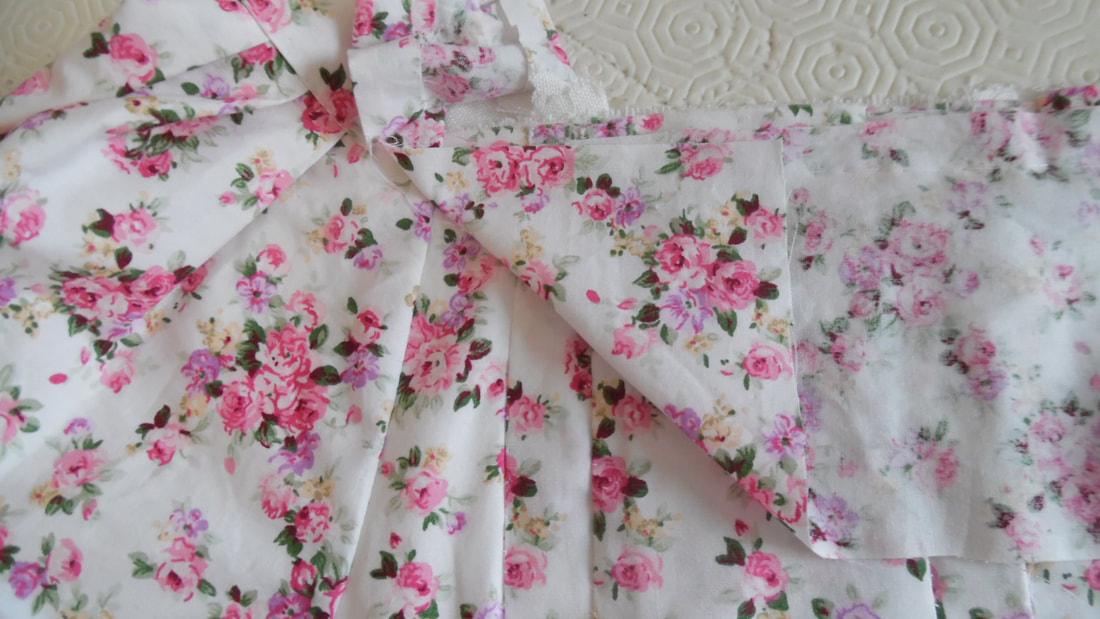
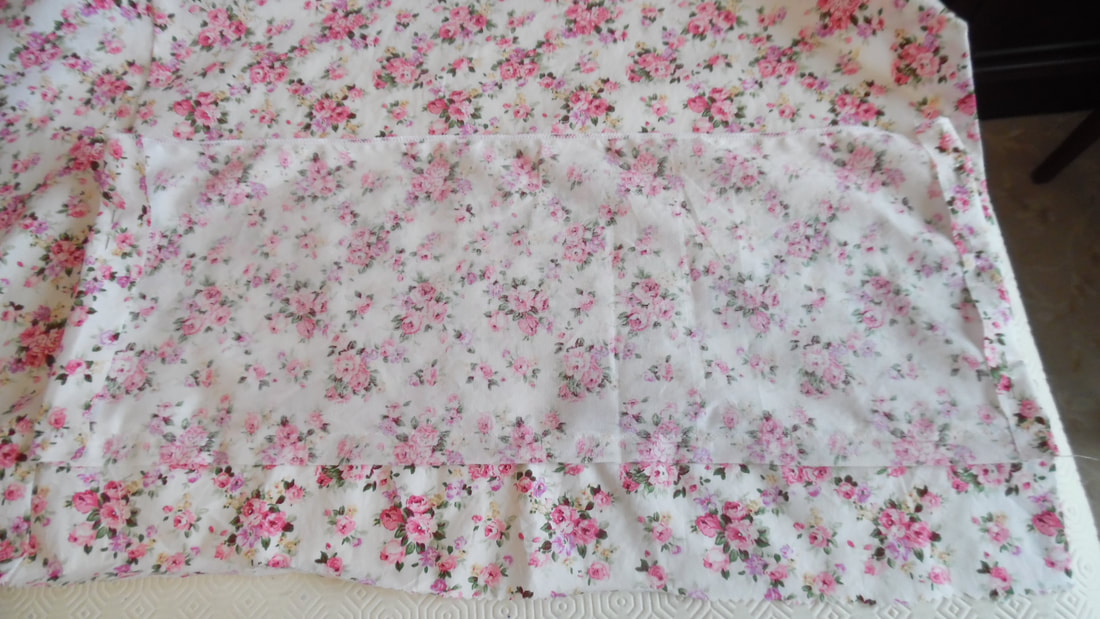
Pattern match the fabric for the skirt. Once cut, cut in two horizontally. When cutting, allow for a hem.
|
|
Turn a 2cm seam and pin in place, check your length.
|

|
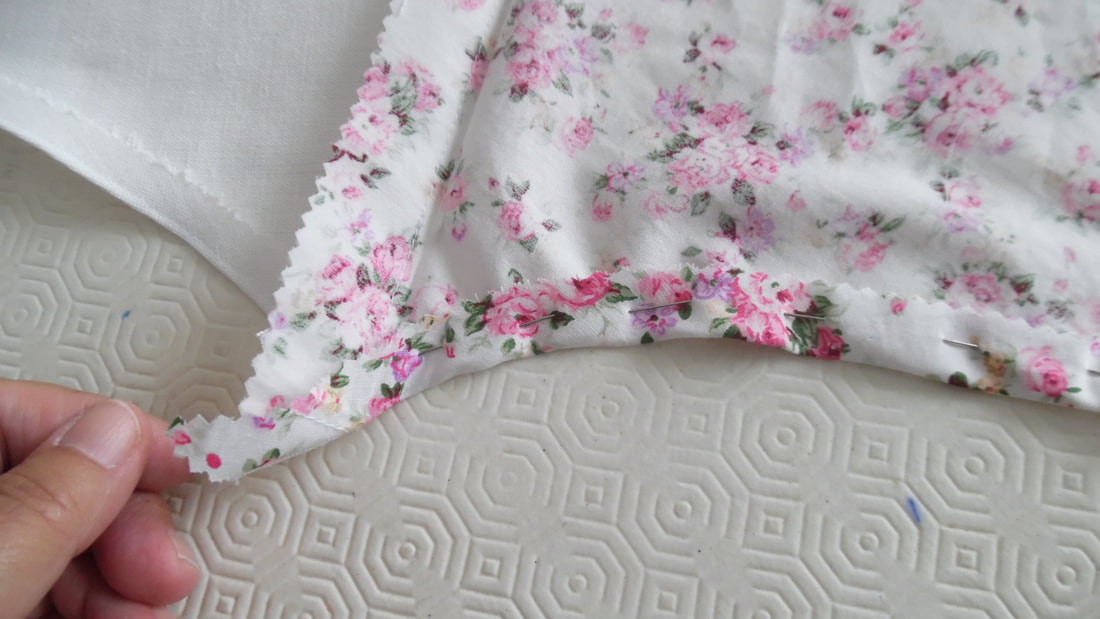
At the front edge, check your length and turn a 2cm seam pin in place. This placement will be higher than the side seam.
|
|
Make a double pleat at the side seam.
|
|
You need to make two pleats to take in any excess wrinkles. The fabric excess above the waist line is normal.
|
|
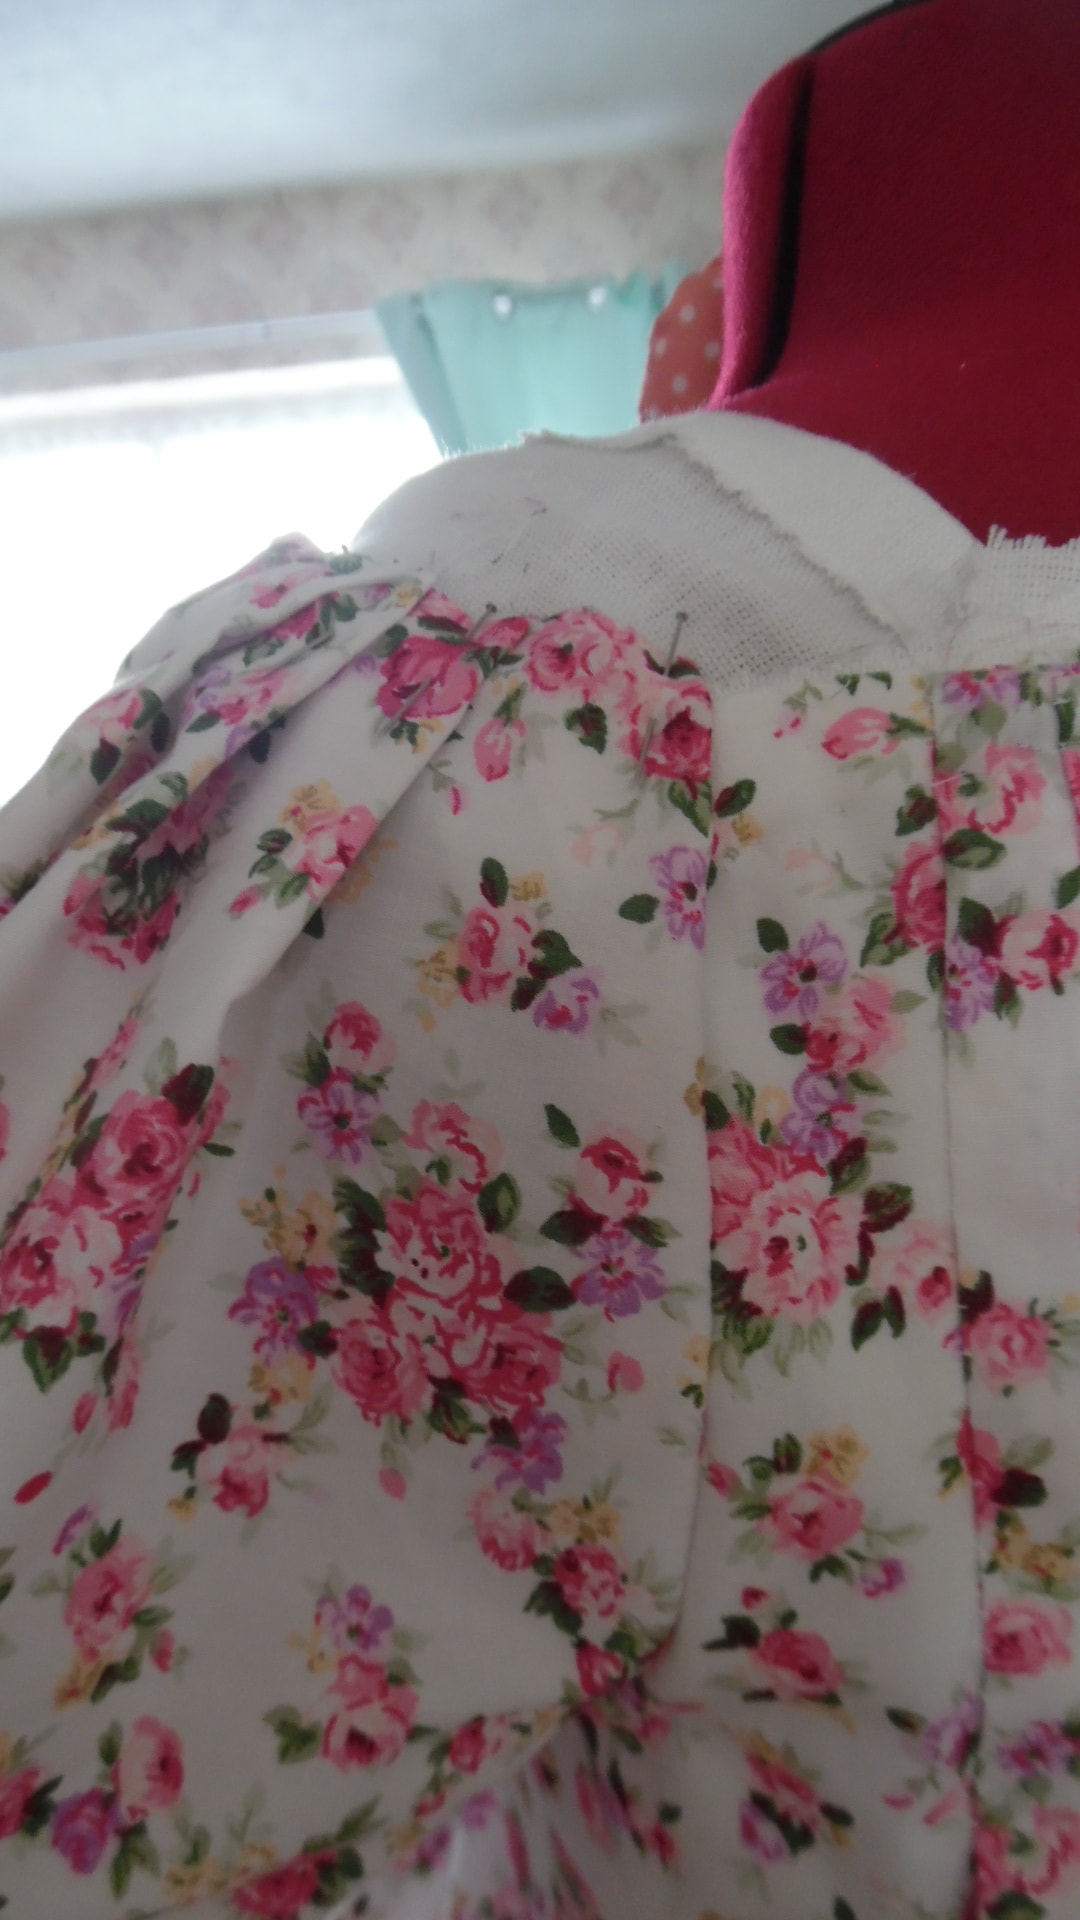
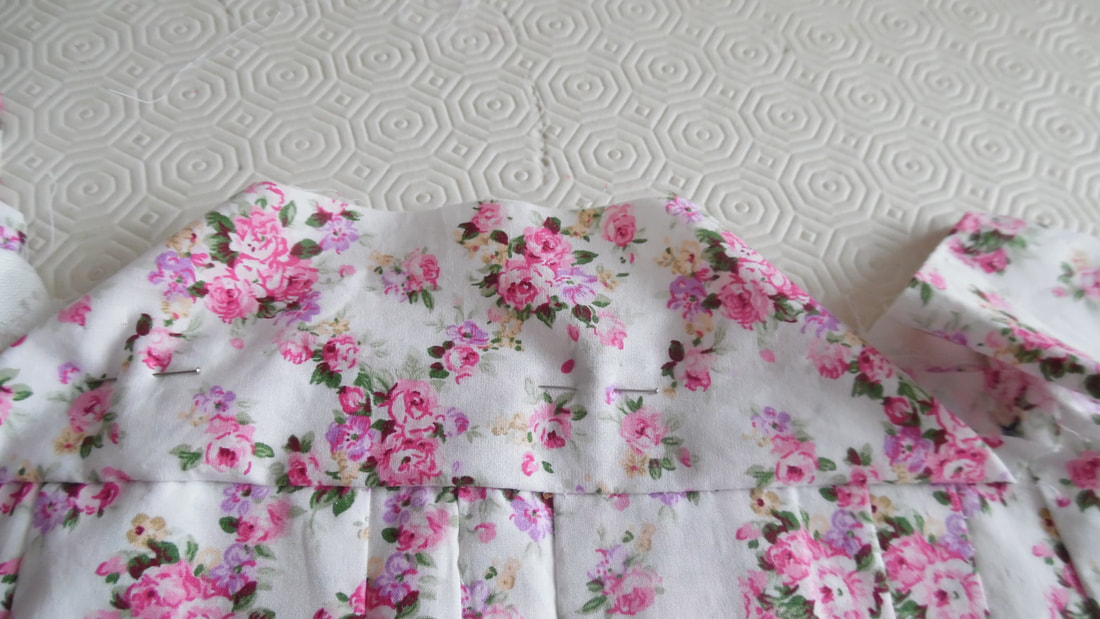
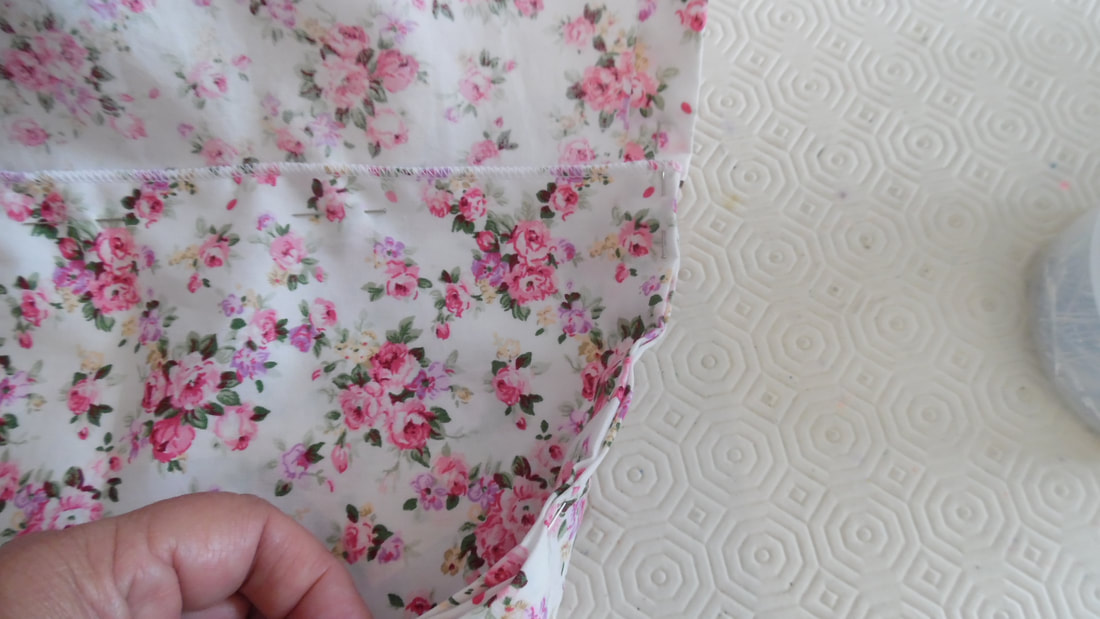
(Sorry about the fuzzy picture). Using your fingers at the back, follow the line of the bodice and pin in place. 1.5cm above that, mark a line. Leaving all the pleats in place, remove the pins that are holding the fabric to the bodice.
|

|
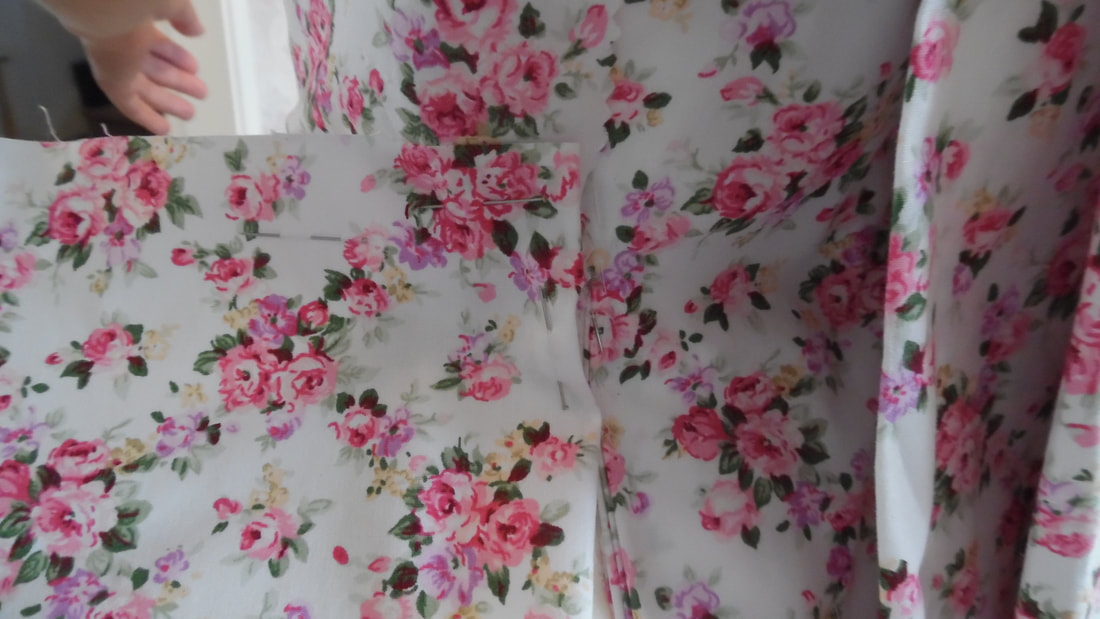
Tuck the skirt up inside the bodice and pin in place. You will only be sewing the bodice fabric to the skirt, so be careful not to sew through to the lining, this will be sewn later.
|
|
Recheck the placement of the pins underneath the back pleats to make sure they are in the right position and that the fabric is as smooth as you can make it. Hand sew the bodice to the skirt and back fabric.
|
|
This shows the pins on the inside of the bodice, this will be prick stitched to the fabric approximately half way up the bodice.
|
|
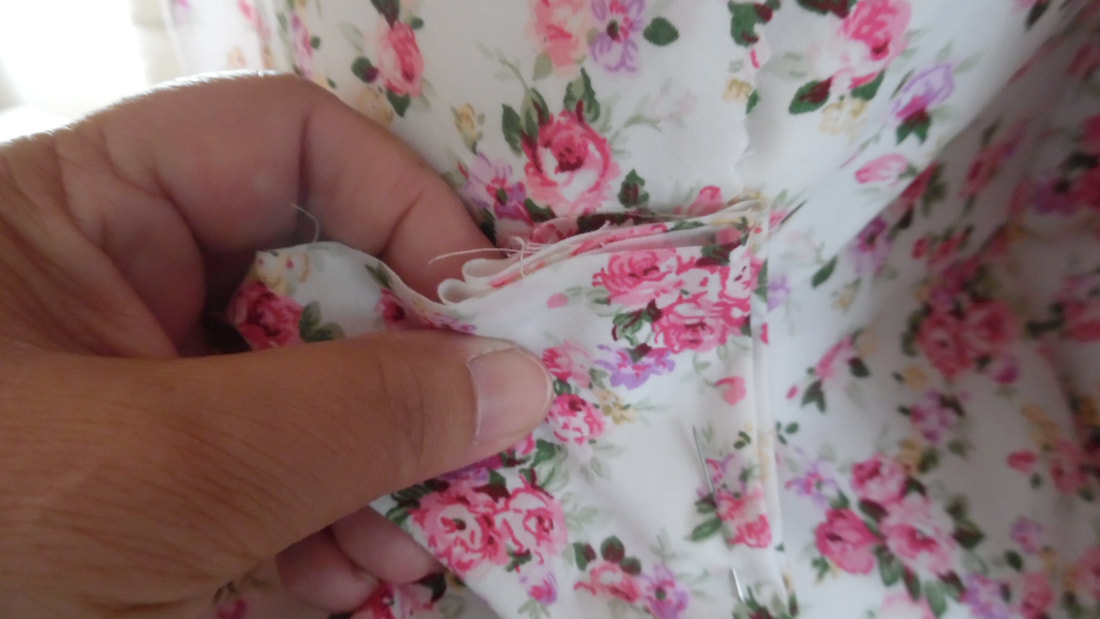
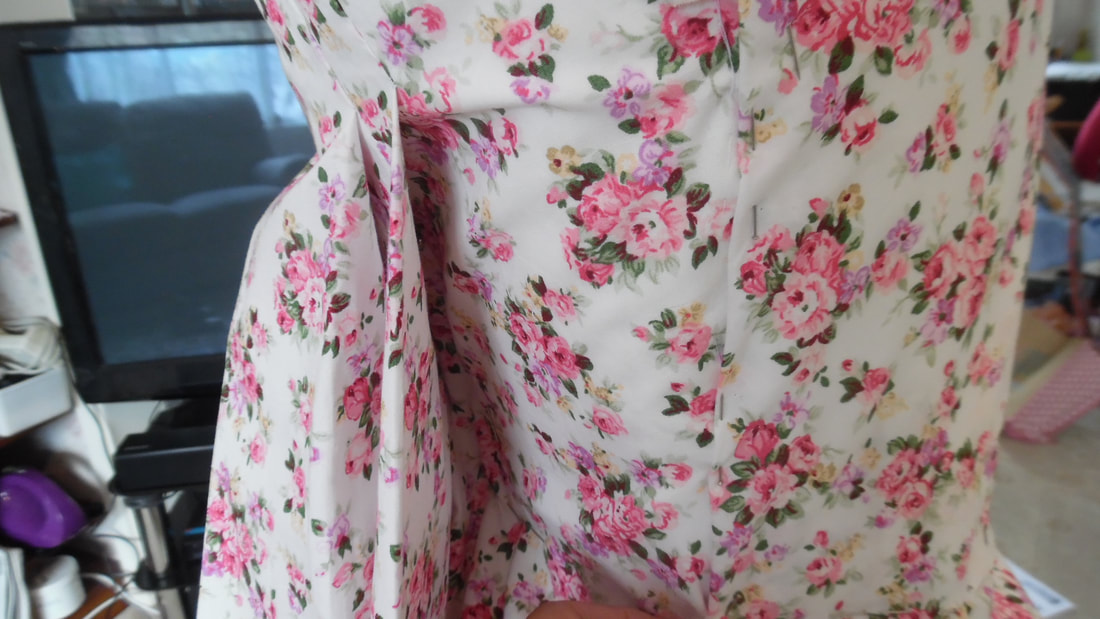
At this stage, the pocket slit can be sewn, but only the top 1" of the seam is to be sewn shut. Leave a pocket gap of approximately 10", allowing you to sew the side seam down to the hem.
NOTE: At this stage, I still have not neatened the seam allowance for the pocket, this can be done after the side seam has been sewn. |
|
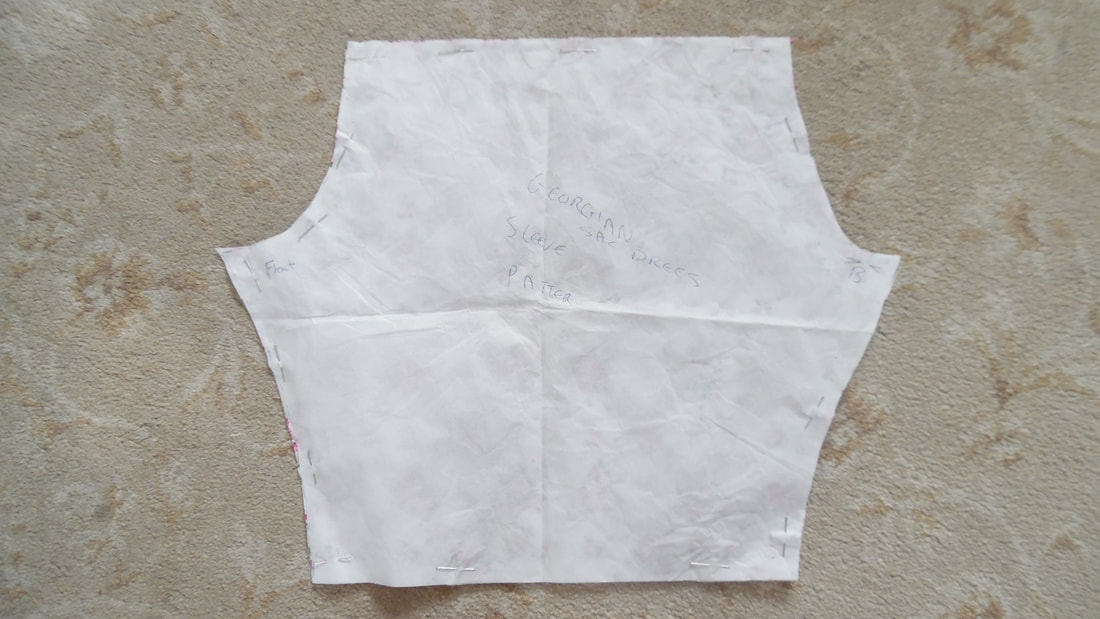
After trying several sleeve patterns, we settled on this one for Tracy.
|
|
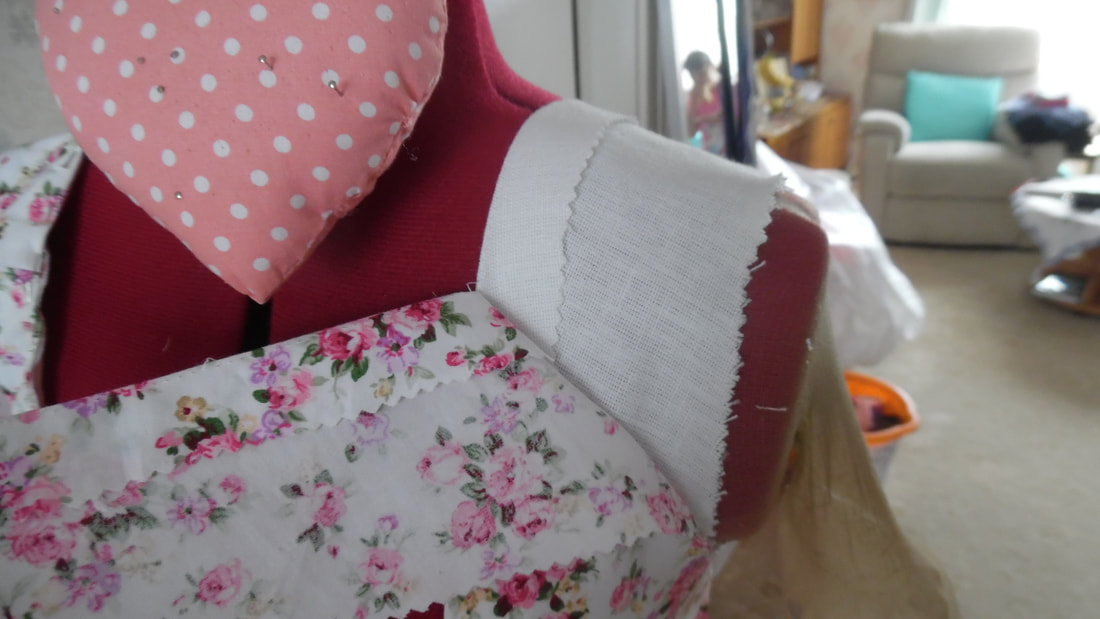
This is a correction to my error of not treating the fabric shoulder piece as a separate item, so I had to undo the stitching and cut off the fabric.
|
|
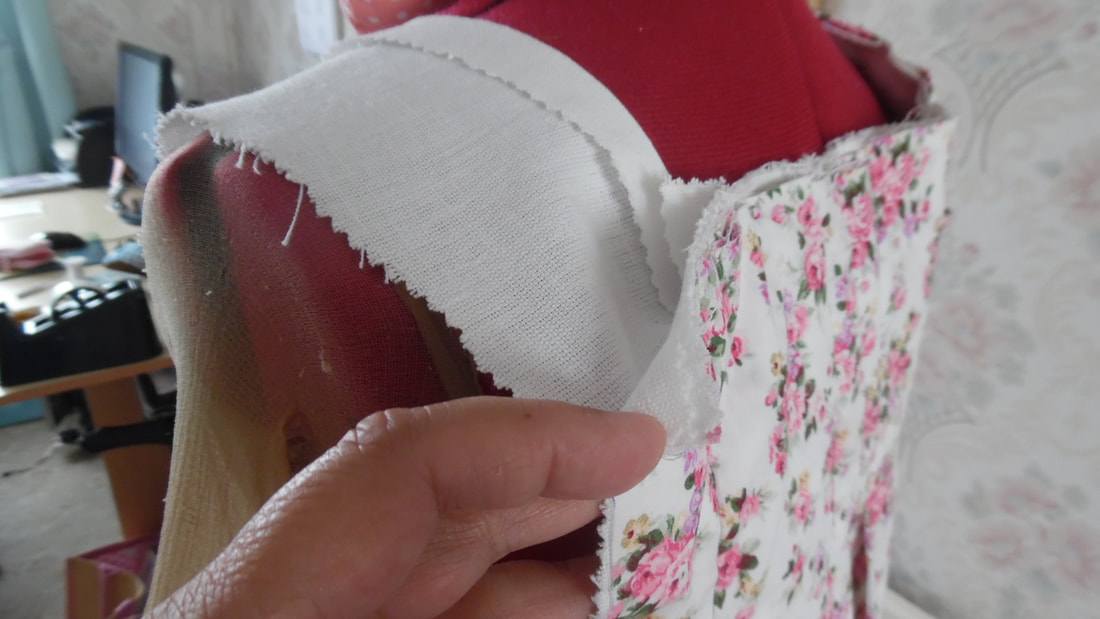
At the back I had to sew the bodice liner to the sacque back pleats. This was only a minor error, as the following steps are the same as if we had not made the mistake.
|
|
Tracy has decided not to line her sleeve. If you are going to line it, sew both pieces in at the same time and treat them as one item. Sew up the seam for the sleeve and attach under the arm and up both sides of the bodice. You only need to sew as far as the fabric of the bodice front and back.
|
|
Fold the sleeve top onto the strap, smoothing it out from front to back and pin in place.
|
|
With the excess, make three pleats.
|

|
Take a measurement over the shoulder piece allowing for seam allowance on all sides. Turn under the seam and pin then sew the fabric over the shoulder. At the back, aim to create a 45 degree angle and try to meet the corner with the sleeve seam, but do not sew this end piece down just yet, we are now going to sew in the fill in piece across the back.
|
|
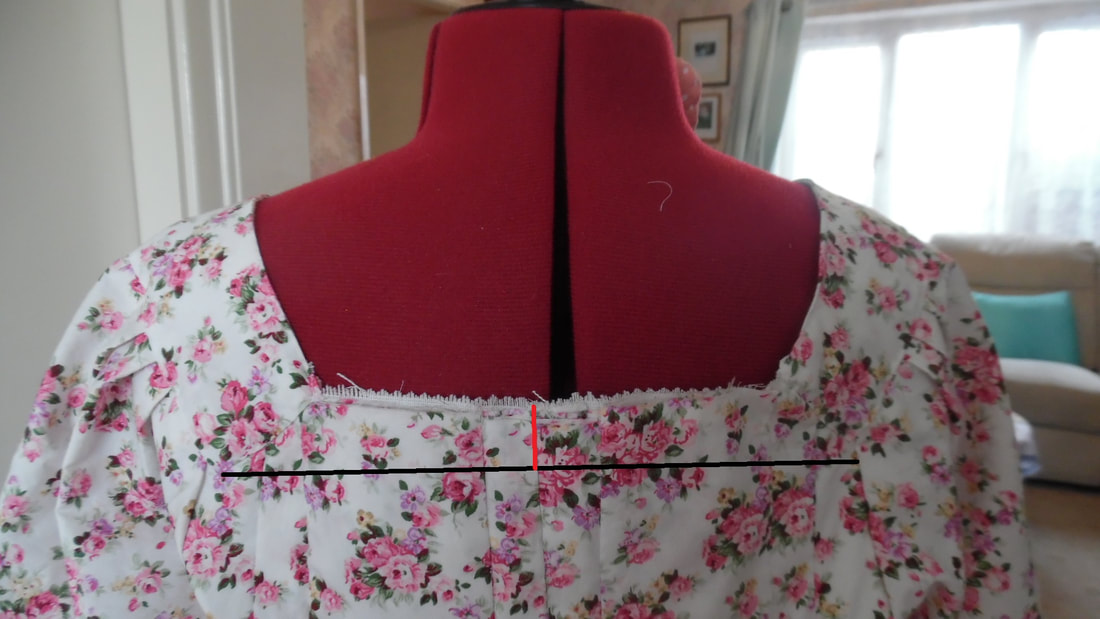
Measure for the back piece from sleeve seam to sleeve seam and add 3cm. Measure from the top centre to the black line, double it and add 6cms. Cut a piece of fabric to your measurements.
|
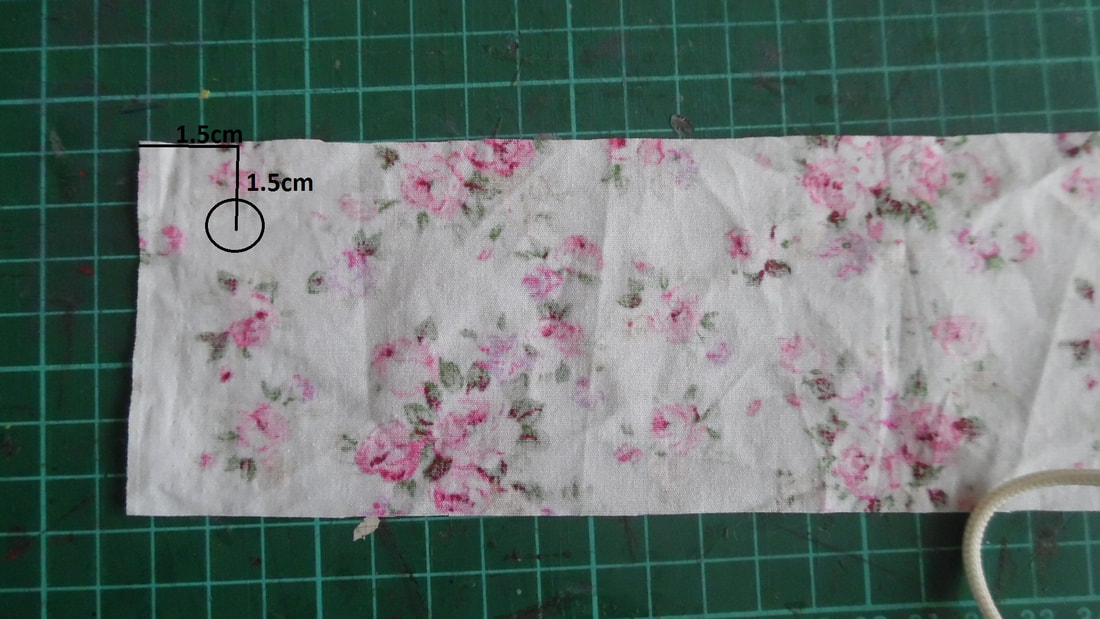
|
On the reverse of the fabric strip, make a mark 1.5cm across and 1.5cm down at both ends of the strip.
|
|
From your mark, you need to sew 1.5cm down from the top of the strip. You can either hand sew or machine.
|
|
Fold in the corners
|
|
Fold the piece up and place some pins to hold it in place.
|
|
Now bring the ends of the shoulder straps down at an angle and sew in position. Turn the fill in piece to the back and sew down.

|
Now for the hem. Because Tracy is short, we want to make it so that we could let the hem down, if in the future, we decide to sell the gown.
|
We also want to be able to remove the back section of hem, so that it can be detached and cleaned if necessary. We have cut two pieces for the side skirt, 20cms wide and the long back section is 30cm wide, that is to allow for the train that will be dragging on the floor. If you do not want to do this, then just make up a piece of fabric that you will measure all the way along your hem.
To save on fabric, we have made the back section from a similar cotton fabric. As this is not going to be seen, it will not matter. |
|
We will be sewing on one section at a time. turn a front and side seam. We will not be attaching the facing directly to the bottom of the skirt, but approximately 8-10 from the bottom edge, we will not be cutting this off as we will need it to extend the hem if necessary at a later date.
Each of the three sections is sewn onto the hem individually. |
|
Whip stitch the front edge and also along the top of the piece.
|
|
Sew the side seams together.
|
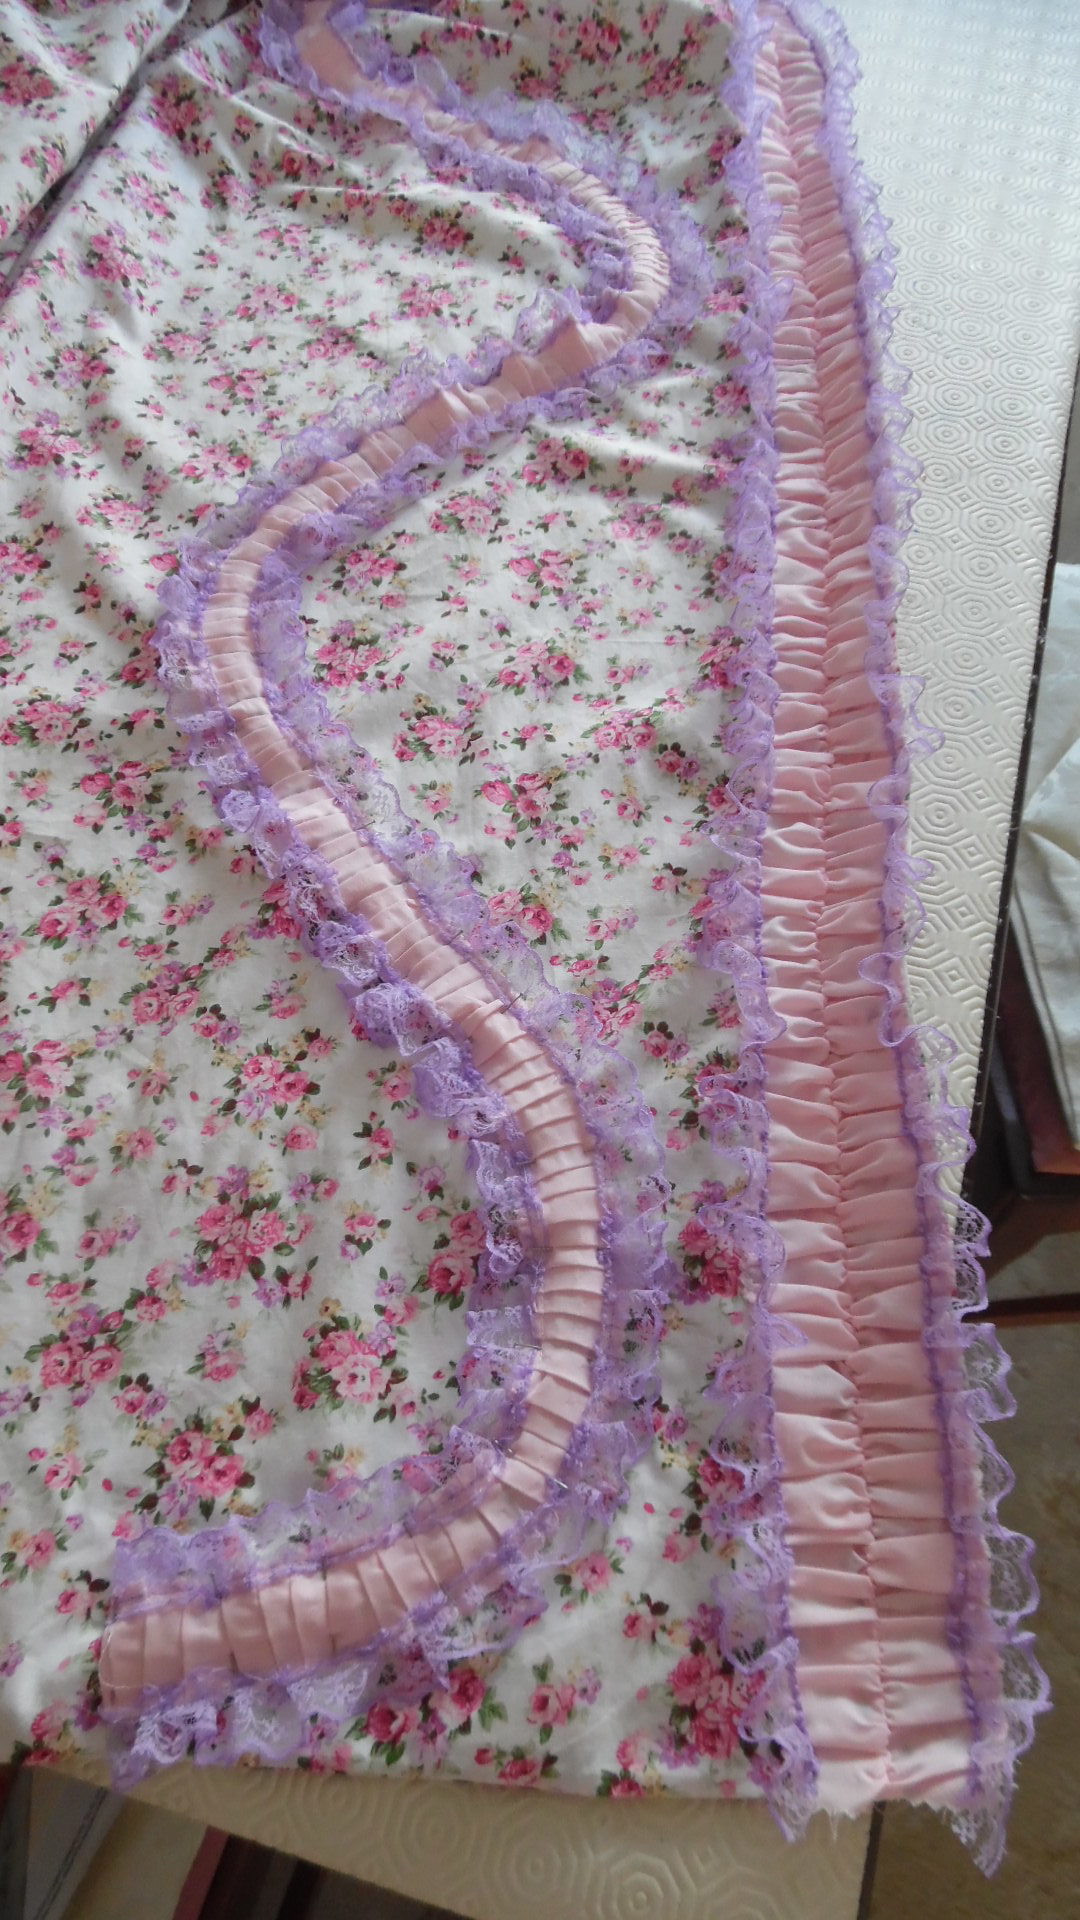
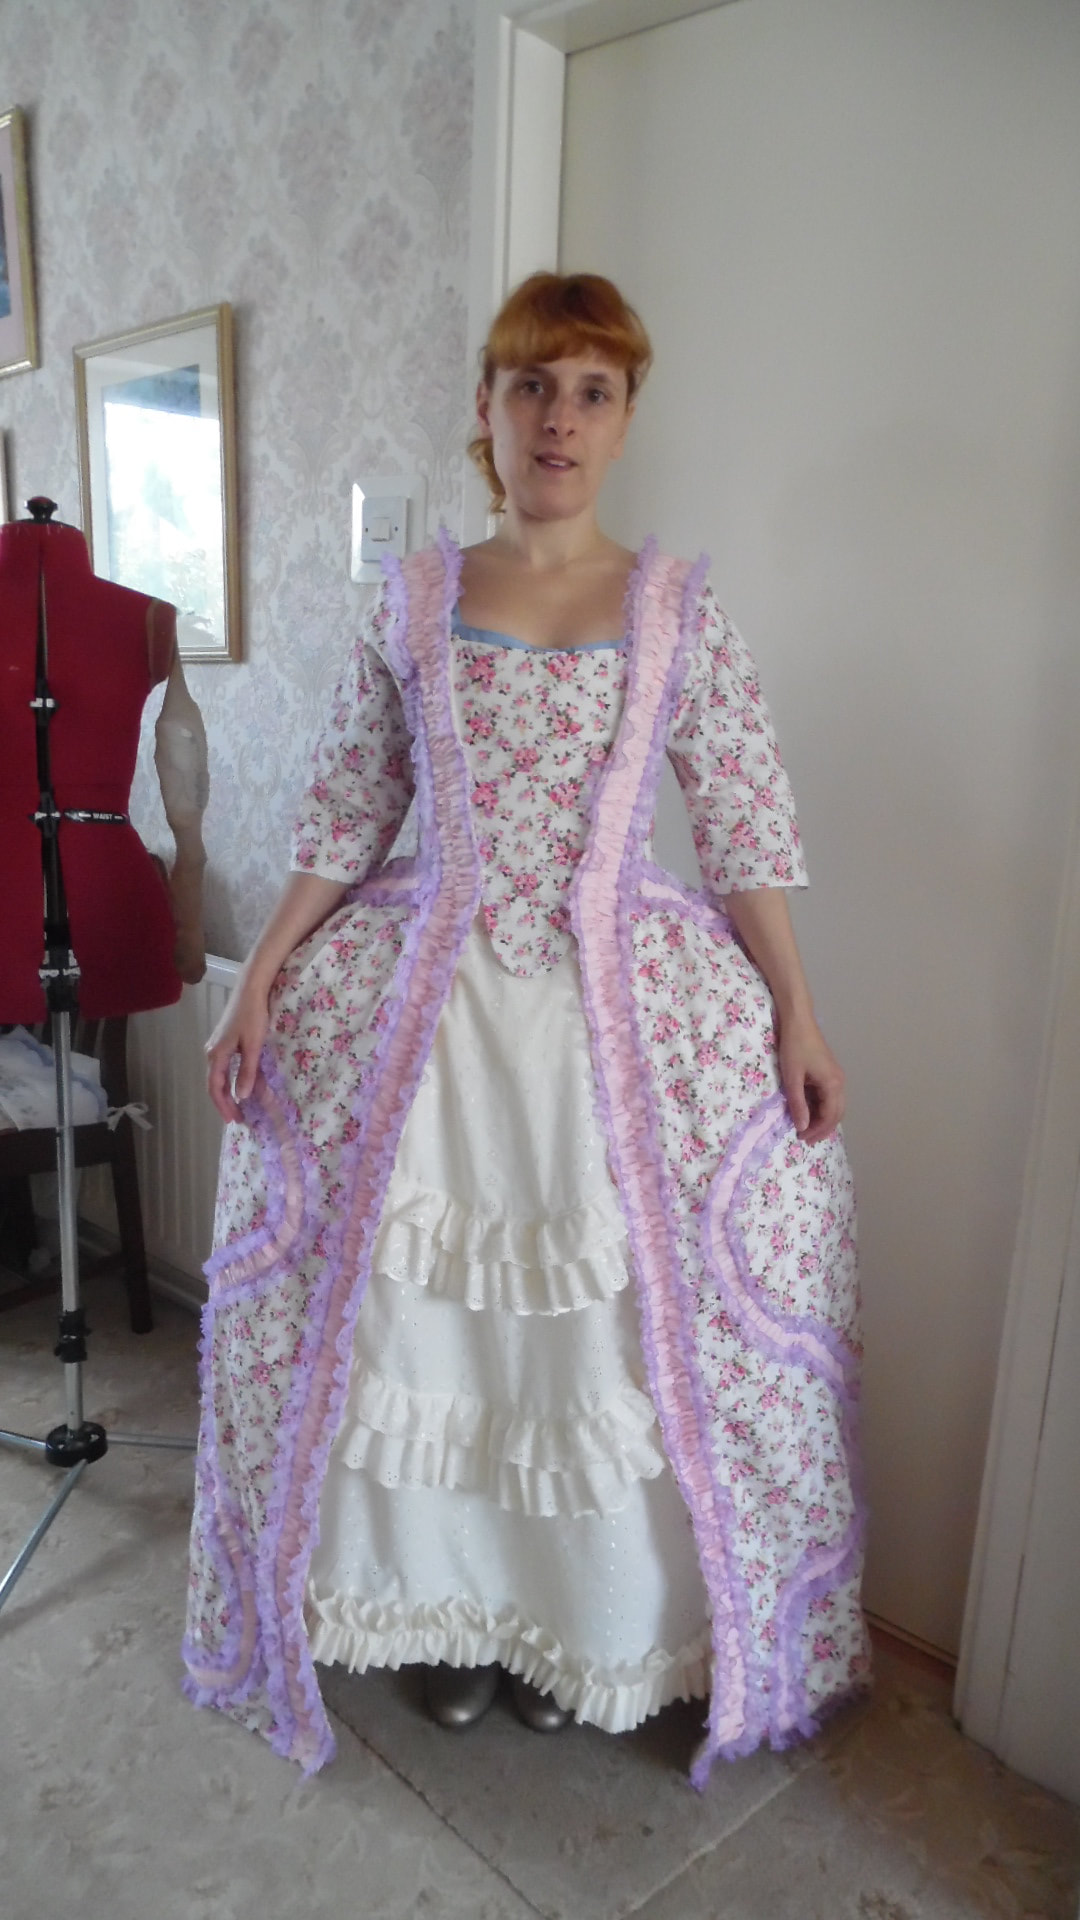
Pleats and Embelllishments
|
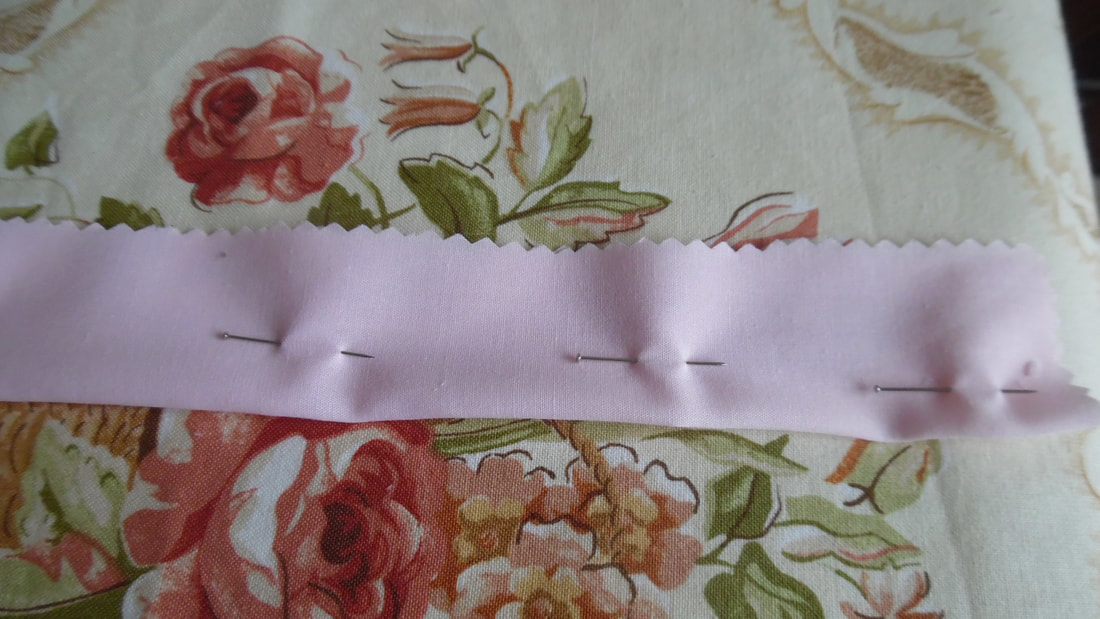
Tracy wants a strip of gathered trim made from the pink fabric. Measuring the whole of the edge of the gown opening, it measured approximately 2.7m, so she cut several strips and sewed them together, each as wide as the shoulder strap. Fold in half and run a large gathering stitch along the fold.
|
|
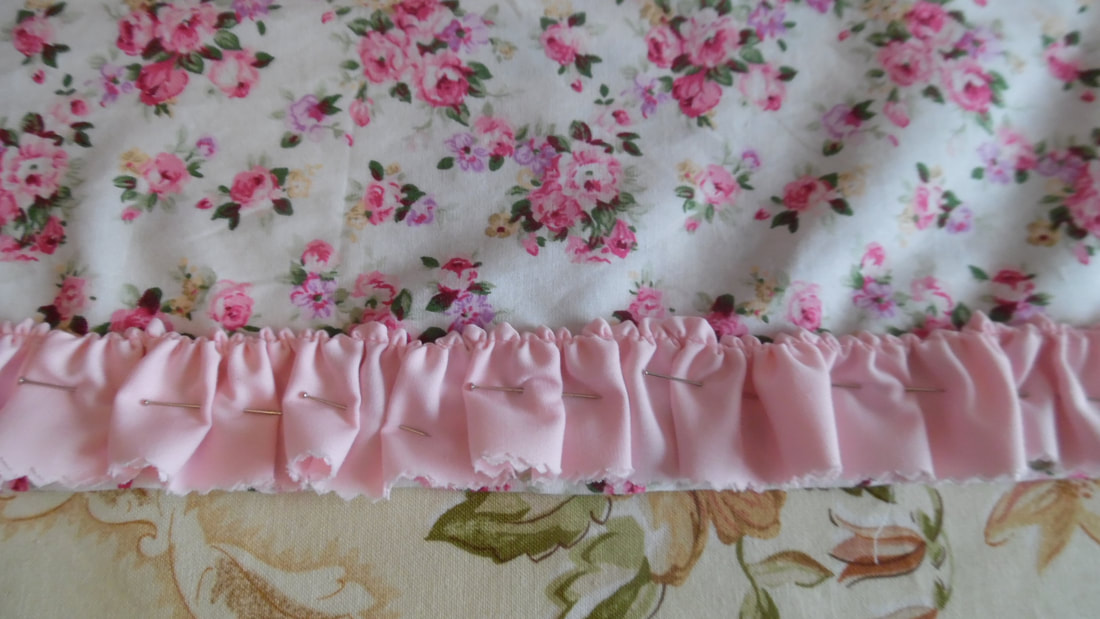
After gathering, this was whip stitched to the gown edge.
|

|
Open out and whip stitch both sides down to the fabric.
|
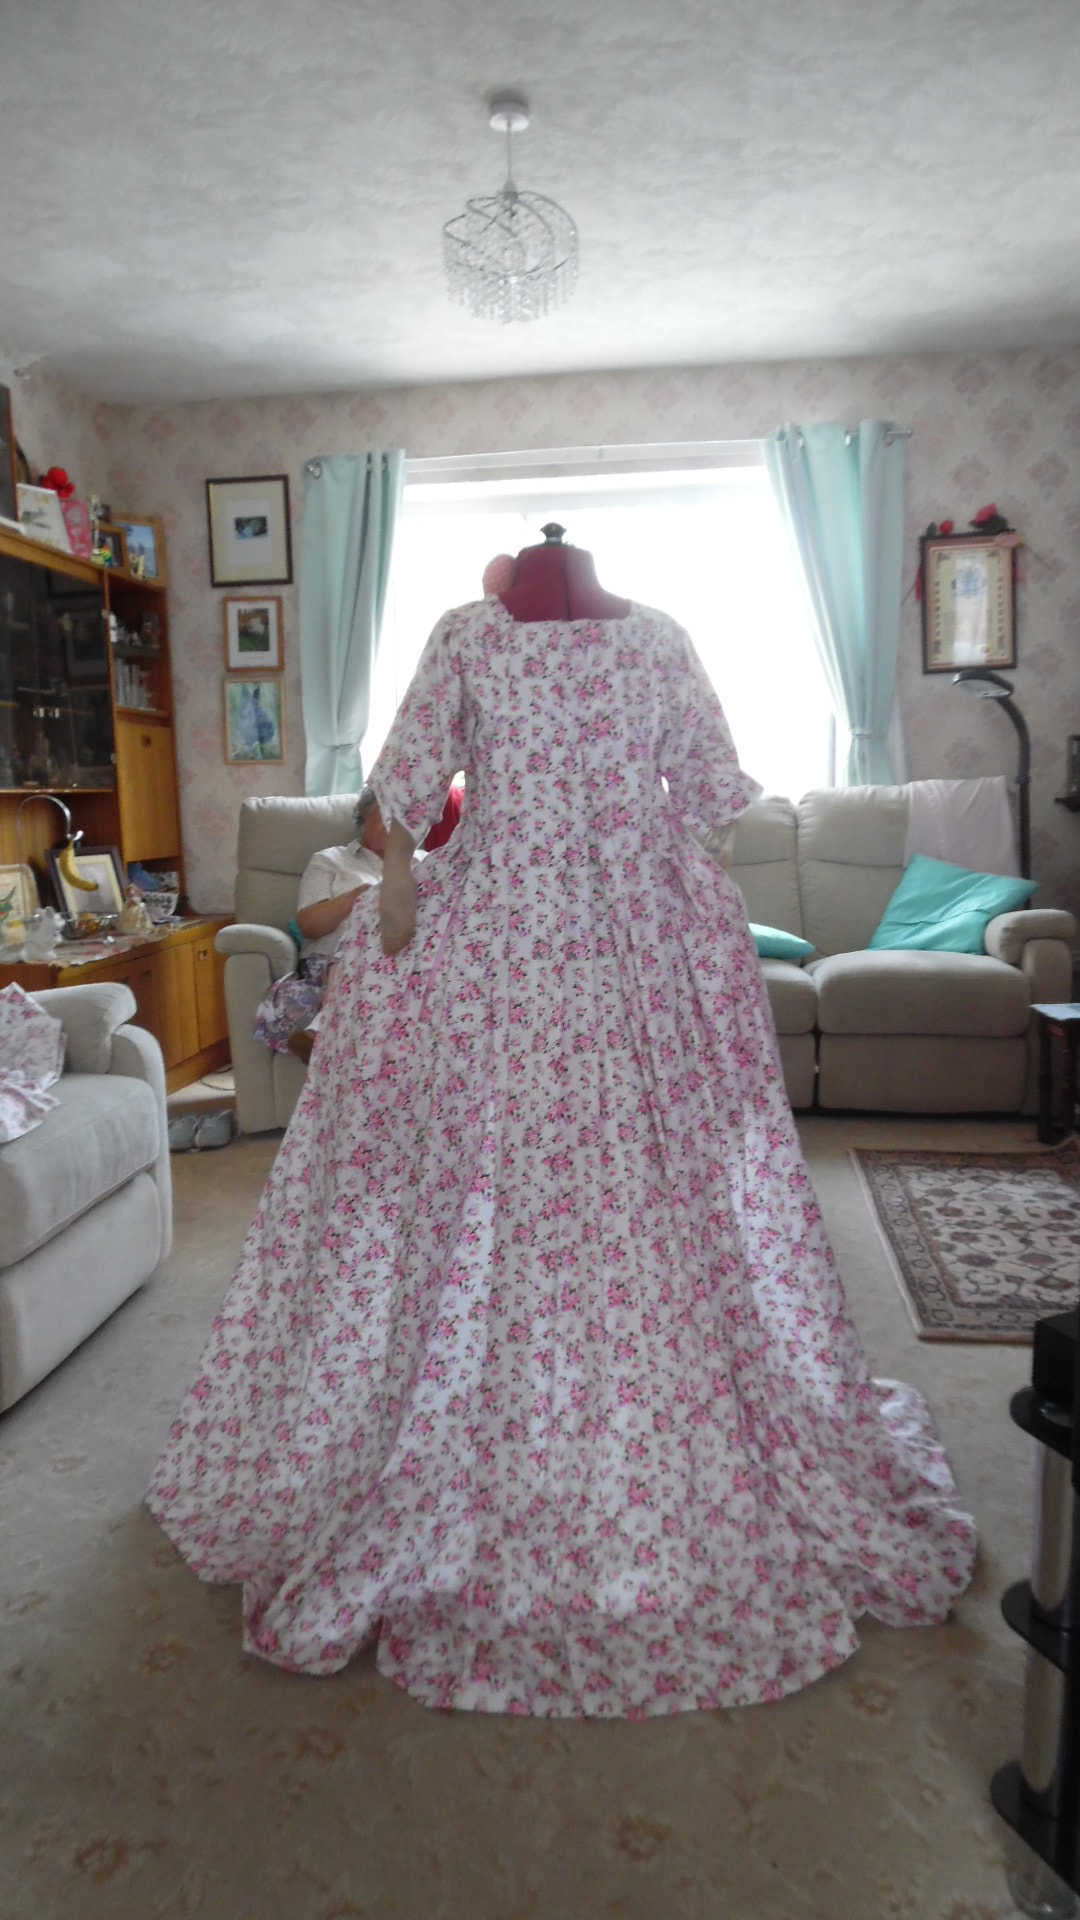
This shows the front and back. We will be stitching a decorative edging on later.

|
|
|
We have cut several strips of fabric 3cm wide, to create the curved decoration on the gown. This was pleated and sewn down on both sides.
|
|
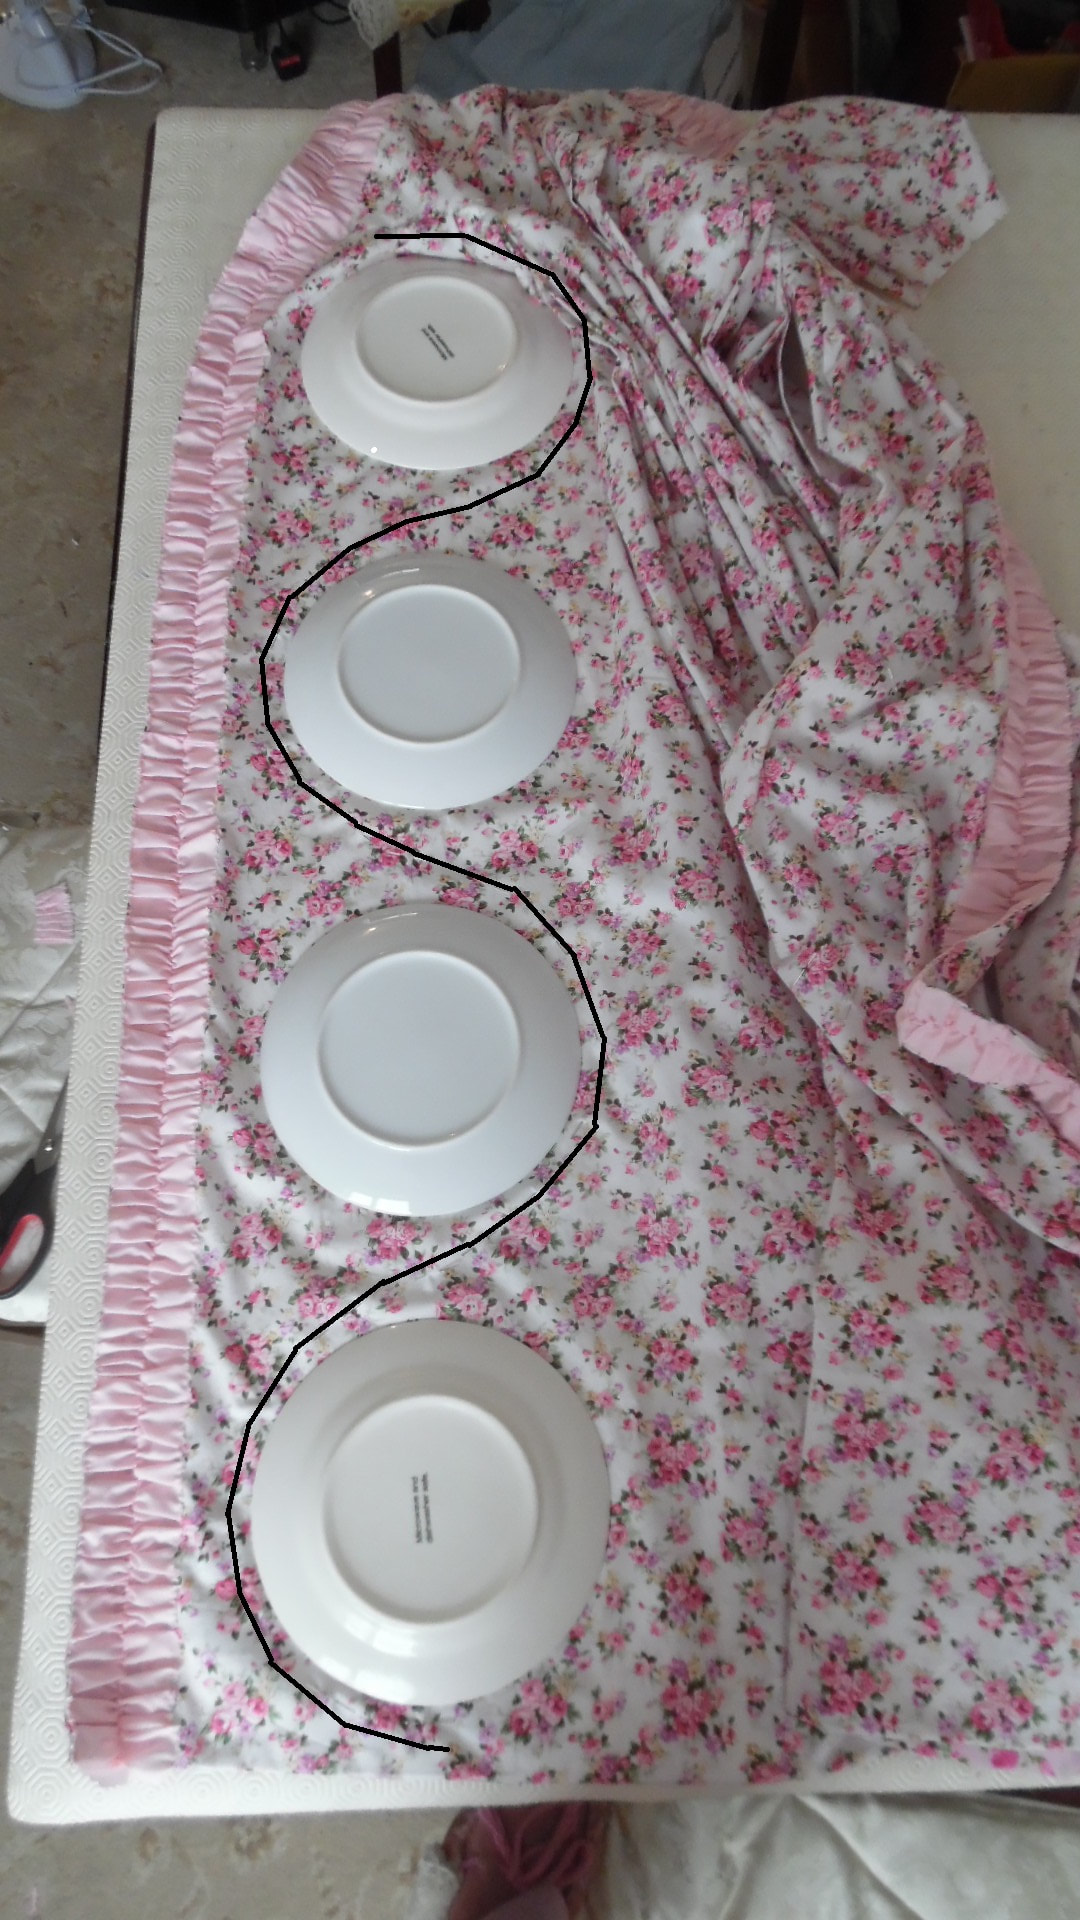
To create the perfect curve, we placed plates onto the fabric and marked a line around them as in the picture. This will be the template for creating a curved decoration.
|
|
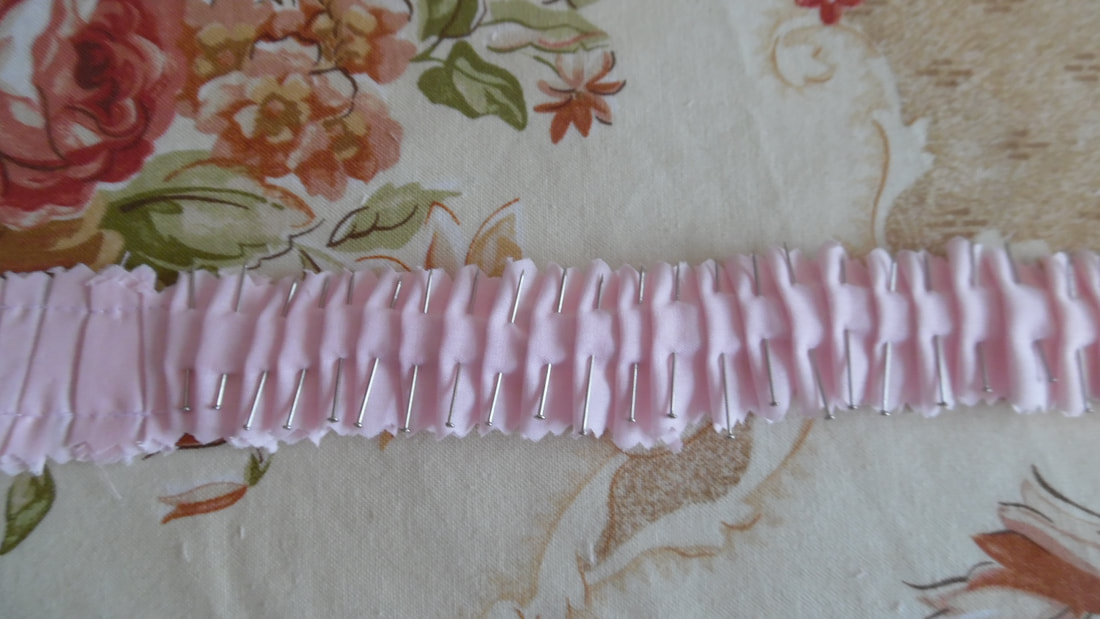
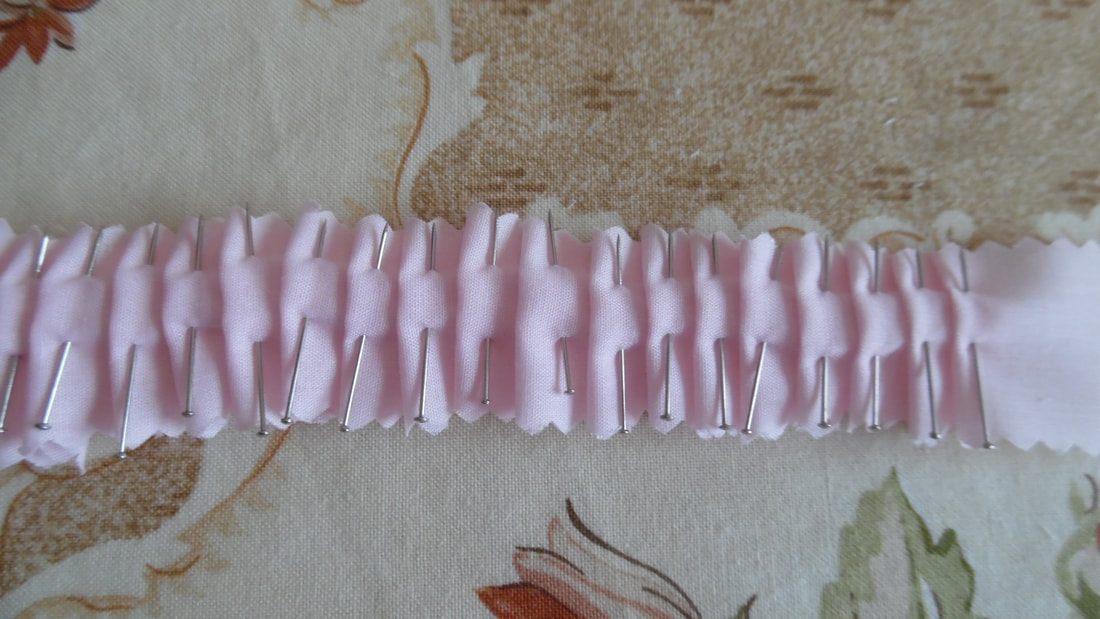
For the trim, it is 3cm wide using small pleats. The total length of trim will depend on your design from the previous stage. But whatever it is, you will need to cut at least 3 times as long, best to cut more fabric than you need just in case.
|
|
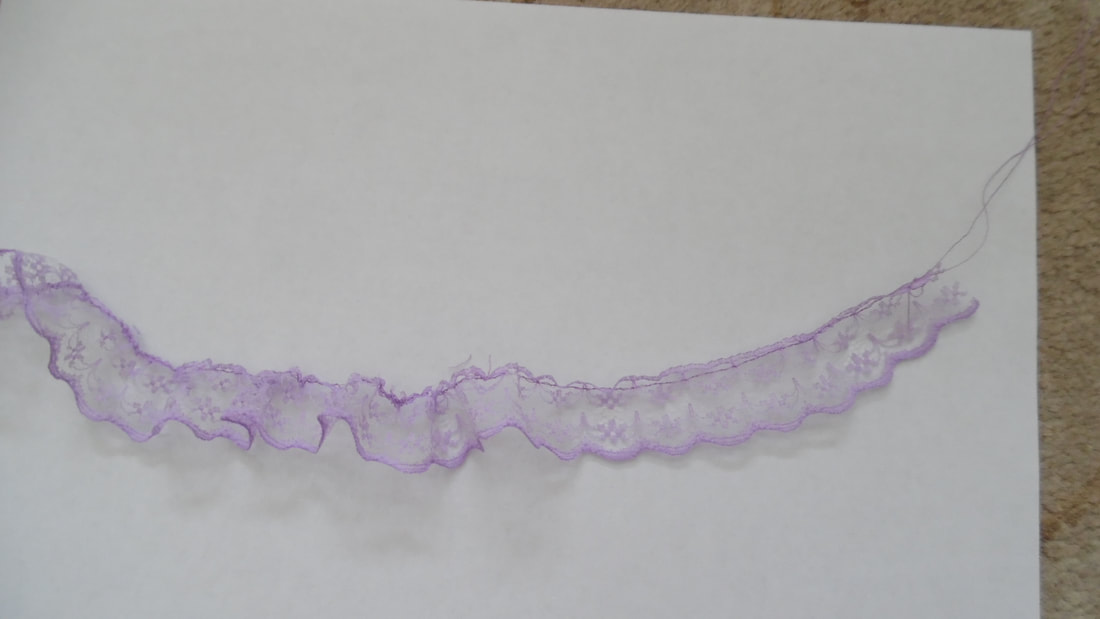
As my trim was not gathered, I now use a small gather for the whole of the length of trim.
|
|
I can now sew on the trim to the pleated strip and attach to the dress and also complete the trim on the edge.
|
|
This is what it looks like so far.
|

|
Pink an oblong of material approximately 40cm x 8cm, fold in half and sew a long running stitch across the top and gather. This will be long enough to be an opposite design to the one previously done.
|
|
Sew onto the gown. The section are designed to not quite meet each other. Do 8 altogether.
|
|
|
Cut a piece of fabric approximately 40cm x 8cm wide and sew on the trim. Using small pleats, sew two lines of stitching for gathering.
|
After gathering, sew the seam together.
|
|
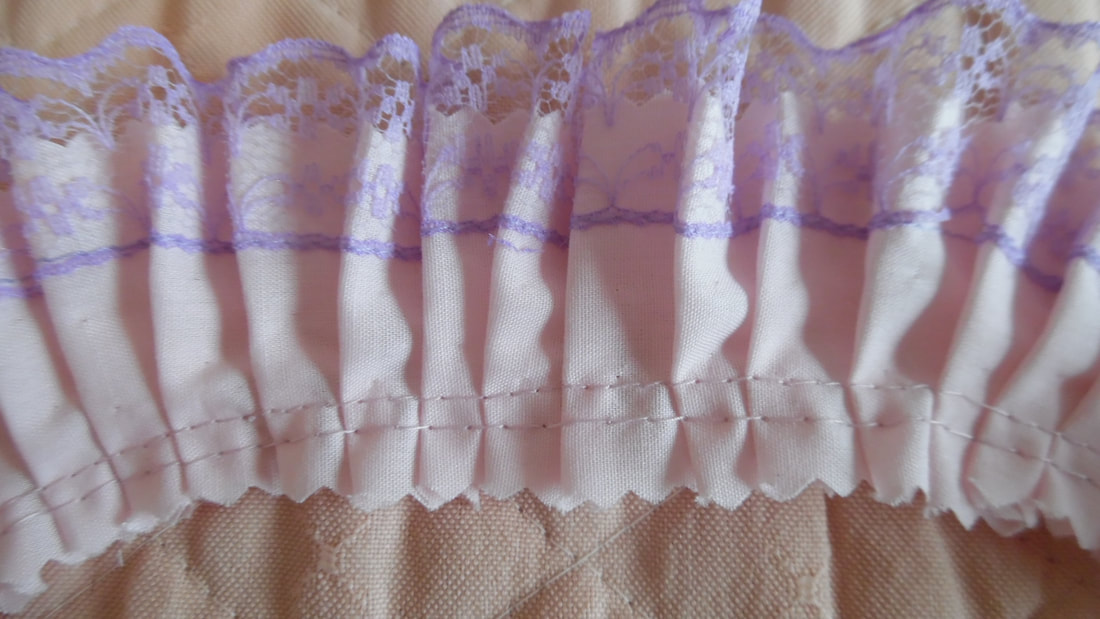
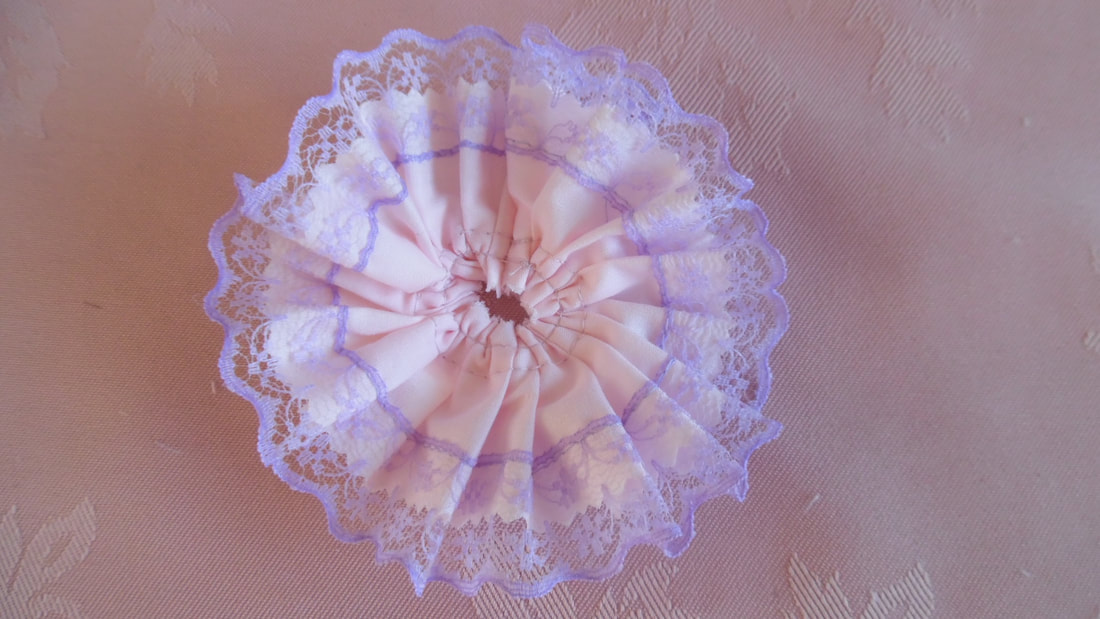
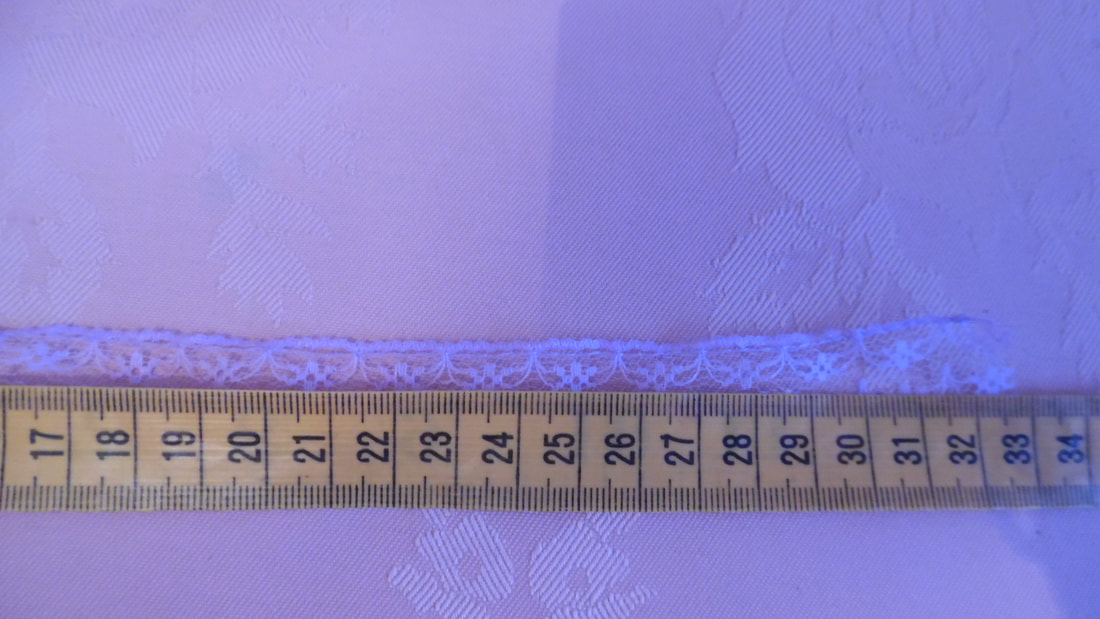
Cut another piece of trim approximately 32cm long and run a gathering stitch along the top.
|
|
Fold the gathered piece in half and halve again, sew this into the middle of the rosette. You will need 10.
|

This completes the embellishments.