For this costume, you will require intermediate to experienced expertise in sewing, bodice making and boning and use of double sewing machine needle or overlocker.
Difficulty factor 8 - 10
Difficulty factor 8 - 10
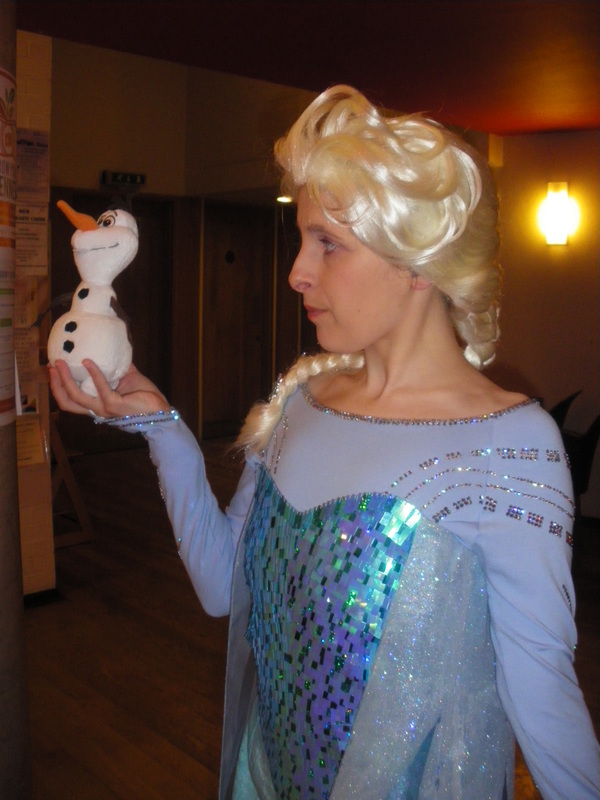
Elsa
from
Frozen
Please note, that we do not make costumes to order or to hire. These are one off costumes designed for Tracy.
Please use these instructions in conjunction with our videos, as they contain more information on items needed, their sources and technique
from
Frozen
Please note, that we do not make costumes to order or to hire. These are one off costumes designed for Tracy.
Please use these instructions in conjunction with our videos, as they contain more information on items needed, their sources and technique

Materials:
Stretch top:
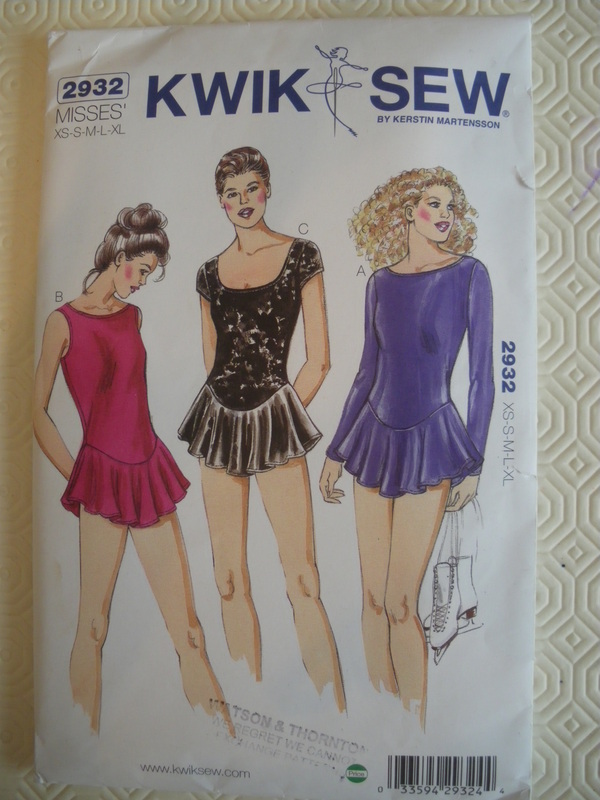
Kwik Sew Pattern 2932
2 Metres Plain Light Blue Stretch Cotton Jersey (I bought extra as I wanted to do a practice piece first)
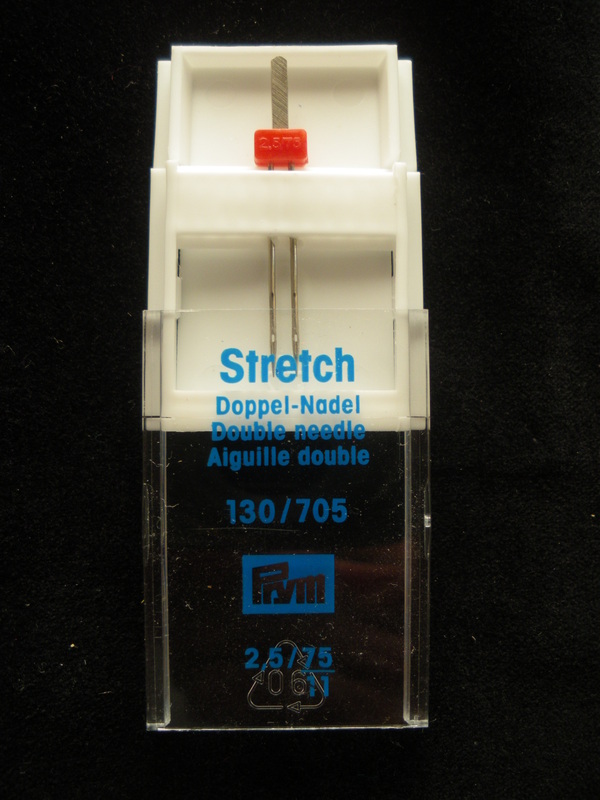
Double Sewing Machine Needle
Tulip Glitter Bond
Swarovski Crystals:
Crystal Blue Shade
(Approximate Amounts) 1,000 4mm, 1,000 3.2mm, 500 1.8mm (this will depend on your design, but gives an idea of quantities used)
Stretch top:
Kwik Sew Pattern 2932
2 Metres Plain Light Blue Stretch Cotton Jersey (I bought extra as I wanted to do a practice piece first)
Double Sewing Machine Needle
Tulip Glitter Bond
Swarovski Crystals:
Crystal Blue Shade
(Approximate Amounts) 1,000 4mm, 1,000 3.2mm, 500 1.8mm (this will depend on your design, but gives an idea of quantities used)
|
|
You will need a double or stretch needle. These are universal and fit any machine, its just like putting in a normal needle except you have two spools of thread on top instead of one. Most sewing machine have two spool holders on the top of the machine, put one on each. Thread the spools individually and it doesn't matter which thread goes in which needle. These needles usually come in standard thicknesses. When sewing, DON'T force the material through, this also applies to overlocking.
If you don't have an overlocker, use this method for all the seams and neckline, if you have an overlocker, use it for the seams and bottom of the item.
I used Kwik Sew 2932, but you can use any leotard pattern as long as it has a scoop neckline.
If you don't have an overlocker, use this method for all the seams and neckline, if you have an overlocker, use it for the seams and bottom of the item.
I used Kwik Sew 2932, but you can use any leotard pattern as long as it has a scoop neckline.
|
|
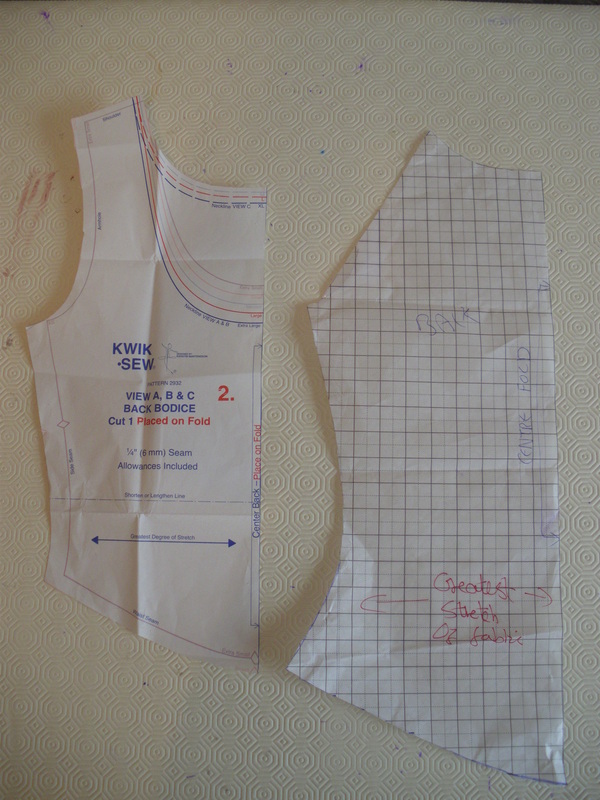
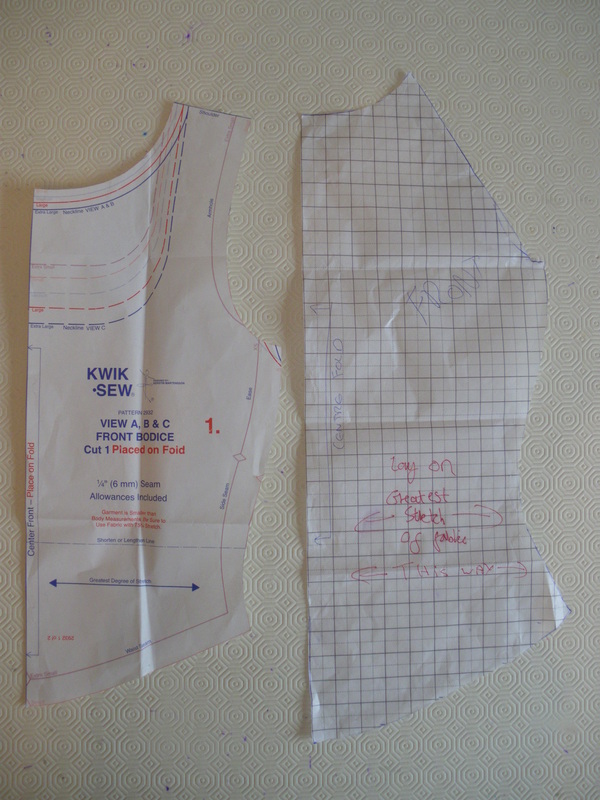
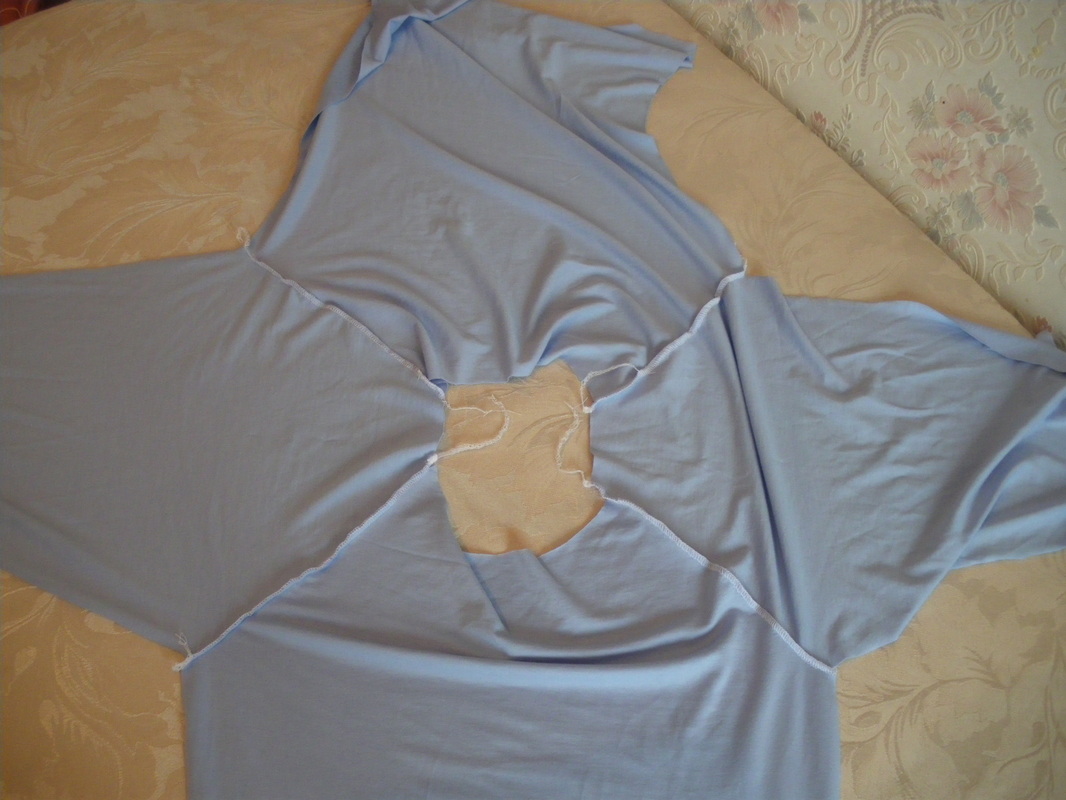
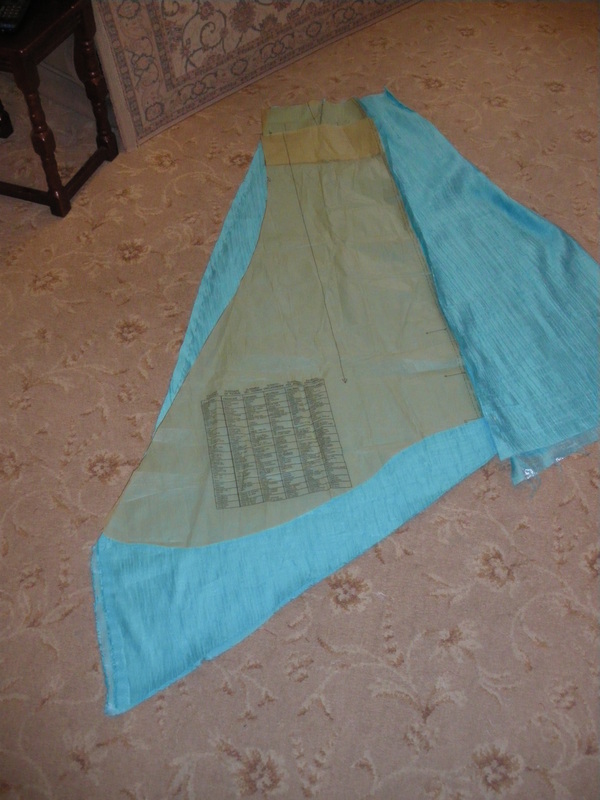
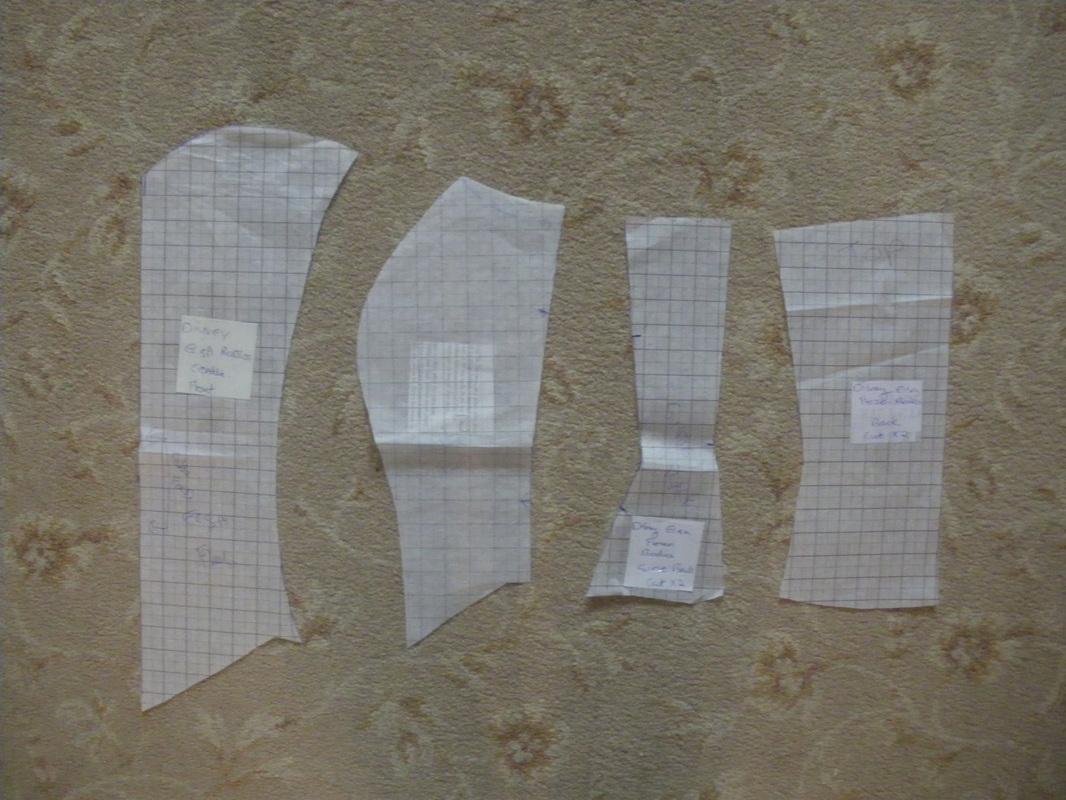
The original patterns are on the left, they need to be altered for a "Raglan" sleeve and a high neckline. I also made the pattern slightly longer to hip length.

|
|
The altered sleeve pattern, needs to be the same seam length as the front and back with the top chopped across and also needed to be extended into a point.
Using an overlocker or double needle, sew all the pieces together (front, sleeve, back, sleeve).
Using an overlocker or double needle, sew all the pieces together (front, sleeve, back, sleeve).
|
|
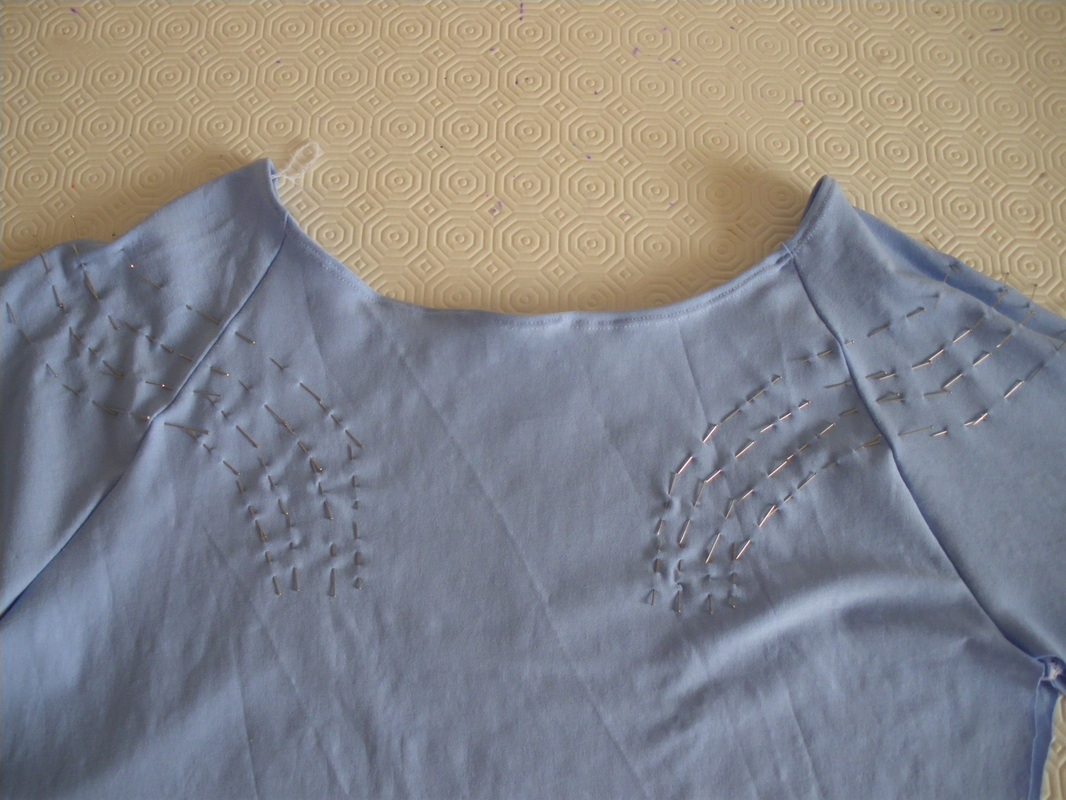
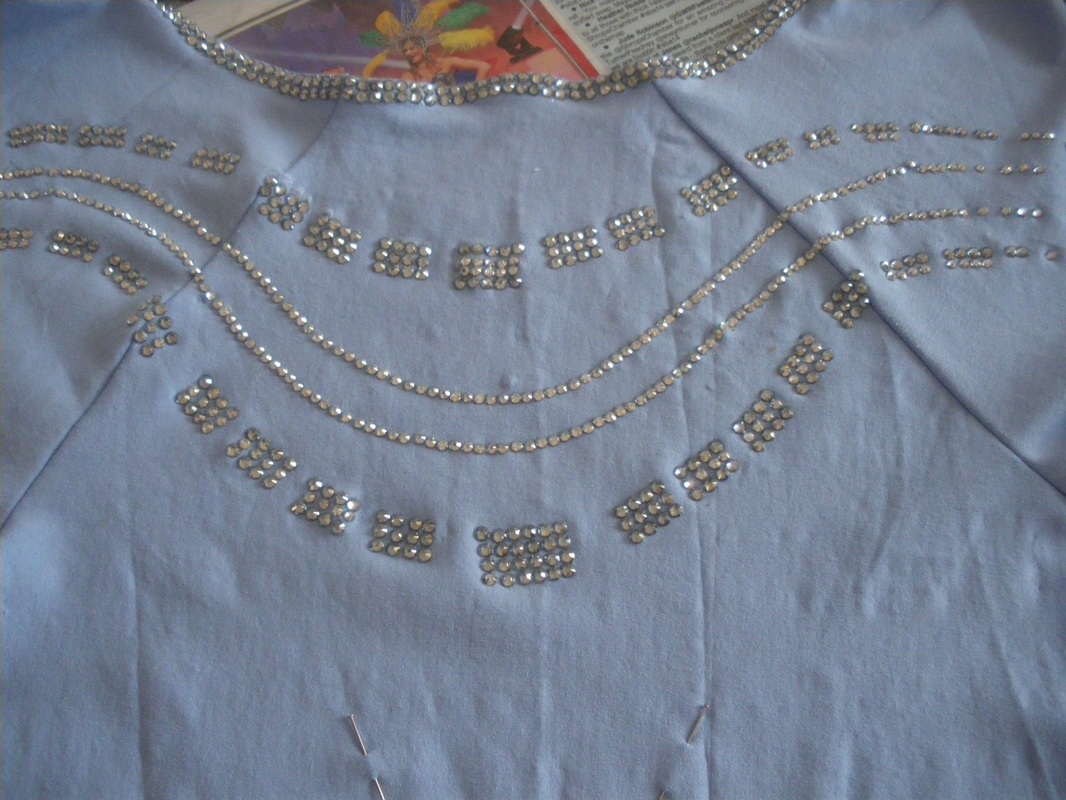
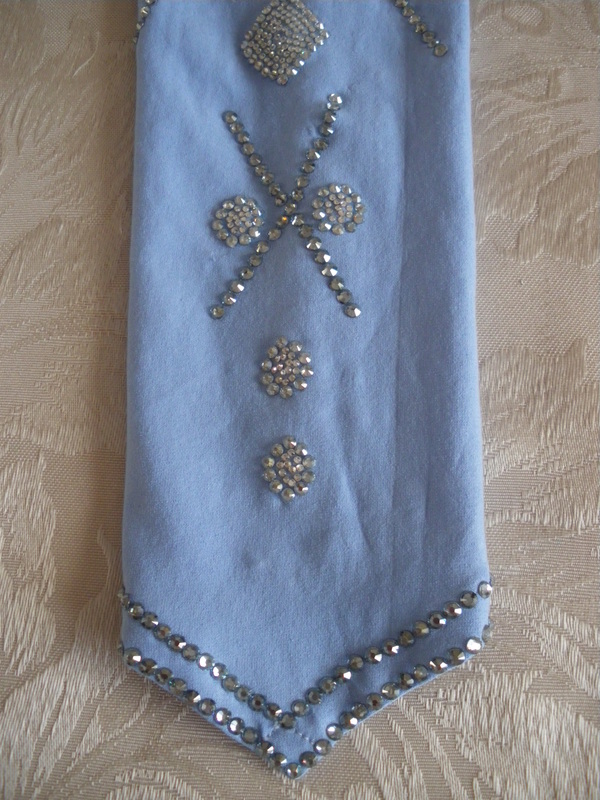
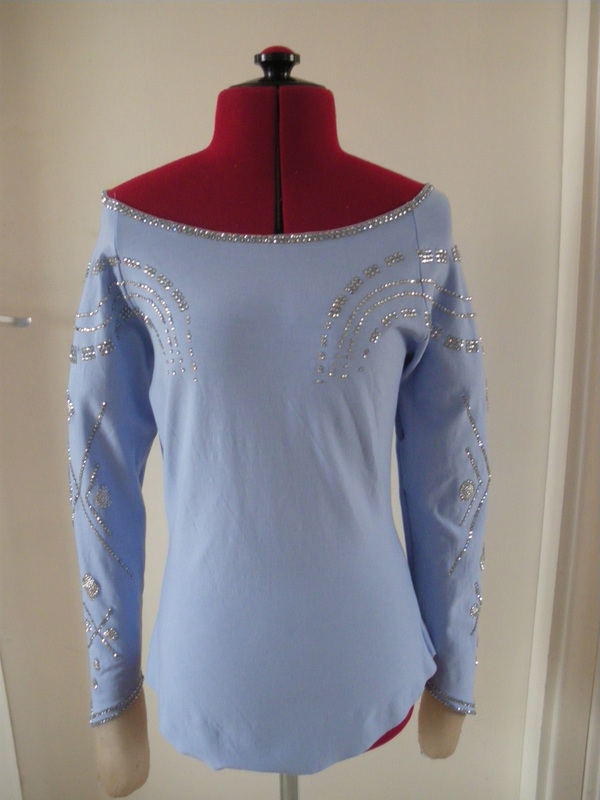
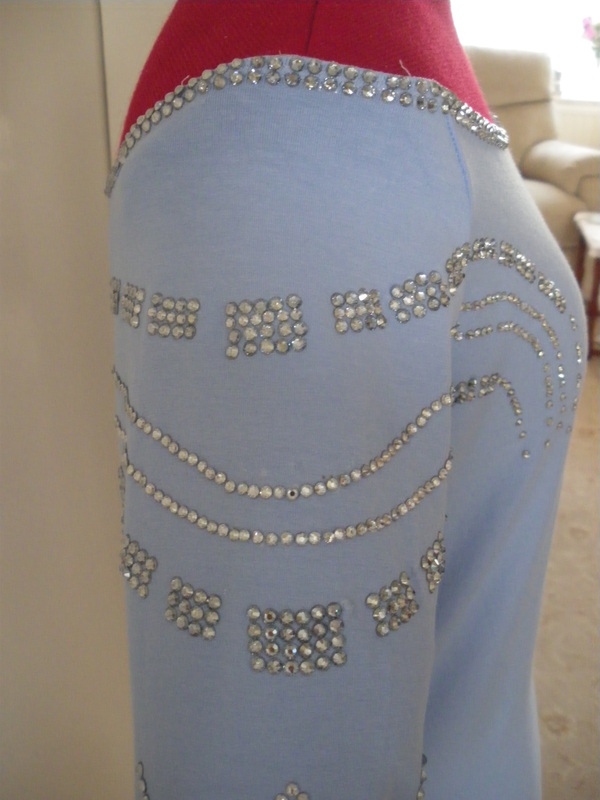
When sewing your neckline, all you do is turn the seam edge over and double needle sew it down, leave the side seams and sleeve seams open. Don't pull your fabric at any point during the making of the garment. Next, using pins or tailor's chalk, mark out your design. This is down to individual choice of the reference picture you want to use. Using either fabric glue or a hot fix tool, stick on your crystals. This picture shows the sleeve. You don't need to take your design down too far at the front or back as it will be covered by the bodice.
|
|
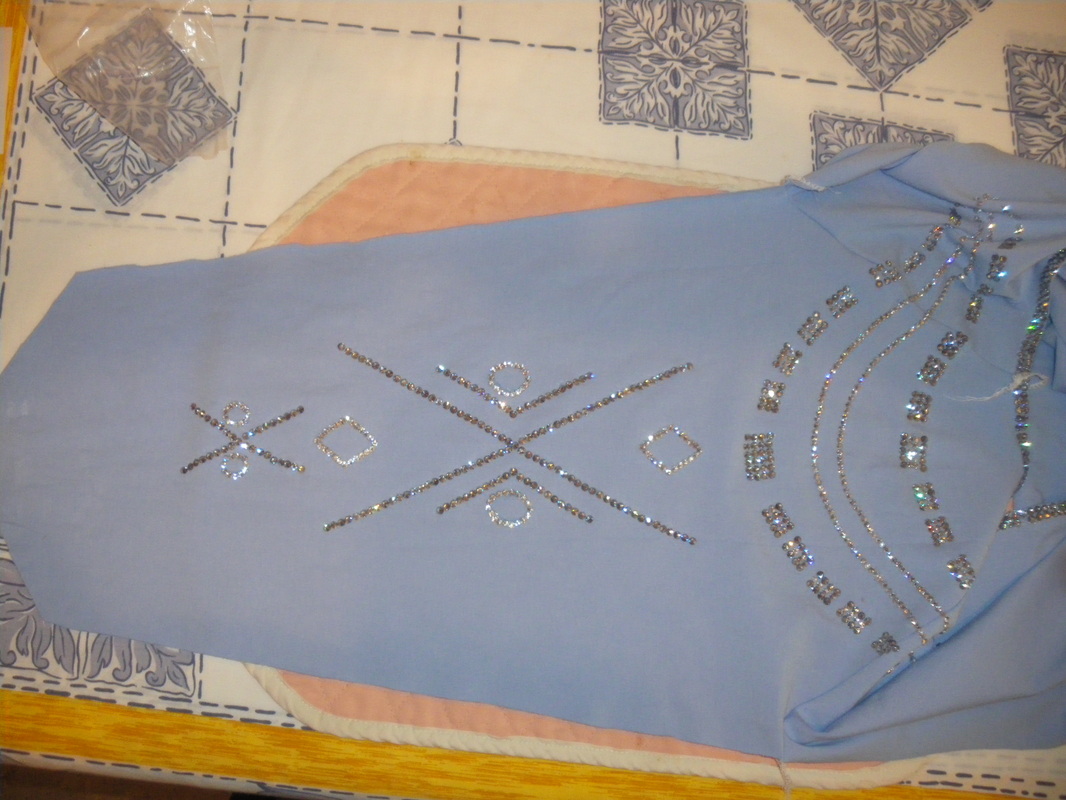
Using your reference pictures map out the sleeve design, the centre of the cross needs to be at the elbow. Turn the bottom edge under once and sew down using the double needle. Now you can sew up the side and sleeve seams. I then glued crystals around the bottom of the sleeve. I may, sew on a loop at the end of the sleeve to put onto my middle finger.
|
|
It is down to individual choice to turn up the bottom of the garment, but as it will not fray, you don't have to.
This completes the stretch bodice.
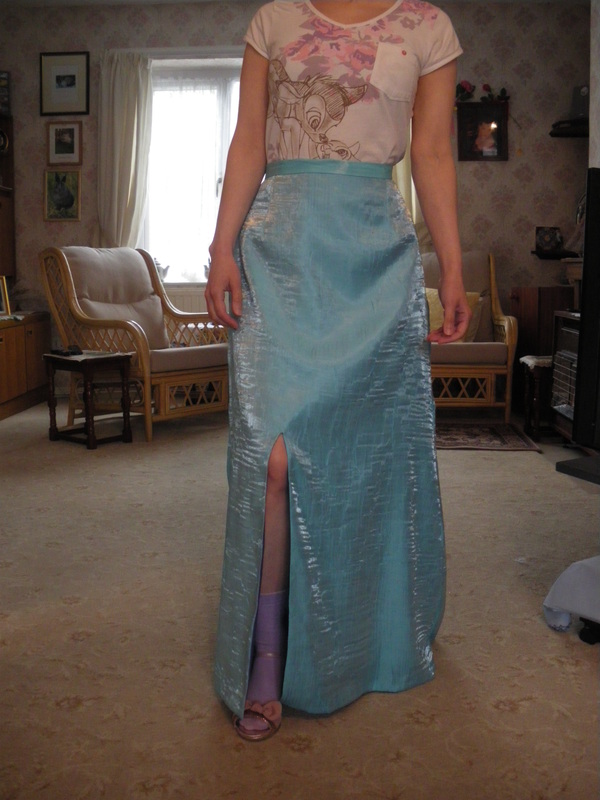
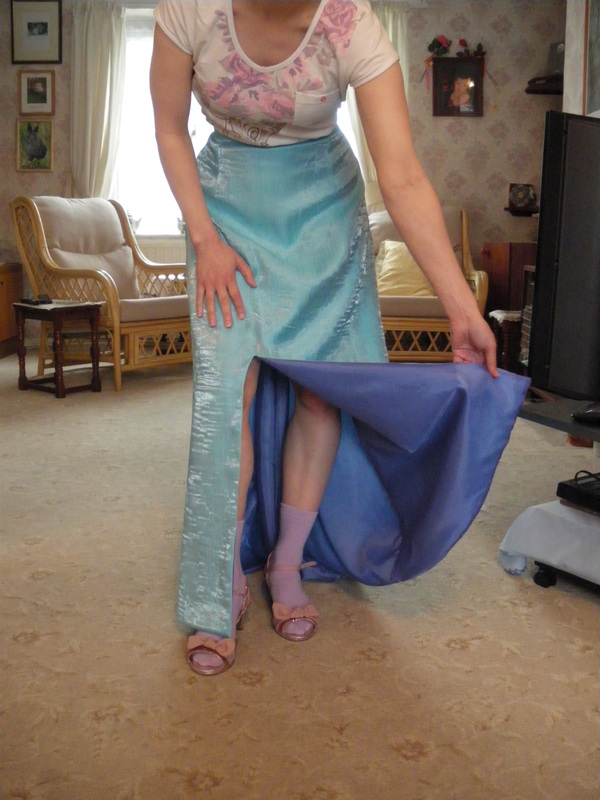
Skirt:
Butterick B4131 or similar
2 Metres of outer fabric of your choice
2 Metres of blue lining material
Invisible zip
Petersham stiffener for waistband
This completes the stretch bodice.
Skirt:
Butterick B4131 or similar
2 Metres of outer fabric of your choice
2 Metres of blue lining material
Invisible zip
Petersham stiffener for waistband
|
|
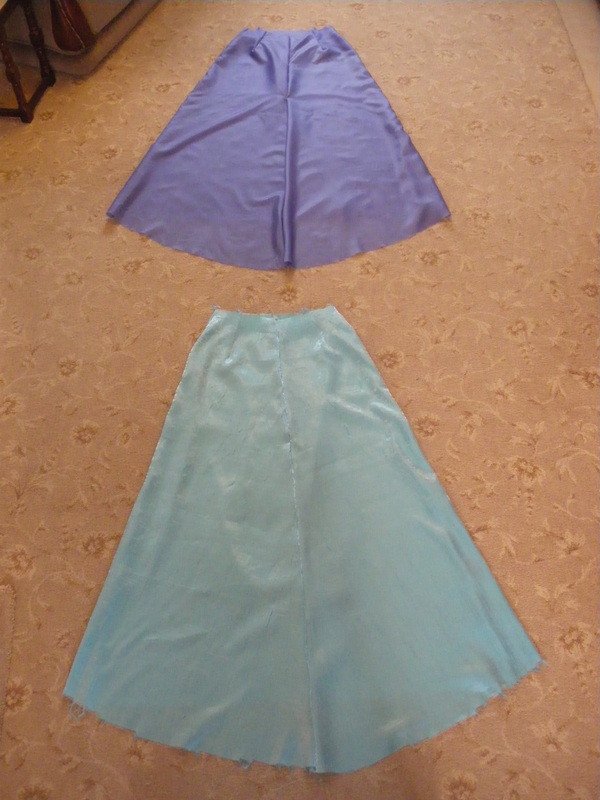
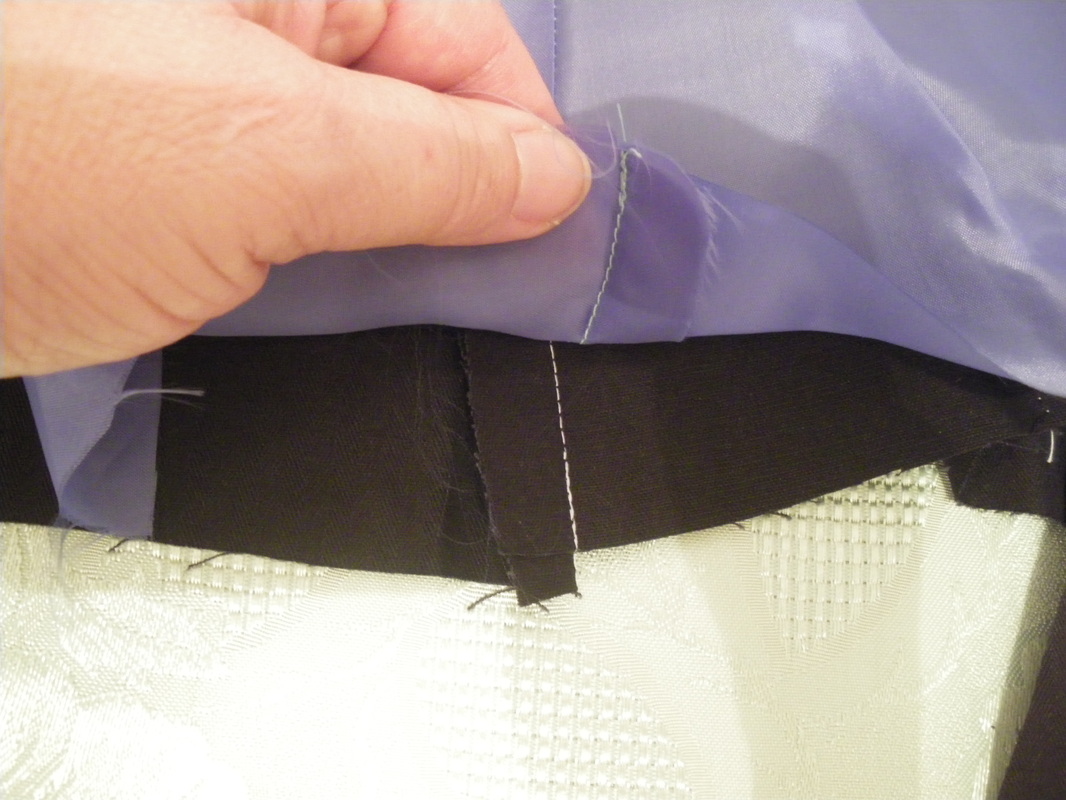
Following our video tutorial you will see how we altered the original pattern to one of our choice. This is entirely up to you depending on which skirt pattern you decide to use, we also show you how to insert a dart for the waist. We then made an outer and inner skirt. Leave at least a 14" (35cm) gap for the zip and sew up the seams.
|
With both skirts inside out, put the liner inside so you can see the darts. On the outer fabric, the darts are on the outside of the fabric (see video). Pin the two skirts together at the waist.
|

|
|
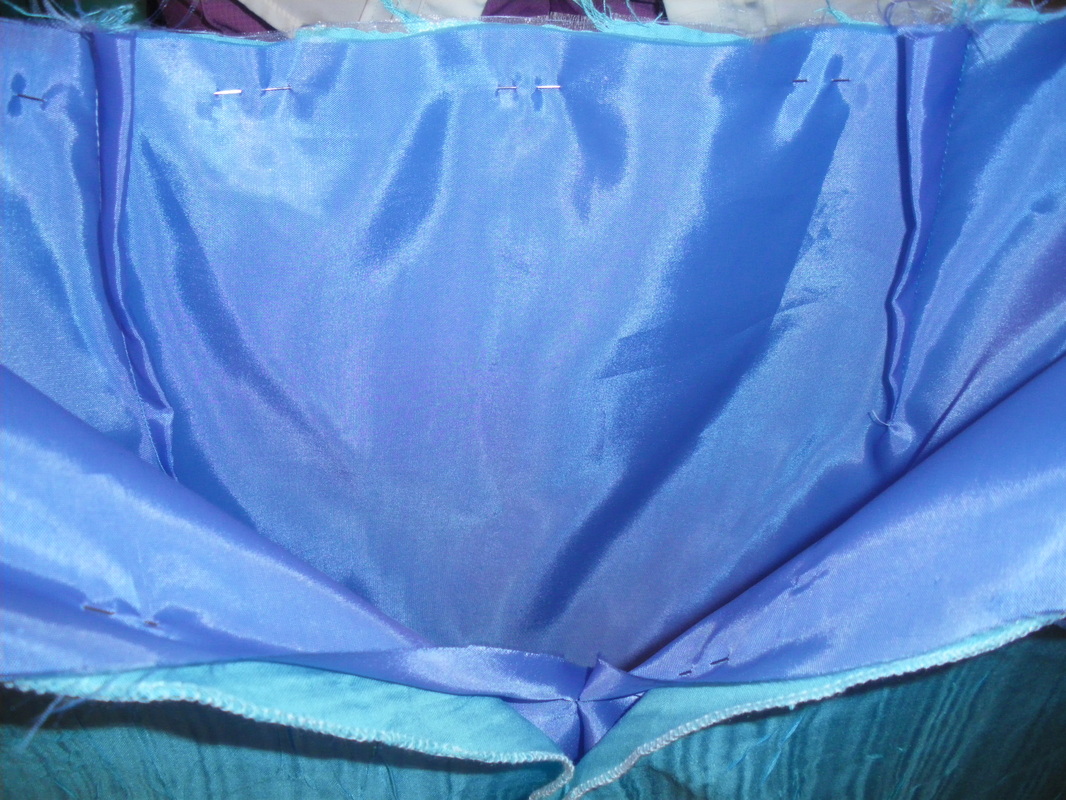
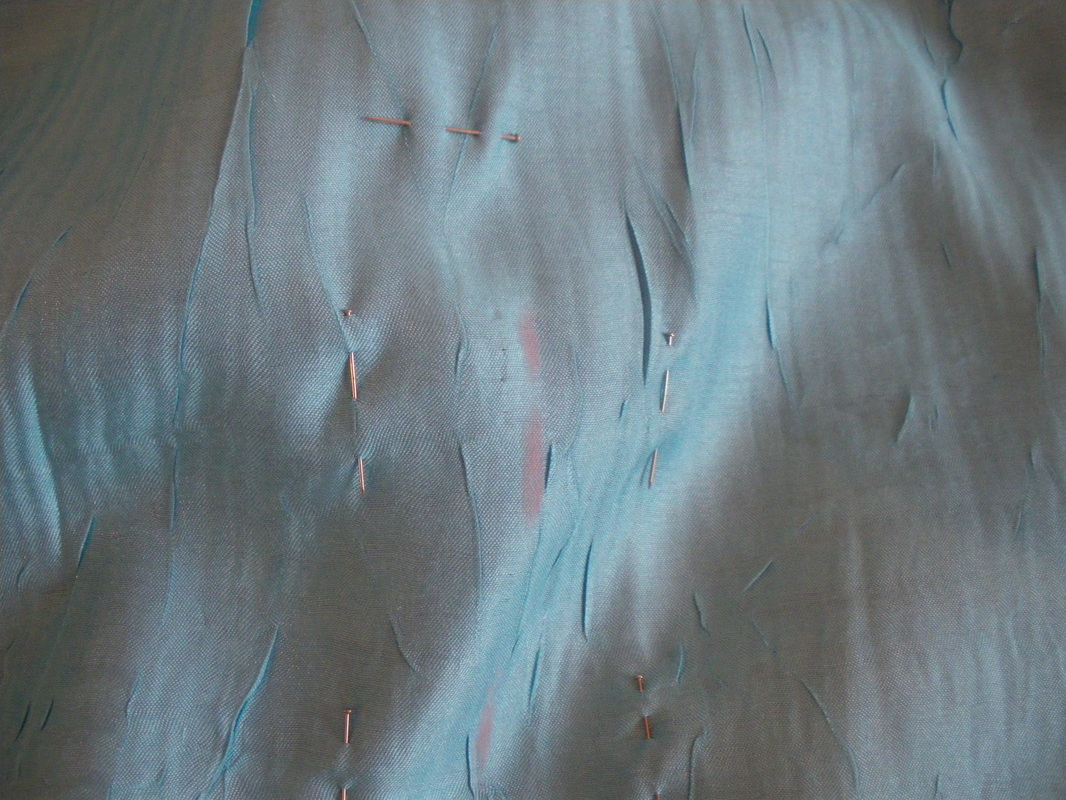
Putting both layers together at the hem line, put in a marker pin and pin around the bottom where the hem will be sewn. Check that all your seams match as you go around. Follow the instructions on the video to find where your split will be at the front. This also shows how to sew around the bottom of the skirt and up and down the split. Overlock to neaten any excess fabric and turn the skirt the right way out.
|
|
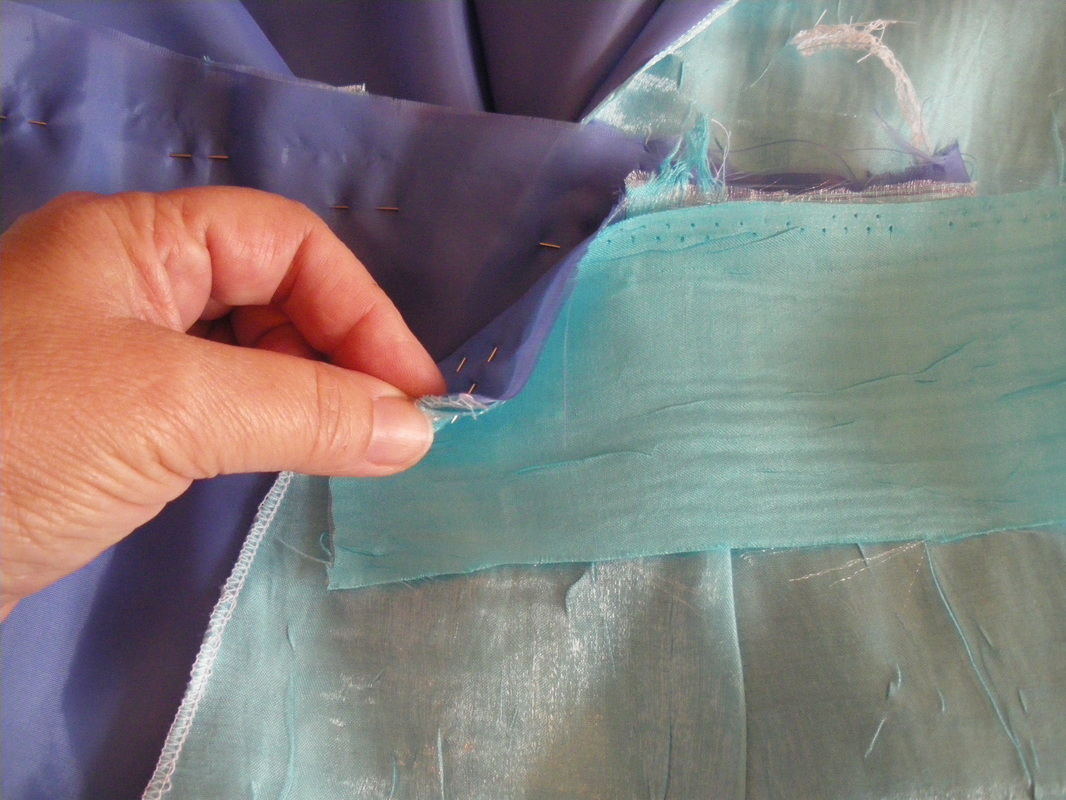
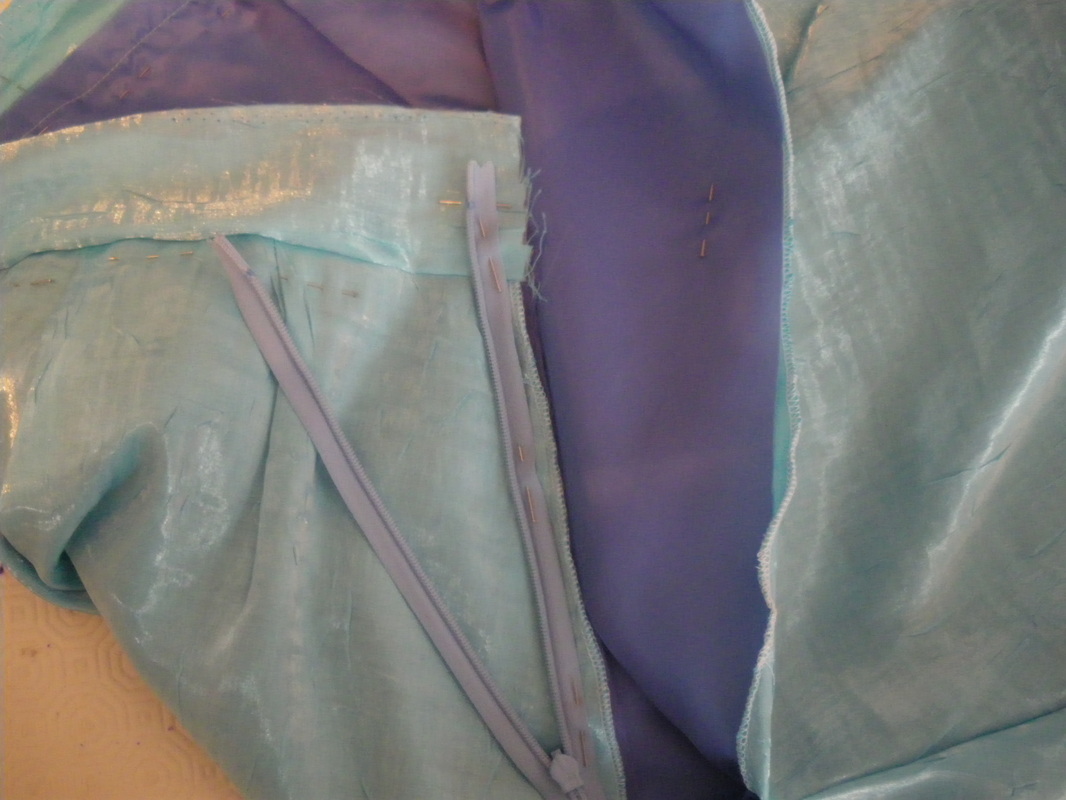
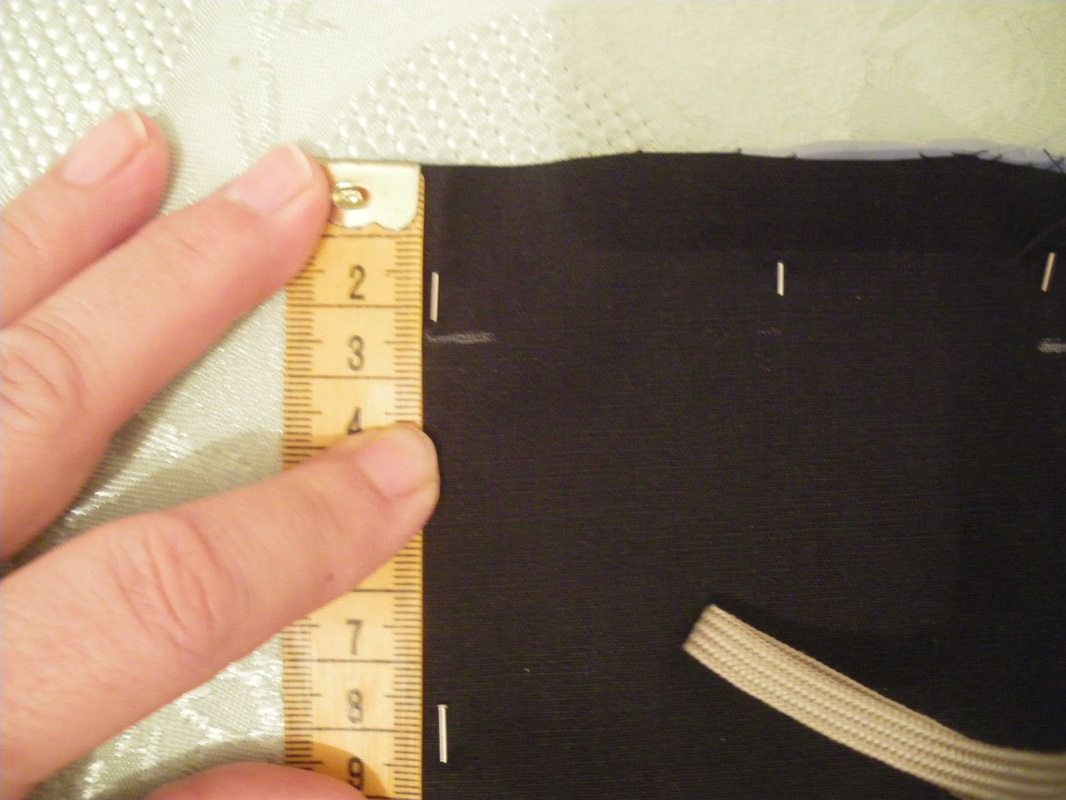
Measure around the top of your skirt (this should be your waist measurement plus a little extra). Cut a length of fabric to this measurement with a width of 3" (7cm). Pin and sew this to both layers, overlap the waistband by about 1cm at each end. The top of the zip needs to finish at the half way mark of your waistband. Sew in your chosen zip through both thicknesses of material.
|
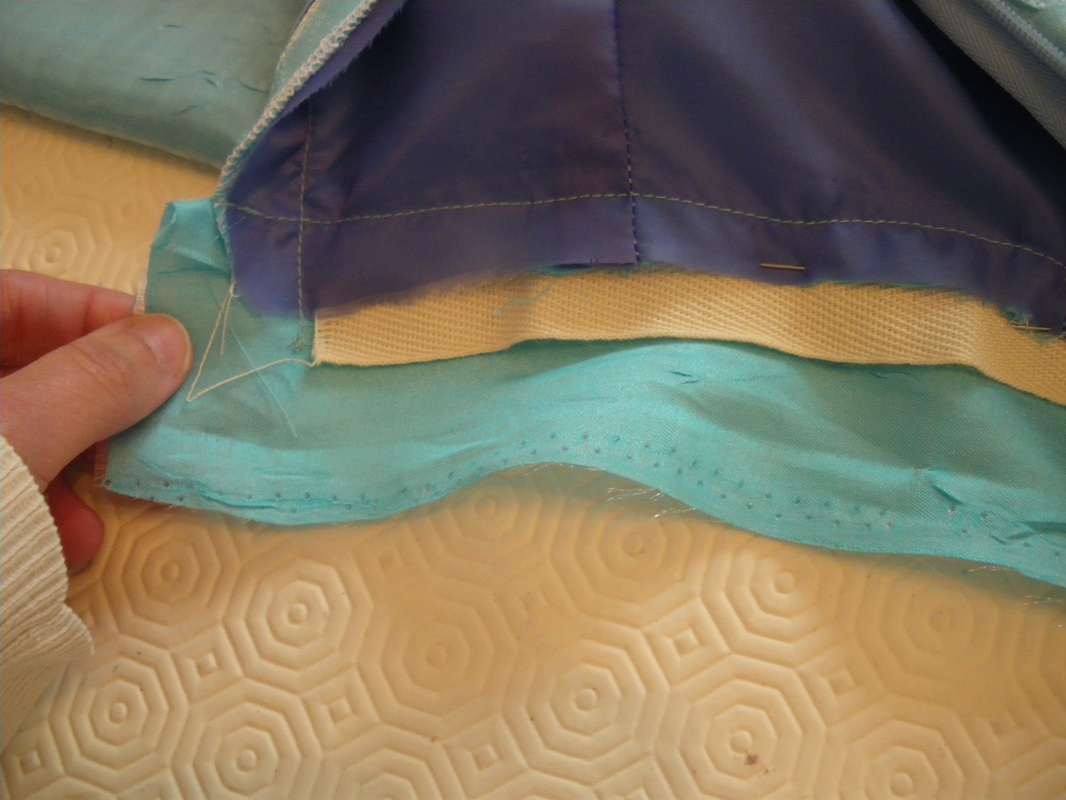
Pin a length of Petersham inside the waist band so it tucks under the lining and is close to the stitching. (Make sure the pins are on the outside otherwise you will not get them out afterwards!!) Turn in the 1cm at the edge and fold the waistband in half. Turn under the waistband and hand stitch to the liner. (see video) |
|
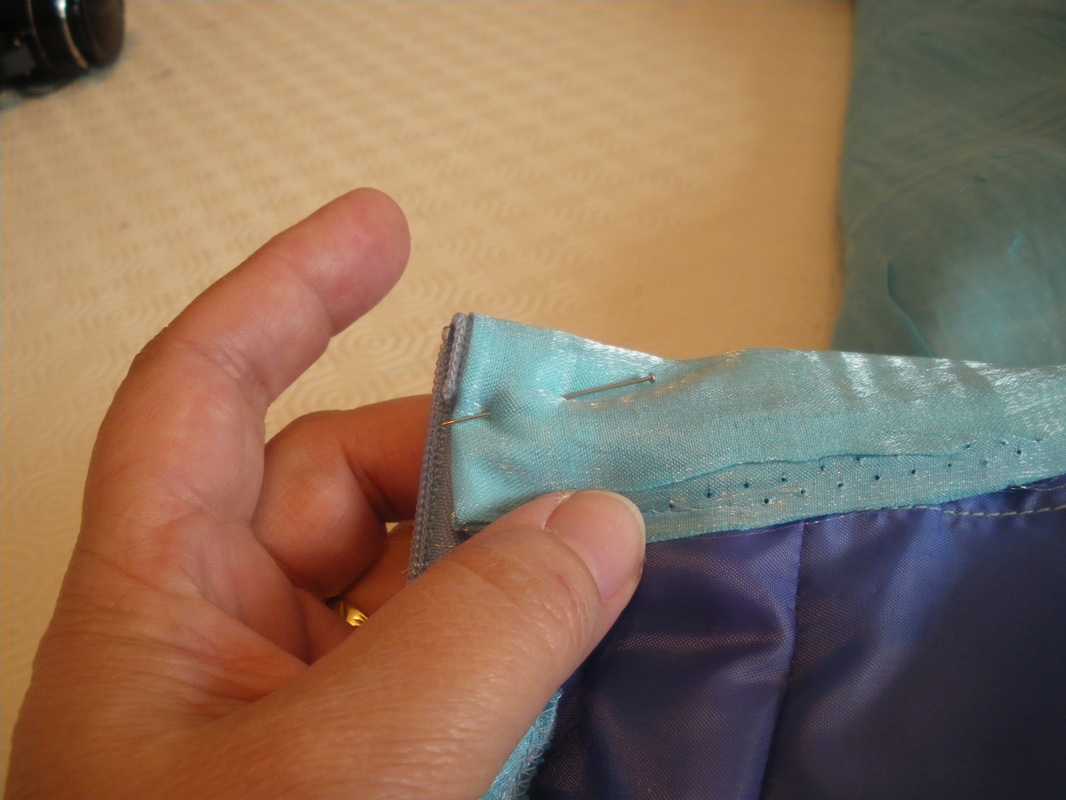
From the base of the zip, continue sewing down the back seam until you reach your sewing line made previously.
|
|
|
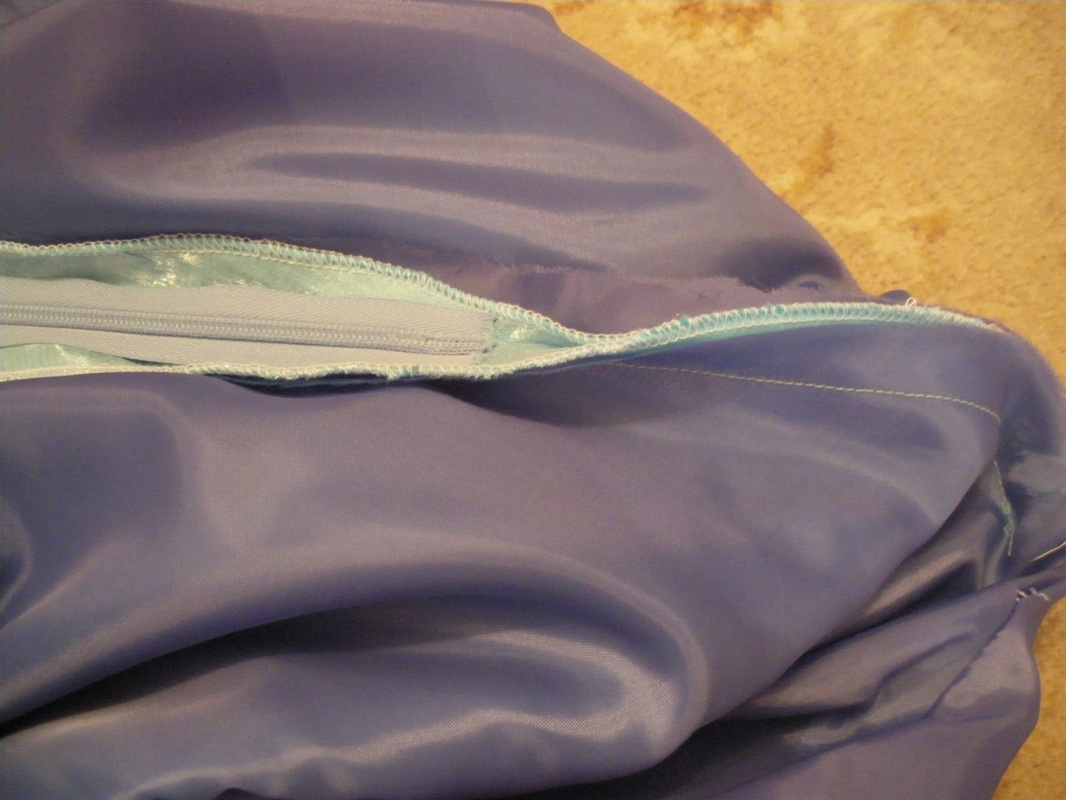
This completes the skirt.
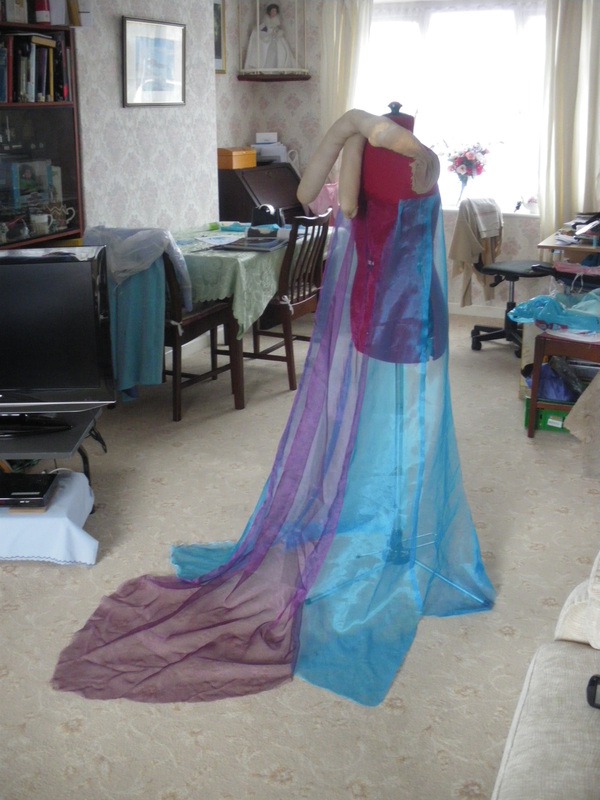
Cape:
3 Metres Blue Organza with a sheen
Cling Film or thin plastic sheet
2 large bottles Tulip Fashion Glitter Bond
3 Bottles Deco Art Glamour Dust (Crystal)
Snap Fasteners
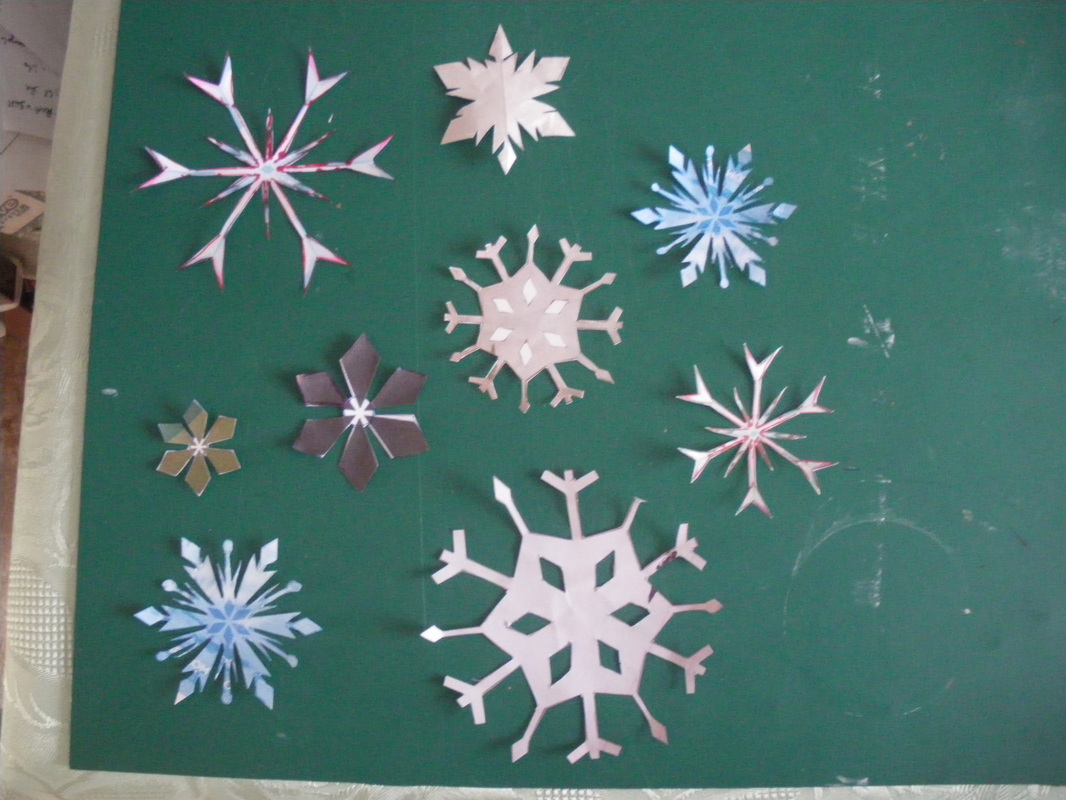
Snow Flake Templates
Cape:
3 Metres Blue Organza with a sheen
Cling Film or thin plastic sheet
2 large bottles Tulip Fashion Glitter Bond
3 Bottles Deco Art Glamour Dust (Crystal)
Snap Fasteners
Snow Flake Templates
|
|

|
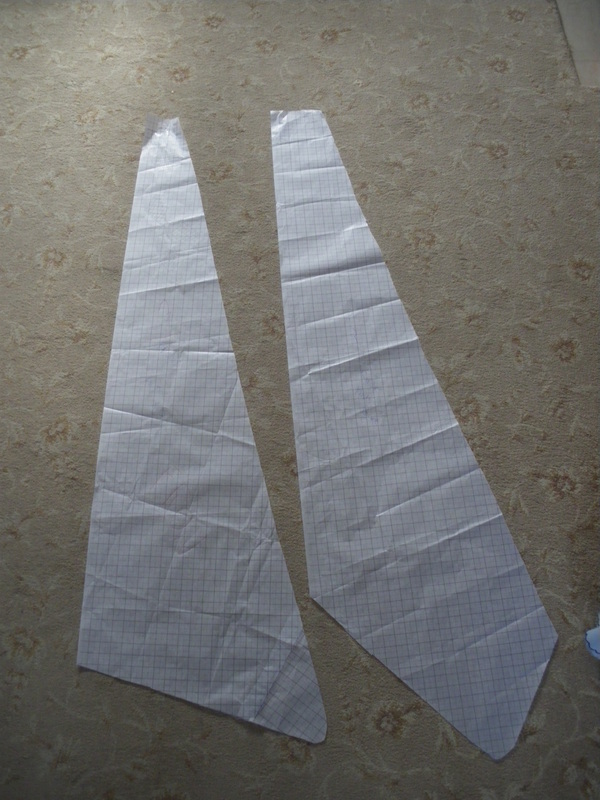
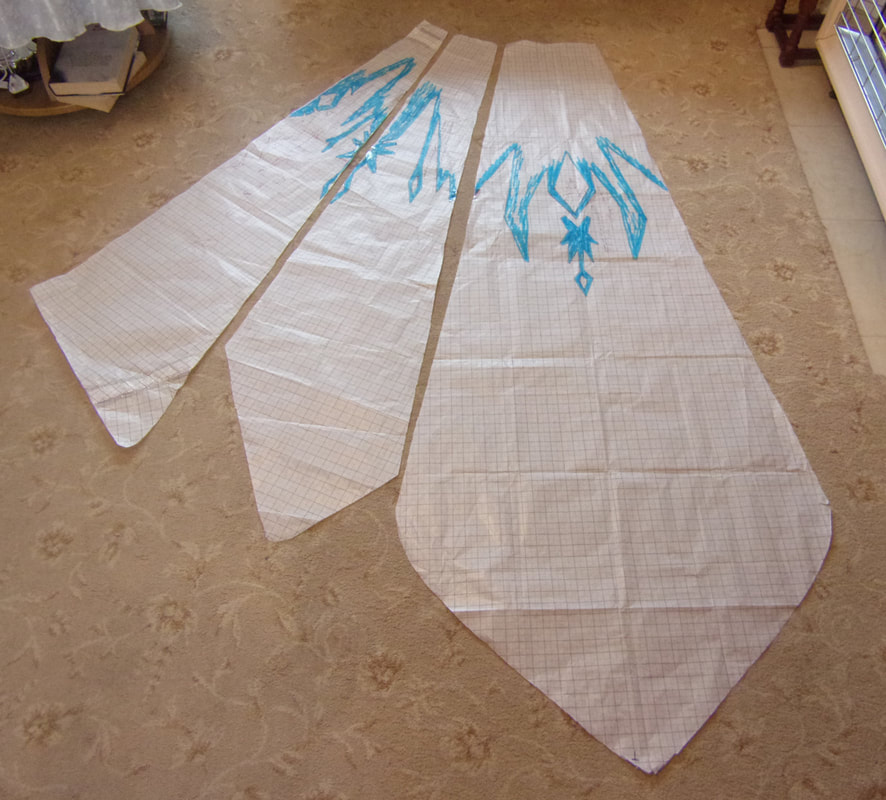
Having done a mock up first, I then cut out the templates
All the dimensions I used are on the video tutorial. |

|
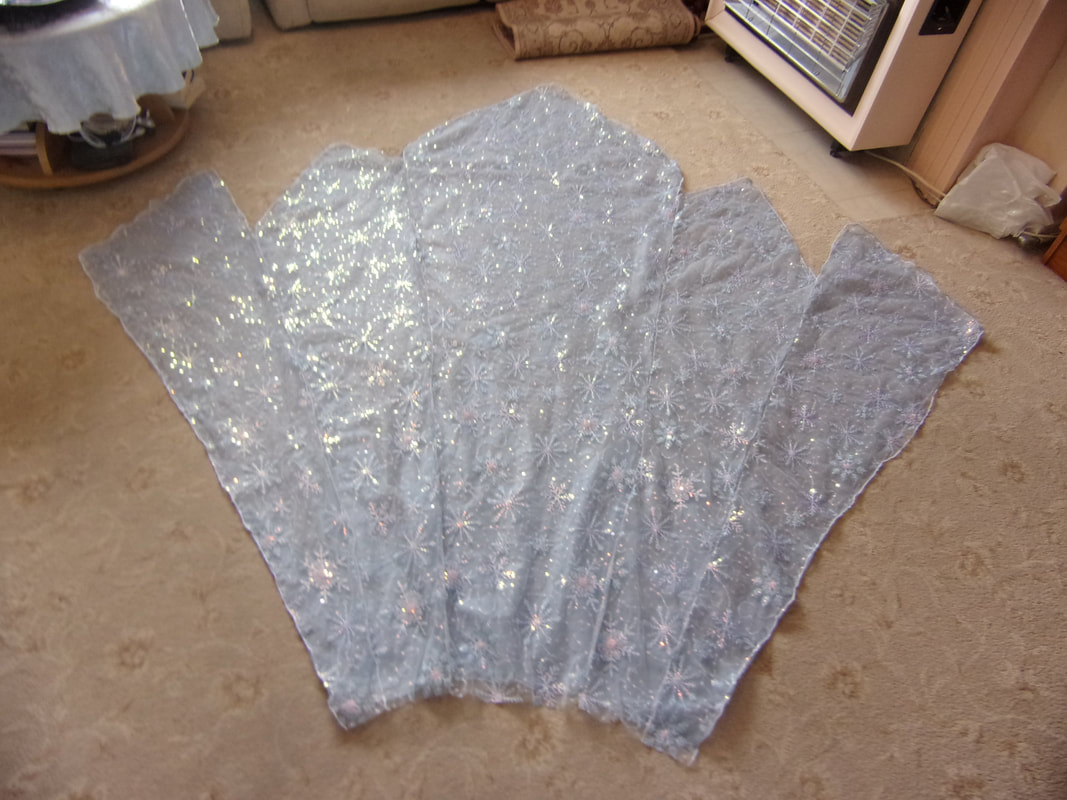
Having cut the fabric, I then overlocked the seams AND all the way around the cape to stop it from fraying. This would be easier than trying to do a rolled hem.
|
|
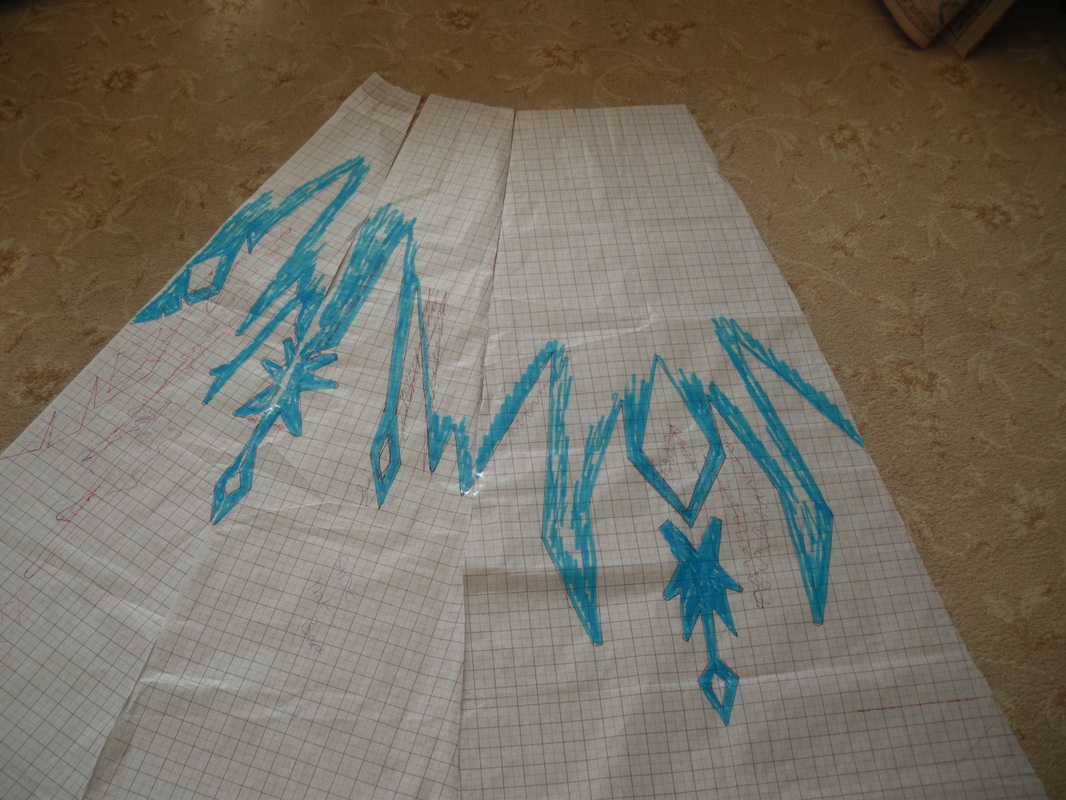
Cellotape your three pieces together and draw on your design. I am only going to do these sections at the moment, the last two pieces are a reverse of the first two.
|
|
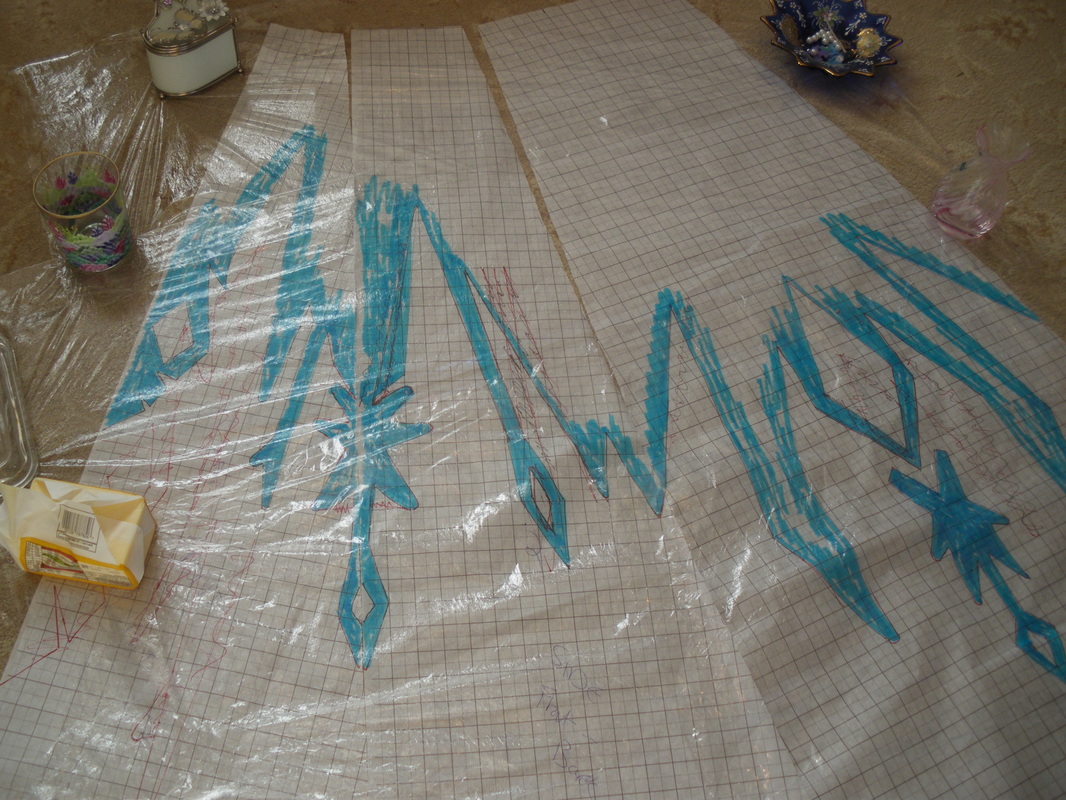
Cover the area you are going to glitter with cling film or clear plastic sheeting.
|

|
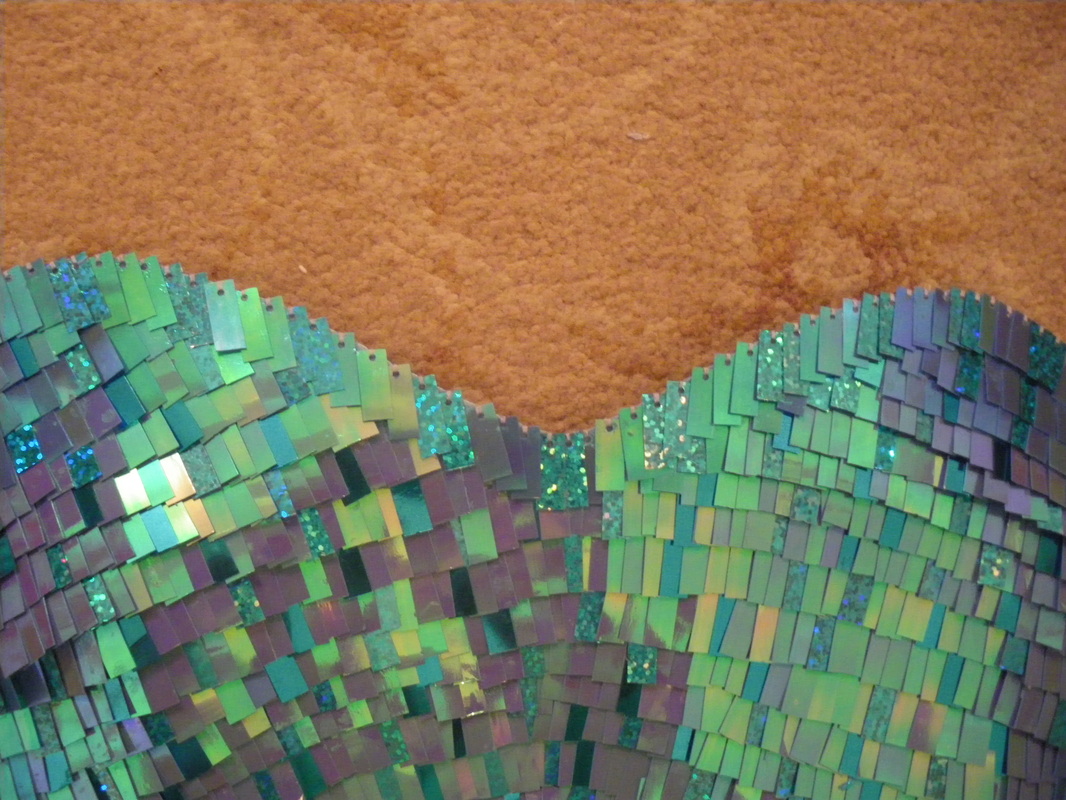
Lay your fabric over the top and weigh it down to stop it moving. Try not to cover too much of an area as you don't want the glue to dry before you put the glitter on. Pour some glue out into a dish or plastic container and using cut off sponges, dab into the glue and brush the glue on (not too thick), then liberally cover in glitter, you can use a small paint brush for the edges of the design and the small snowflakes. Leave it for about half an hour then carefully peel the fabric away from the cling film and catch all the glitter on a sheet of newspaper or similar. This can then be put back into the bottle.
After you have done the middle section, take the fabric off the cling film completely. Reverse the first two templates and begin the process again for the last two sections. Leave the cape to dry completely. |
|
|
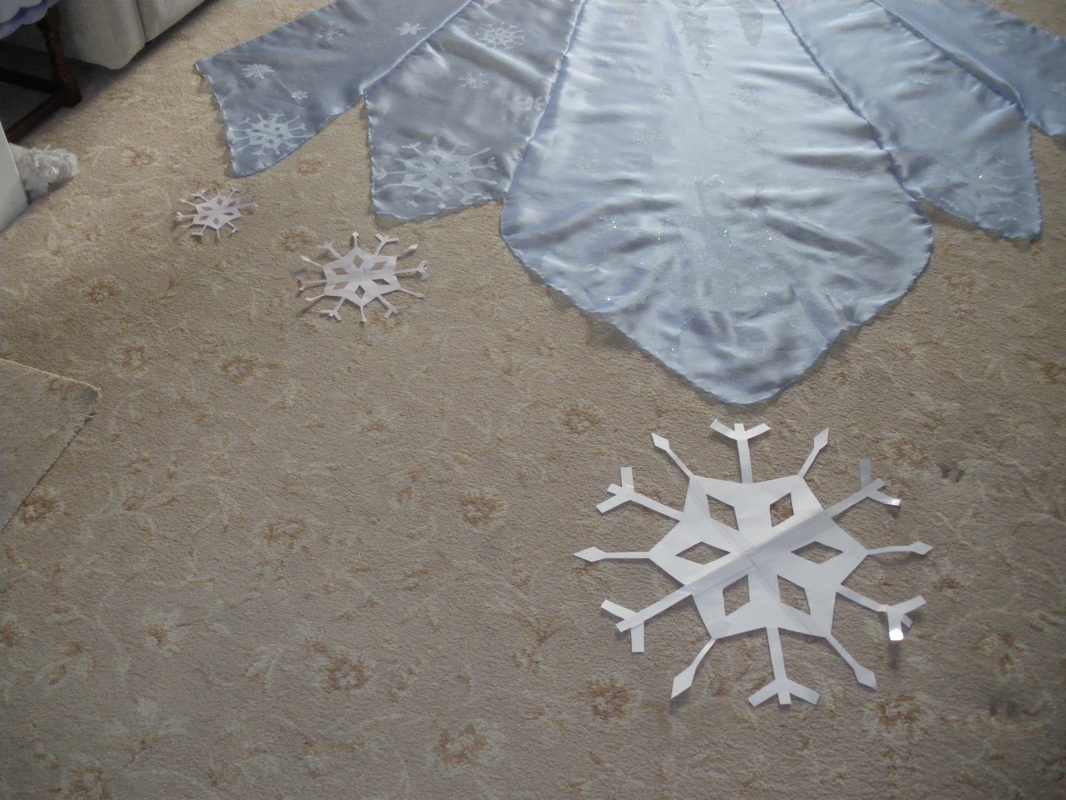
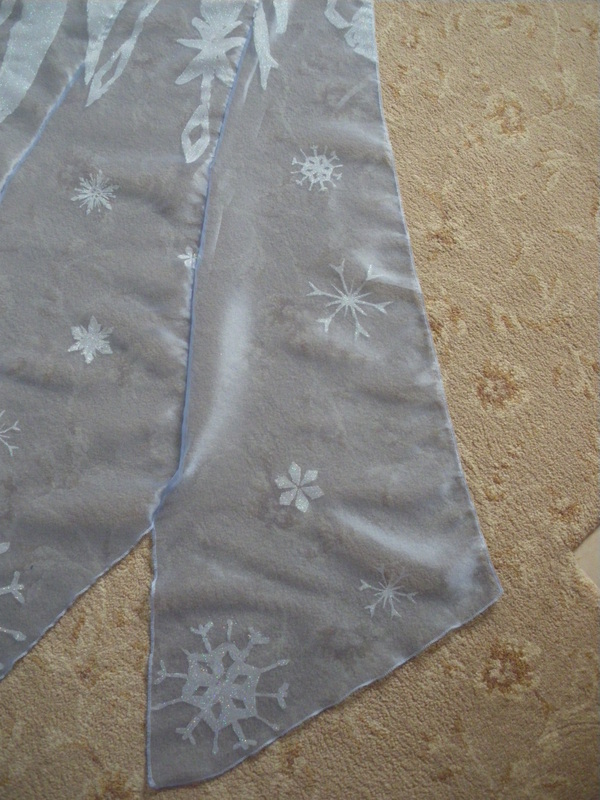
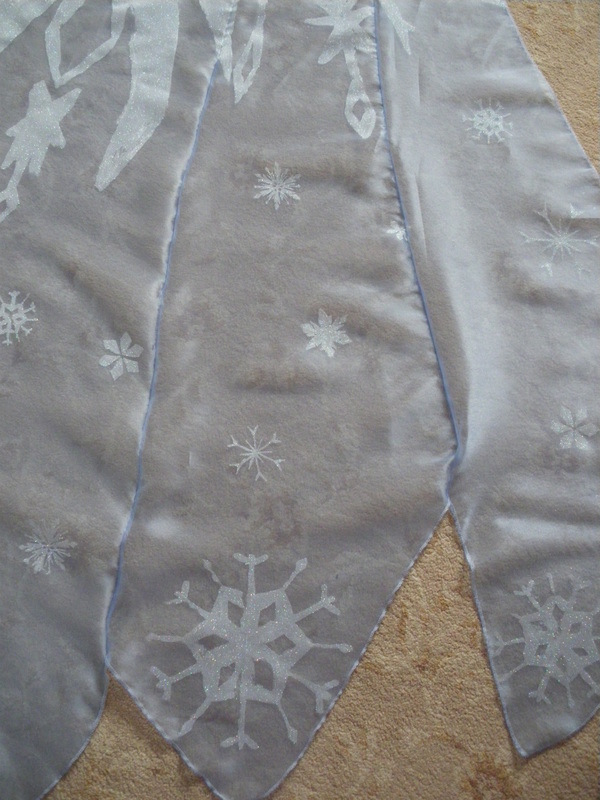
Cut out one large, two medium and two smaller snowflakes and using the same method as before, copy the pattern onto the fabric at the base of each piece. Now cut out a few more snowflake shapes to scatter on the cape.
|
|
|
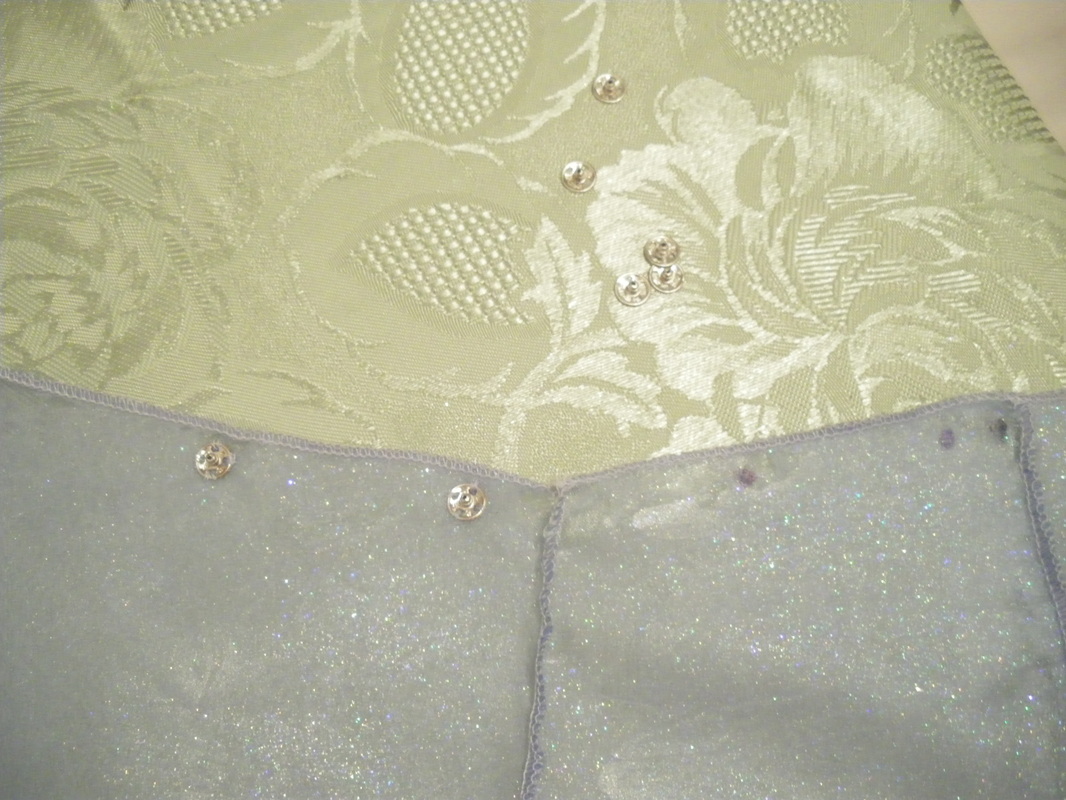
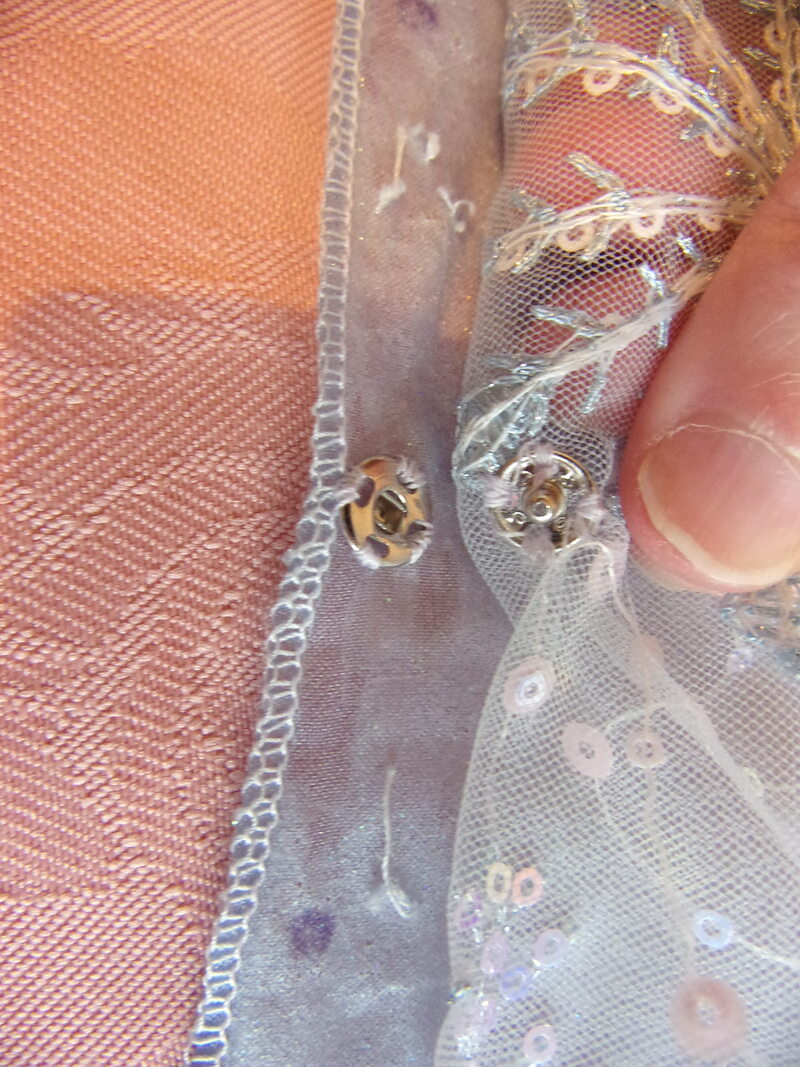
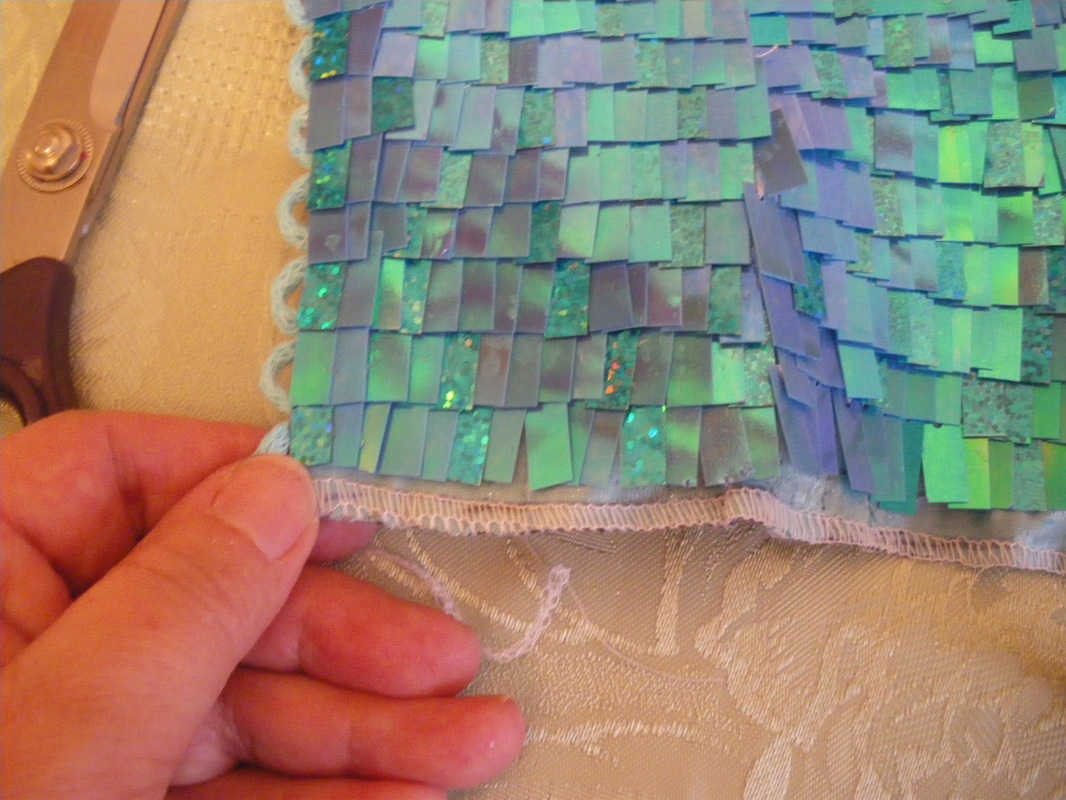
Sew on Snap fasteners to the inside top edge of the cape. These will correspond with those sewn onto the top of the bodice.
|
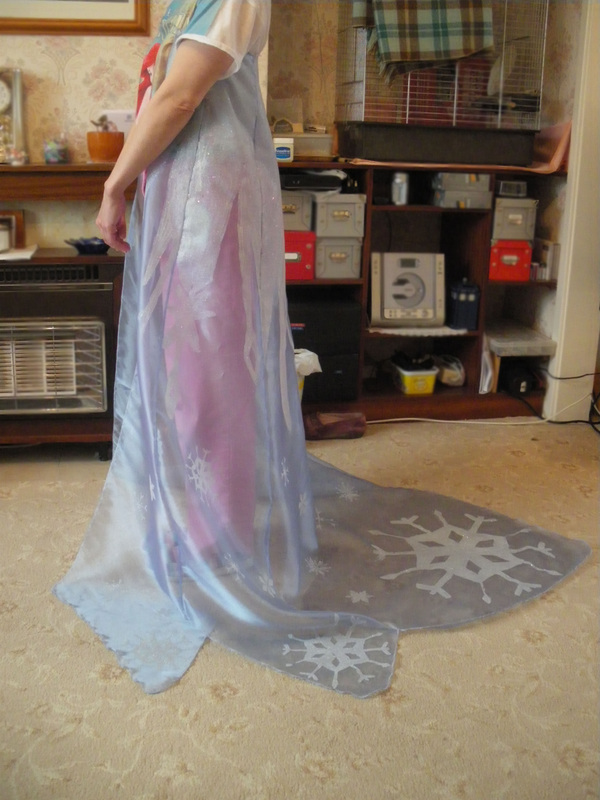
This completes the Cape
Cape Version Number 2
Cape Version Number 2
Since making this cape, it has been decided that we would do an "over cape", as over time the glitter etc., did start to peel off and because the new fabric is more delicate, it would make an excellent protector and stop it from being damaged, so the following tutorial is how we made our second cape.
We wanted to make it detachable so it could be washed.
Material: Fabric bought from etsy.com form this shop called:- Chembroidcraft
https://www.etsy.com/uk/listing/1414821346/snowflake-blue-embroidery-lace-fabric?ref=yr_purchases
We wanted to make it detachable so it could be washed.
Material: Fabric bought from etsy.com form this shop called:- Chembroidcraft
https://www.etsy.com/uk/listing/1414821346/snowflake-blue-embroidery-lace-fabric?ref=yr_purchases
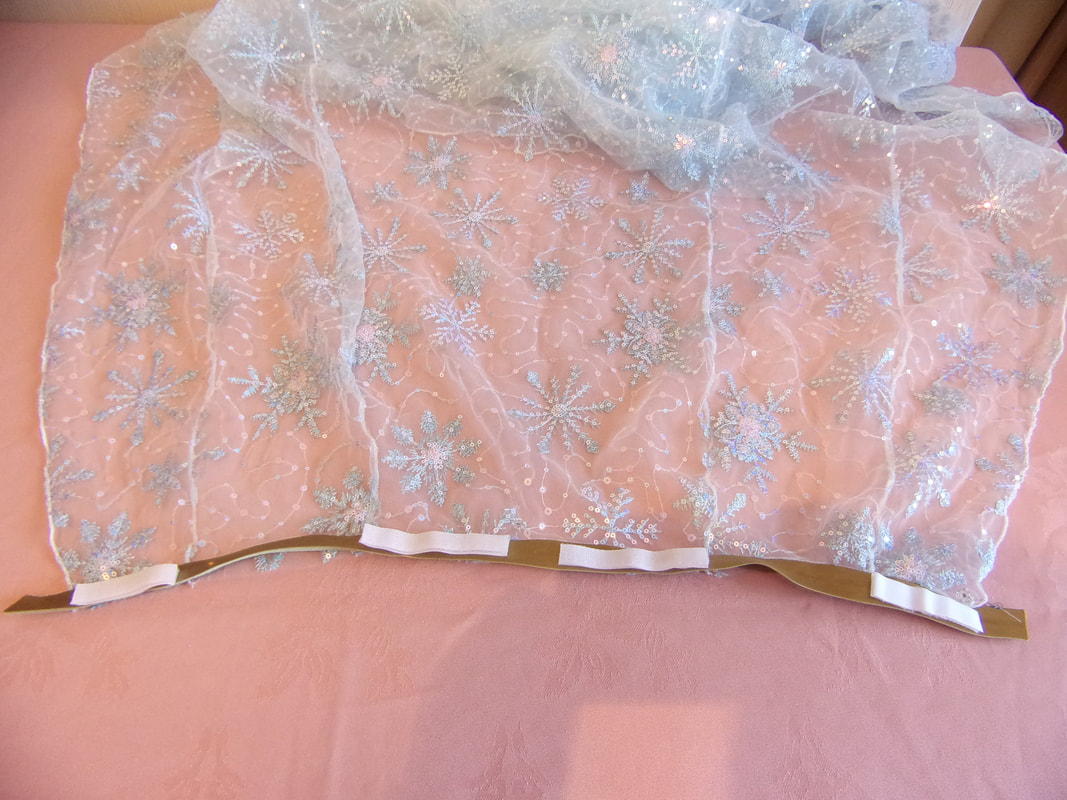
Using the original paper pattern, we then cut exactly the same pieces and over locked them together, also over locking all the way around the edge.
|
|
|
Using snap fasteners we attached it to the original cape, we sewed one at each corner at the bottom of the cape and approximately every 20cms up the sides.
|
|
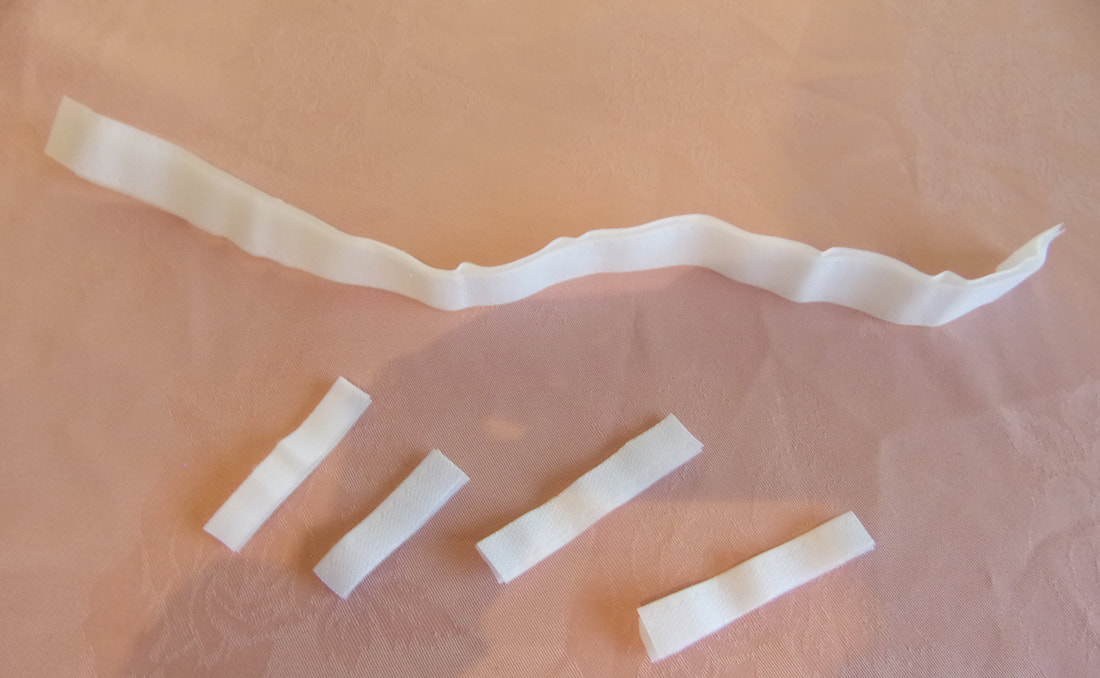
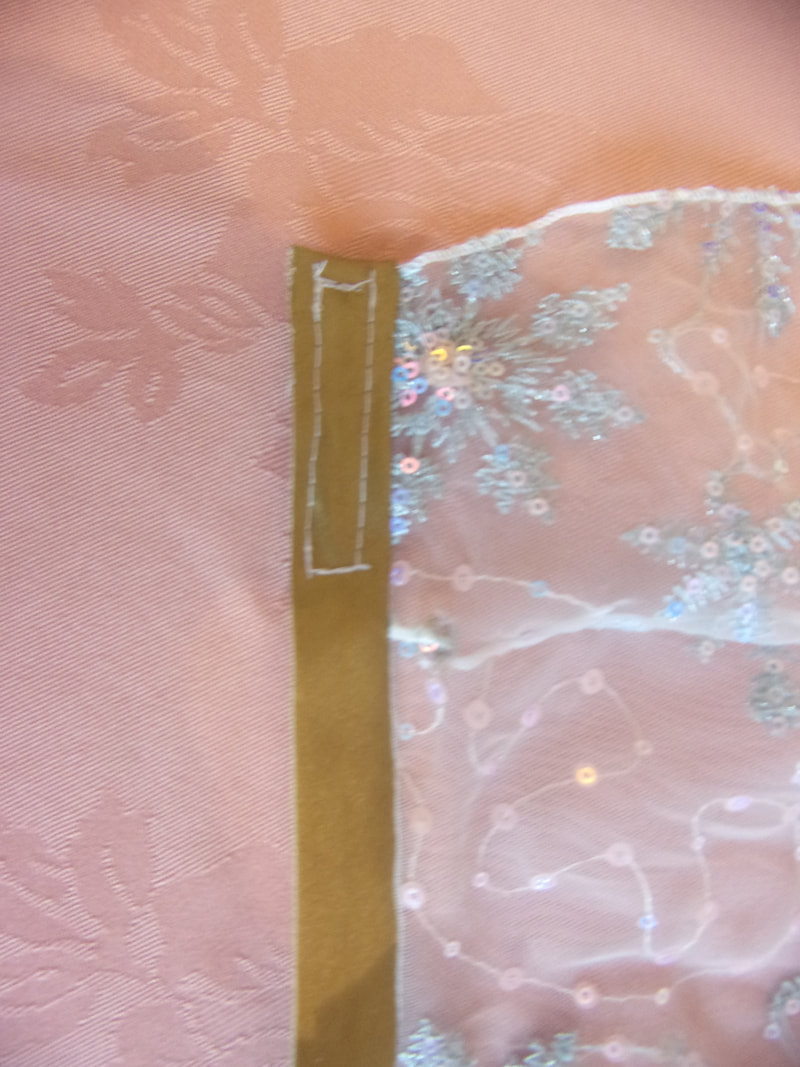
On the original cape and bodice, we removed all the snap fasteners that were used to connect it to the bodice, we are now going to replace these with 4 pieces of velco.
|
|
At the top edge of our new cape, we sewed on a wide bias binding, overlapping at each side so it could be turned under to neaten. We then sewed on our new pieces of velcro. There was no need to sew the velcro all the way across as this would have created bulk. The velcro strips are approximately 3-4 inches long
|
|
Sew the velcro strips to the inside of the bias tape and turn the side ends under.
|

|
Put corresponding velcro strips on the bodice. You won't be able to machine sew these on, so they need to be hand sewn or glued.
|
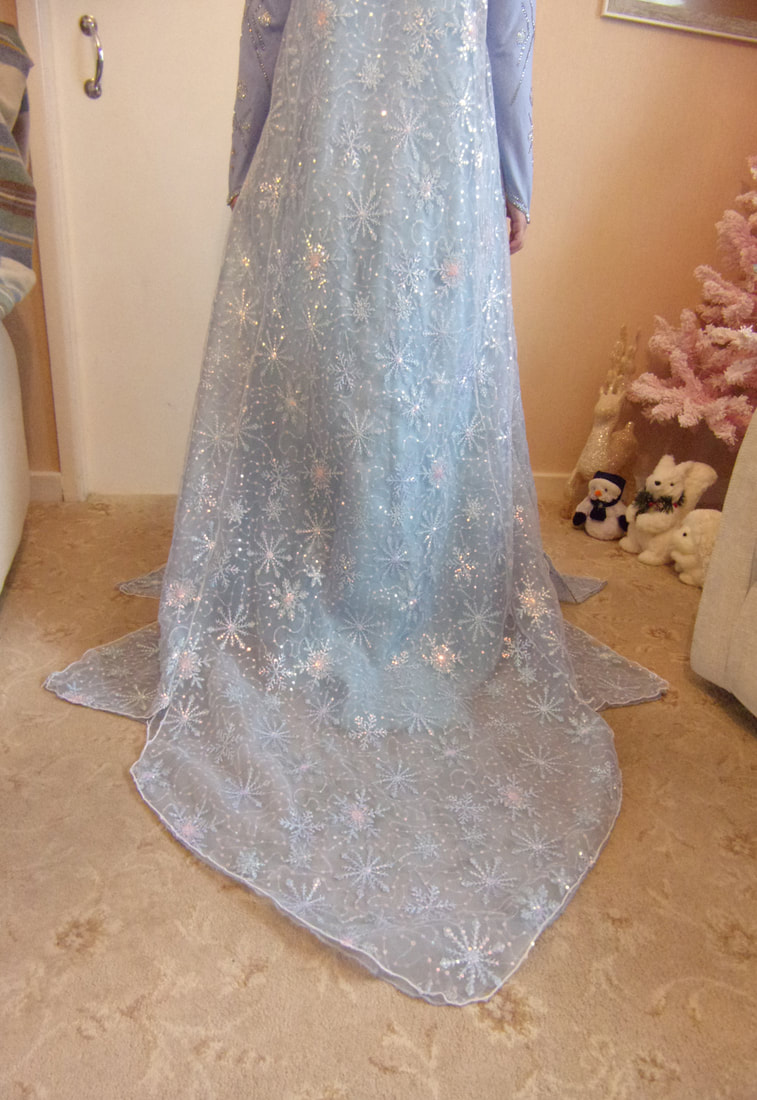
Version two completed.
Bodice:
Because I tailored the bodice from other bodice/corset pieces, you will have to choose your own bodice shape to make, sorry that this isn't more detailed, but once I find a bodice/corset pattern that fits the way I like, I then alter it for my shape and during several transformations, I mix and match these to my own preference. So find a bodice pattern that suits you best, alter it to a "Sweetheart" neckline and go from there.
1/2 Metre of the same fabric as the skirt, or you can just make it up with simple white cotton or similar.
1/2 Metre coutil
1/2 Metre of blue lining
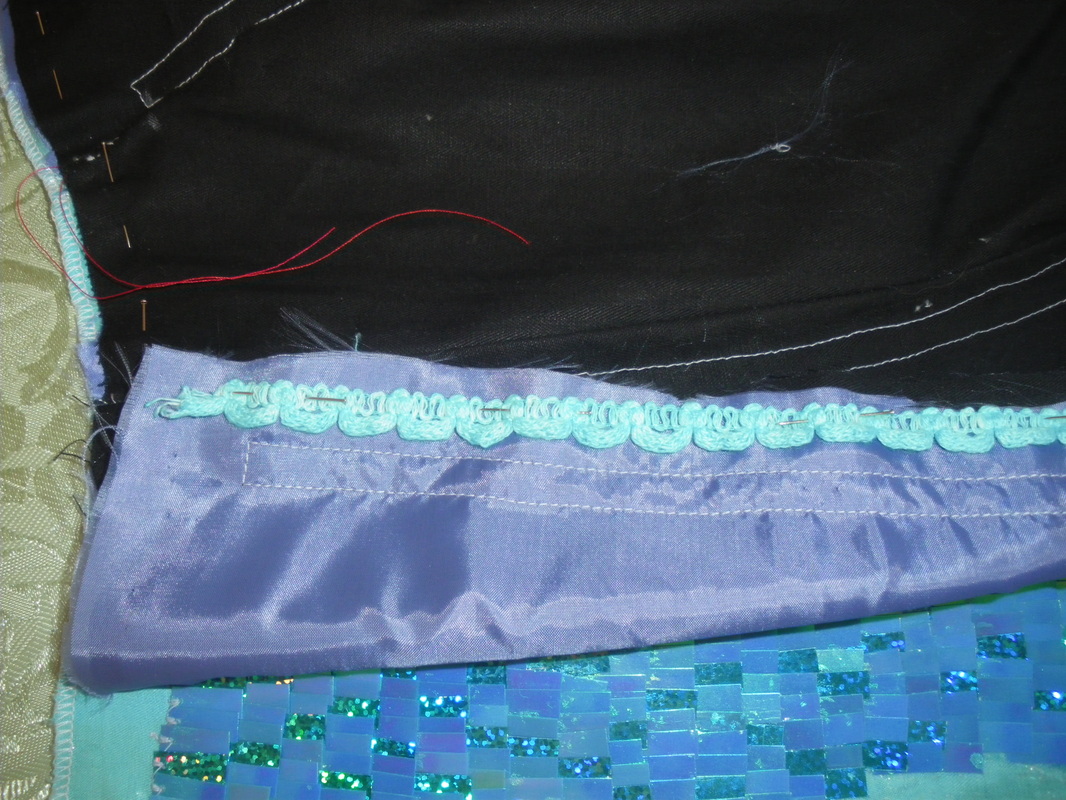
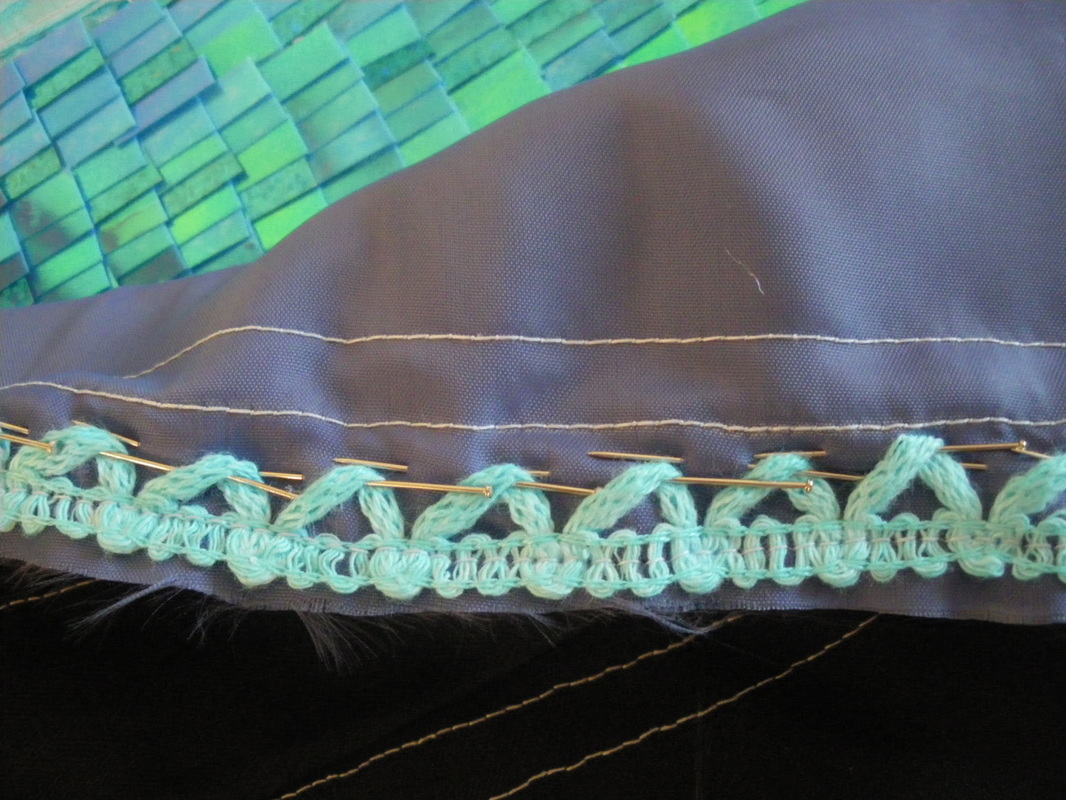
1 Metre Strip of edging lace with loops
2000 6x19 Cornflower sequins from Athenabeads on Ebay
1000 6 x 19 Hologram blue sequins from Athenabeads on Ebay
Fabric Glue
Snap fasteners
3 pieces of steel boning
6 pieces of spring steel boning
Approximately 2 metres blue lacing cord
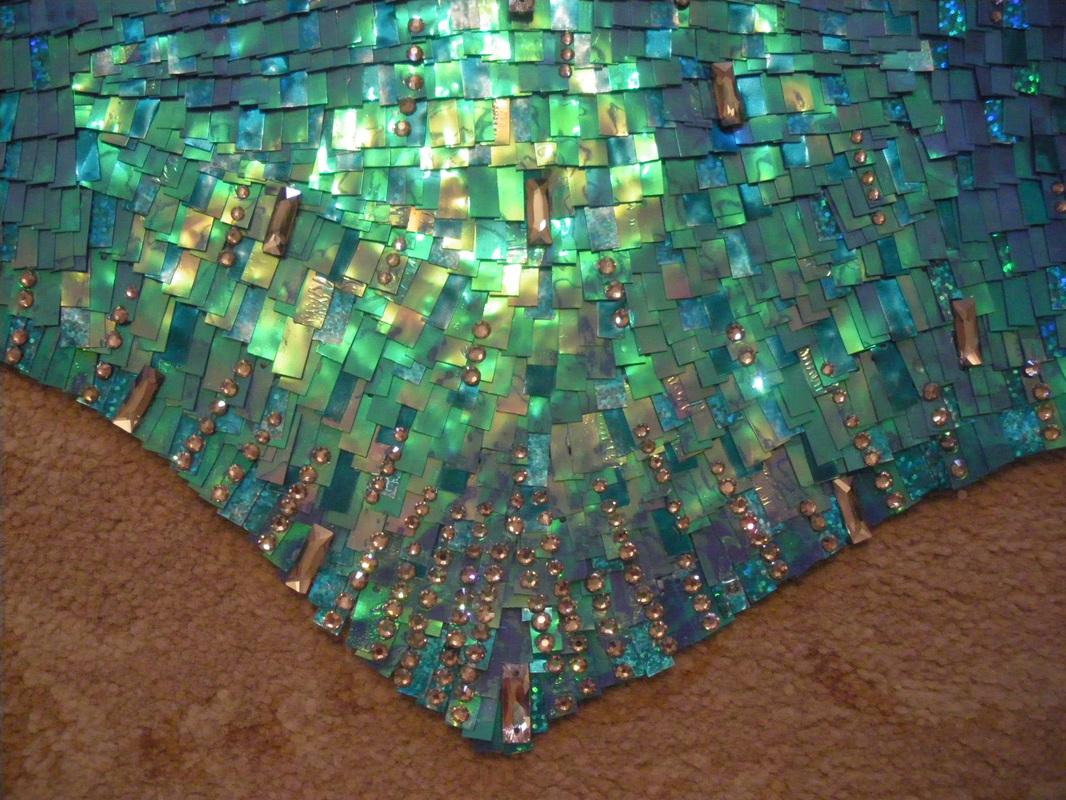
3mm and 4mm Silver Swarovski round flat back crystals
15 x 8 Silver rectangle crystals
|
|
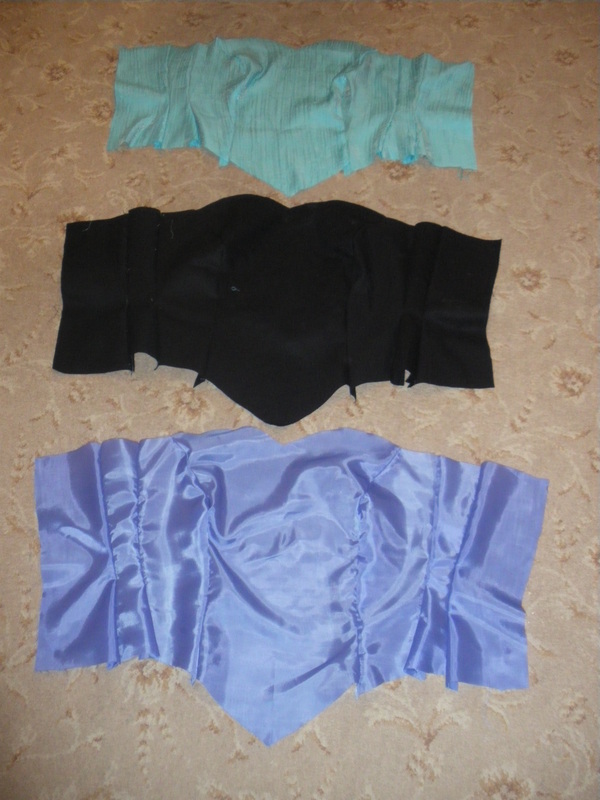
These are my pattern pieces after having them altered to fit me. Make 3 identical pieces for the bodice.
|
|
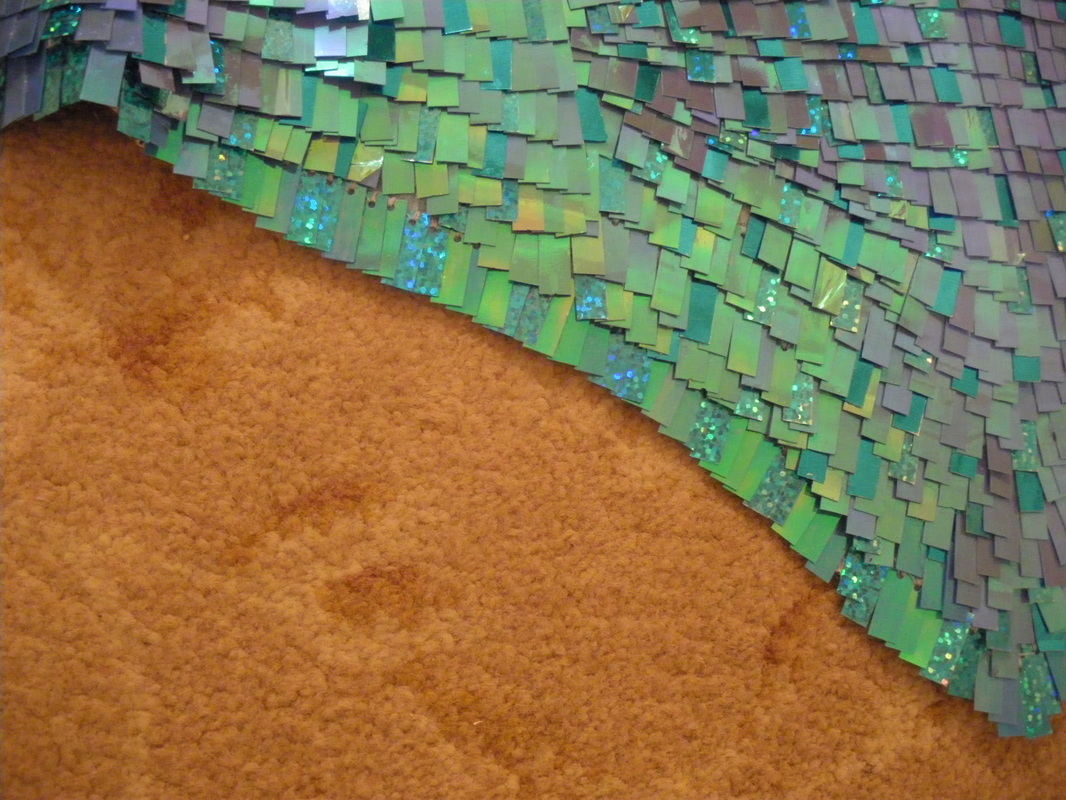
Using the outer fabric, I sewed on and then stuck with fabric glue, a random pattern of sequins. I left a margin all the way around of approximately 3-4cm (1" - 1.1/2")

|

|
As the edging was made of cotton, it was easy enough to dye it using Dylon Bahama Blue fabric dye.
|
|
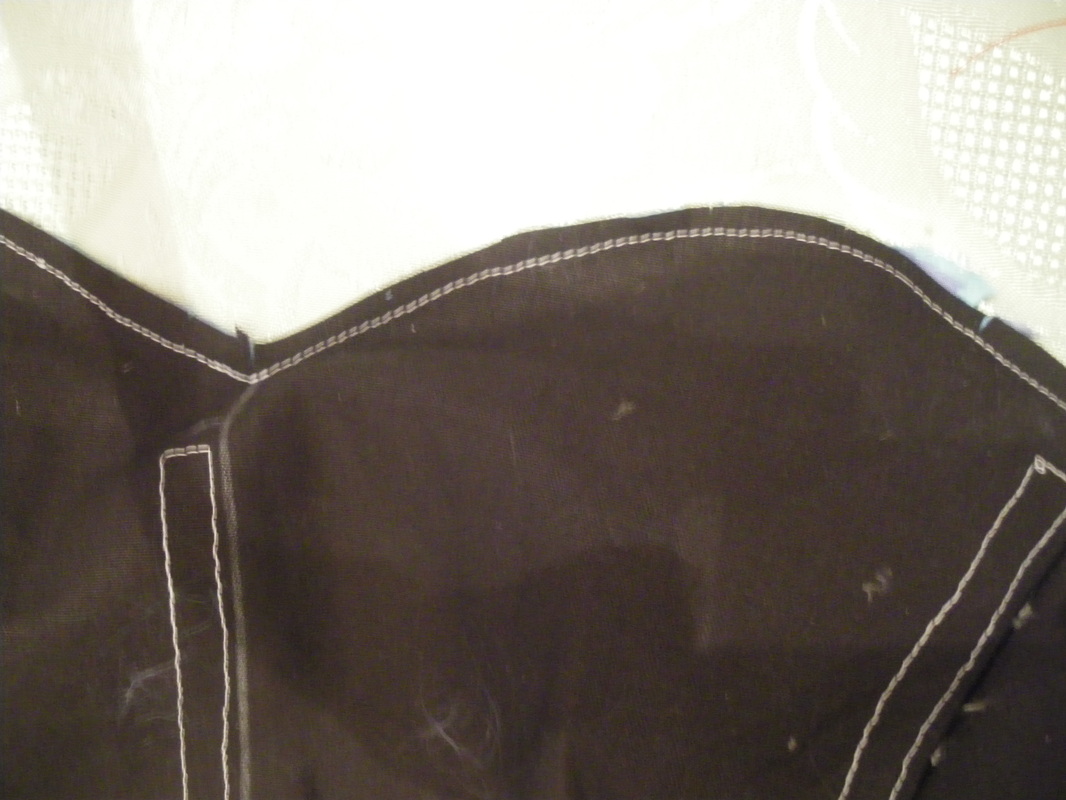
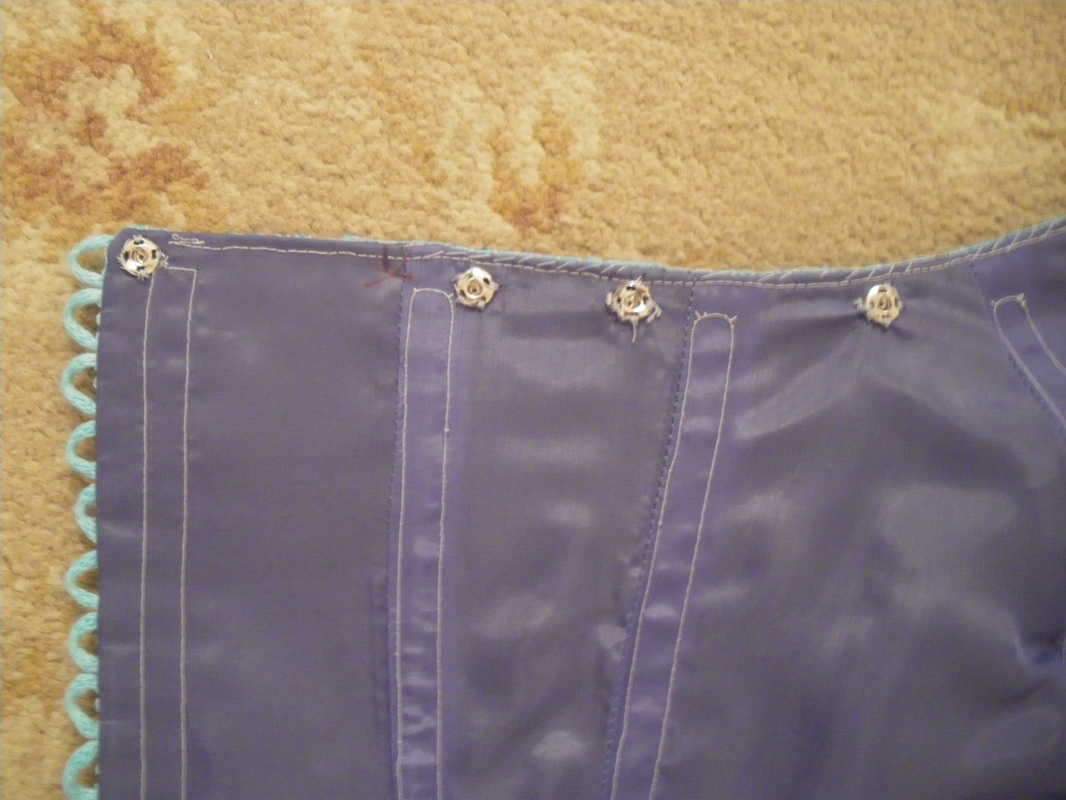
Pin the coutil and lining together, making sure that the seams of the coutil are ironed flat towards the back and all the seams of the lining are ironed with the seams inwards. After pinning, mark approximately 3cm down to mark the tops of the boning channels. Then, using exactly the same method as Anna's bodice, draw on your boning channels. Sew all the channels, making sure that the bottom of the channel is left open for putting in the boning.
|
|
Now I am going to join all the pieces together. But before that, I have pinned and sewn the lace edging facing inwards, to the side opening and using pins, pulled back the loops so they don't get caught in the seam.
|
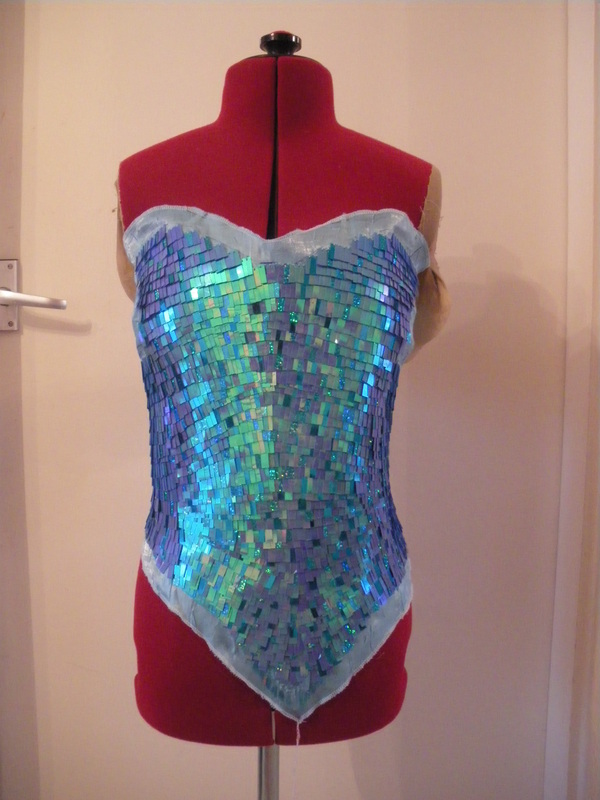
After sewing three sides of the bodice together, reduce the bulk and clip the curves and also clip across the corners. Making sure you leave the bottom of the bodice open!!
|
|
|
Whilst wearing the bodice, mark where the cape fasteners are on the top inside edge of the bodice. This has to be done whilst the bodice is laced, as the cape going across the lacing at the centre back. So every time you now lace up your bodice, the lacing distance has to be the same, otherwise your snap fasteners won't match up. So if your lacing space is 2" (5cm), then make sure it is this distance every time you put the bodice on.
Whilst you have the bodice on, mark on the bottom edge where the finishing edge will be. Put your boning into the channels and either overlock or sew a few parallel lines of sewing across the bottom edge. I want the sequin edge to be completely flat, so I don't want the bulk of a turn up.
Whilst you have the bodice on, mark on the bottom edge where the finishing edge will be. Put your boning into the channels and either overlock or sew a few parallel lines of sewing across the bottom edge. I want the sequin edge to be completely flat, so I don't want the bulk of a turn up.
|
|
To finish, fill in all the gaps around the bodice edge, for the bottom edge I let the sequins overlap the overlocking slightly.

|
|
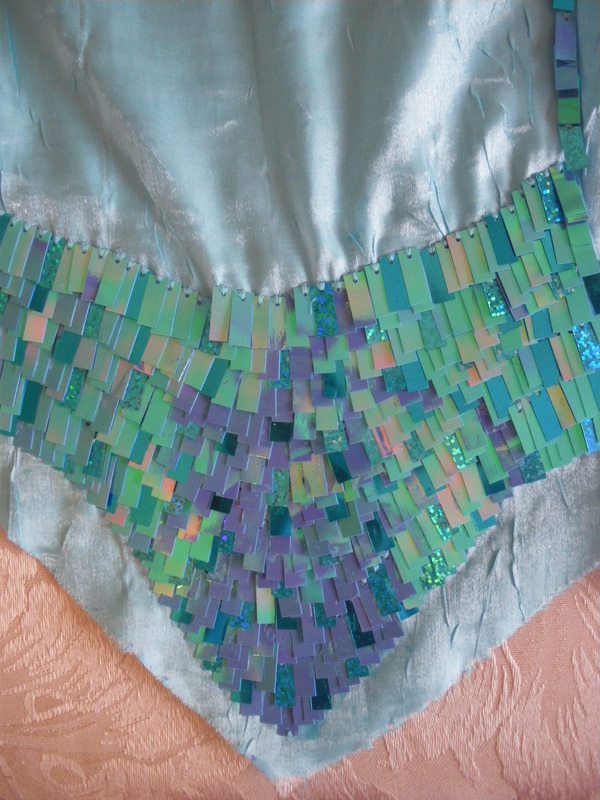
The source for the crystals can be found on the tutorial. I used a selection of 3mm, 4mm and rectangle Swarovski crystals.

|
To complete the bodice, I stuck on crystals to hide the sequin holes.
|
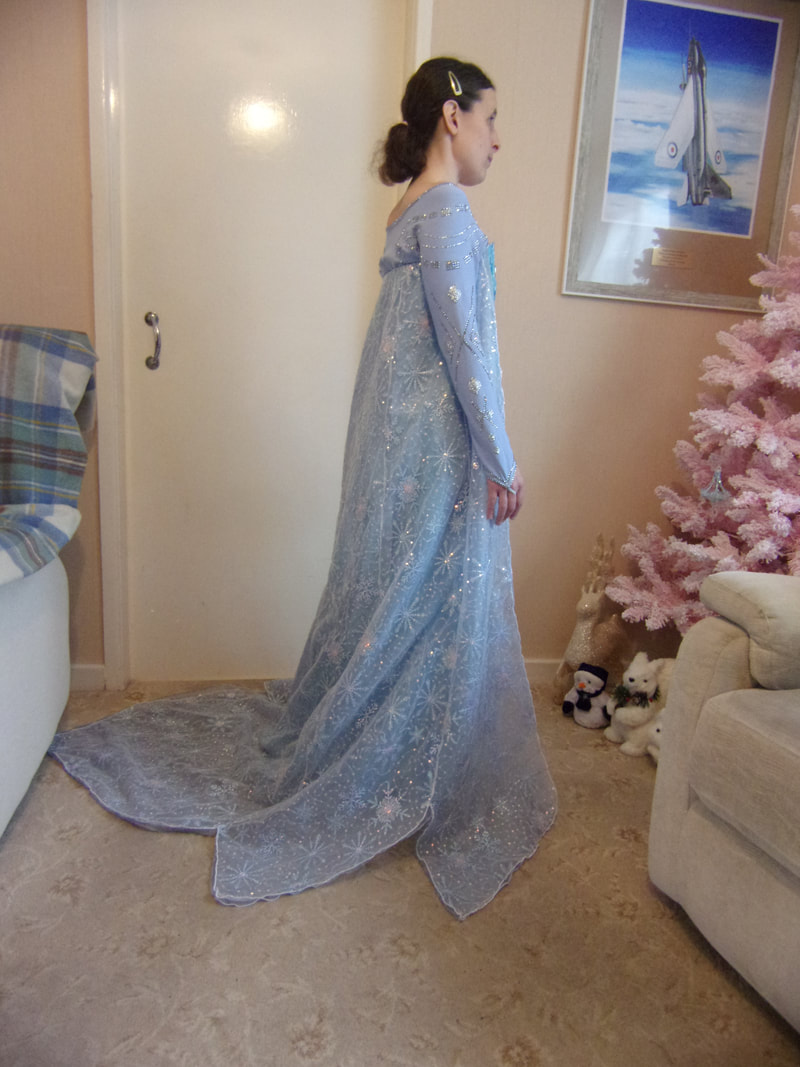
This completes the costume.
