For this costume, you will require experience in piping and art work.
Difficulty factor 8 - 10
Difficulty factor 8 - 10
BEFORE WE BEGIN, PLEASE
NOTE, THAT WE DO NOT
MAKE COSTUMES
TO SELL OR HIRE
NOTE, THAT WE DO NOT
MAKE COSTUMES
TO SELL OR HIRE
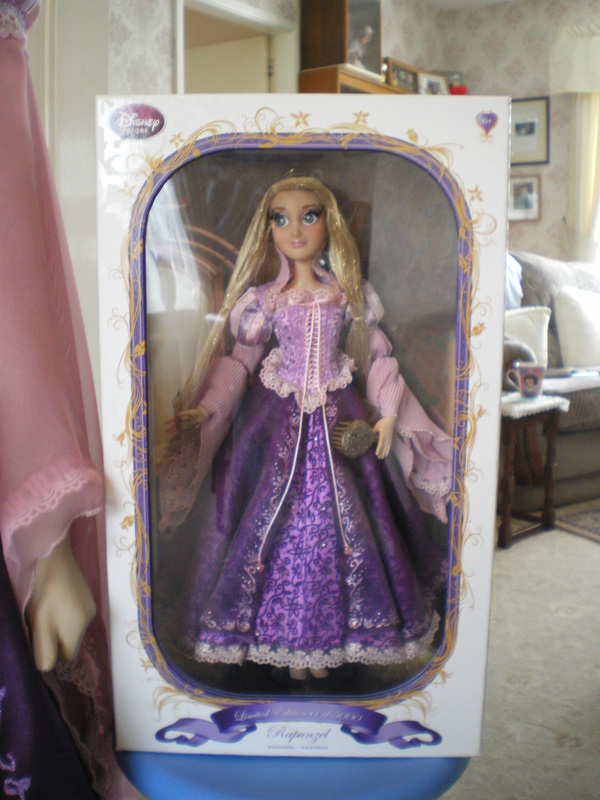
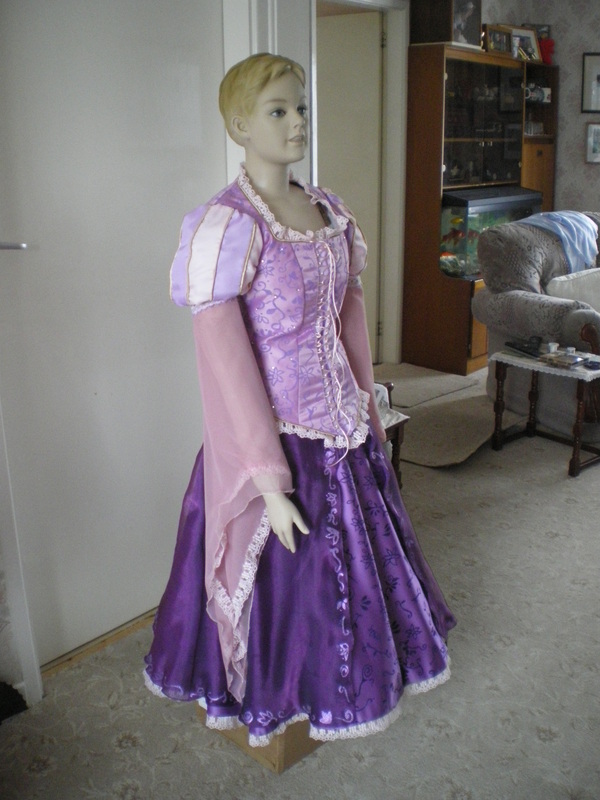
Making Disney Rapunzel
Dress
All videos for making the complete costume can be found in our "video tutorials" link
This costume is slightly different, in that it is copied from Disney's Limited Edition Doll Collection
This costume is slightly different, in that it is copied from Disney's Limited Edition Doll Collection
Materials:
Corset:
1/2 metre mauve coloured Duchesse Satin
5 metres pink lace cord
1 open ended zip
Purple Satin fill-in piece
Approximately 20 x 5mm flat back crystals
1 metre purple lining
1 metre Heavy interfacing
Skirt:
4 metres purple Duchesse Satin
4 metres purple chiffon
4 metres purple two tone Organza
Approximately 20 flat back clear crystals
Piece of velcro
Sleeves:
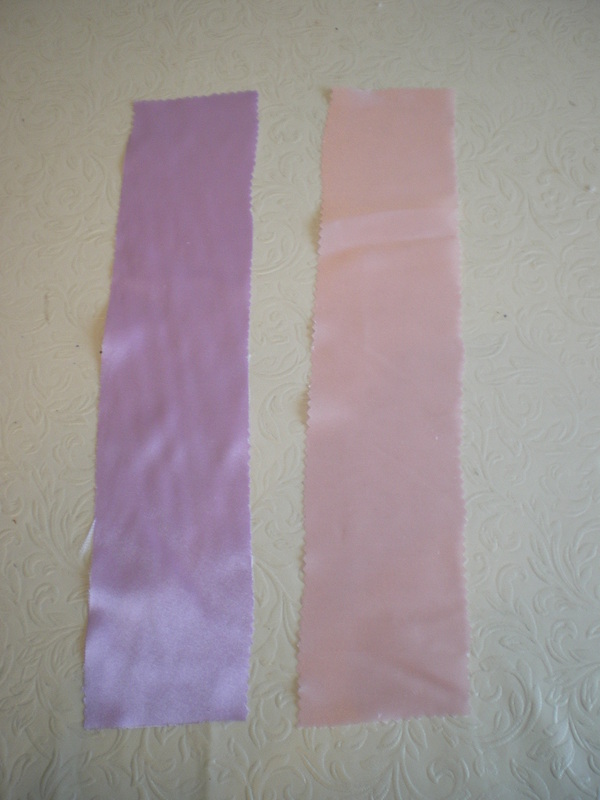
1/2 metre pink polyester satin
1/2 metre purple polyester satin
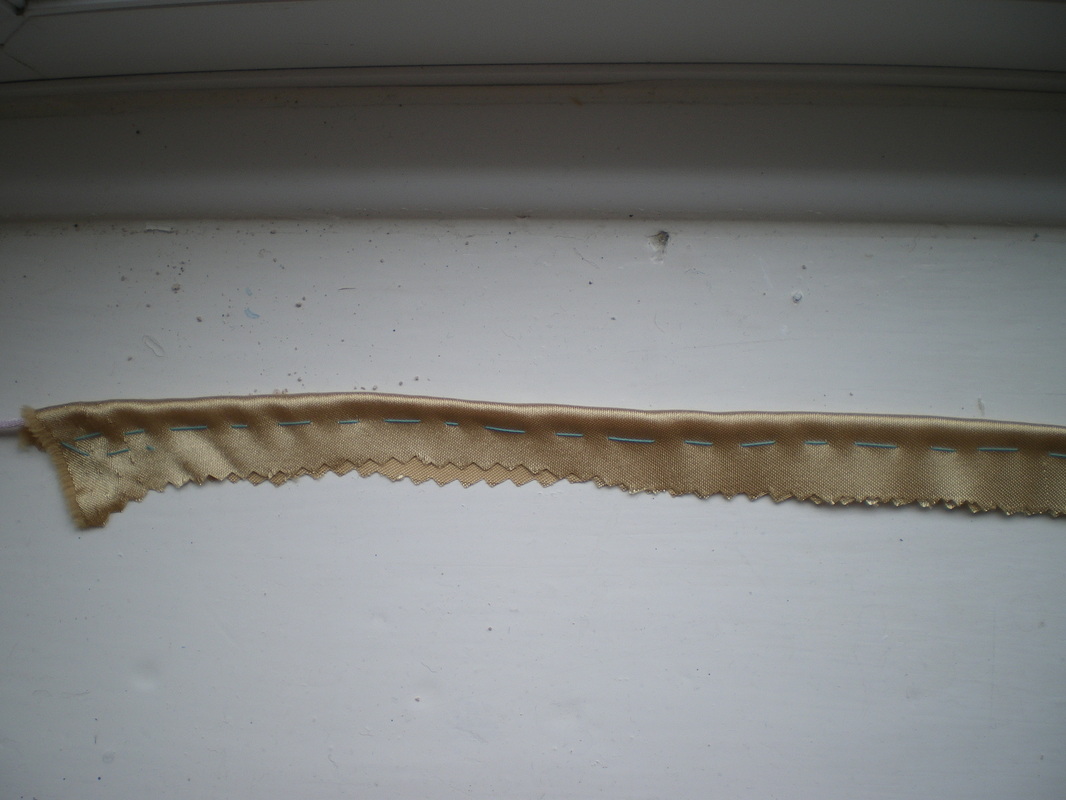
1/2 metre gold satin for piping
1 metre purple lace trim for upper sleeve
Extras:
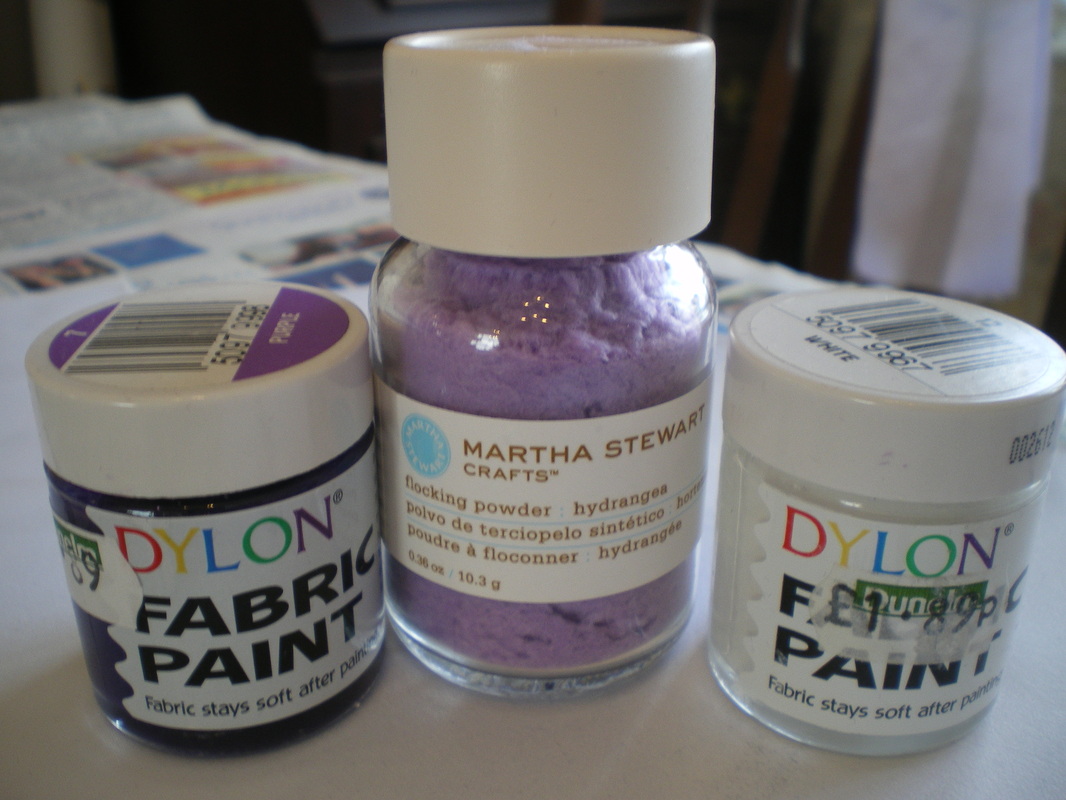
Dylon purple and white fabric paint
Purple flocking powder
Piece of thin wadding for sleeves.
7 metres 2cm pink lace
|
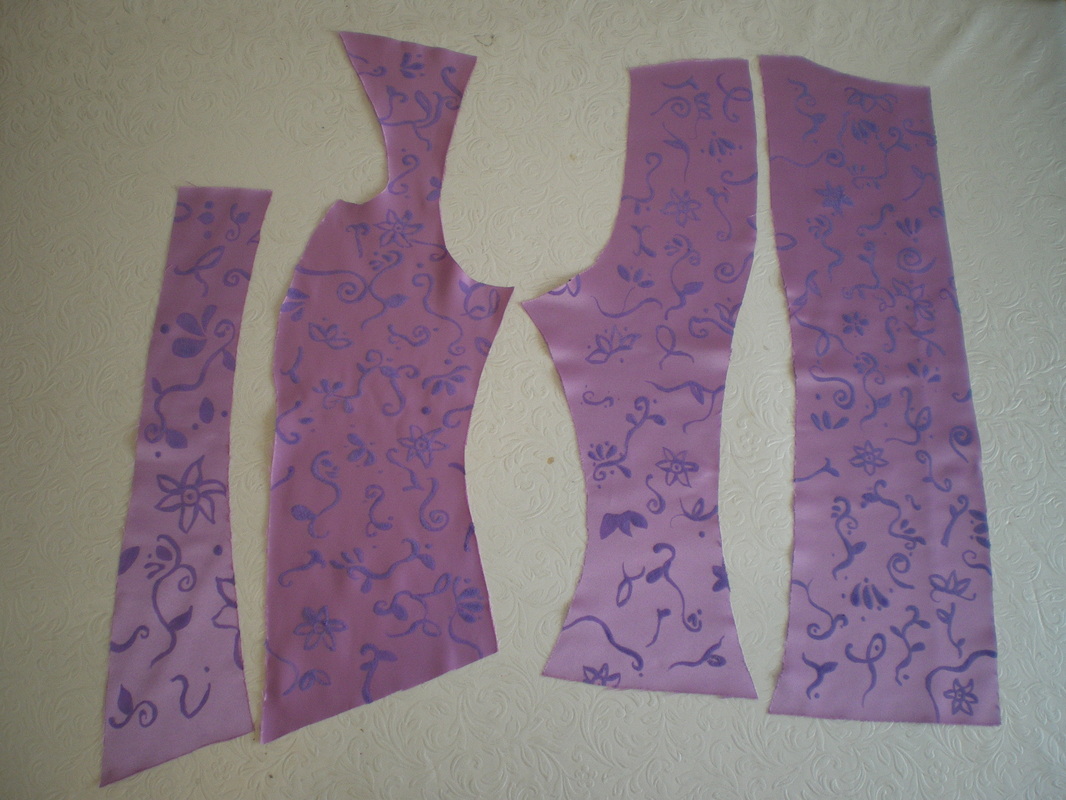
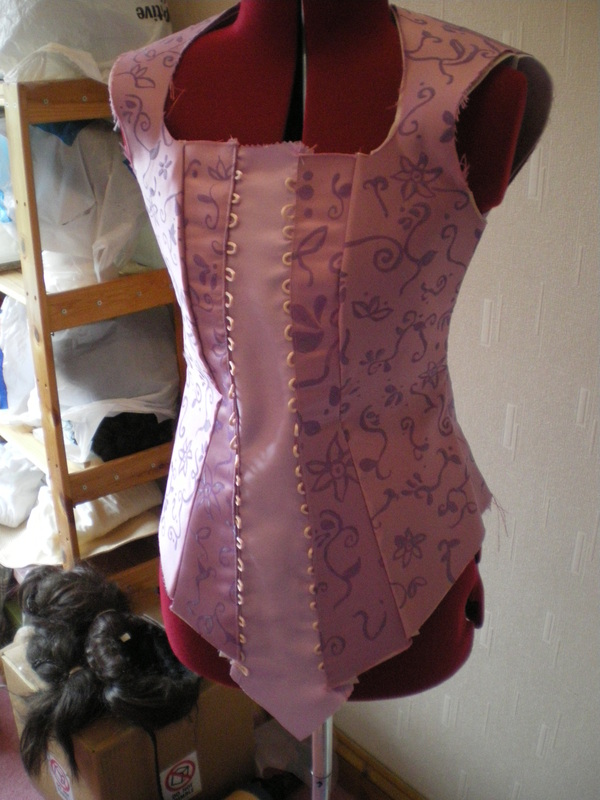
As usual there is no set pattern for making the bodice. I used New Look 6480 for the front panels and Simplicity 2757 for the back panels. I had to alter the front and back panels to extend up to the shoulders and reshape. Only these 4 sections were used as the middle panel is a fill-in piece. You will need a layer of interfacing and lining for each of these pieces.
|
|
|
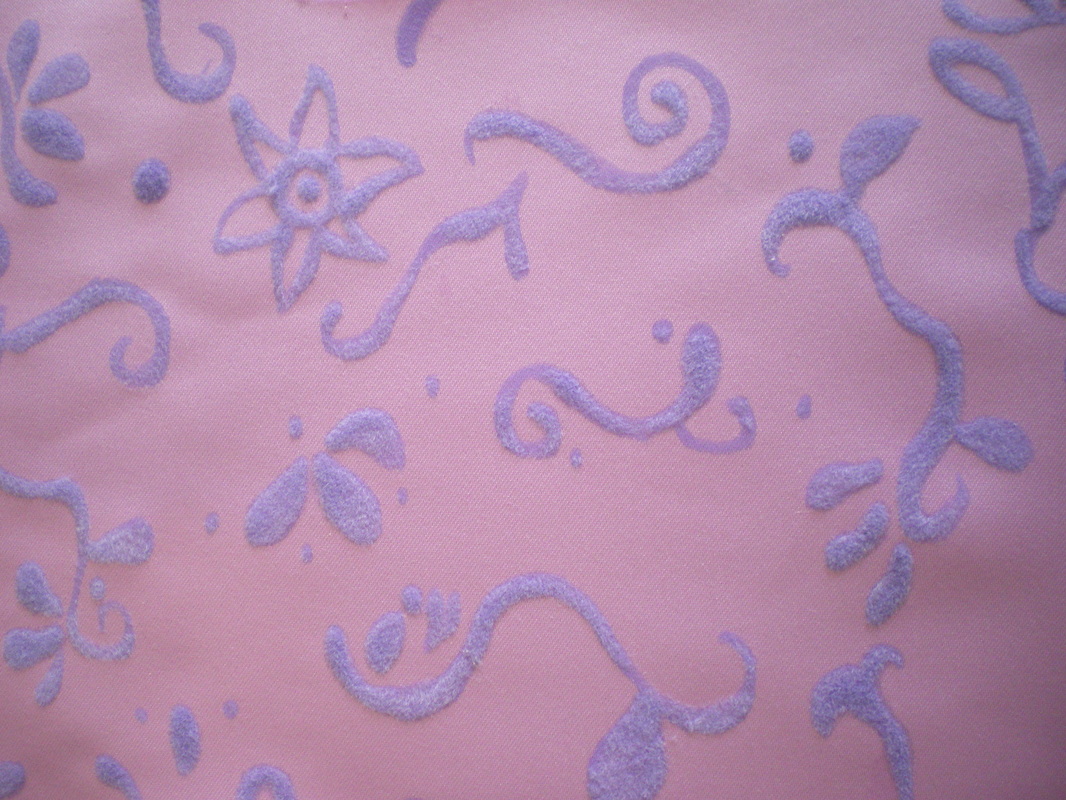
Using purple fabric paint, draw on suns and swirls on all the pieces, sprinkle with flocking powder immediately before the paint dries.
|
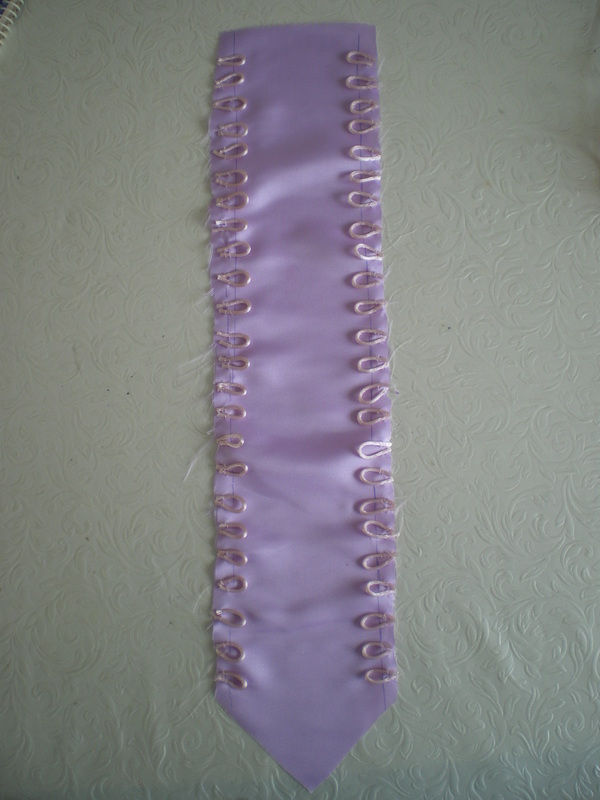
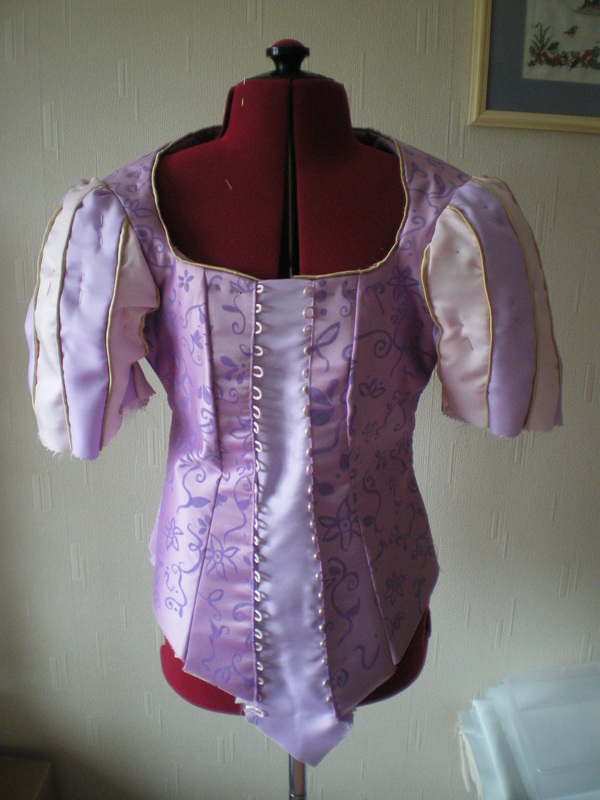
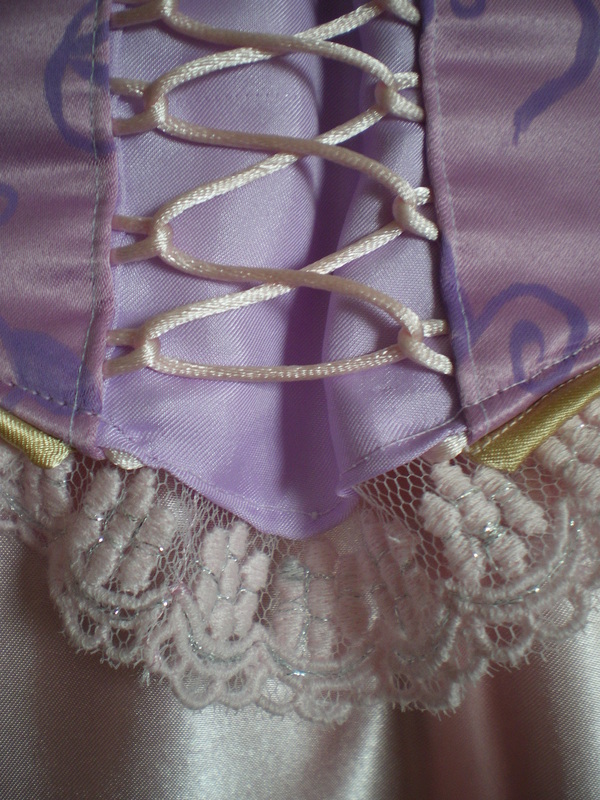
Using a scrap piece of purple satin, make a fill-in piece approximately 7cm wide, in a tie shape. Cut and sew pink cord loops down both sides, keeping the spacing even.
|
|
|
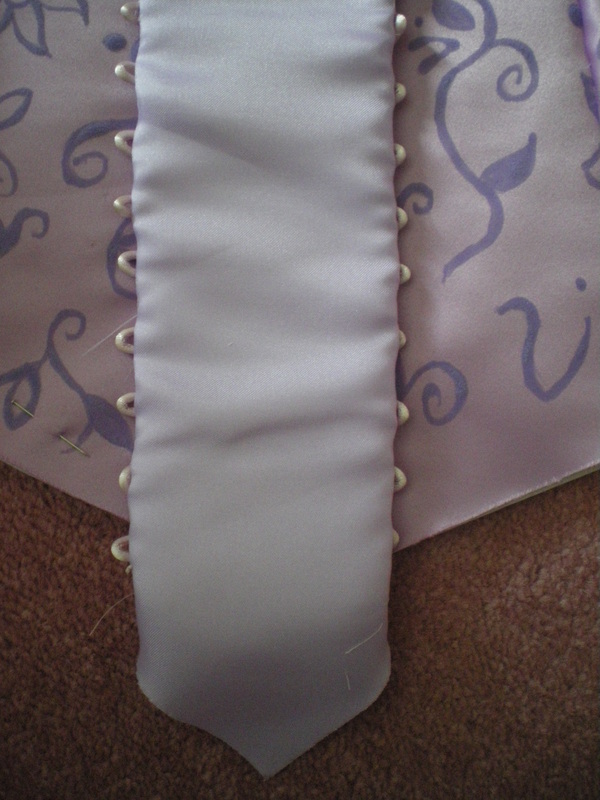
When you have sewn it in place, turn all the loops towards the middle and run stitching down the edge to flatten the loops.
|
The interfacing was sewn in when the pieces were put together, missing out the middle section at the front. Make the lining in exactly the same way, but miss out the middle section and attach sleeves to the lining. I used the sleeve pattern from Dorothy's dress, Simplicity 4136.
Leave the back open |
To make the outer sleeves, we used the same sleeve pattern.
|
You will need 10 strips of polyester, purple and pink, they should be at least 4cm longer than the height of the sleeve
|
|
You will need to make A LOT of piping, so just make as much as possible in one go. Cut the gold polyester approximately 4cm wide, fold it over the cord, then tack below to hold it in place for now. Then put a line of sewing immediately underneath the cord. I put a pin at one end of the cord to stop it moving.
|
|
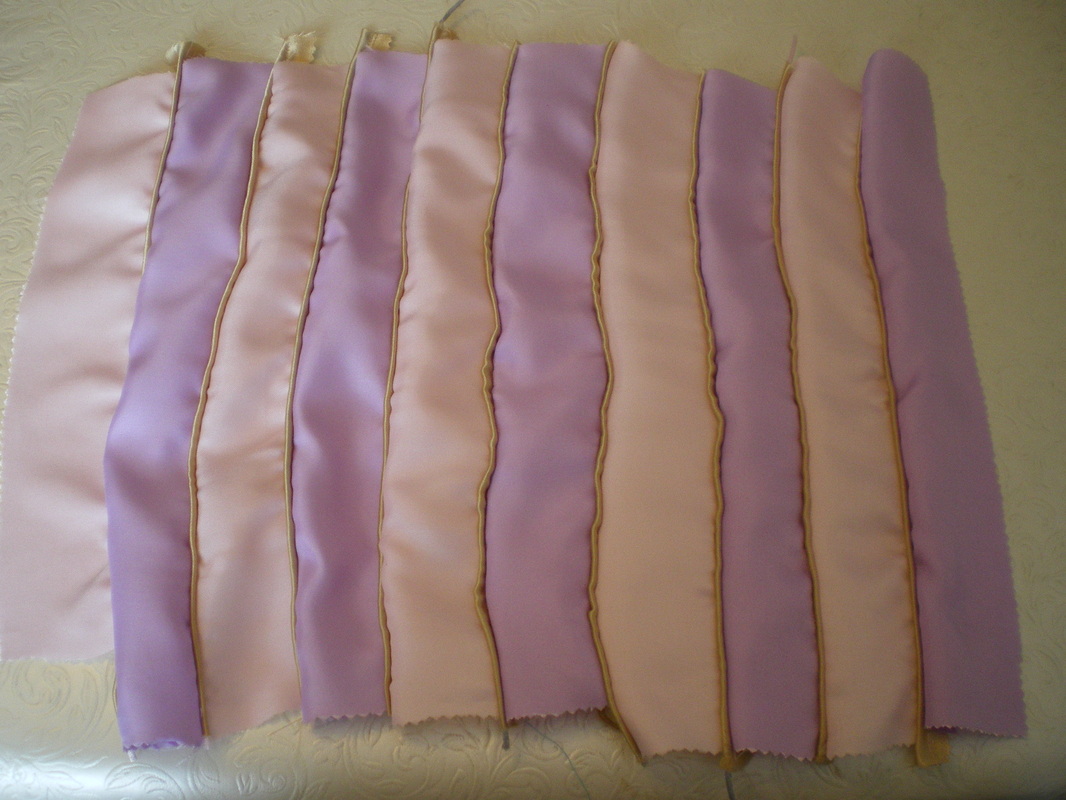
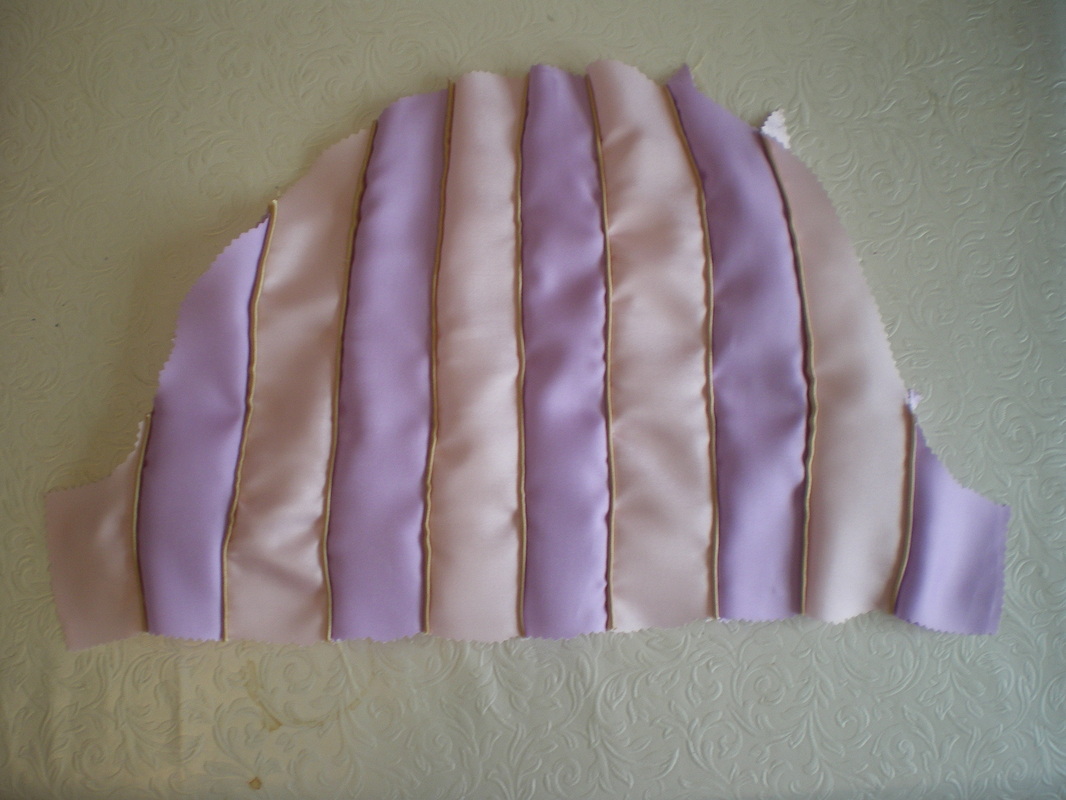
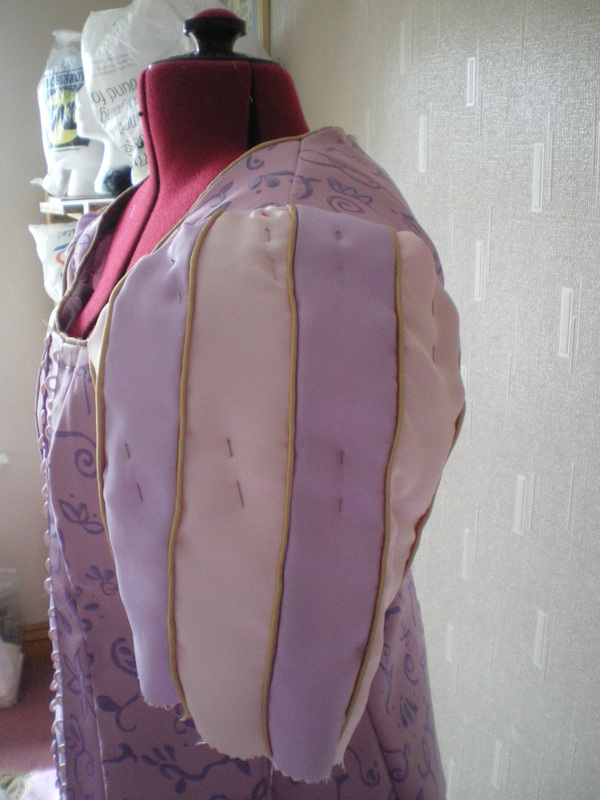
Sandwich the piping between alternate strips of colour until you can fit the sleeve pattern on it. You will need to make two of these. Also cut out 2 pieces of wadding, slightly smaller than the sleeve.
|
|
|
|
Temporarily pin the wadding to the outer sleeve and sew the sleeve onto the bodice. You can now sew piping to the top of the bodice and attach the lining.
|
|
The back at this stage is still open.
I will now make the lower sleeves. |
|
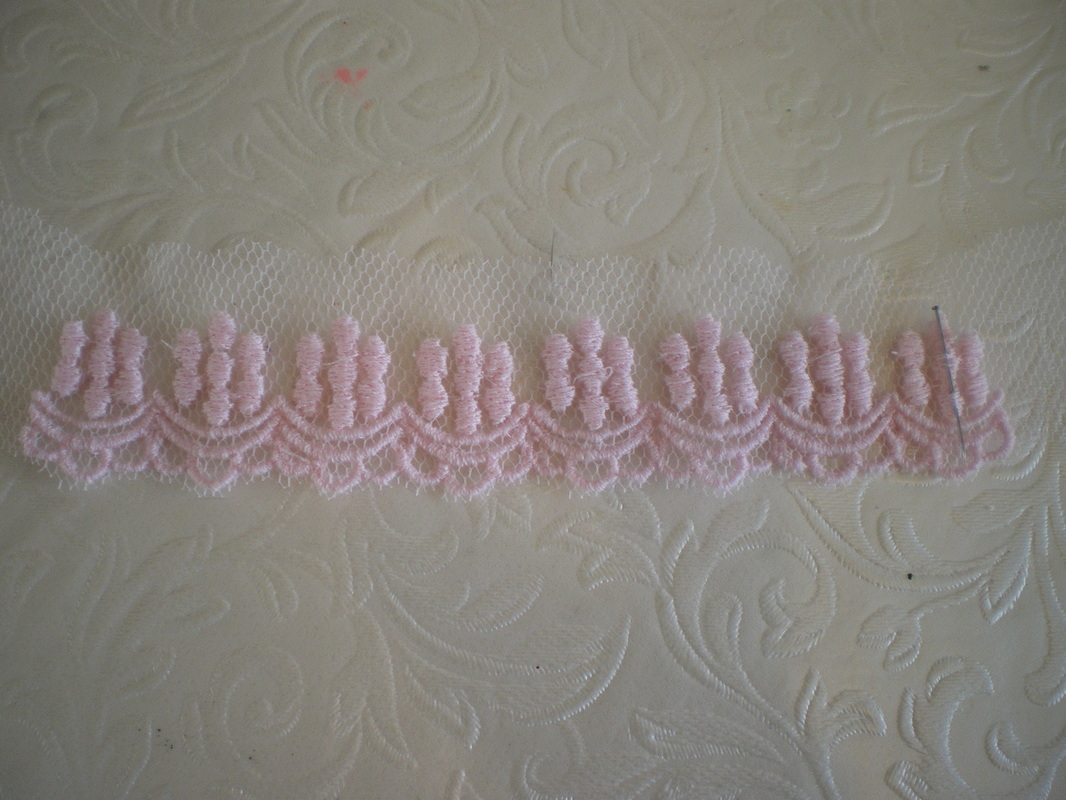
I wanted to use exactly the same lace design that was worn by the doll, so I took a photo of it and scanned it into my embroidery program and this was the result. I needed enough to go around the bodice top and bottom, inside the sleeves and on the hem of the skirt
|
|
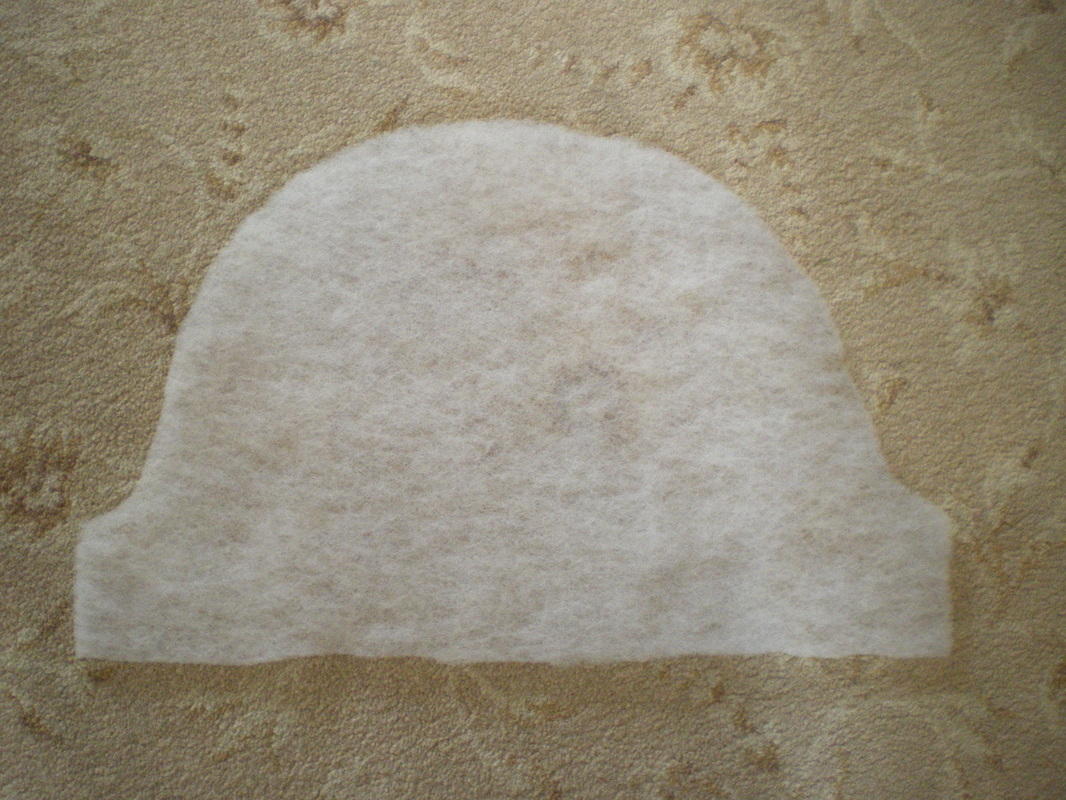
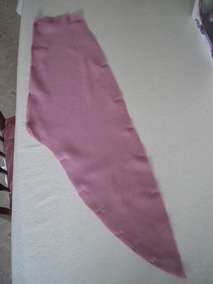
We needed Medieval sleeves and didn't have a pattern, so we came up with this shape this is folded double
|
We need 4 altogether, 2 for each sleeve. The inner sleeve was cut 2" shorter.
|
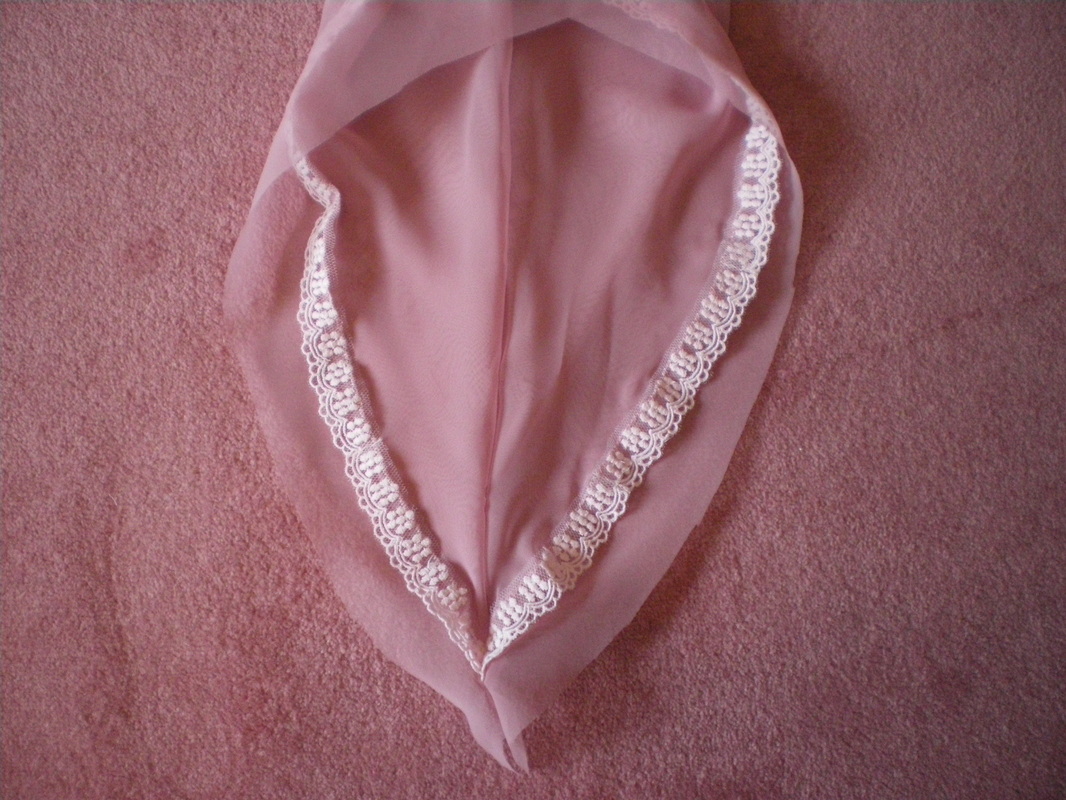
Using my handmade lace, I edged the shorter sleeve, then put it inside the bigger sleeve, then sewed up the seam. I then overlocked the edges on the outer sleeve.
|

|
Neaten the padded sleeve and put enough small pleats on the edge to fit the arm. Attach the long sleeves and sew a piece of lace around the cuff.
|
|
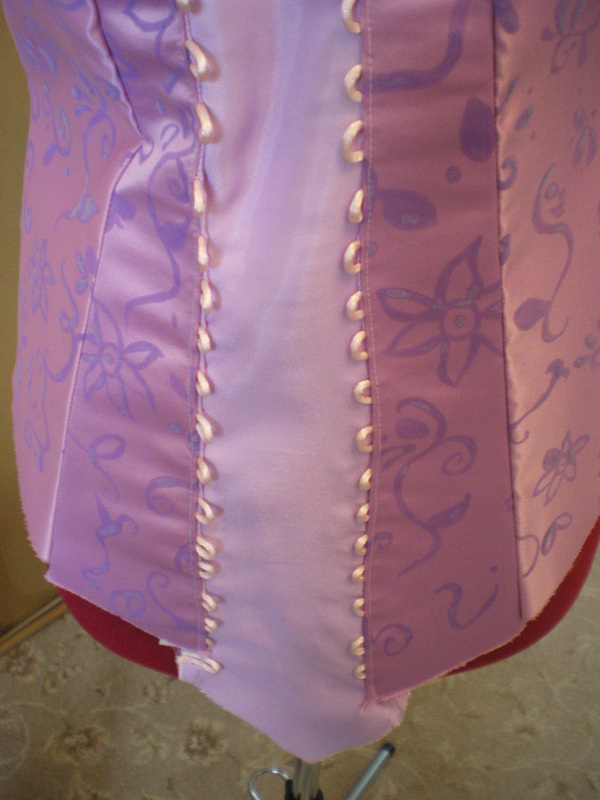
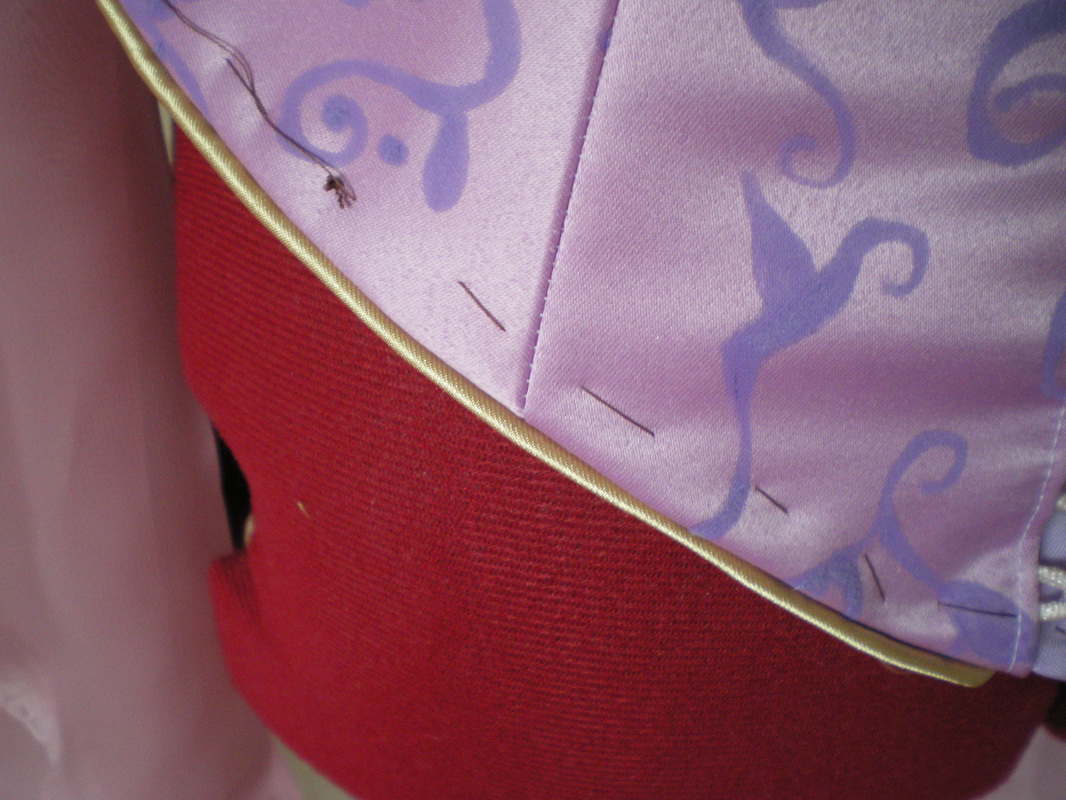
Sew on piping to the bottom of the bodice and turn up to the inside.
|
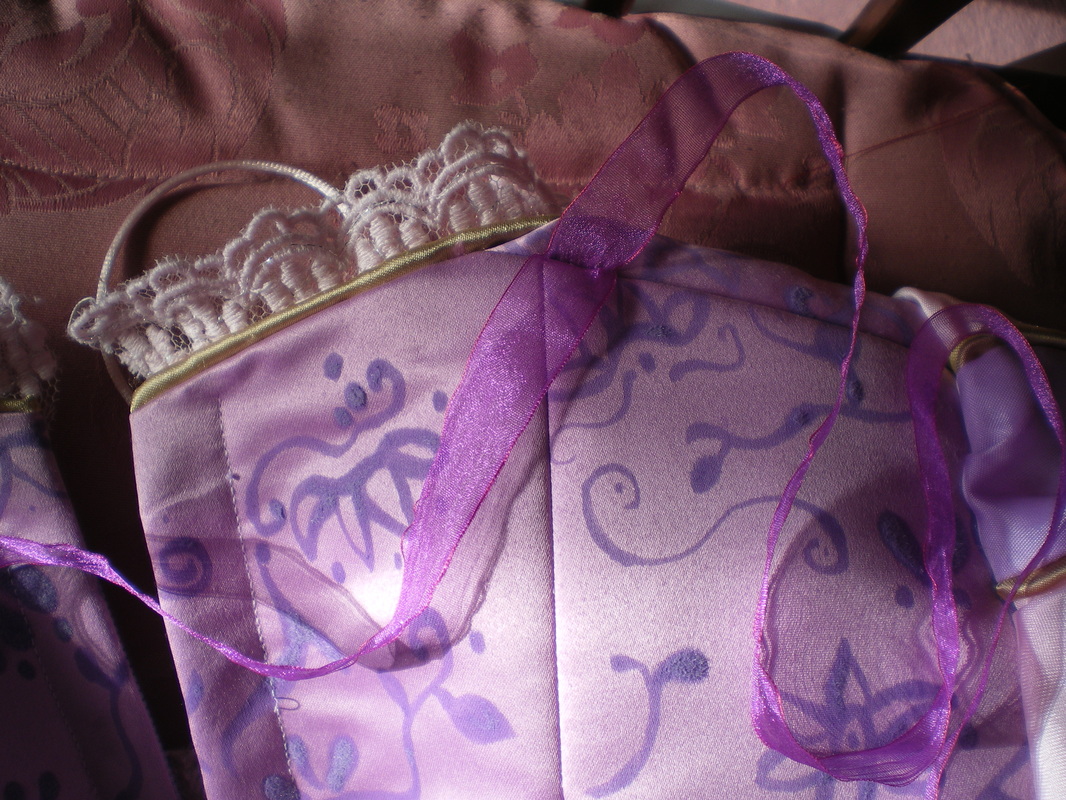
I then sewed the handmade lace around the top and bottom of the bodice and threaded the loops.

|
|
To make the lace extra special, I backstitched silver thread around all the flowers and between the swags. The last thing to do was put an open ended zip in the back.

Add flat back crystals on and this completes the bodice.
The Skirt
|
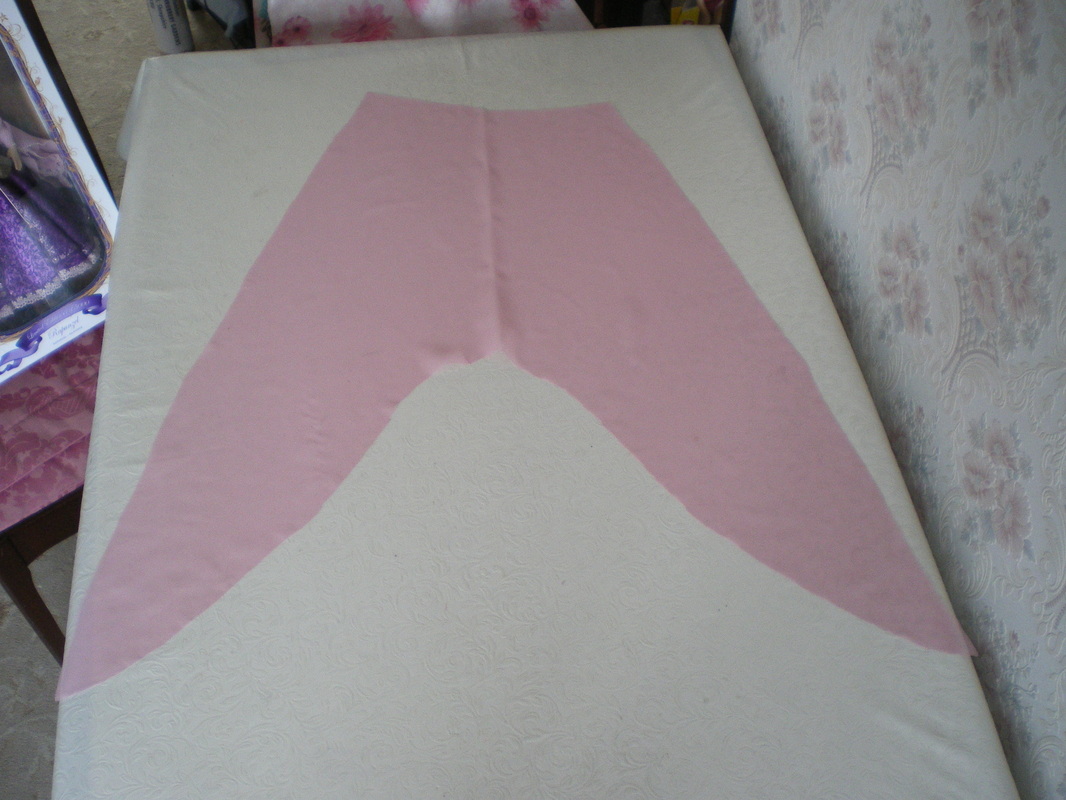
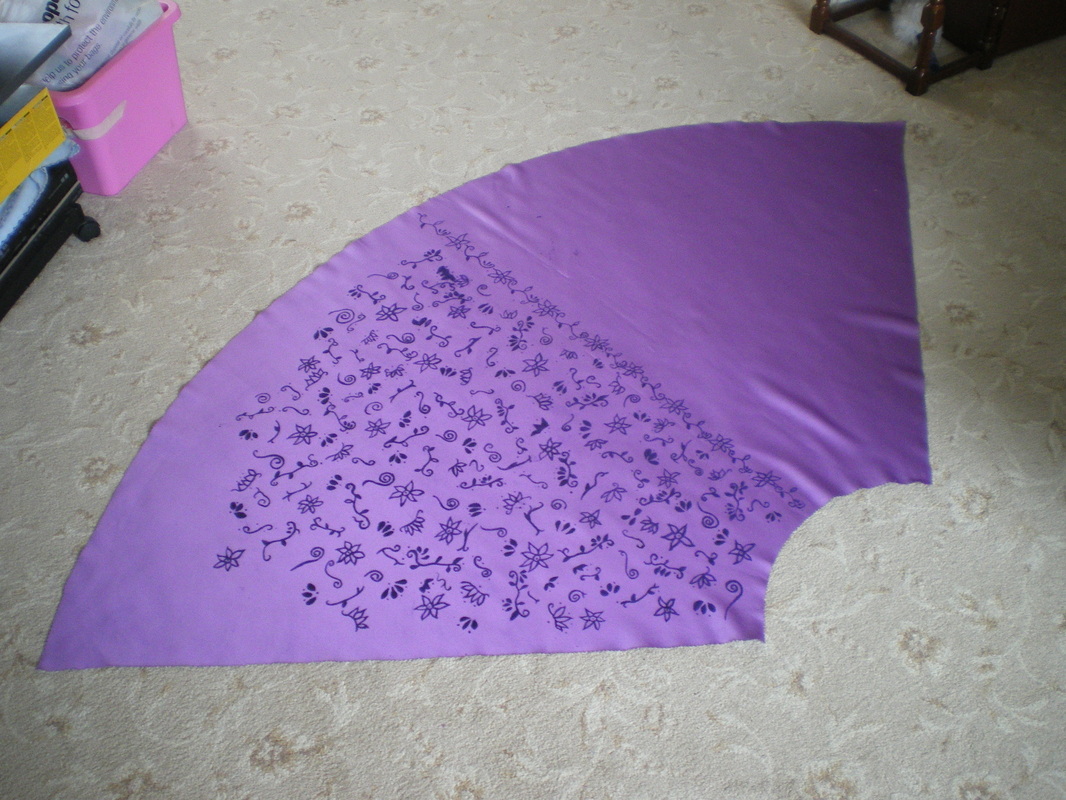
The skirt front is basically a quarter circle, the back is a quarter circle cut in half to allow for a back seam and opening. Using the purple fabric paint and flocking powder, draw suns and circles on all three pieces. This shows the front skirt nearly half finished. Allow a shallow scoop for the waist, this will be attached to a yoke. You will also need to cut 2 more identical skirts from the purple chiffon and two tone organza.
|
|
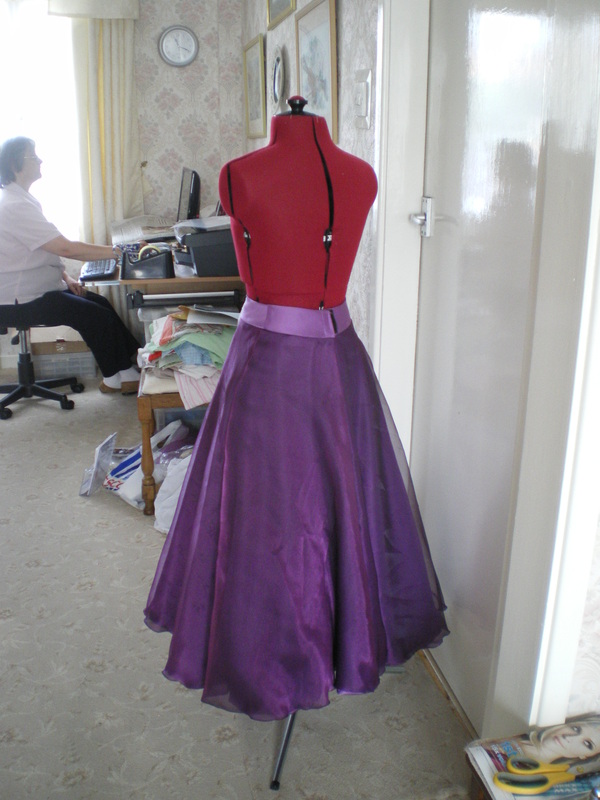
Having made up all three skirts individually. Sew all three layers onto a yoke, remembering to leave a back opening of about 8", attach a piece of velcro to fasten.
The top skirt is Purple Two-Tone Crystal Organza Fabric from Ebayer: Member ID minervacraftsandfabricsuk |
|
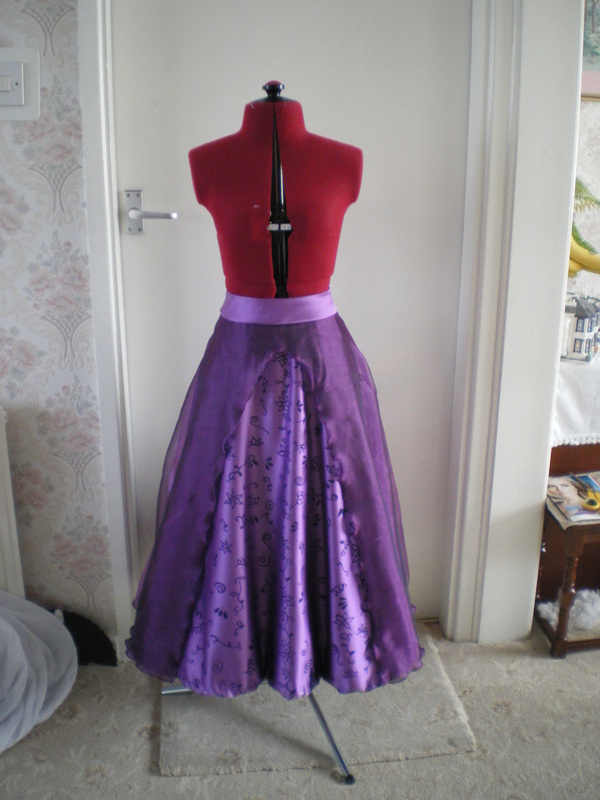
Cut a "V" into the top two layers, not quite going up to the waistband and overlock the edges all the way around. All the skirt lengths have to be the same.
|
|
Being careful to put some scrap fabric or paper between the skirt layers, use the white fabric paint mixed with purple to lighten the colour and draw suns and swirls down each side of the "V" and around the bottom edge. Finish by sewing the pink lace to the bottom of the Satin skirt. It needs to just show below the organza skirt.
|
|
The wig is exceptionally heavy so it will need some support. Sew a coloured ribbon into the seam on top of the shoulder near the neck. When the plait is hanging over the shoulder, tie the ribbon tightly around it, this takes off a lot of the weight!
|
Glue the flat back crystals on the front of the skirt and this concludes the skirt.
