Making Dorothy Gale's
Wig, Basket and Shoes
There are so many Dorothy Gale wigs to choose from on the Internet, it all comes down to personal taste and how much you are willing to spend. It will also depend on whether you want the traditional pigtails, or the wavy version when she is in the Emerald City. We bought our wig ready made.
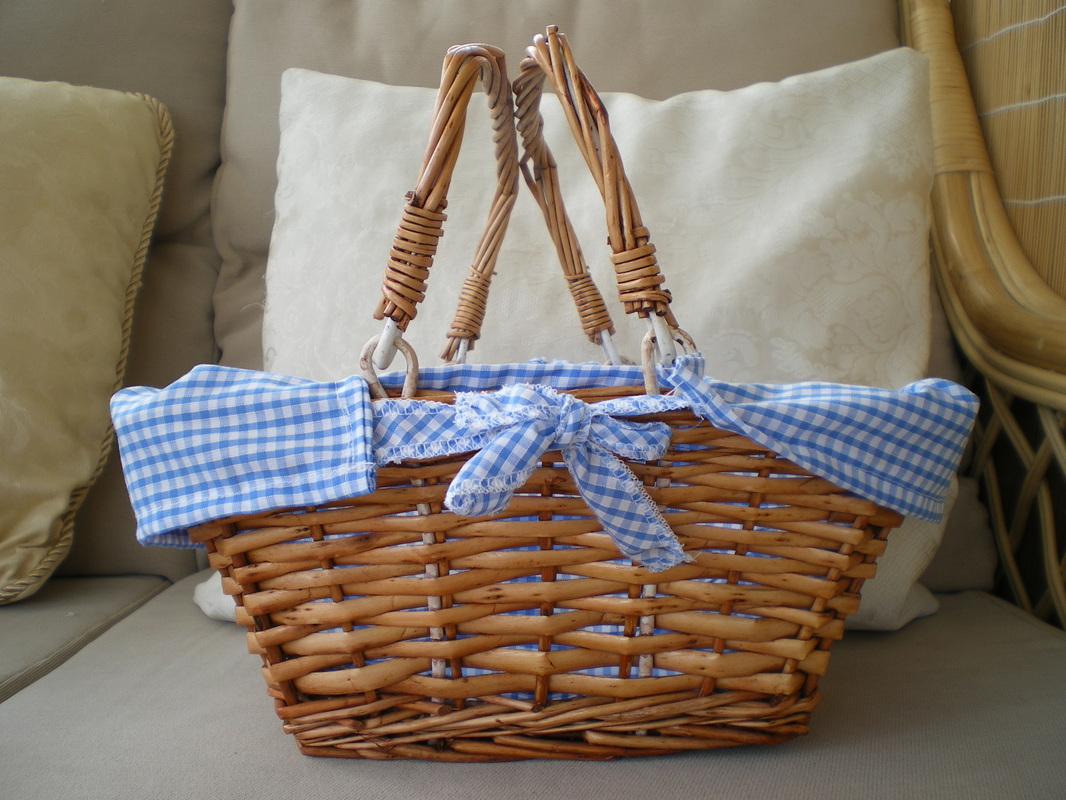
The basket was bought as is, but we did line it in Blue Gingham
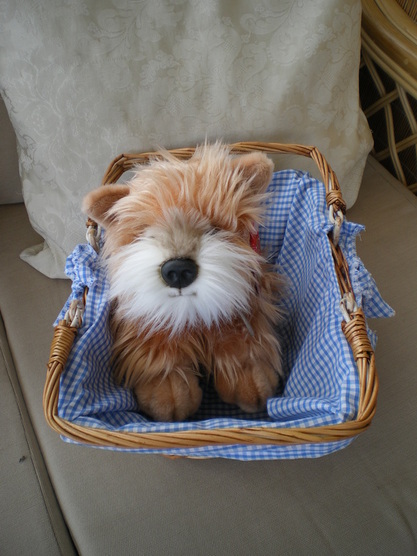
And don't forget Toto!!!
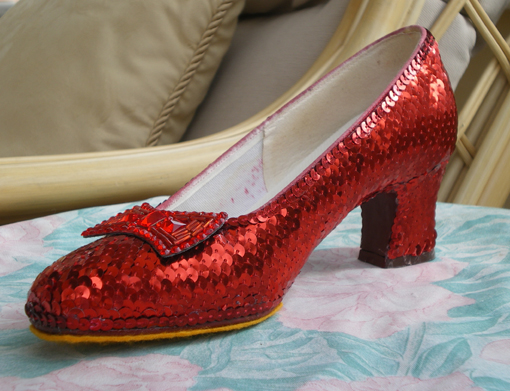
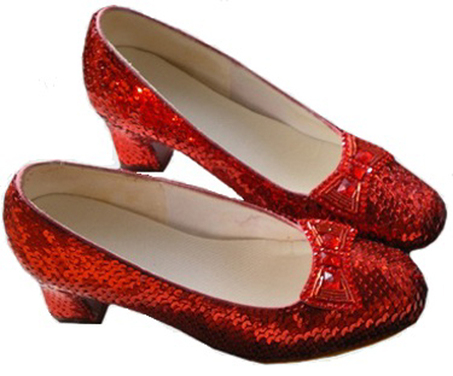
And now for the best part - Dorothy's Ruby Slippers!
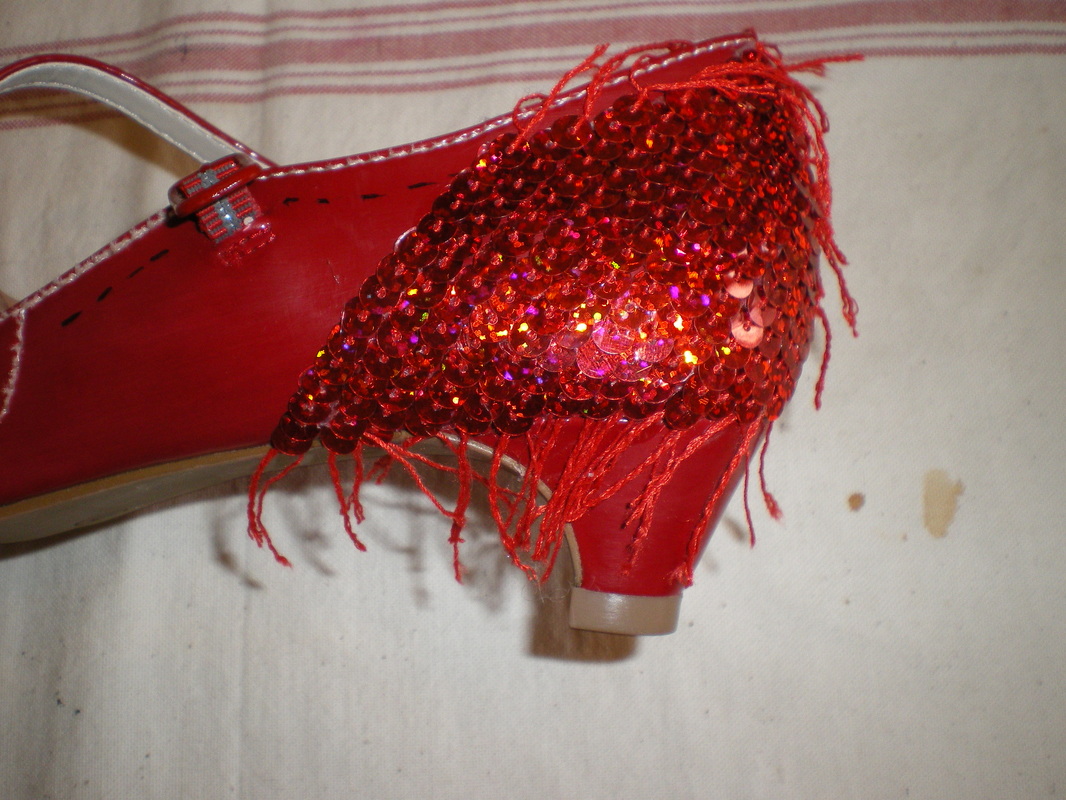
The very first pair we made are what Tracy wears with the outfit, mainly because they have straps on. She has such narrow feet, that ordinary shoes will not fit!!
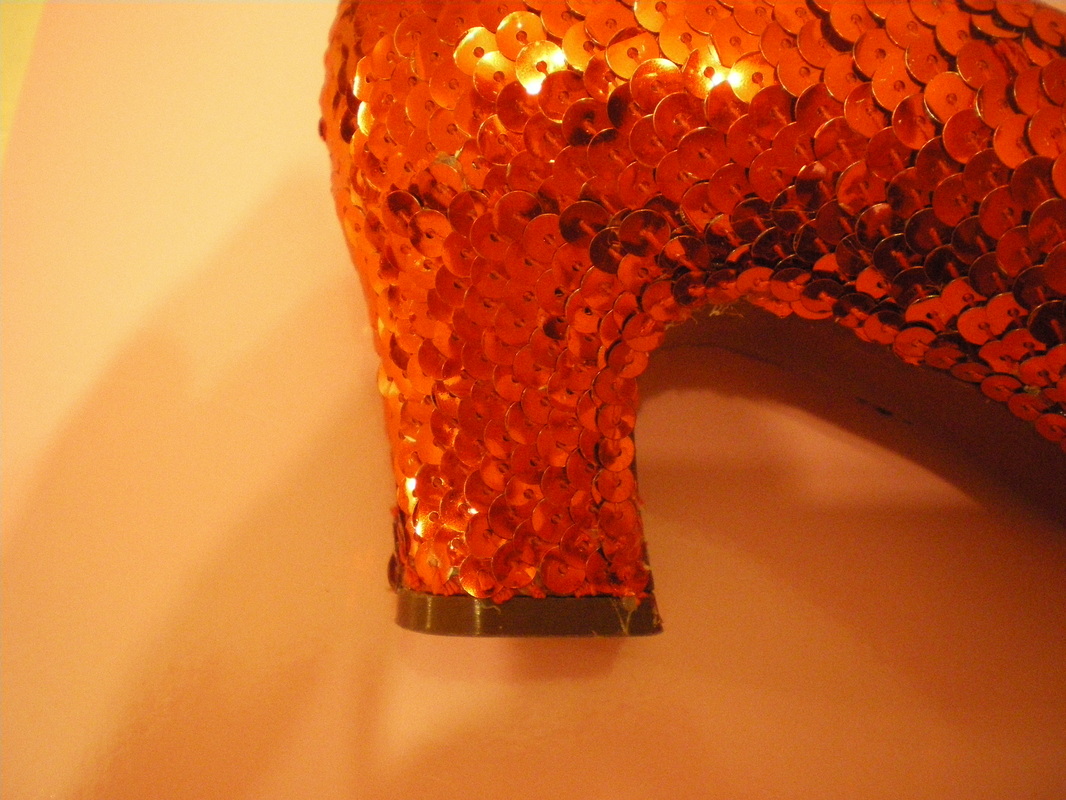
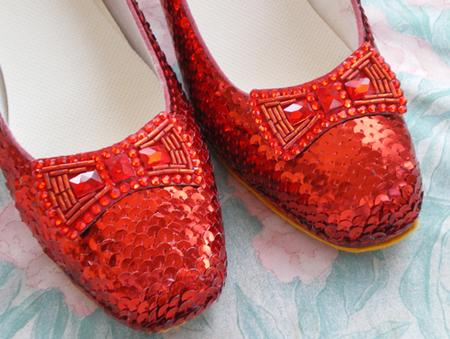
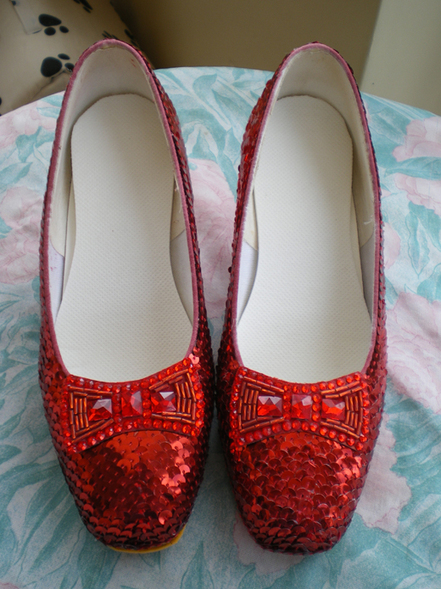
So I have put the instructions for our first pair, but also added some photos from the ones we use for display only.
Materials:
Leather belt strap (any colour) pull the backing off and use the upper part. It doesn't matter about the colour, they are going to be covered with red fabric
Red fabric
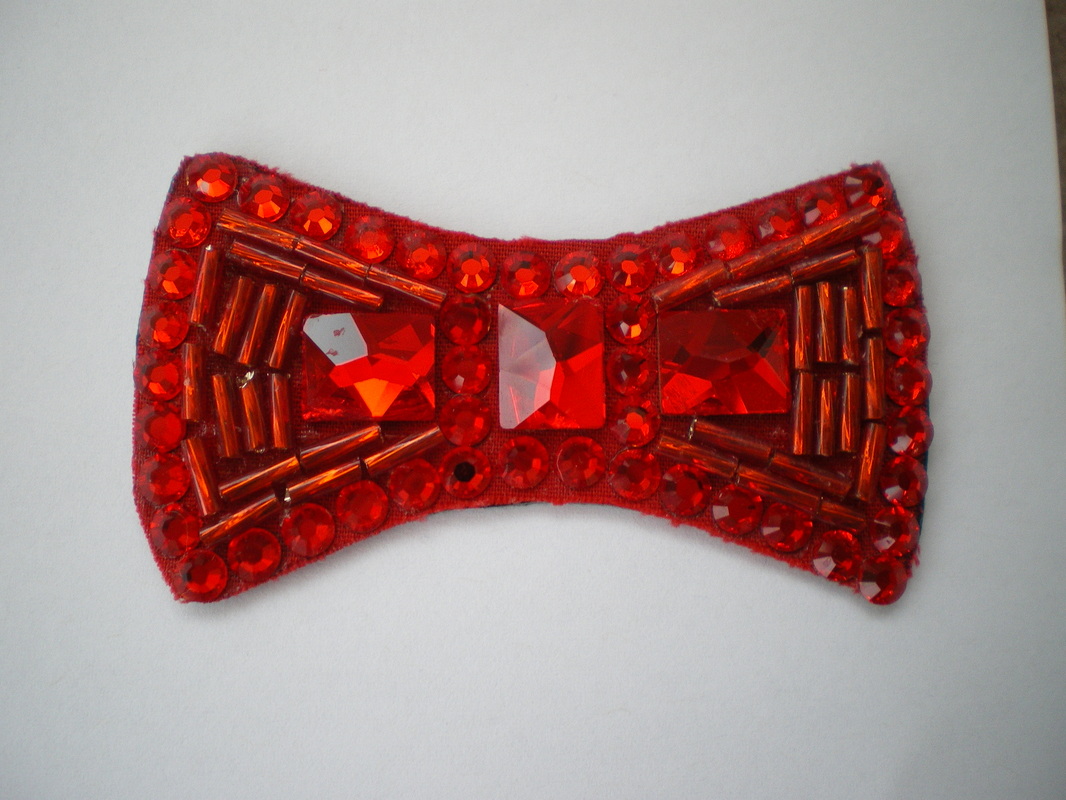
Approximately 90 x 4mm flat back Swarovski crystals in Light Siam
6 x Oblong flat back Swarovski crystals 10mm x 8mm
Packet of metallic red bugle beads 7mm
Fabric glue
Glue gun
15 metres of 5mm red metallic string sequins
2 metres of 3mm red metallic string sequins
|
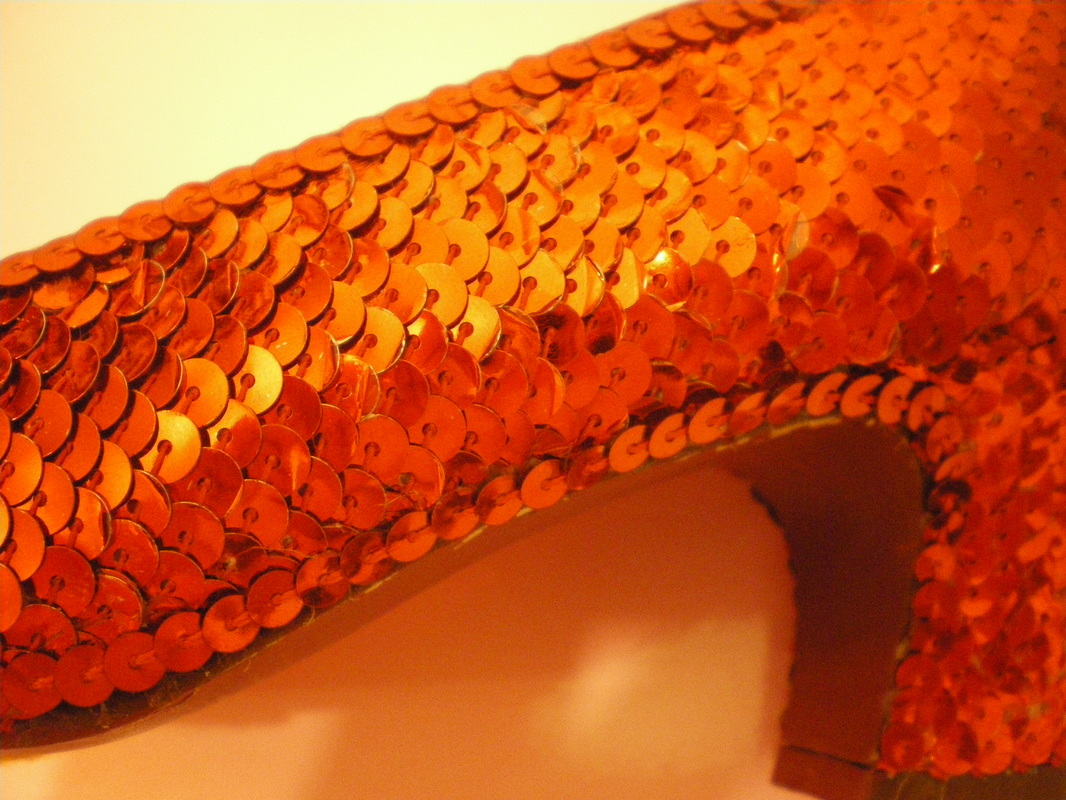
Because the glue dries so quickly, it takes two people, one to put the sequins on and the other to use the glue gun. Starting at the back of the heel, work diagonally from top to bottom. Take off a few sequins at the start of the run so you can hold the string. Then leave a short string at the end of the run for the same reason. Start glueing 2-3mm below the top of the shoe and try not to go further than the bottom of the shoe. (It will be okay to leave a gap because there will be a neatening row of sequins put on at the end.
|
Each row of sequins slightly overlaps the previous one. Work your way to the front of the shoe keeping the diagonal. Mark a line at the centre front of the shoe and stop your row of sequins at that mark.
|
Go back to the back of the shoe and work your way up the other side, when you reach the front, you should have the same diagonal direction. Glue your last sequin as close to the middle as possible. When the strings are cut, you may find that one or two sequins come off, this is nothing to worry about, you can always glue individual sequins on to fill in the gaps.
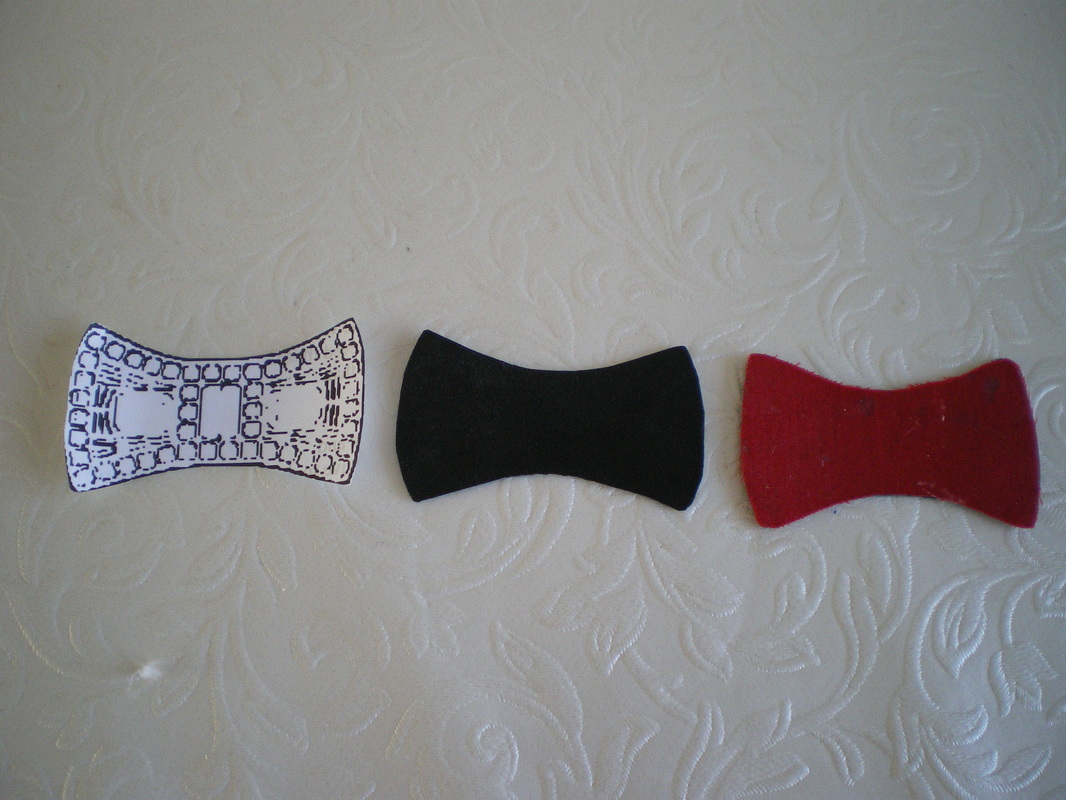
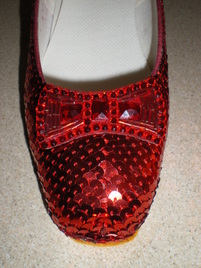
Glue the bow on the front with superglue and bend it slightly around the shoe. These are our exhibition shoes, so we glued on a piece of dark yellow felt.
You may be interested to know, that during filming, a pad of felt was glued to the bottom of Judy's shoes because they were too noisy on the floor!
