For this costume, you will require beginner to intermediate experience in sewing
and experience with corset making and boning
All videos for making the
complete costume can be found in our "video tutorials" link Part One of the Skirt tutorial can be found under "more costume tutorials"
Difficulty
factor 5 - 10
and experience with corset making and boning
All videos for making the
complete costume can be found in our "video tutorials" link Part One of the Skirt tutorial can be found under "more costume tutorials"
Difficulty
factor 5 - 10
Cinderella
from
Disney
from
Disney
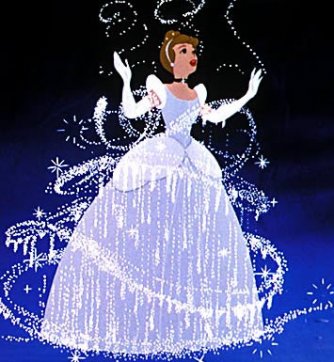
Construction of Cinderella's Ball Gown
Material:
Petticoat:
5 Metres White Polyester Crepe
1-2 Metres Ribbon
Approximately 10 metres of trim
Skirt:
I didn't use a pattern for the skirt, all the layers were a 360 degree skirt, using two half circles each. If your fabric isn't wide enough for this, you may have to make the skirt using more sections.
5 Metres Pale Blue Voile
7 Metres Silk Satin Charmeuse
5 Metres Pale Blue Crystal Organza
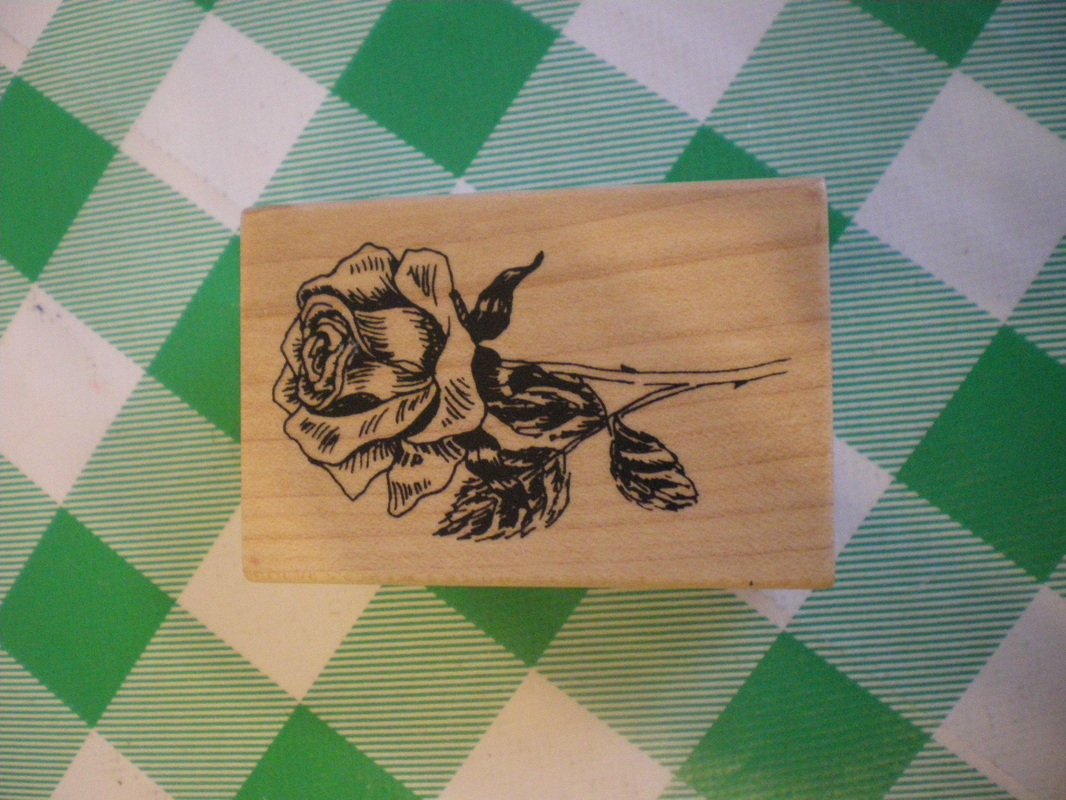
Rose Motif Stamp
Hooks and Eyes
Petersham or stiffener
VersaCraft water based pigment ink in Sky Mist
Blue Embroidered flower motifs
Several hundred flat back Swarovski Light Sapphire HS crystals
Bodice
McCalls 9456, this is a dress pattern, but I found the top princess line seams, were perfect for the design I wanted, you do not have to use this pattern if you see something else you would rather use.
1 Metre Blue Brocade
1 Metre White Brocade
1 Metre Coutil
1 Metre of light blue cotton
Trim
Piping cord
Boning
Swarovski flat back crystals colour Silk
Length of stiff lace for the collar at least 3" wide
Hook and eye tape, if you cannot get blue, then get white and dye it
1cm pale blue velvet ribbon
3" wide pale blue ribbon
Swags
McCalls M6139
3 metres of 2.5cm lace
Stiff netting
2 metres of bias binding
Optional hanging crystals and trim
Sleeves
Simplicity 8881 for the sleeves only, or something similar
Hoop
A small bustle if required
Length of black ribbon or trim to make the choker
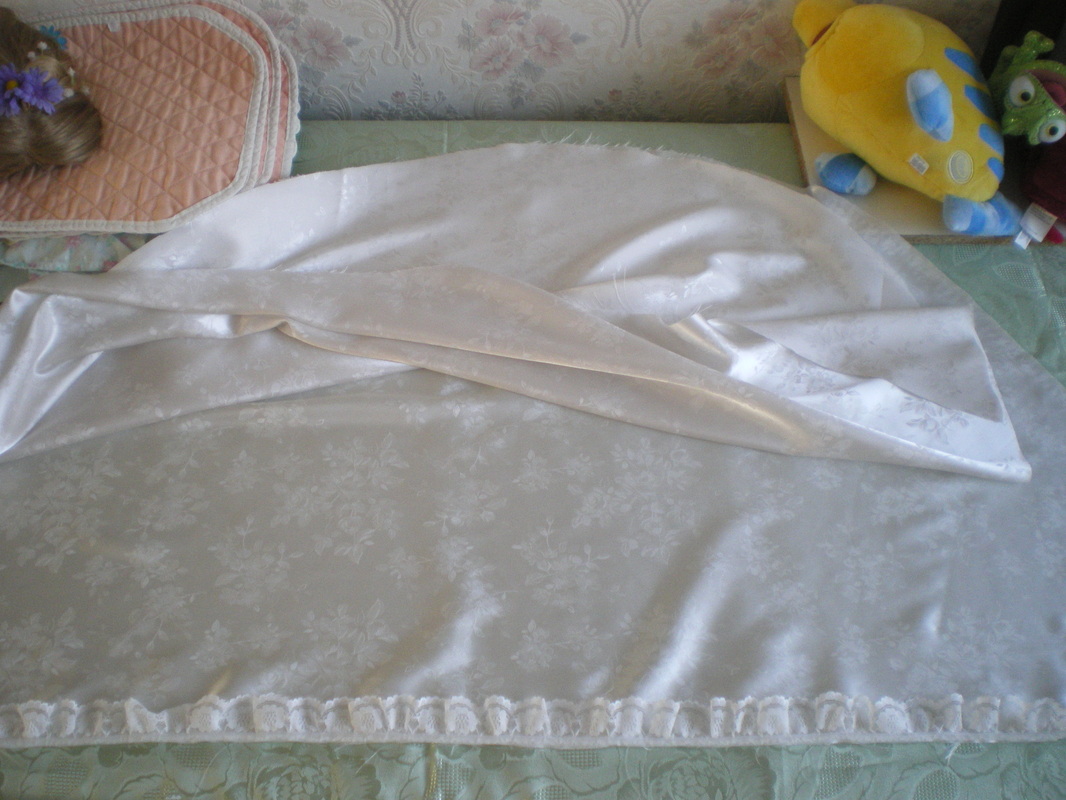
To Make the Petticoat:
|
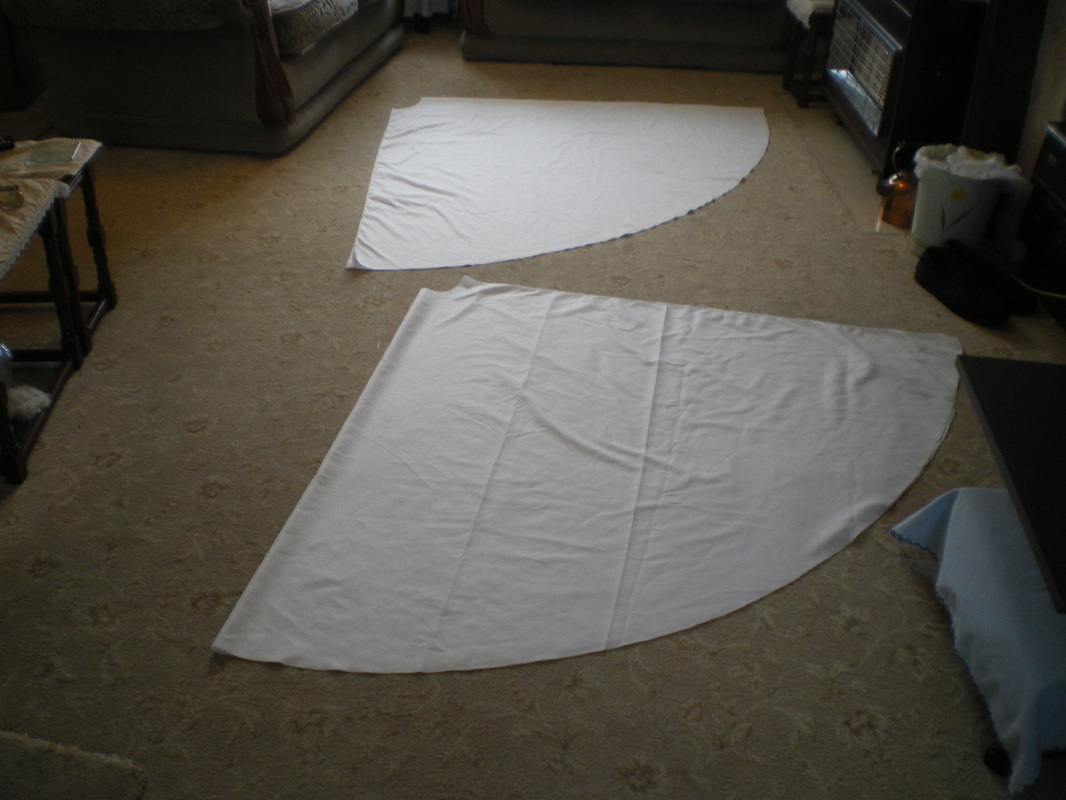
Cut two half circles from the crepe and join the side seams from top to bottom. Take your waist measurement and add 5cm (2"), quarter this sum and cut a circle to that new measurement.
|
|
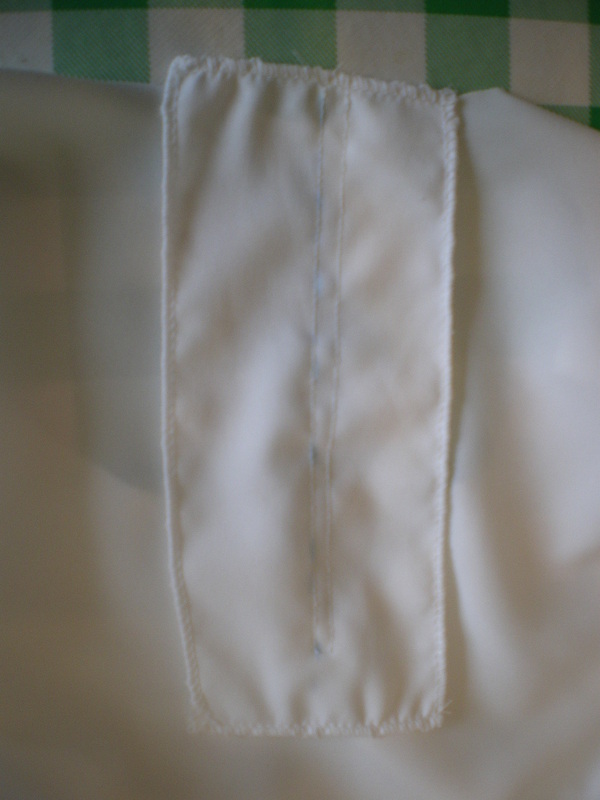
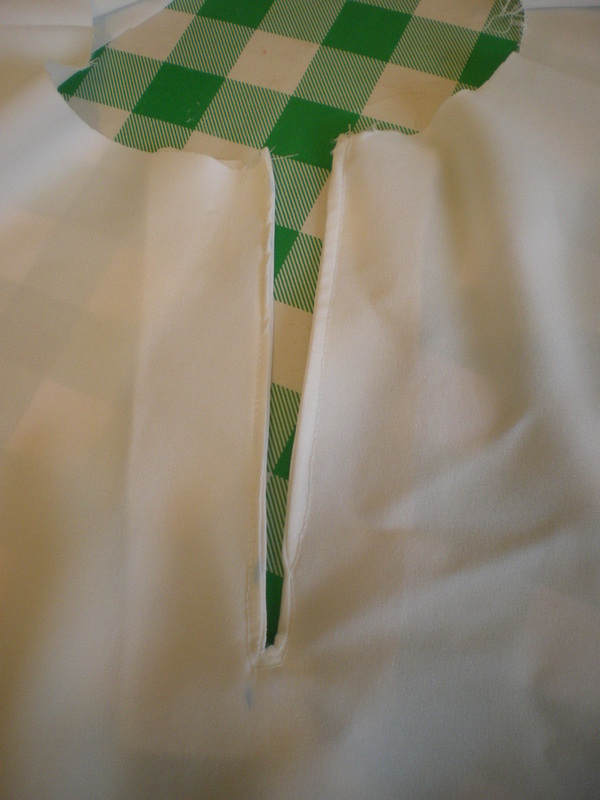
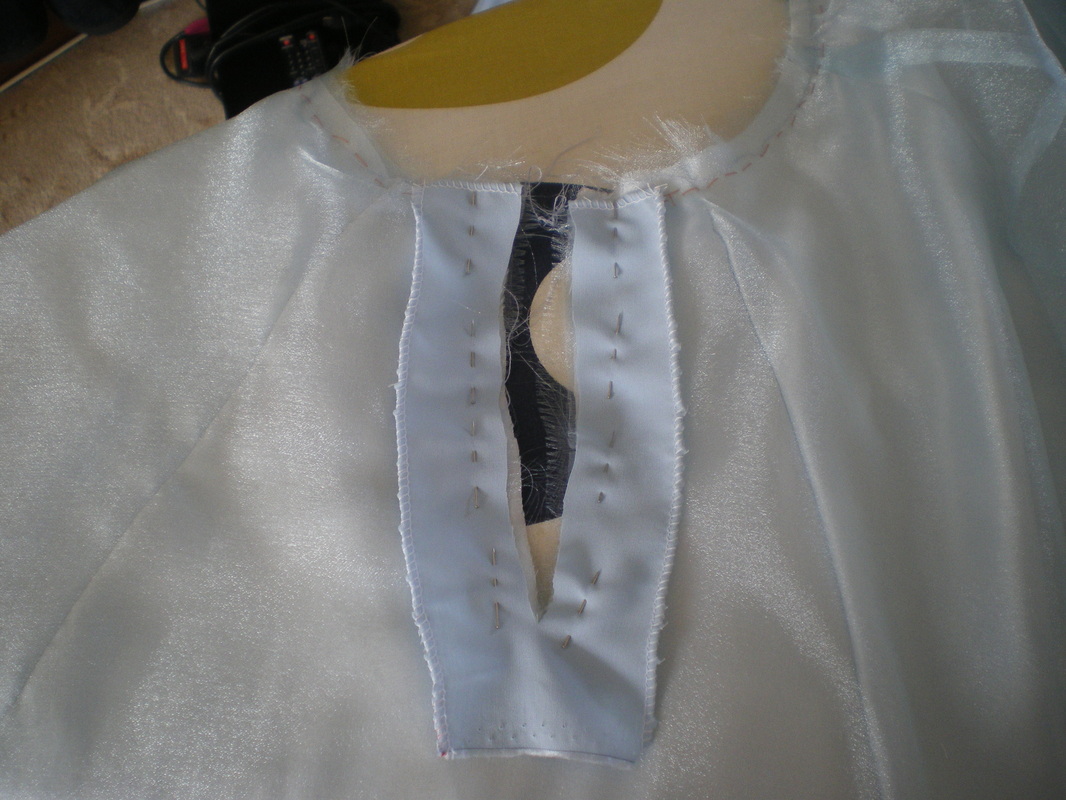
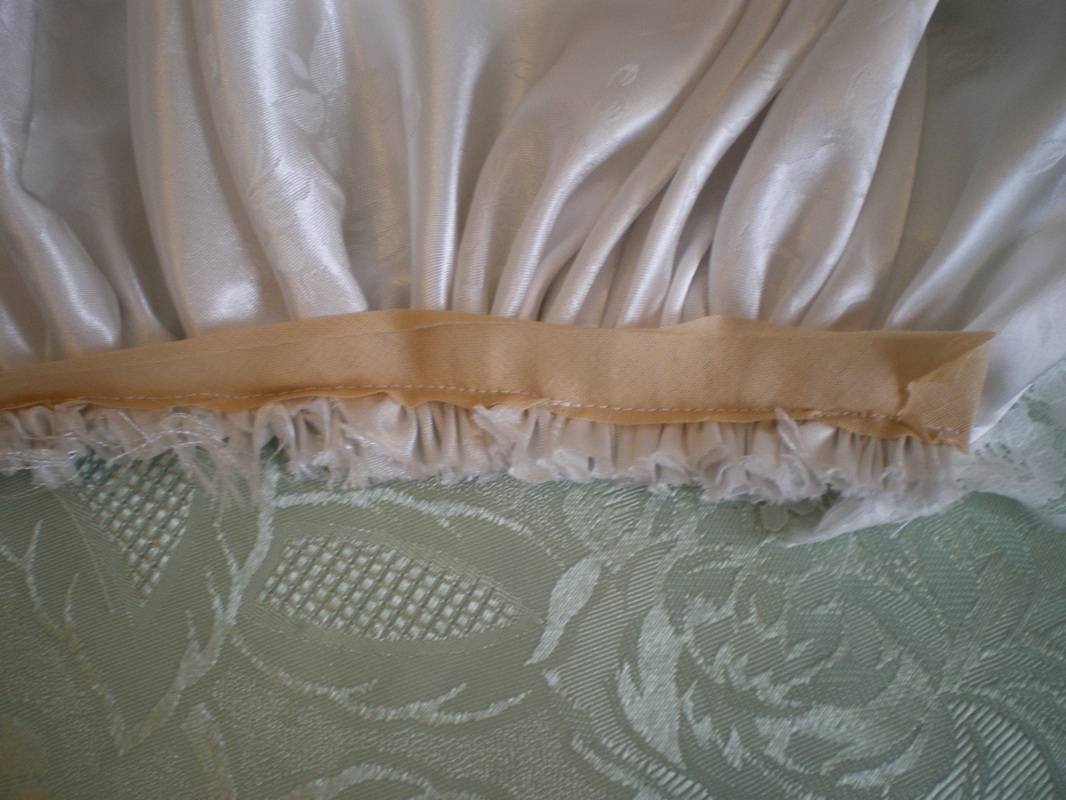
Cut a rectangle of material approximately 10cm x 20cms, neaten the edges. Place at the centre back. Sew a double line of sewing to a point approximately 15cms long. Carefully cut down between the sewing, then again from the bottom of the rectangle up to the sewing line.
|
|
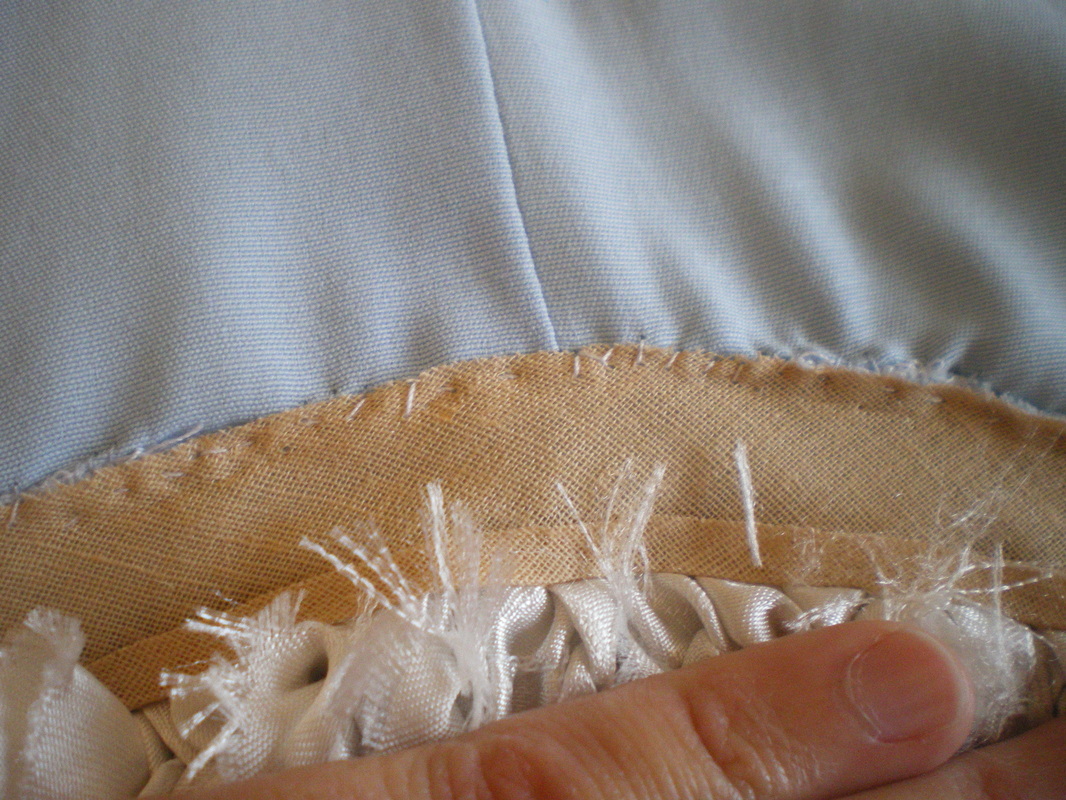
Turn to the inside and sew around the edge to neaten.
|
|
Sew the ribbon to the waistband and leave enough excess to tie a bow. You don't have to copy this method (there are so many). You can use snap fasteners, velcro or a zip if you prefer.
|
|
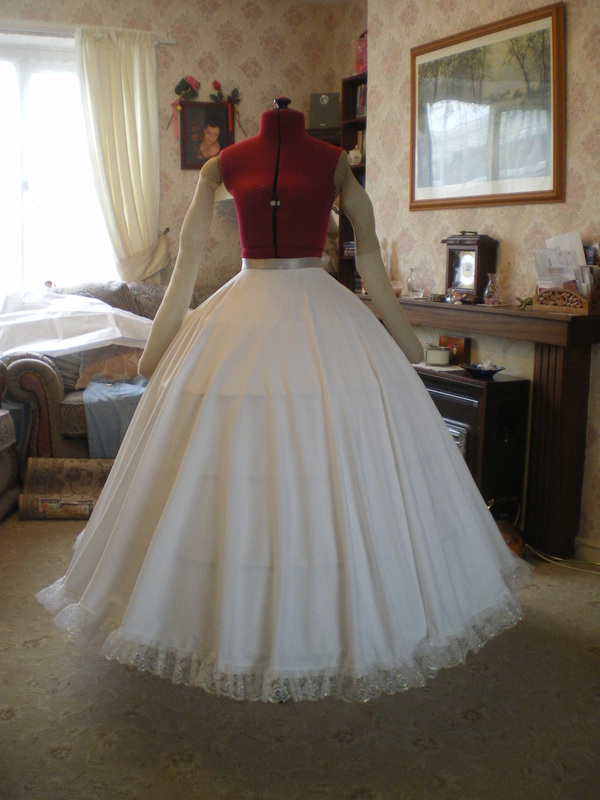
I added a fluorescent trim to the petticoat, but this is entirely optional.
This completes the petticoat. |
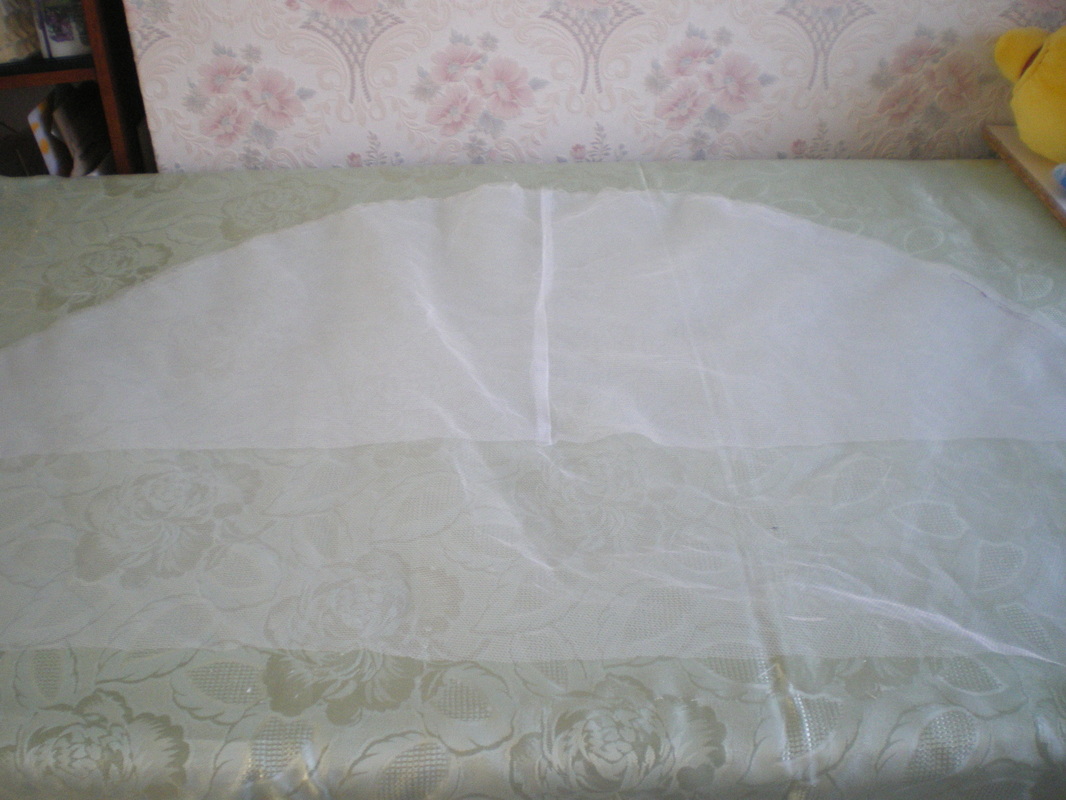
To make the Skirt:
|
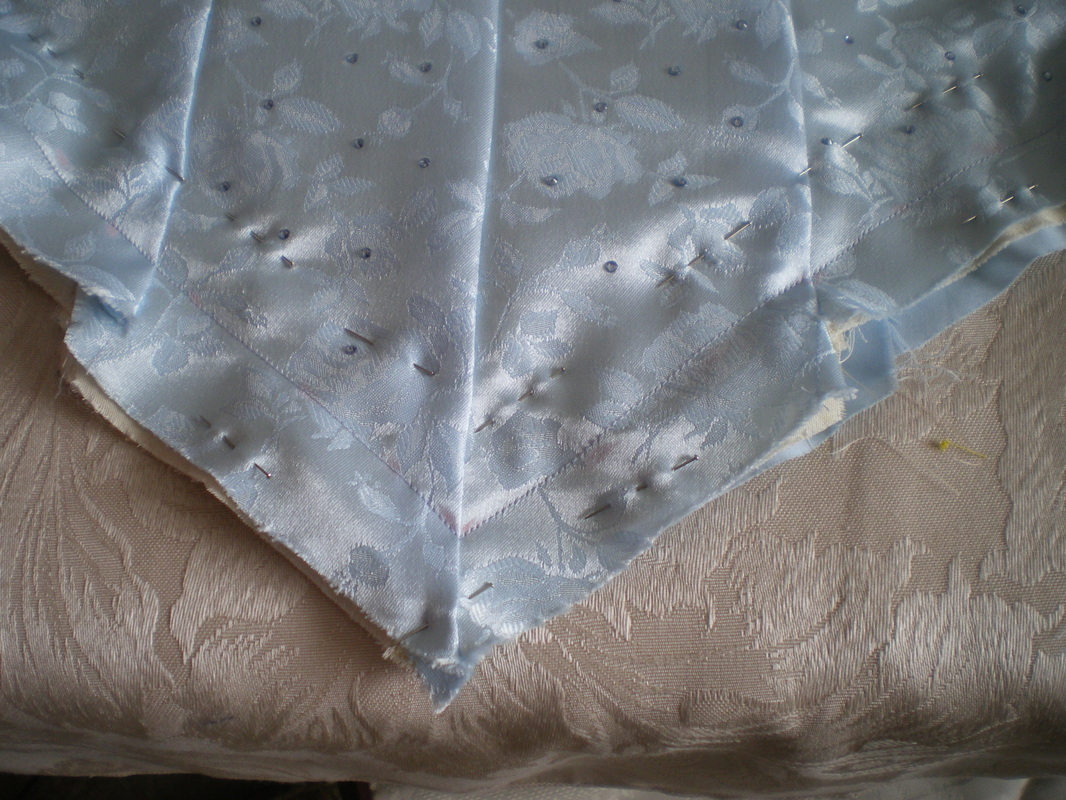
Make three individual skirts making sure the organza is the top layer, then proceed exactly the same as the petticoat, by making an interlining and sew this to all three layers. It will help to tack all your skirts together around the waist to keep them in place.
|
|
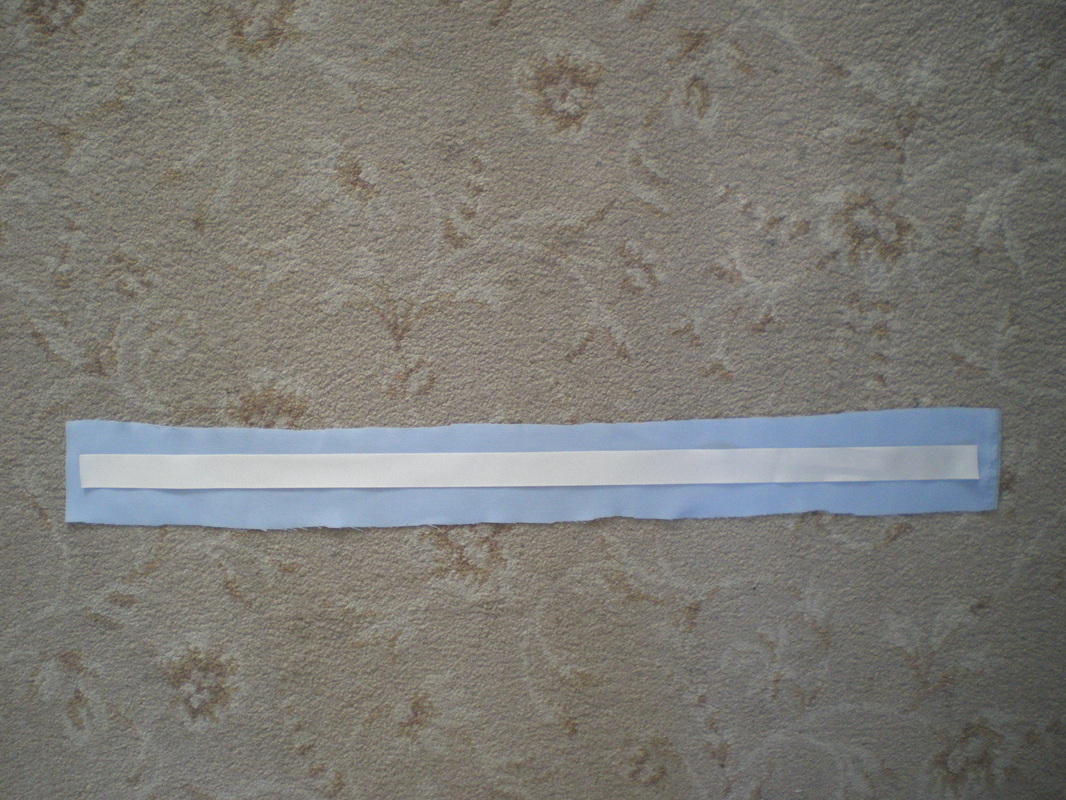
Cut a piece of voile twice the width of the Petersham and slightly wider, adding 2cm to each measurement.
|
|
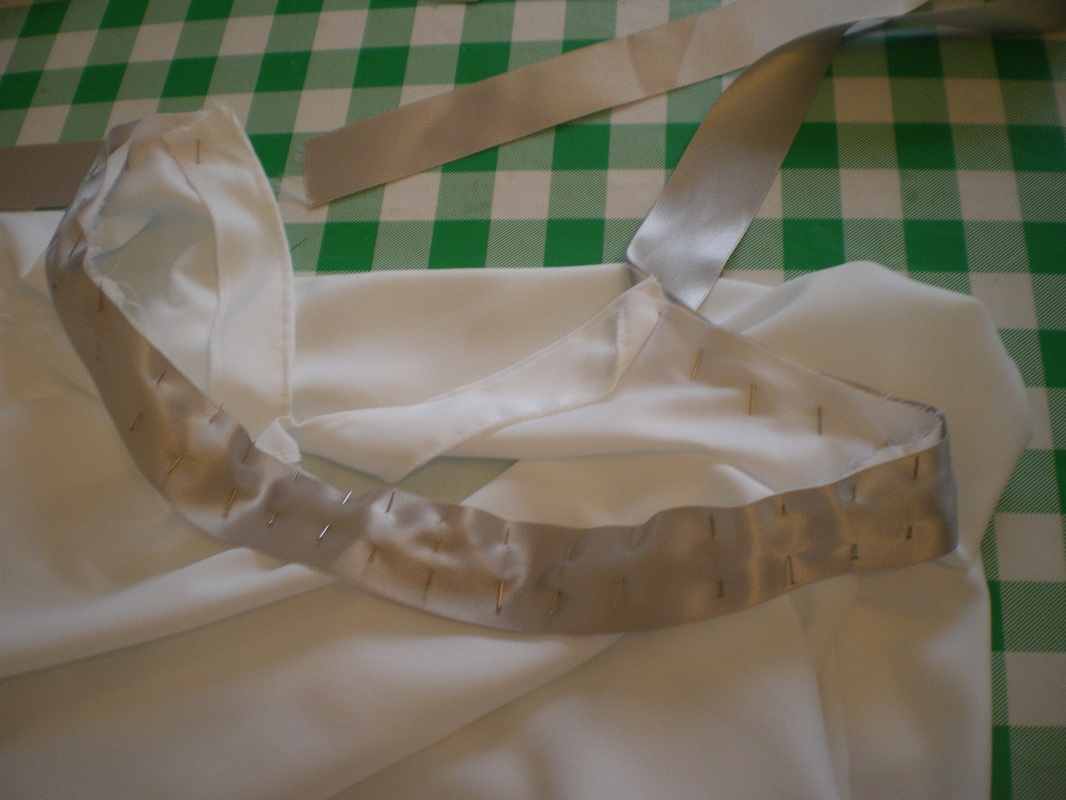
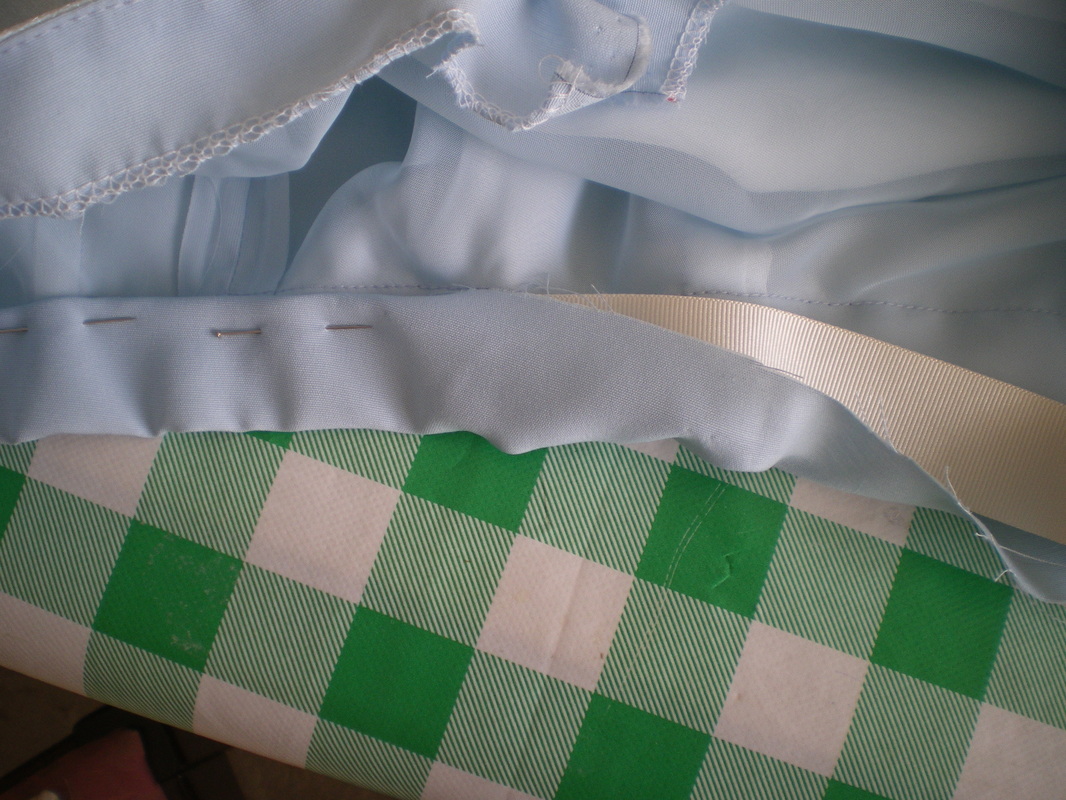
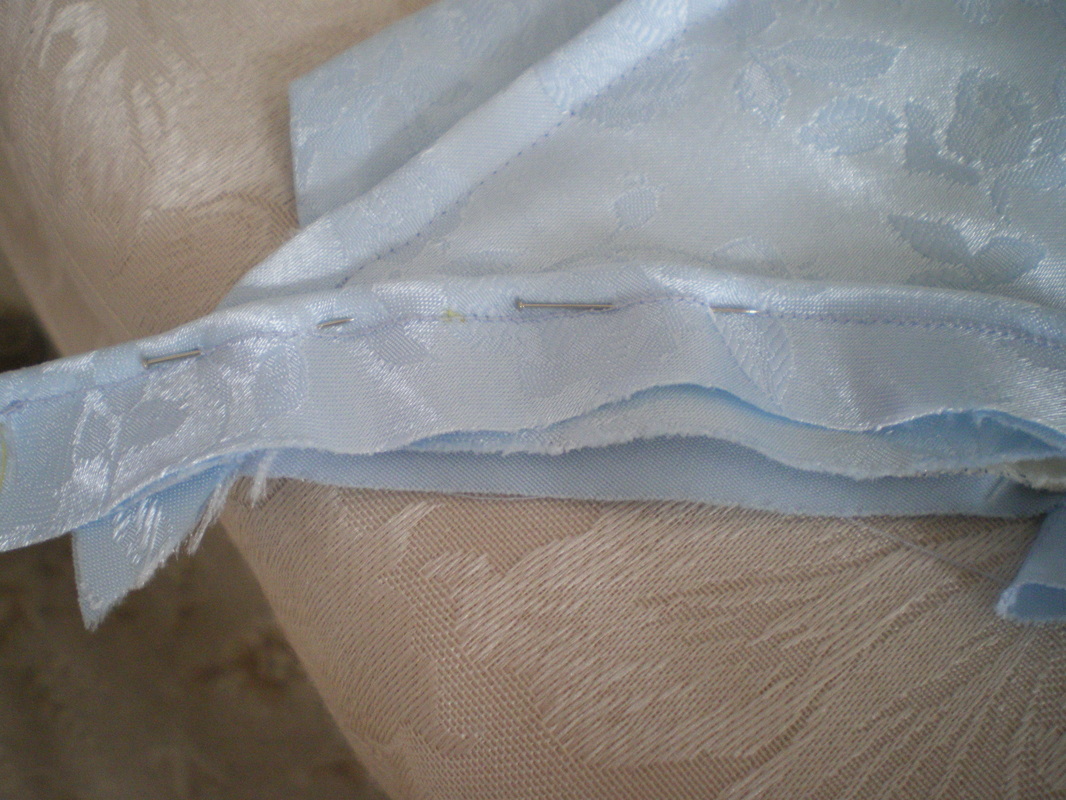
Like all our skirt tutorials, sew up the short sides and fit the skirt waist onto the band, turn the band over the Petersham on the inside and hand sew in place.
|
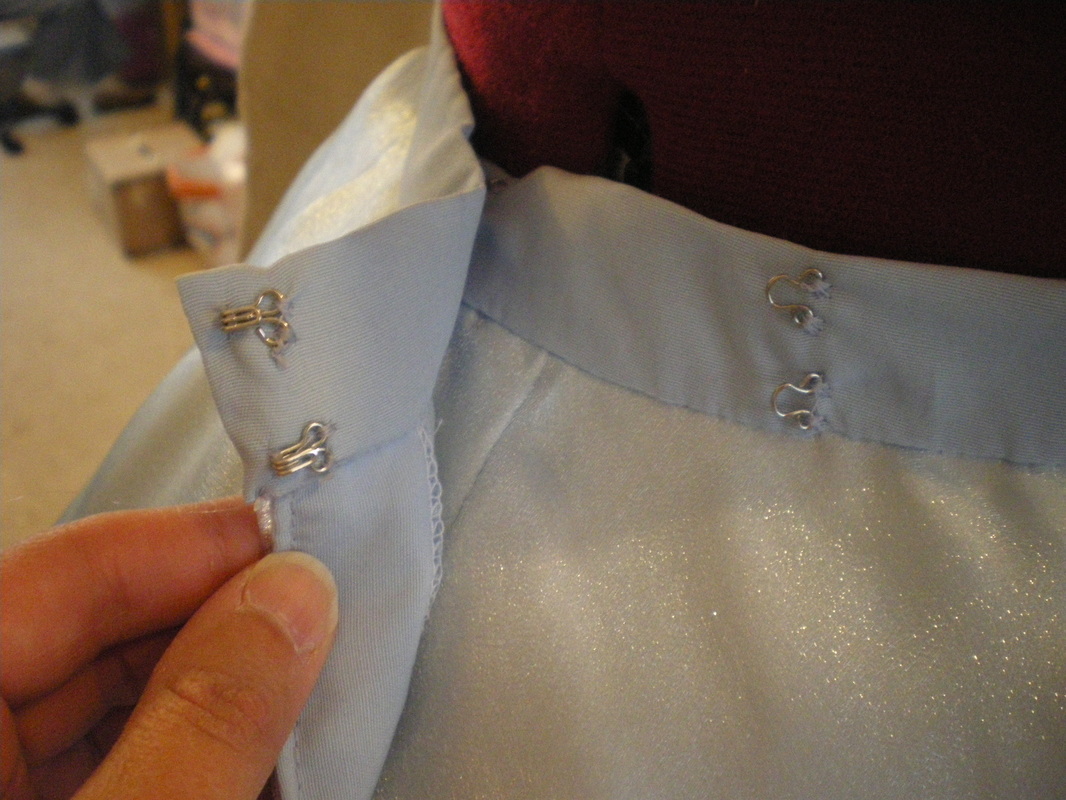
|
Sew on the hooks and eyes using the overlap. You can use snap fasteners or velcro if you wish.
|
|
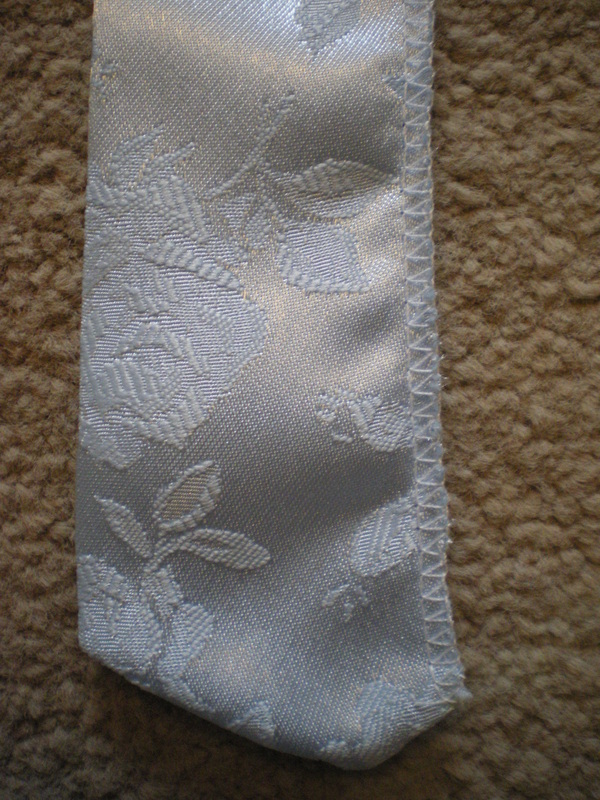
Turn up the skirts to the desired length, I over locked all the layers individually using a narrow over lock, but you can use a roll hem attachment if you wish.
|
|
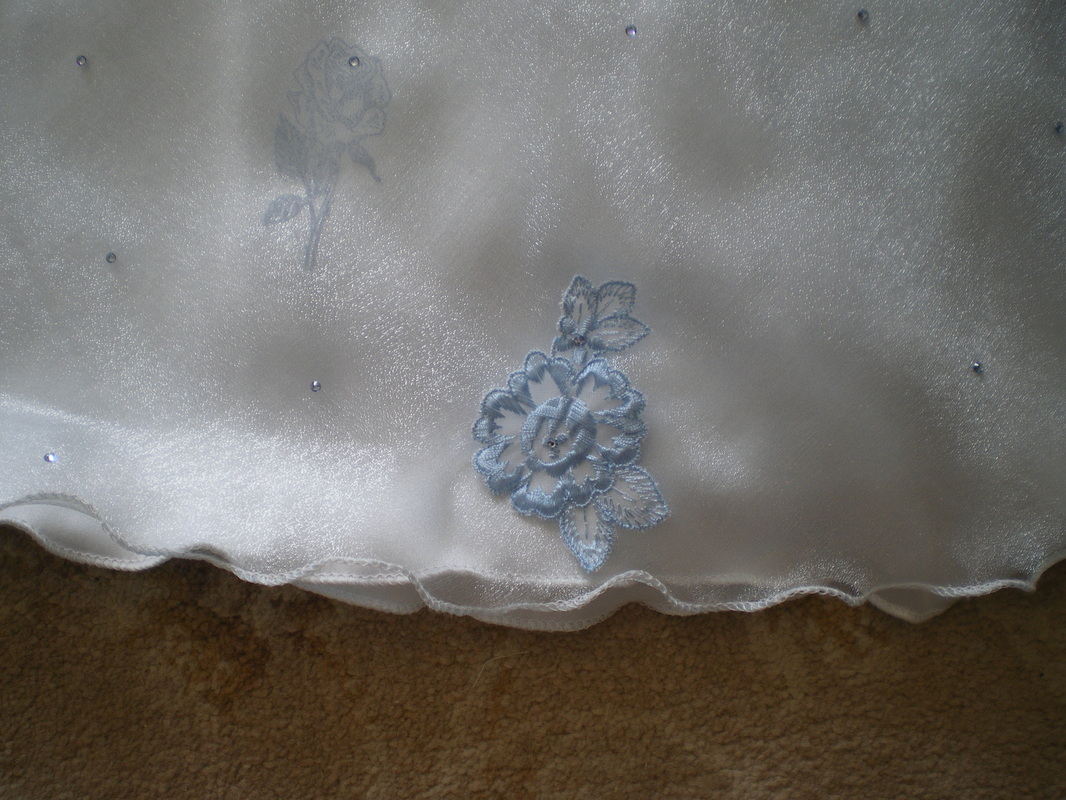
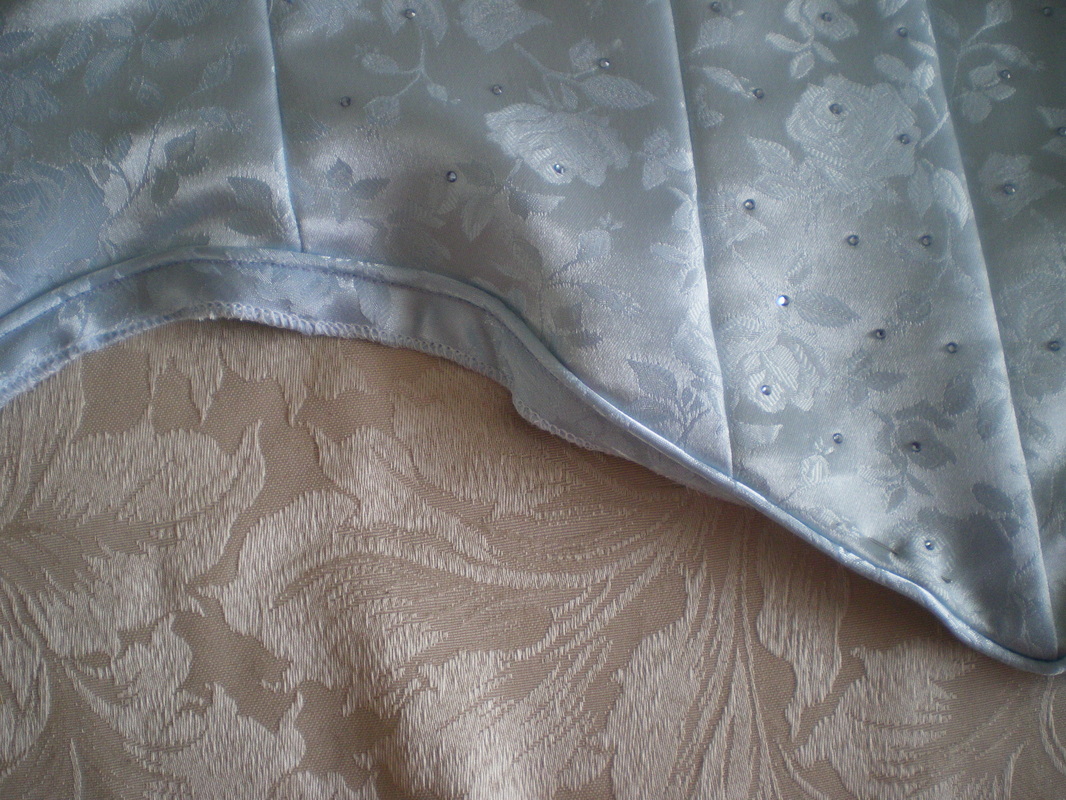
Using the flower motif, stamp the image all over the skirt. I also scattered blue Swarovski crystals around the skirt as well.
|
|
I bought some light blue rose motifs and spaced them around the bottom of the organza skirt.
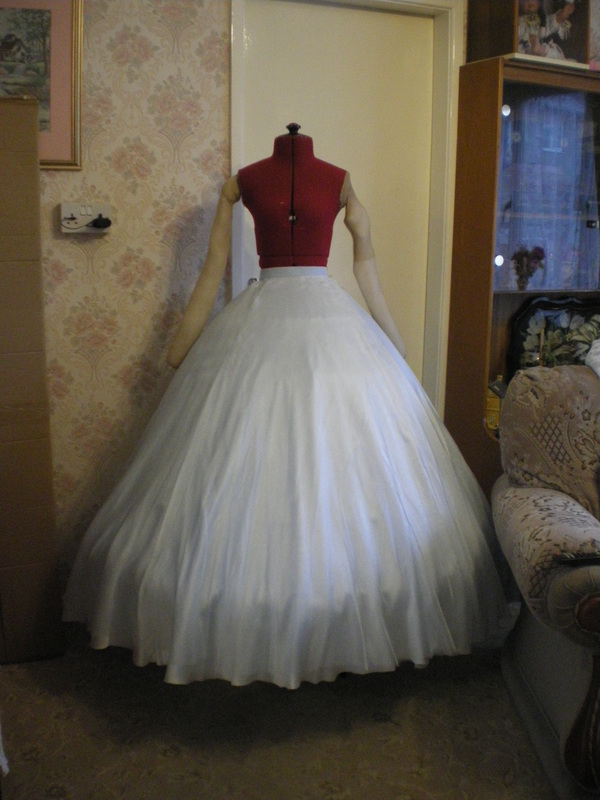
|
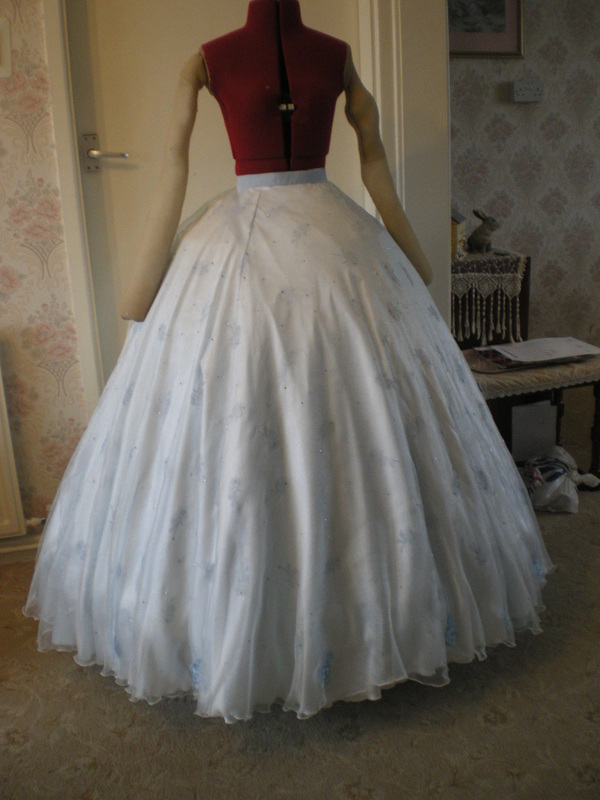
This completes the skirt.
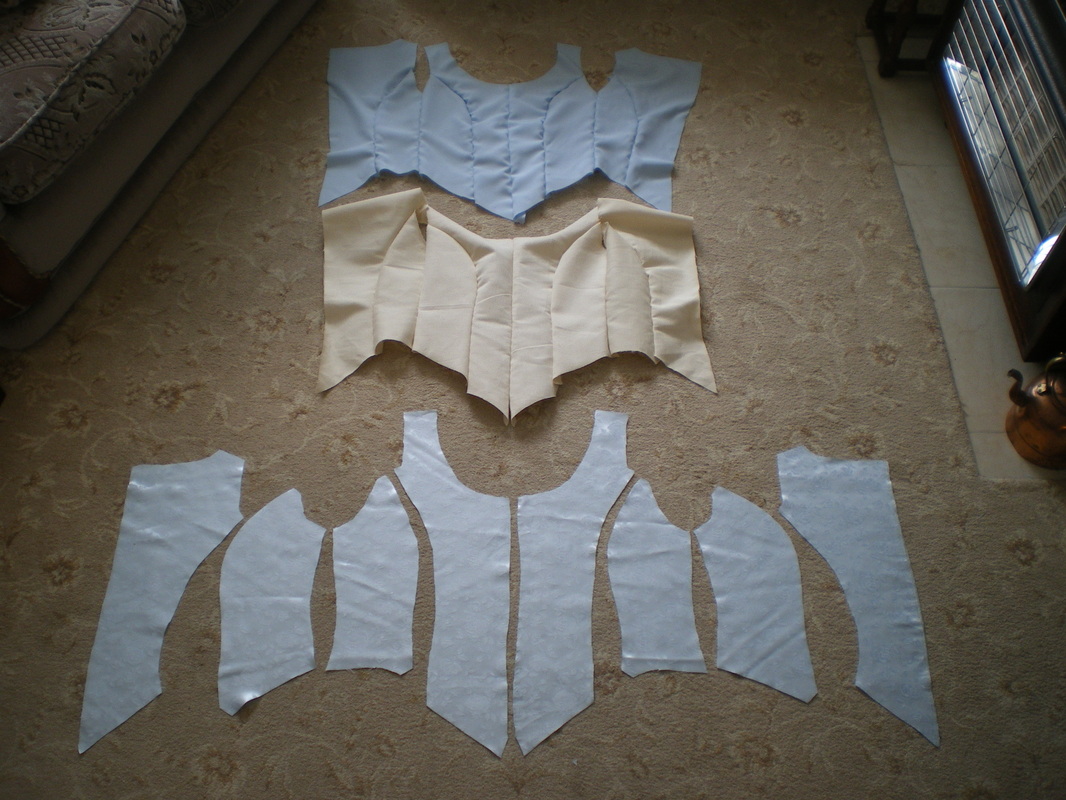
To Make the Bodice:
I used McCalls 9456, but only used the top part for the bodice.
To Make the Bodice:
I used McCalls 9456, but only used the top part for the bodice.
|
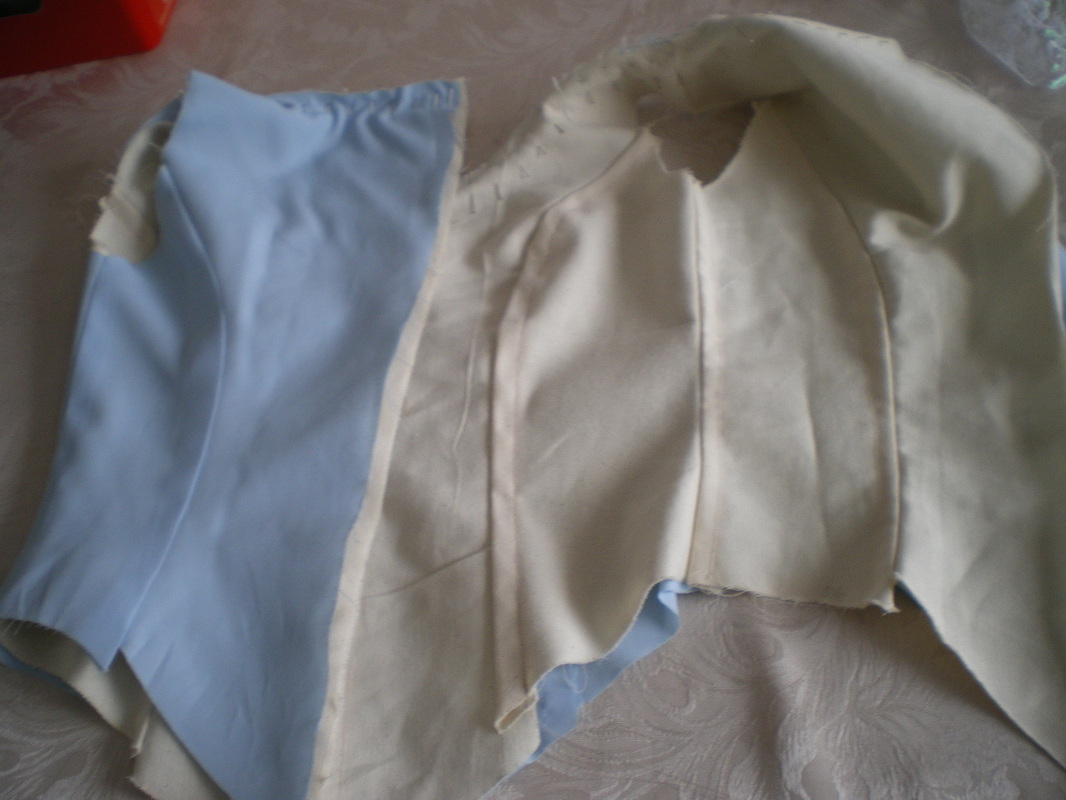
Make three bodices. One from blue cotton, one coutil and one brocade. Sew all the pieces together and across the shoulders. But leave all the back edges open. Shape the pattern to a point front and back, following the waistline. For the brocade bodice, leave the side seams open.
|
|
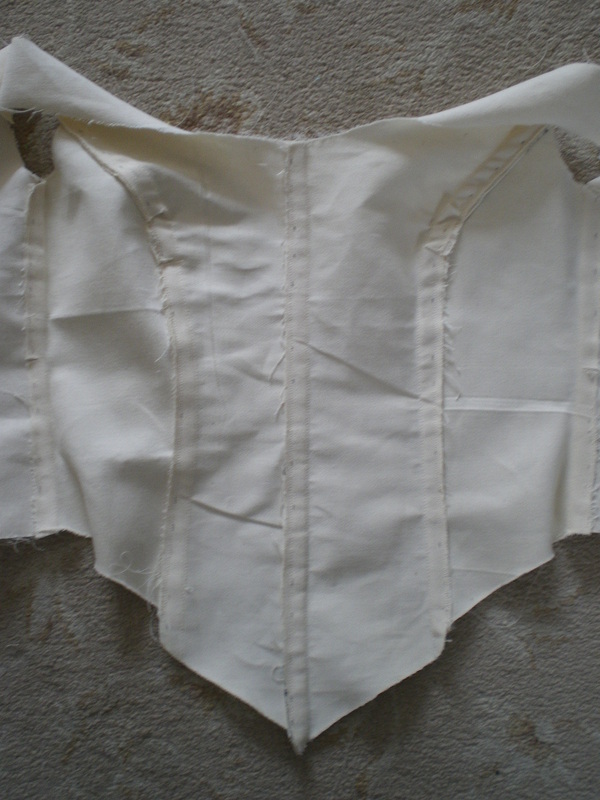
Sew boning channels into the seams of the coutil.
|
|
Join the coutil and lining bodices together along the top, but leave the back seam open. wrong side to wrong side.
|
|
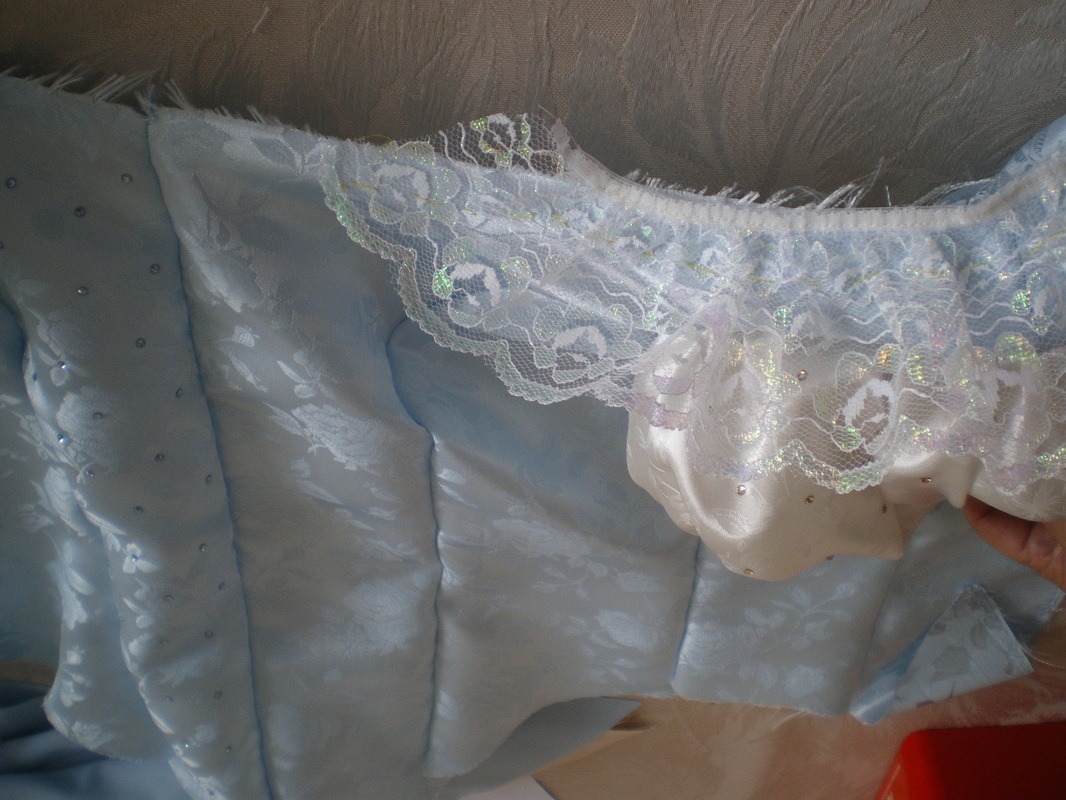
Using the stiff lace, tack a piece to the brocade bodice along the neck line, leaving a space at the centre front and back opening.
|
|
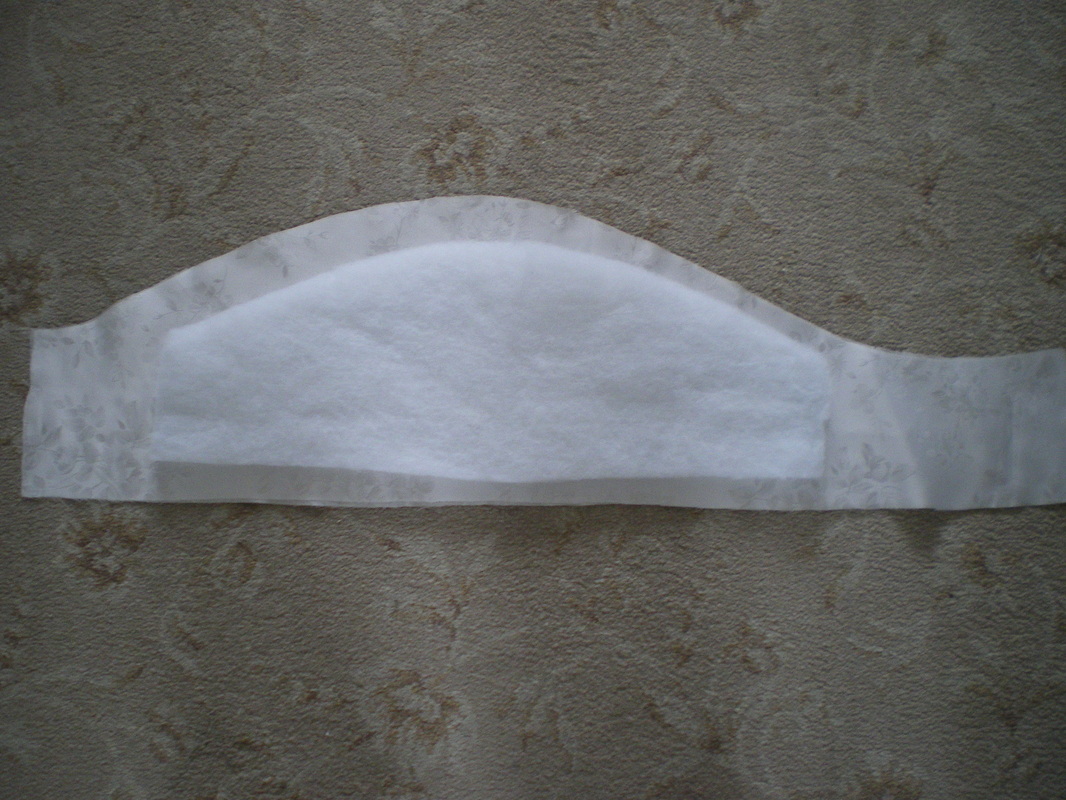
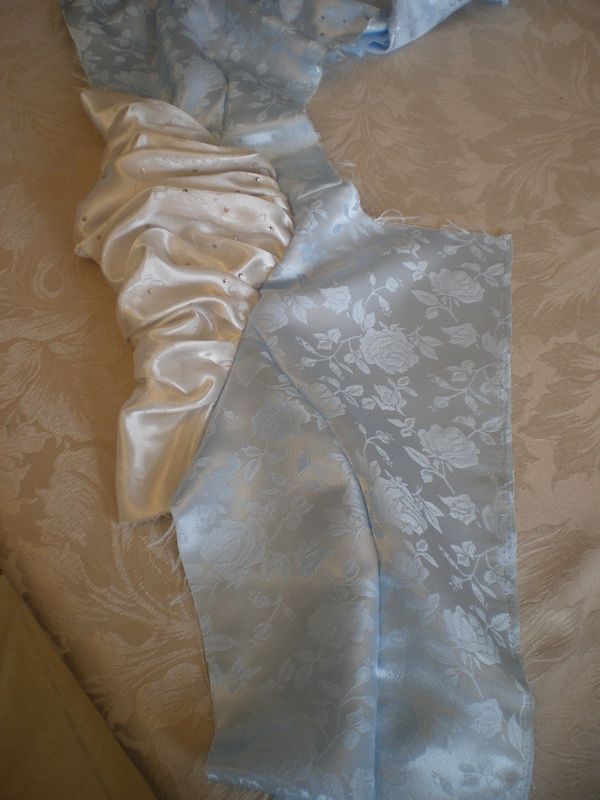
Using Simplicity 8881 cut the sleeves out of the white brocade and cut a piece of wadding to this approximate shape. the video shows our next steps in better detail.
|
|
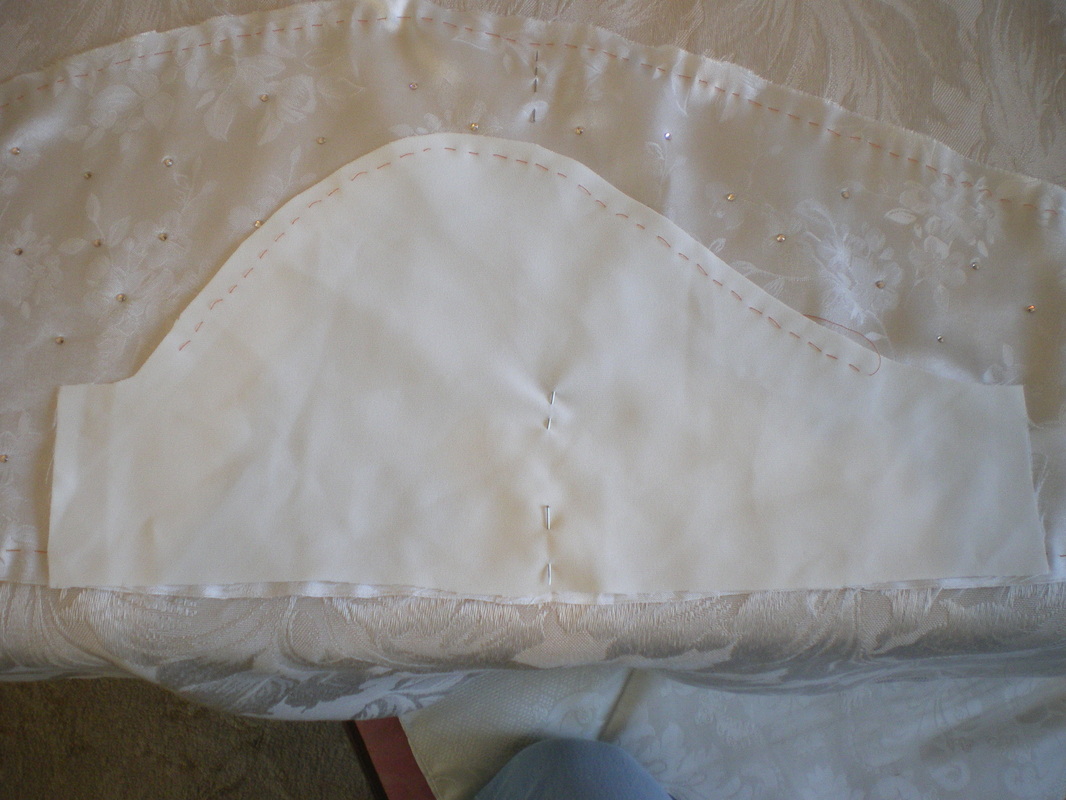
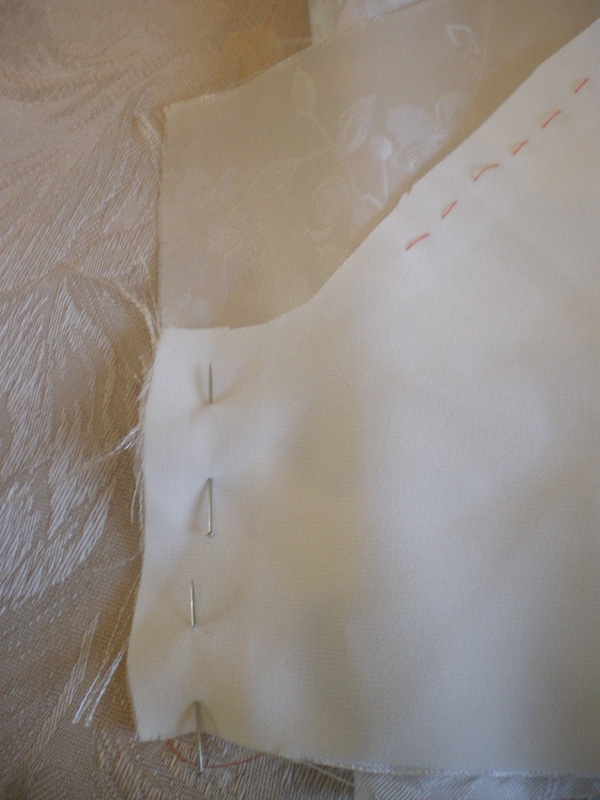
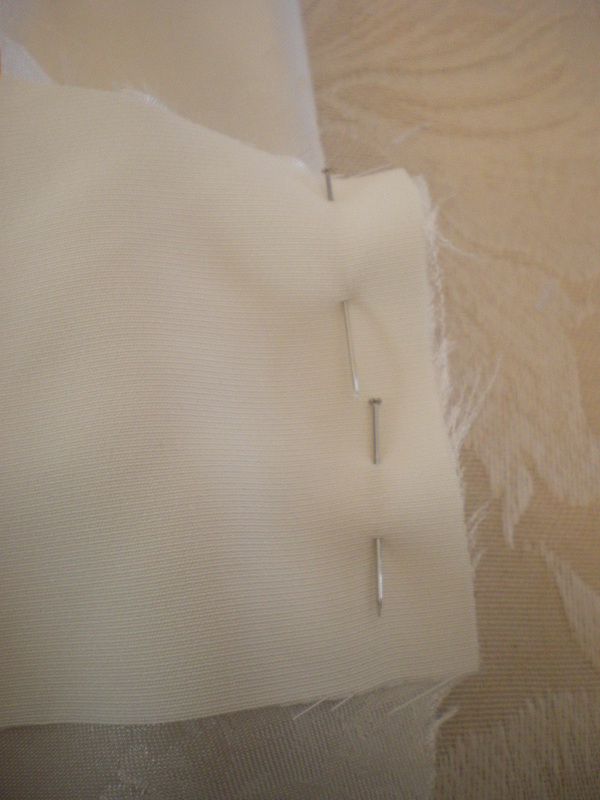
Cut a lining piece shorter in length and width than the original sleeve, but it has to fit around the armhole and upper arm, so you may have to experiment with different shapes, but I think mine is close enough. Run an ease stitch across the top of the lining piece in case it needs altering and run a gathering stitch at the top and bottom of the brocade sleeve.
|
|
|
Pin the left and right lining to the brocade sleeve, gather the stitching at the bottom and fit onto the lining piece.
|
Do not gather the first 5cm, leave this flat as you do not want gathers underneath your arm.
|
|
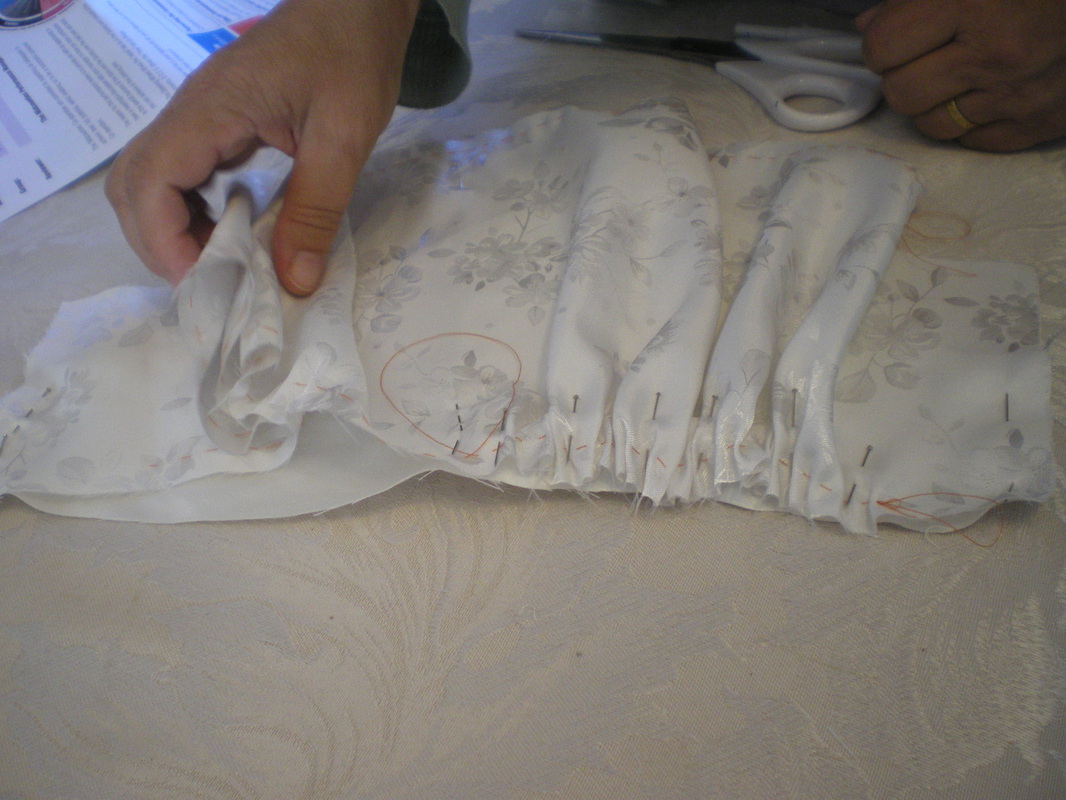
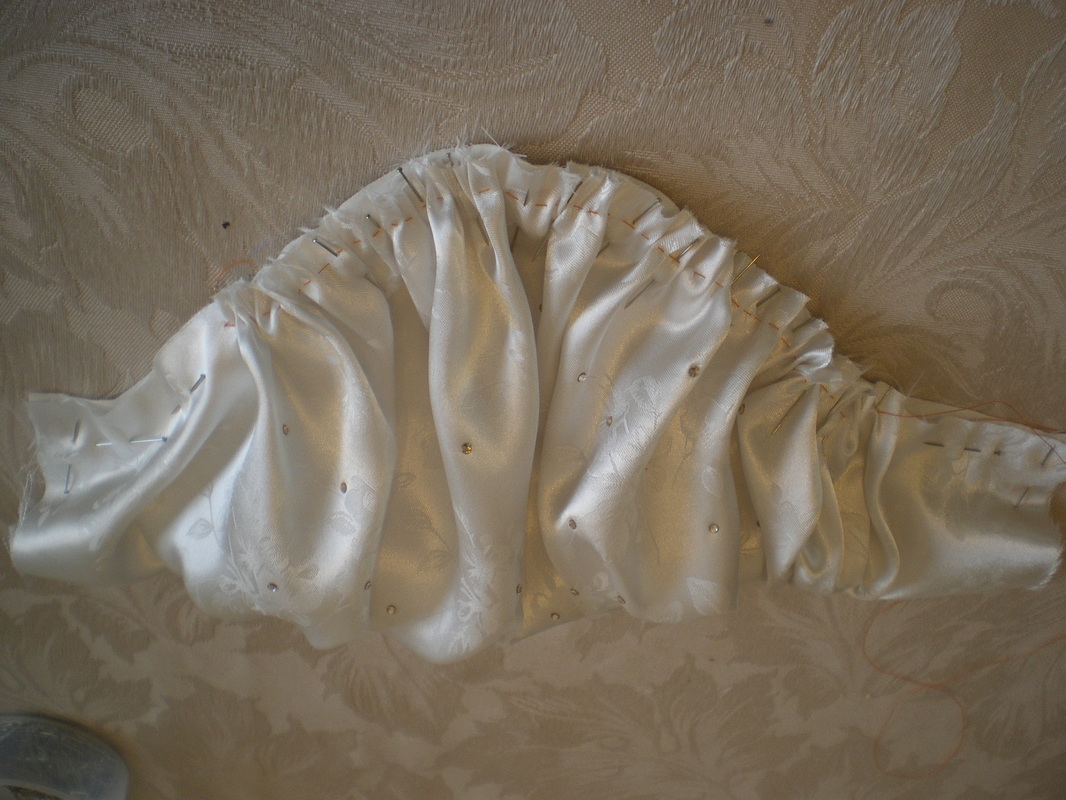
Having sewn the bottom edge, turn the sleeve the right way out and gather the top of the brocade sleeve to fit the top of the lining sleeve. At this stage you can if you wish hot glue some Swarovski flat back (colour silk) crystals on.
|
|
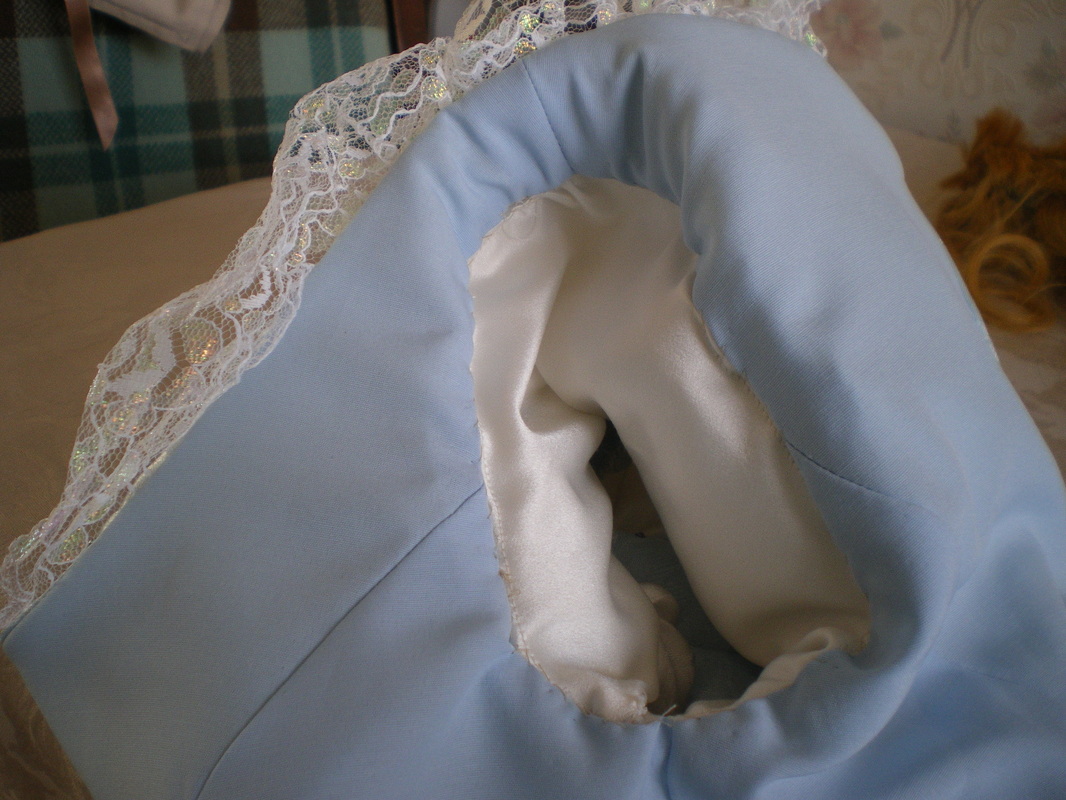
Because I left the side seam of the bodice open, it is now much easier to insert the sleeve and because the lining of the sleeve is smaller than the outer, this forces the sleeve to fold under. Sew up the side seam and the sleeve.
|
|
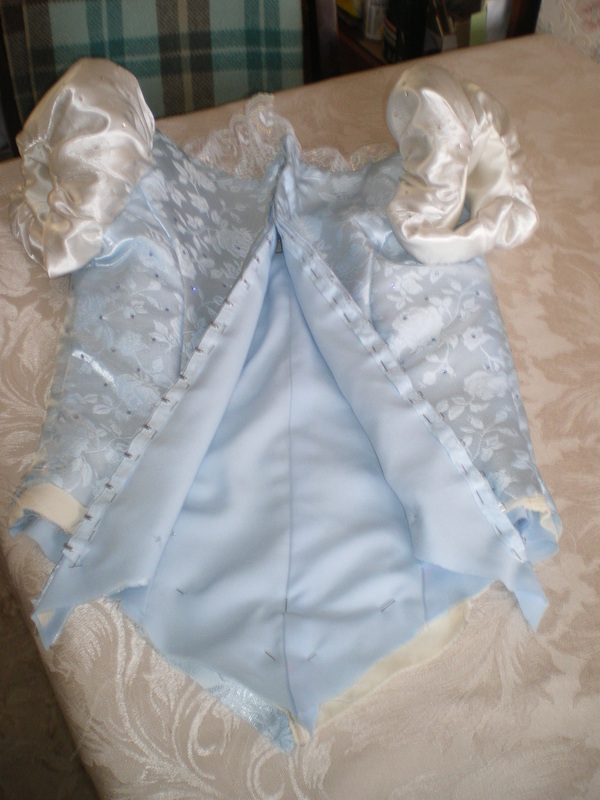
Sew the brocade bodice to the lining bodice up the sides and along the top, turn it the right way out and hand sew the inner sleeve to the bodice lining around the arm hole.
|
|
Pin the hook and eye tape on and tack in place. Hot glue or stick the crystals to the bodice and "silk" crystals to the sleeves if you haven't done so already.
|
|
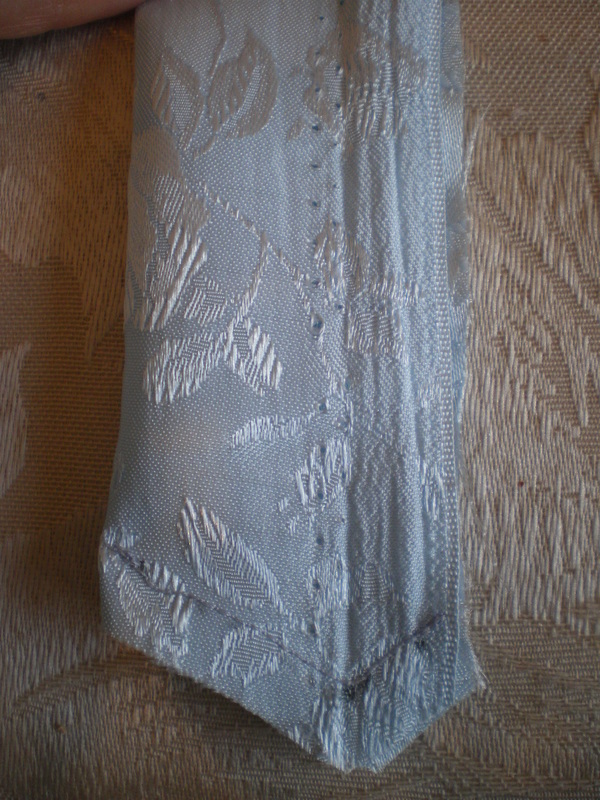
Cut a strip of brocade doubled over to make the placket and shape the bottom to the same angle as the back of the bodice, also sew along the top of the strip.
|
|
Turn the strip the right way out. I over locked the raw edge for neatness.
|

|
Position the placket behind the "eyes" and sew both on at the same time, also sew the "hook" side of the tape on.
|

|
I don't want the tape to "gape" when worn, so I over stitched between the hooks to keep it flat.
|
|
Put the bodice on and mark a line where you want the bodice to fit, then sew all three layers together.
|
|
Cut a strip of brocade on the bias "diagonal" and sew your piping cord in. Pin and tack the piping along the sewn line on the bodice. Please note how long the placket needs to be when sewn in.
|
|
Neaten the raw edges, turn it to the inside of the bodice and hand sew.
|
|
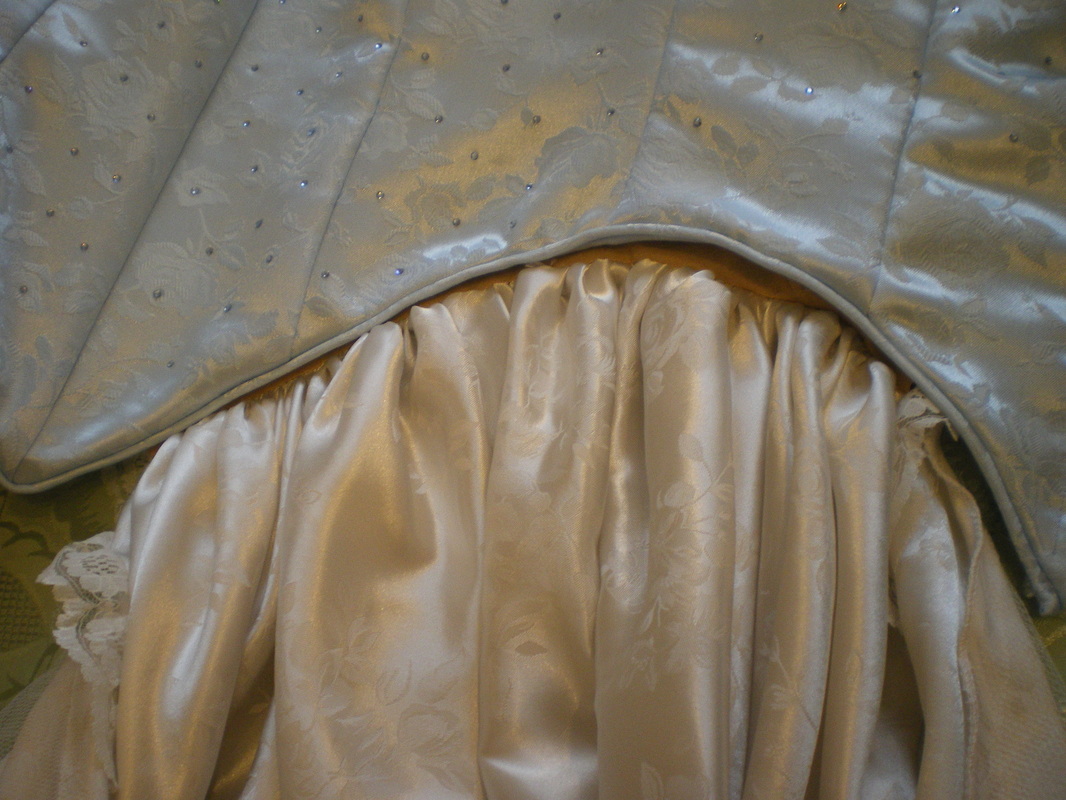
I want my swags to have a lining so that I can sandwich stiff netting between, you don't have to do this if you don't want to. Because the white brocade is very light, I used the same material for the lining piece
Cut out the swag piece from McCalls M6139, attach the lace to the bottom and sandwich this with the lining. Remember you have the right side of the fabric facing up when you put in the lace on. |
|
Cut a piece of net slightly smaller than the swag and another piece on half the size. Tack this to the inside of the swag around the curve.
|
|
Taking a measurement from 2" from the front of the bodice edge to 2" at the back, cut a piece of bias and gather the curve of the swag and attach to the bias.
|
|
Hand sew the bias to the inside of the bodice
|
|
At the front, sew through the piping seam to the swag to stop the swag gaping.
|
|
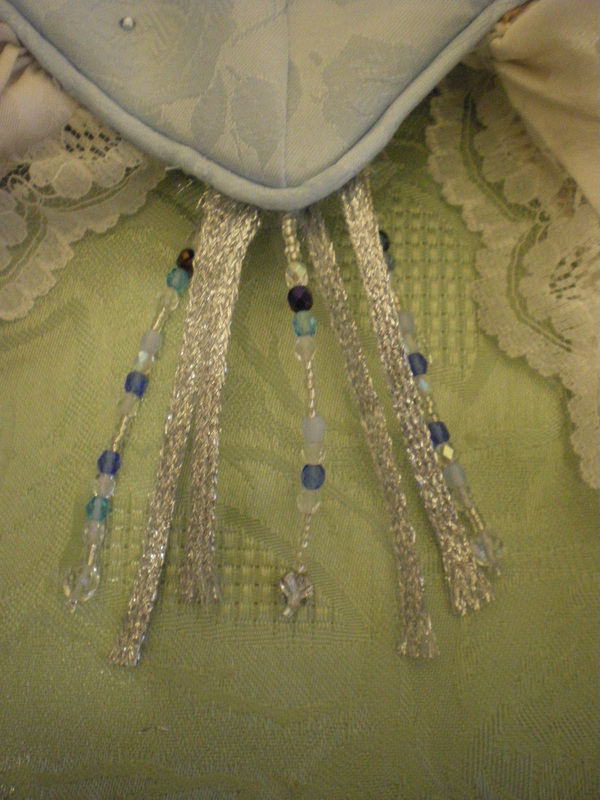
Using the assorted crystals and trim attach to the middle front.
|
|
|
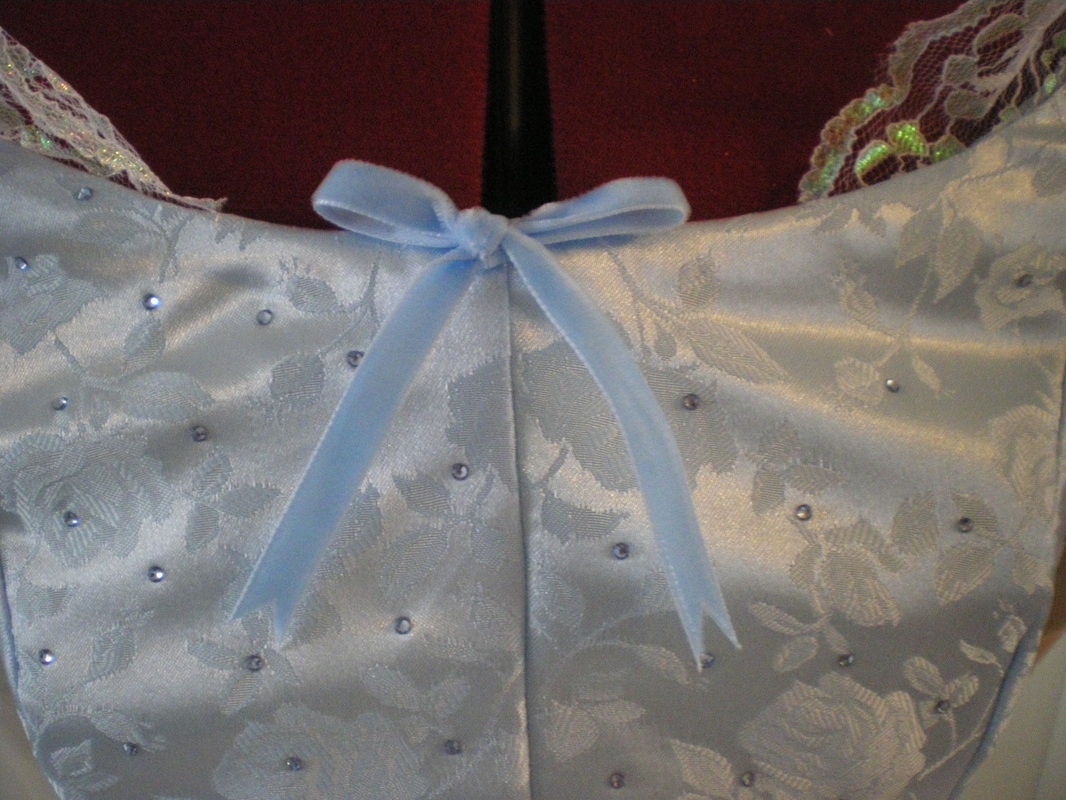
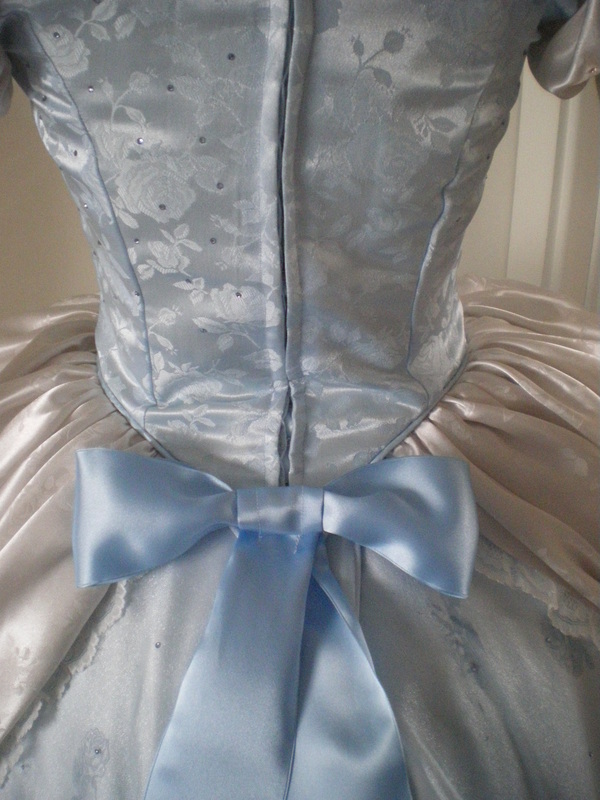
Tie and attach the velvet ribbon to the front. Tie a bow and attach the large ribbon to the centre back, this has been put on a brooch pin and is detachable.
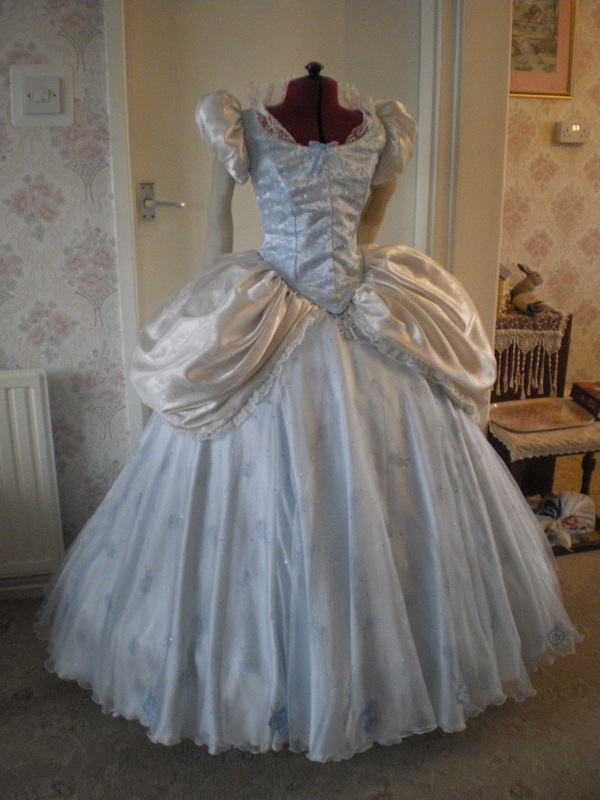
This completes the costume.
