BLUE SUMMER DRESS TUTORIAL
4 METRES OF VERY WIDE BLUE CREPE CHIFFON
3 METRES BLUE LIGHT WEIGHT SLIPPERY LINING FABRIC OF YOUR CHOICE
17" CONCEALED BLUE ZIP
3 METRES BLUE LIGHT WEIGHT SLIPPERY LINING FABRIC OF YOUR CHOICE
17" CONCEALED BLUE ZIP
|
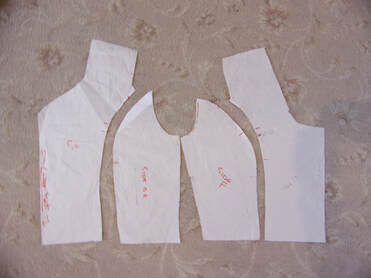
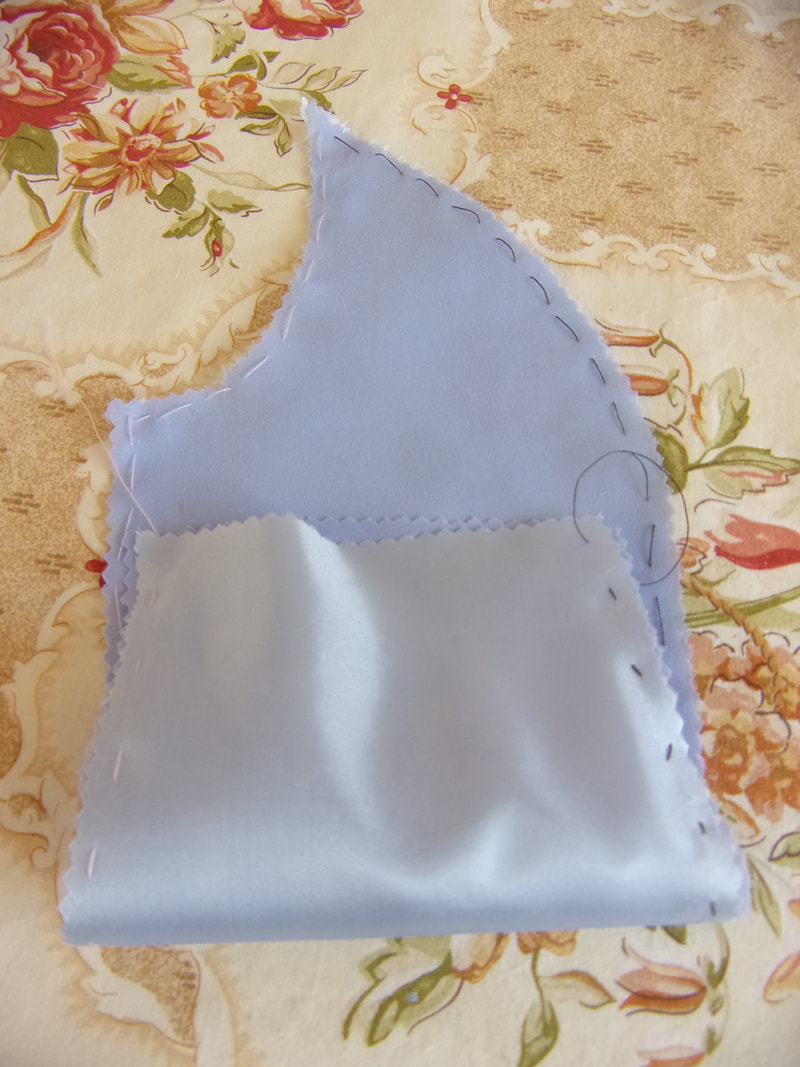
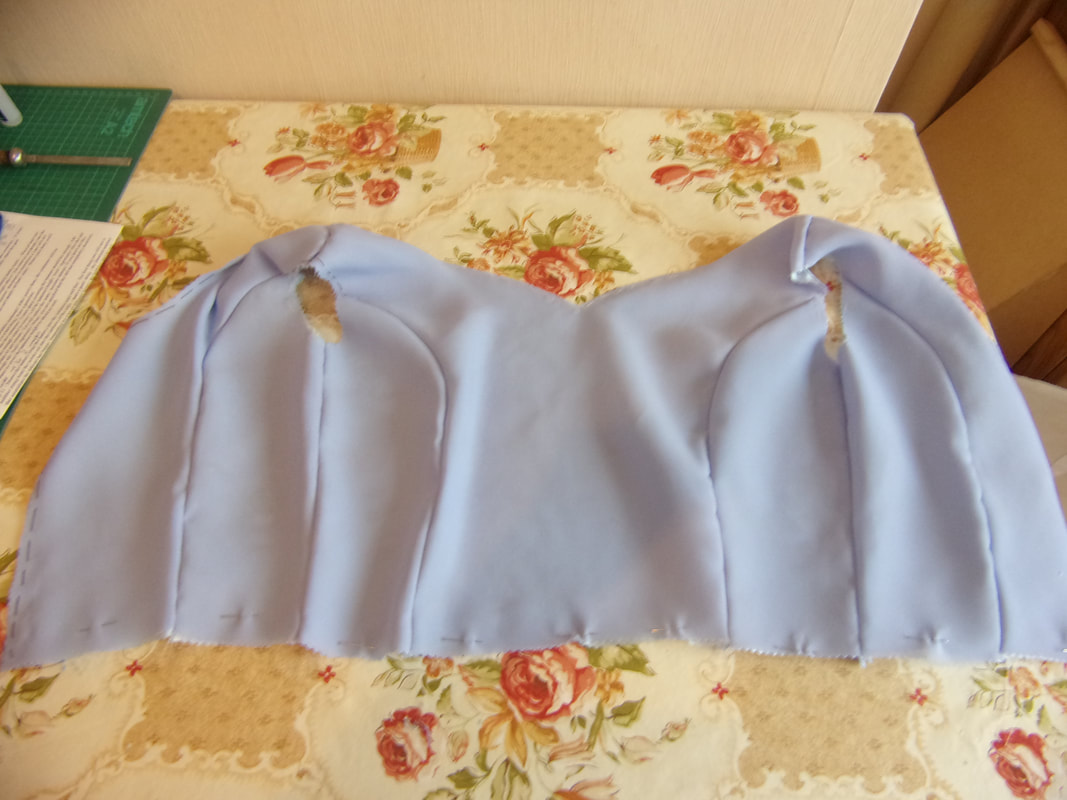
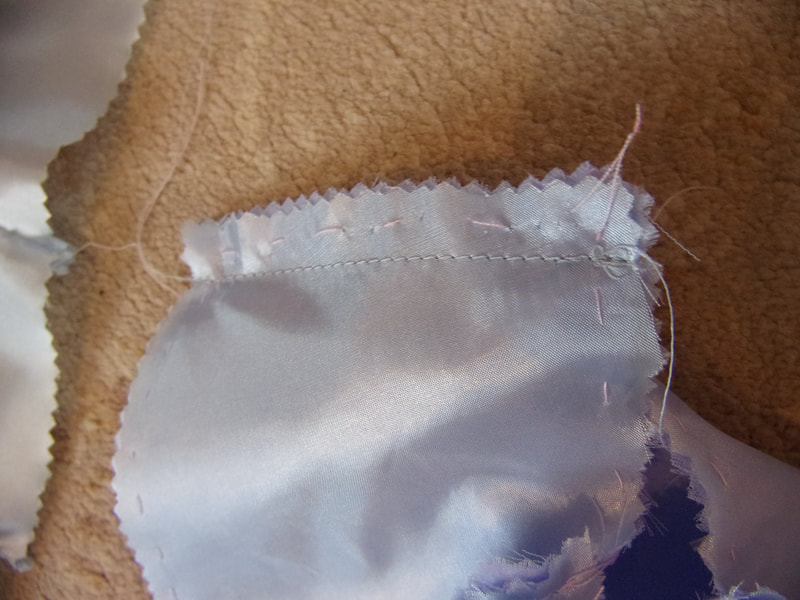
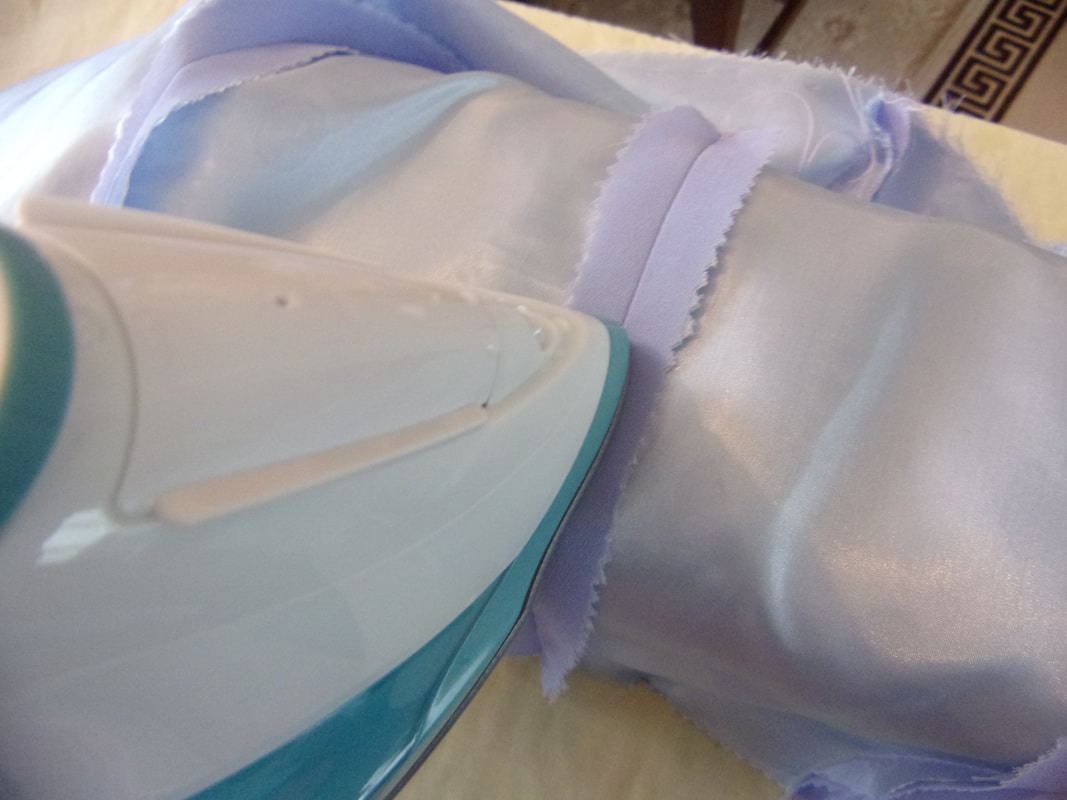
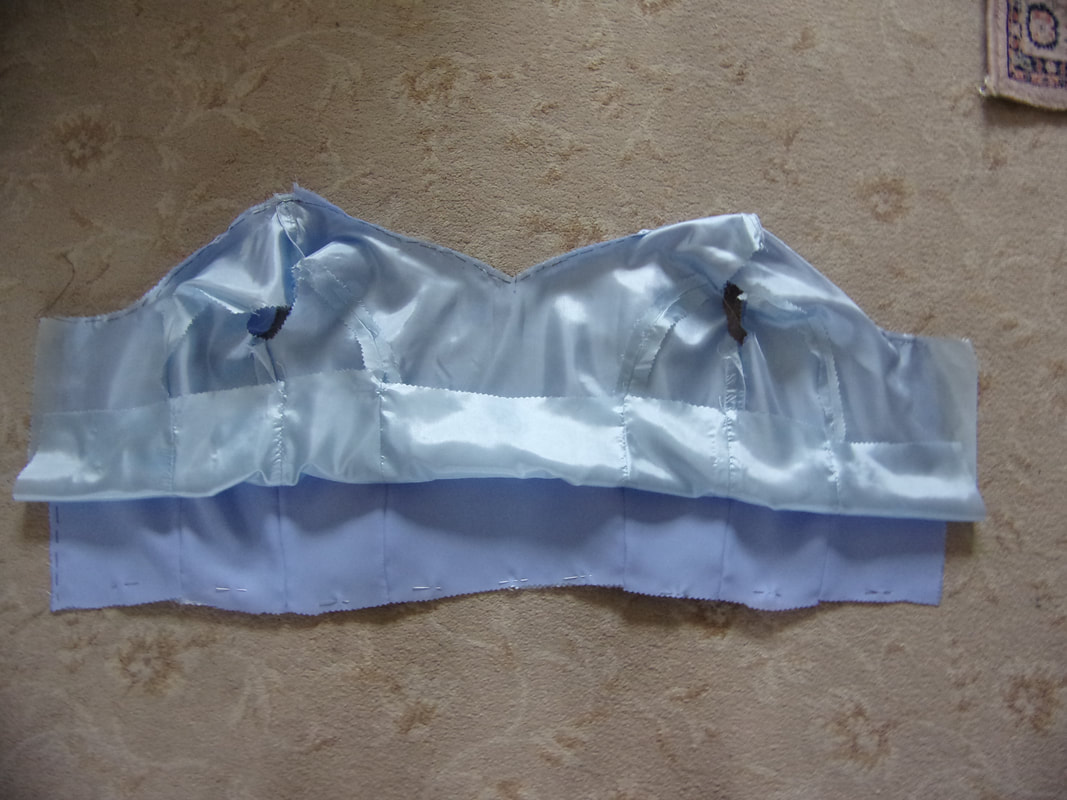
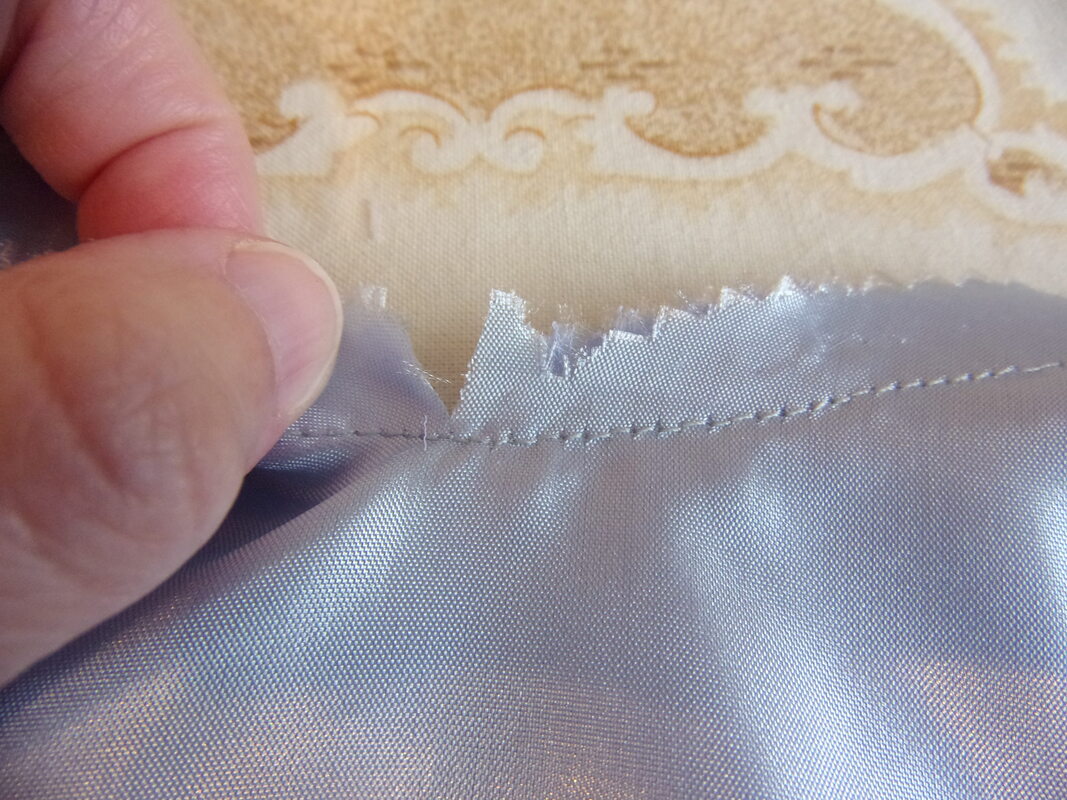
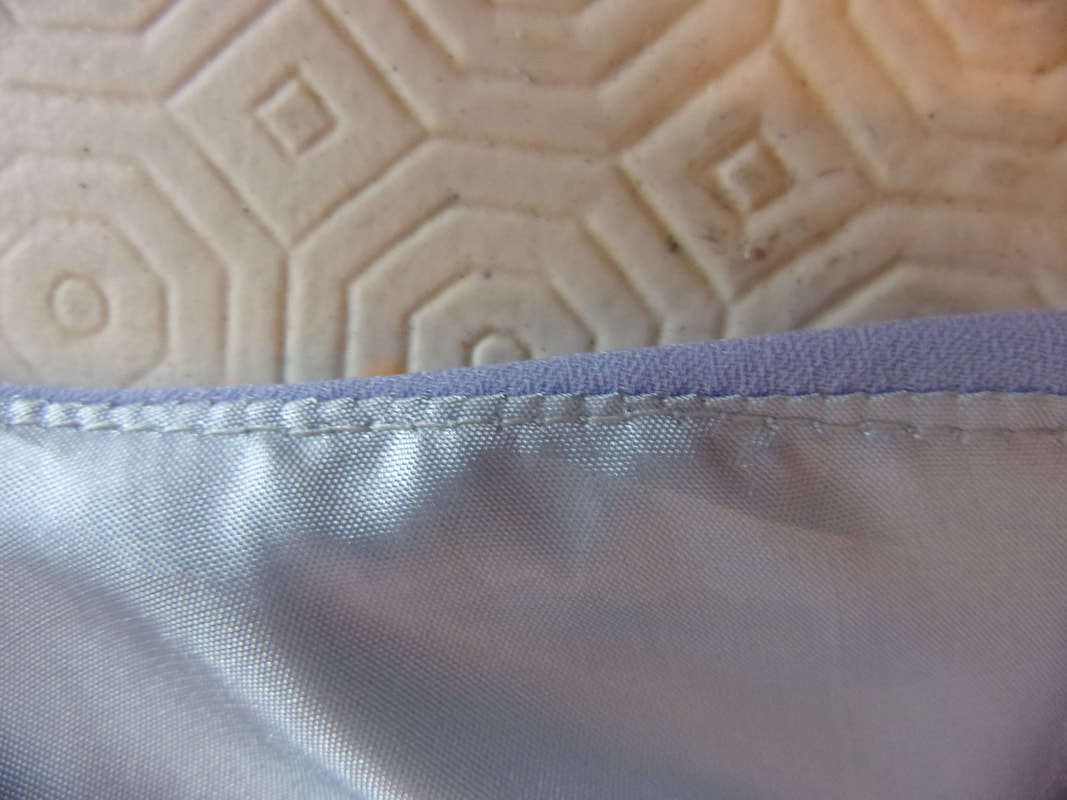
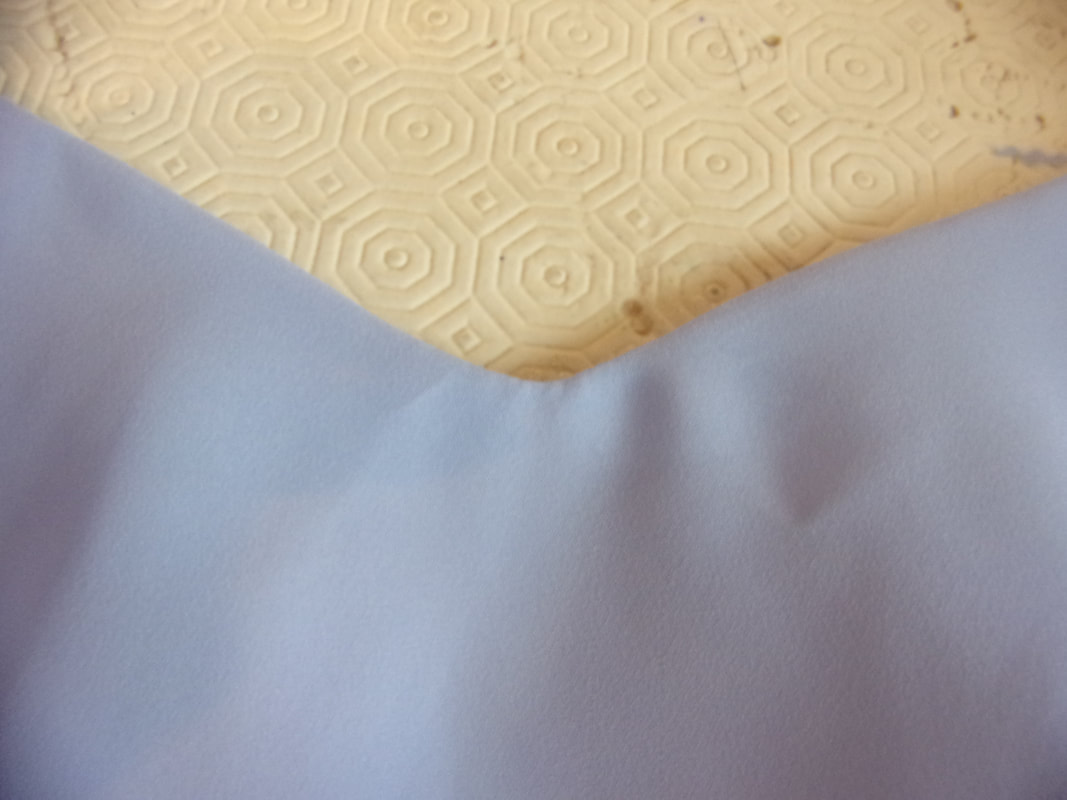
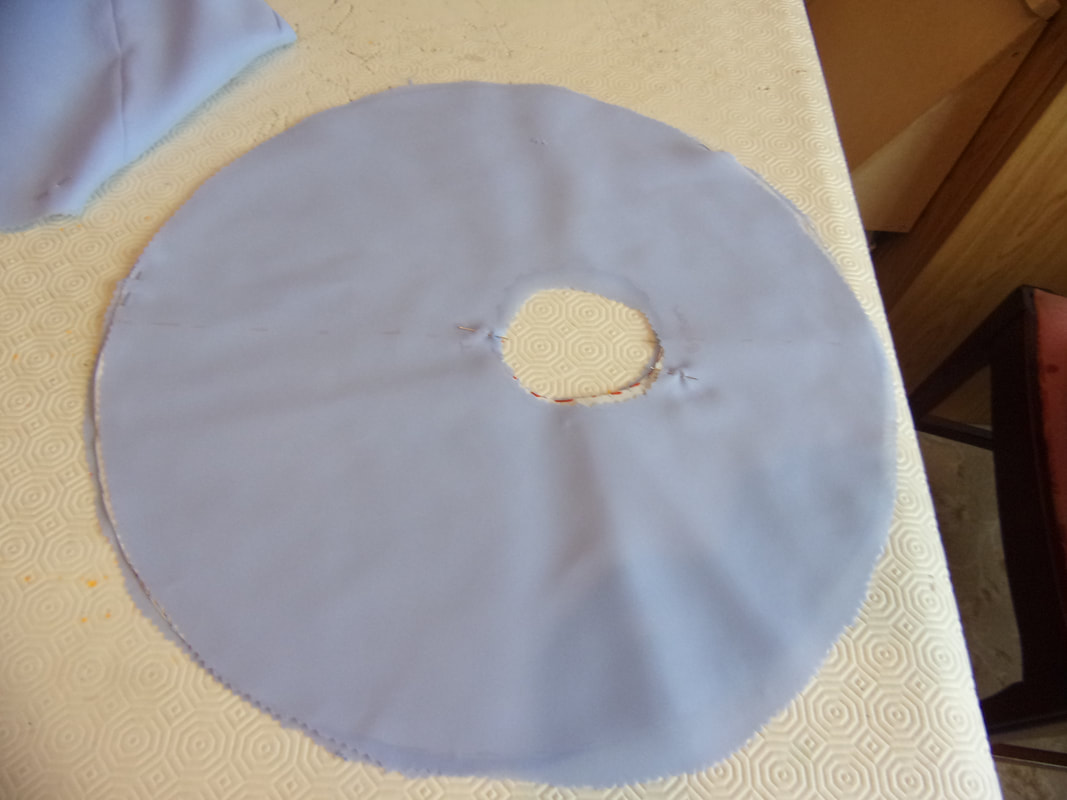
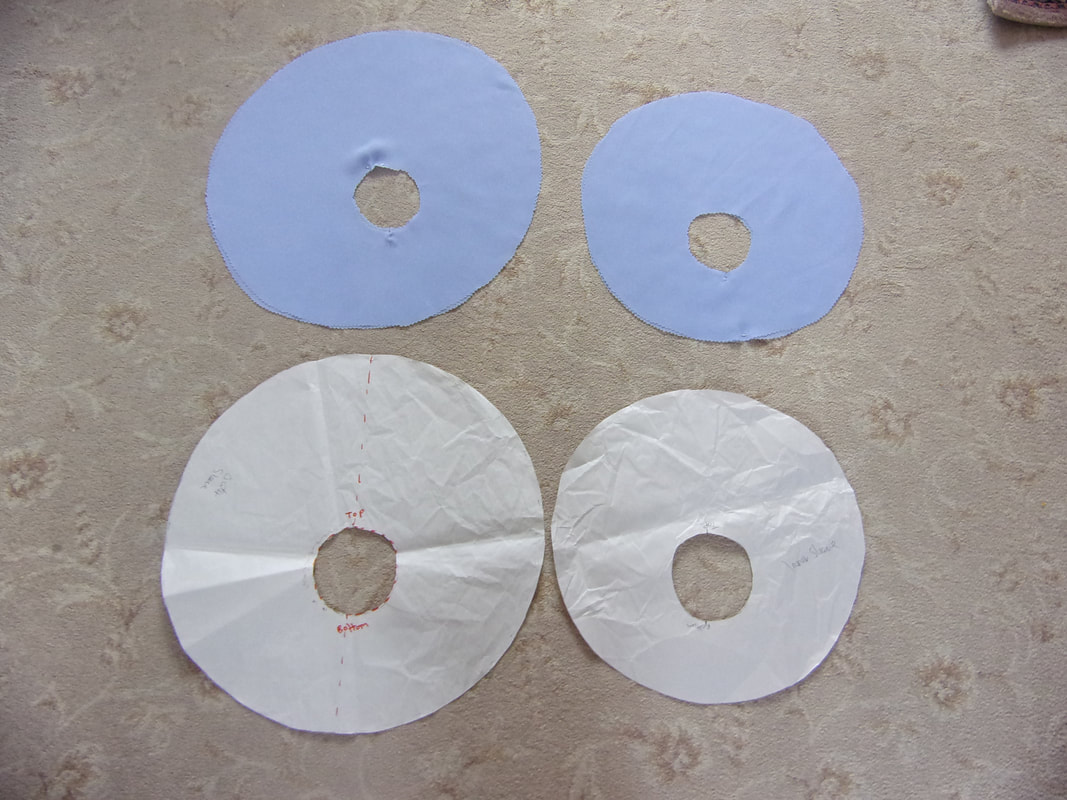
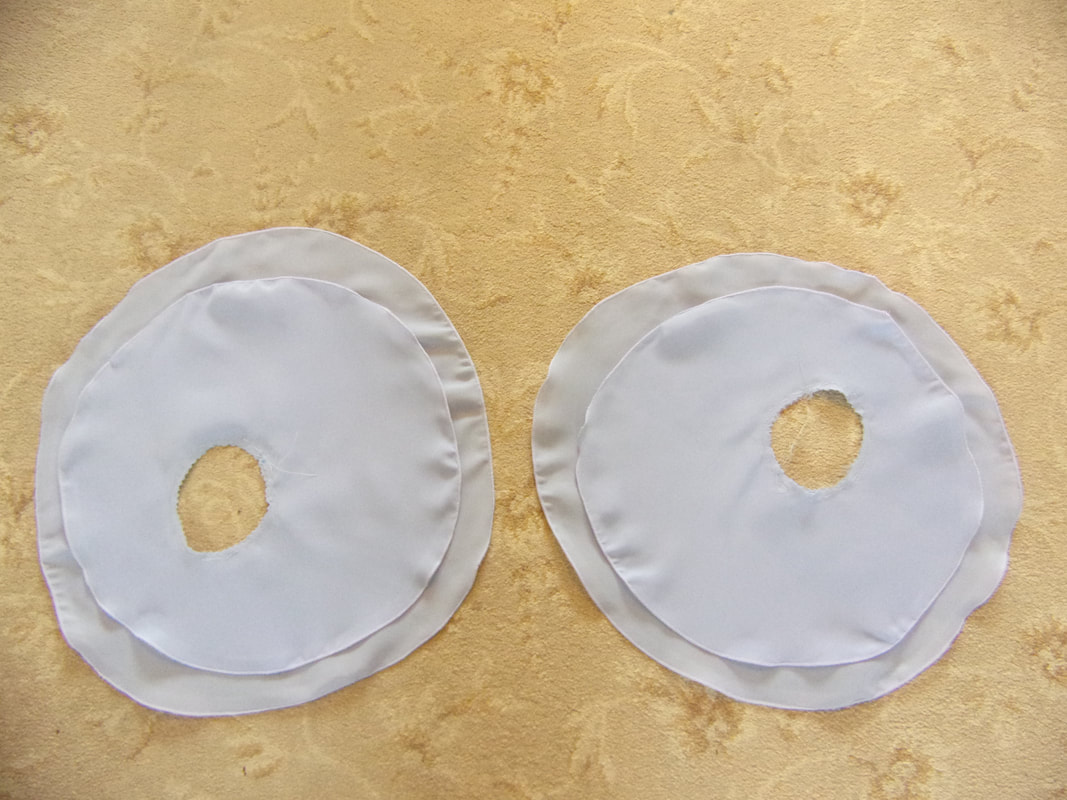
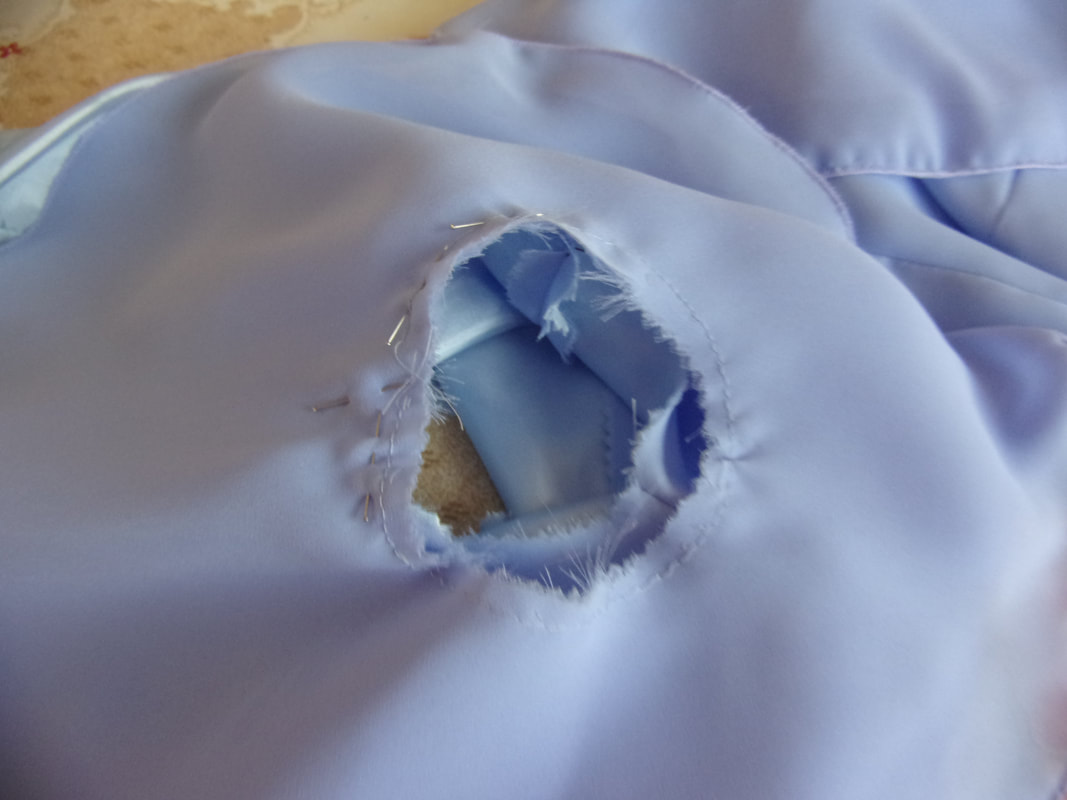
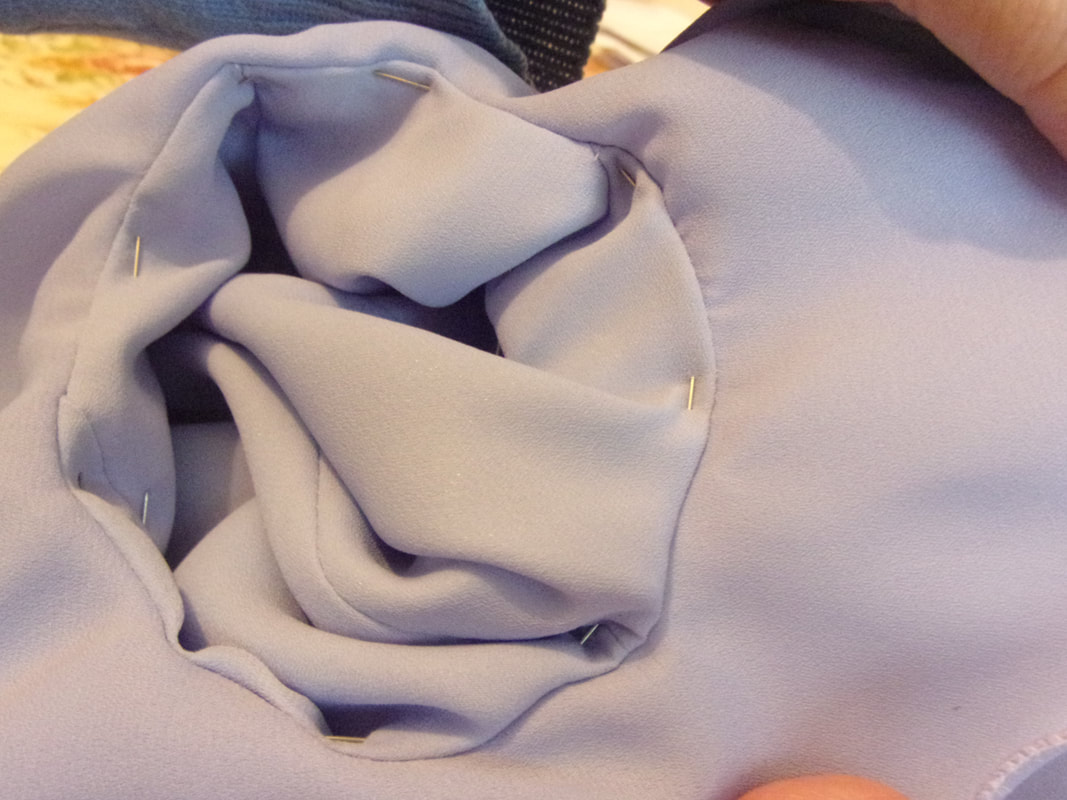
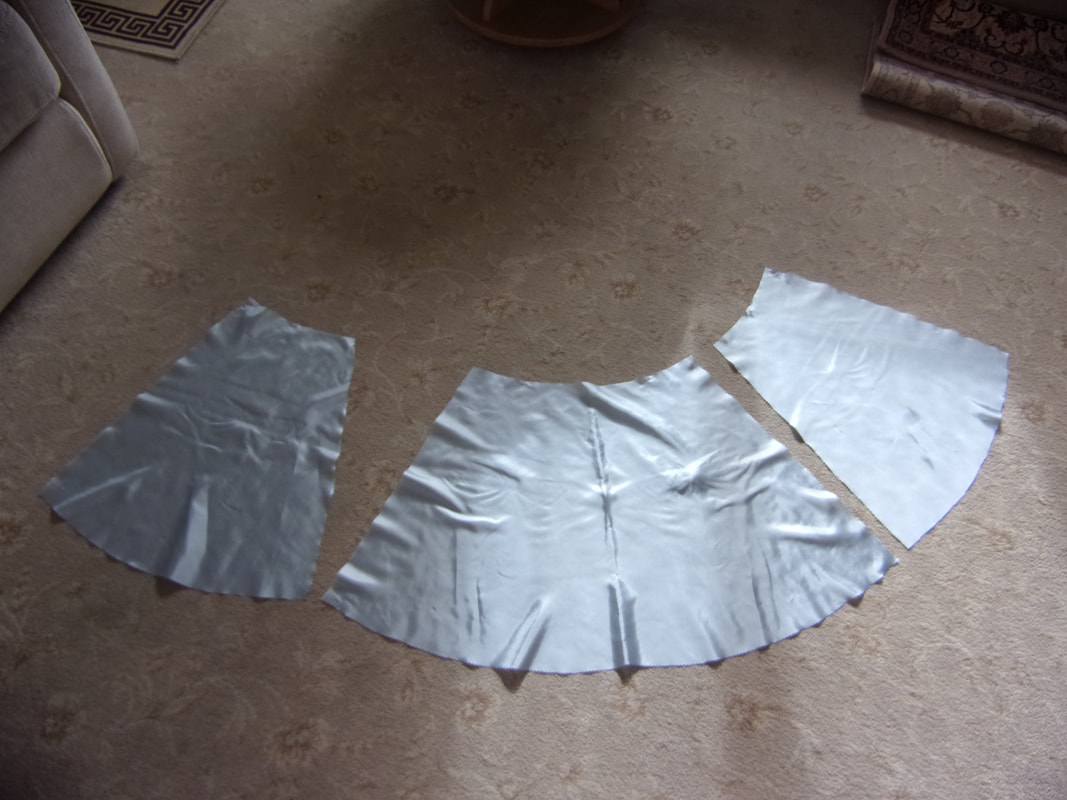
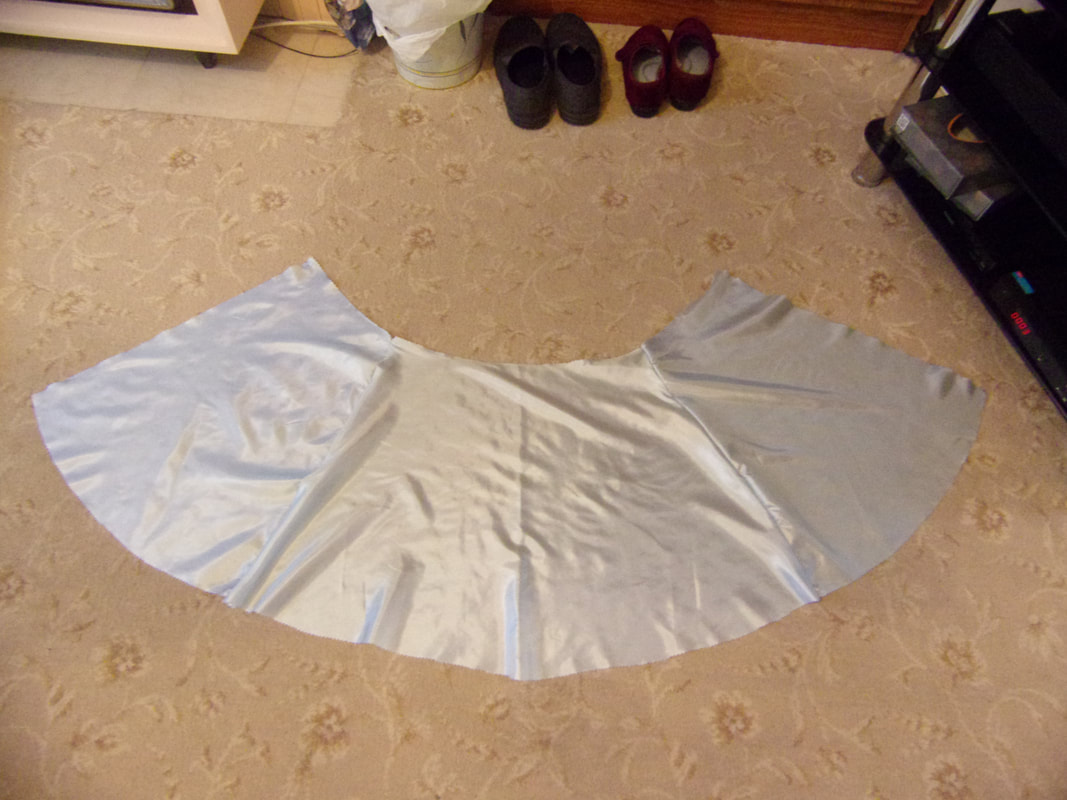
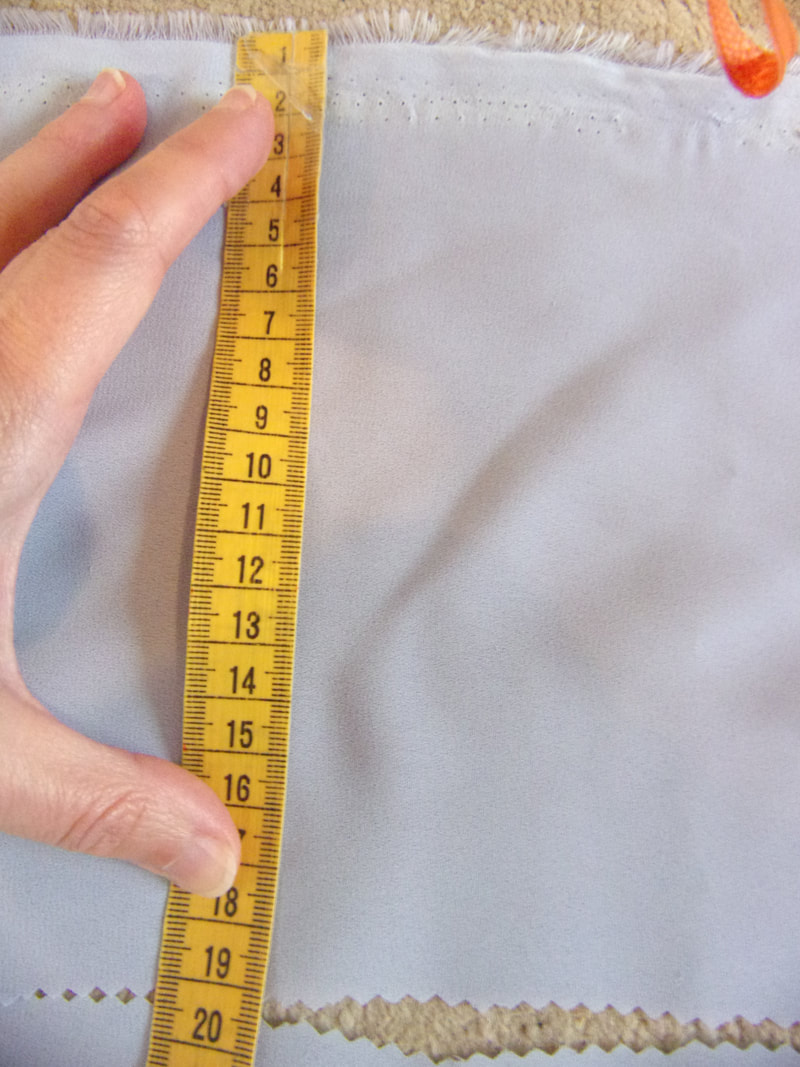
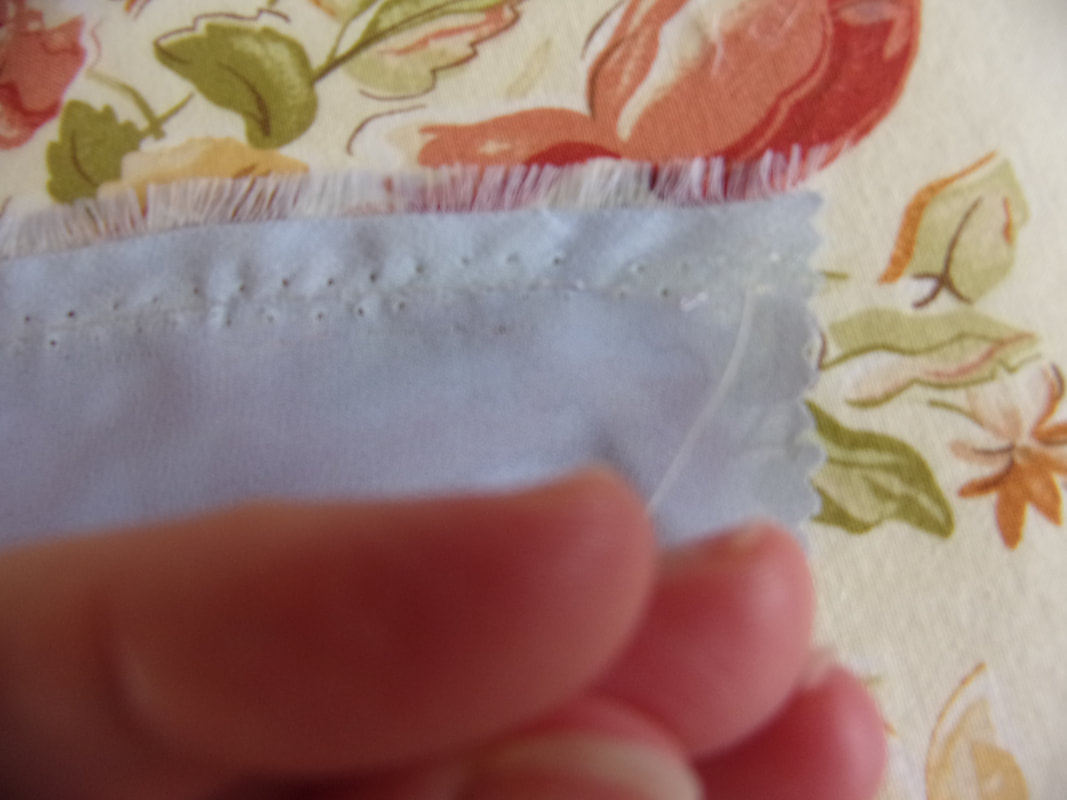
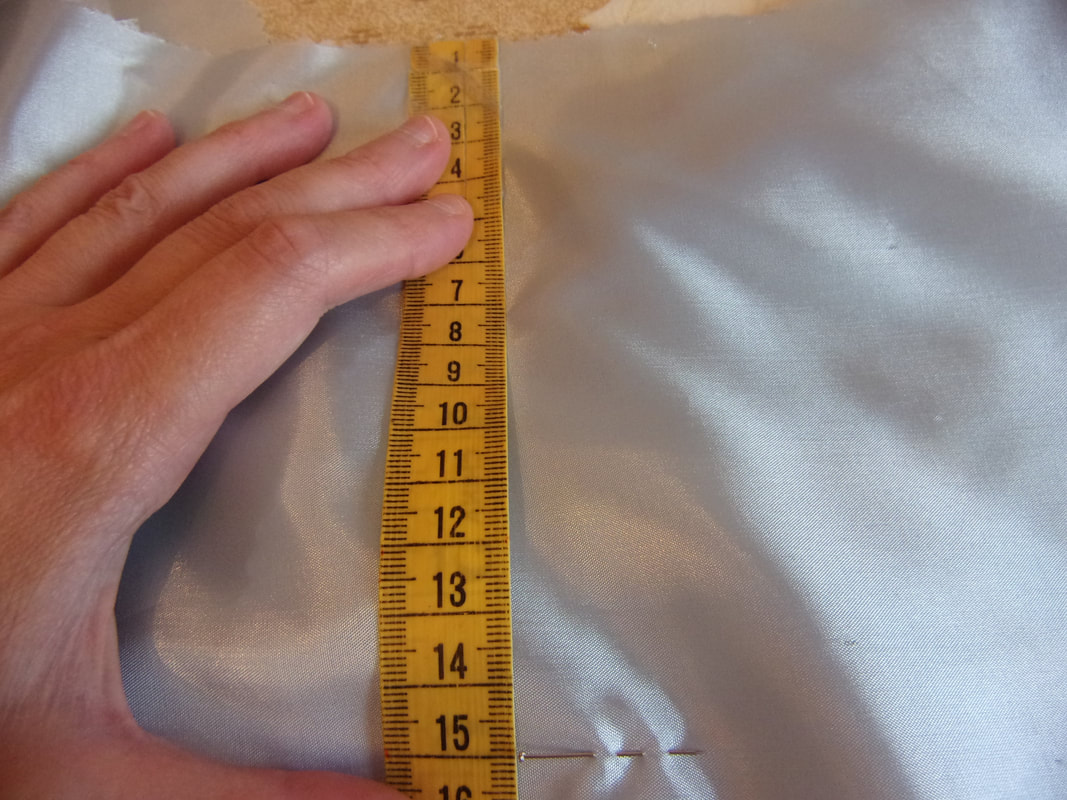
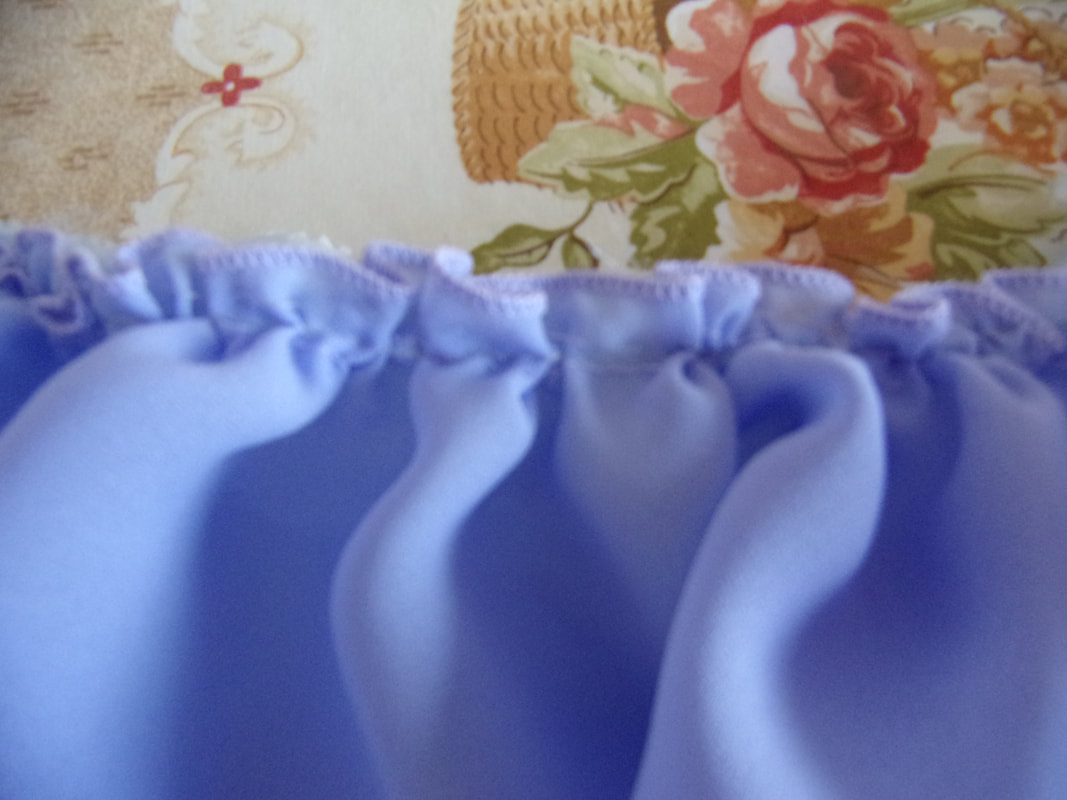
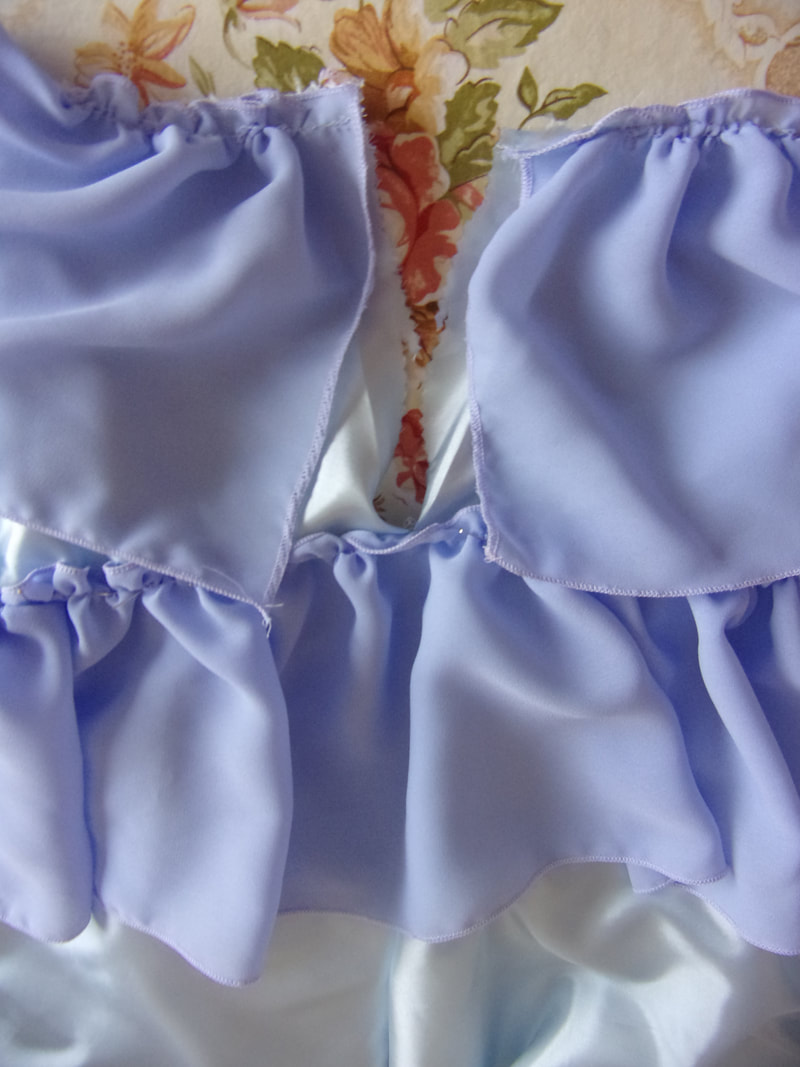
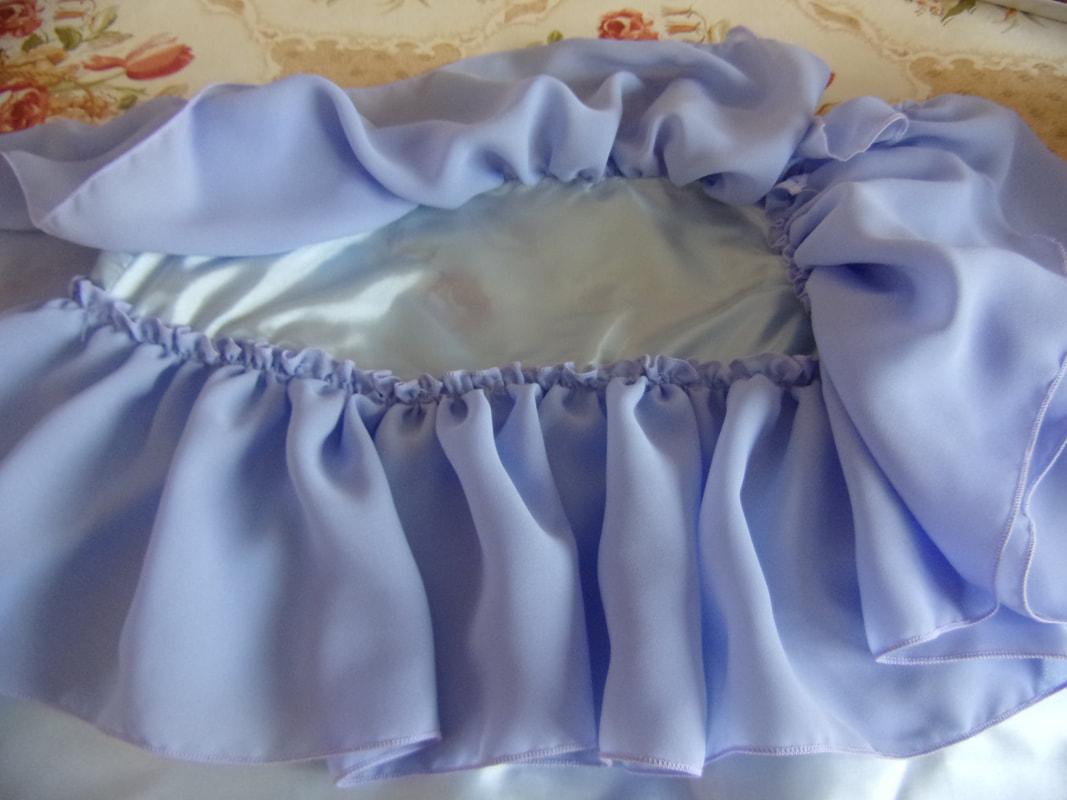
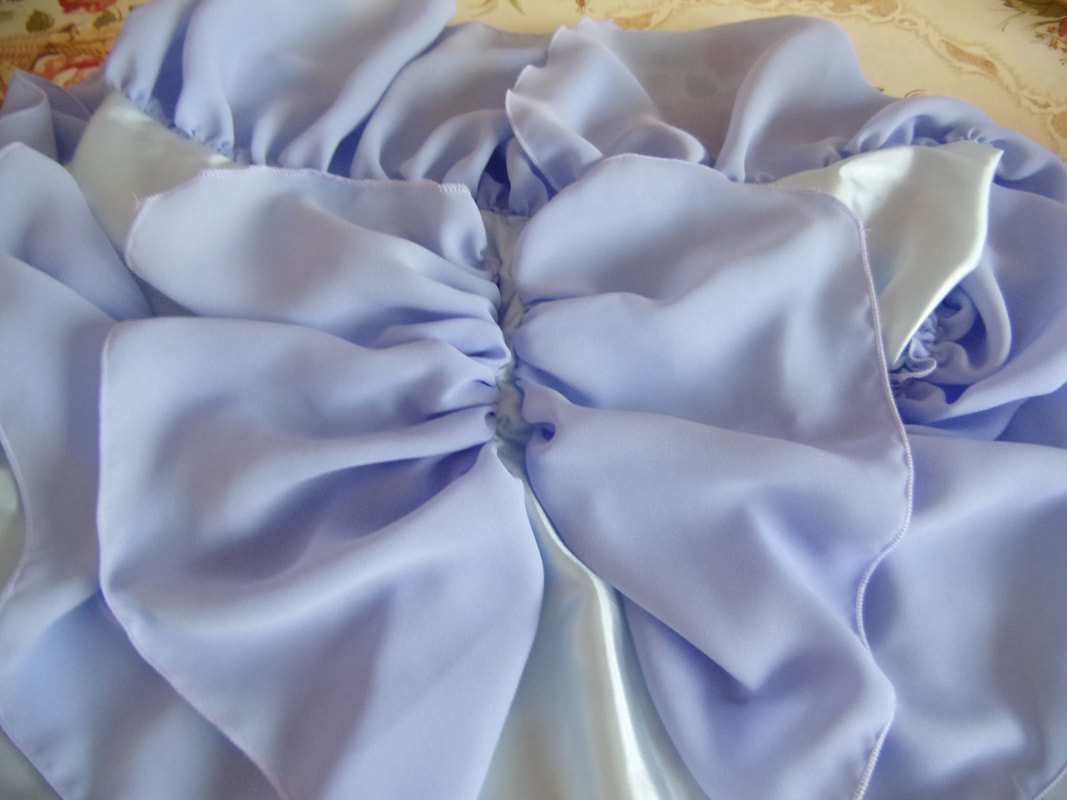
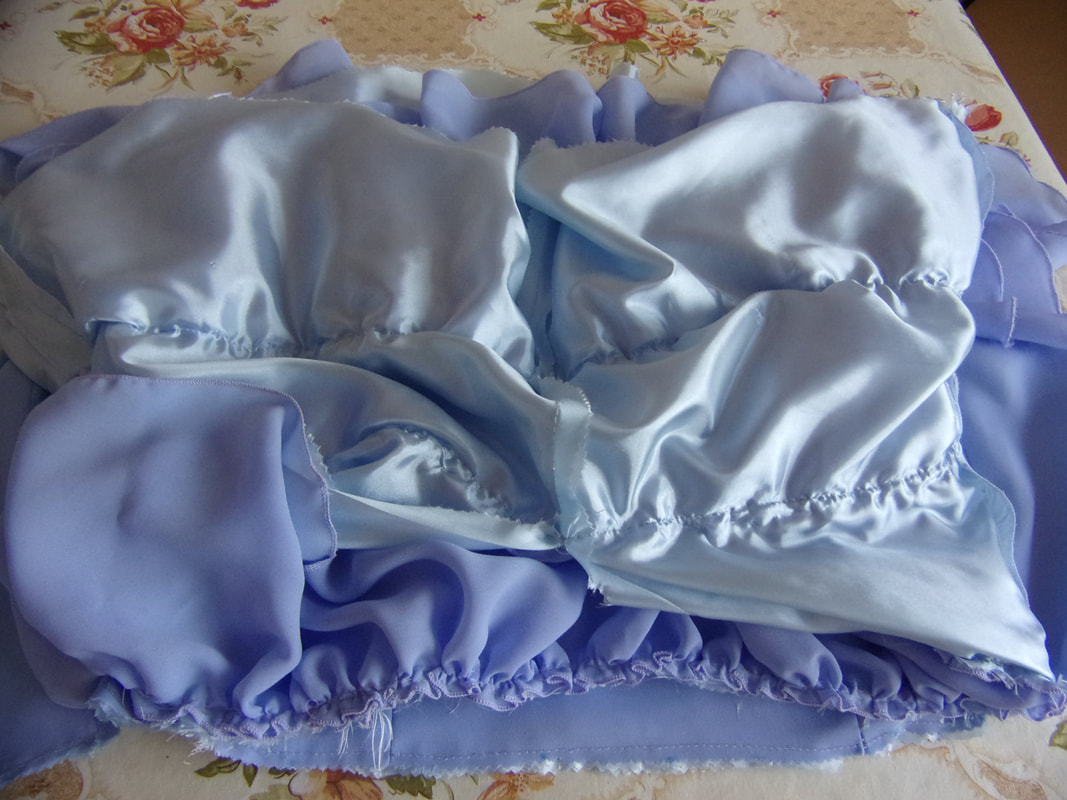
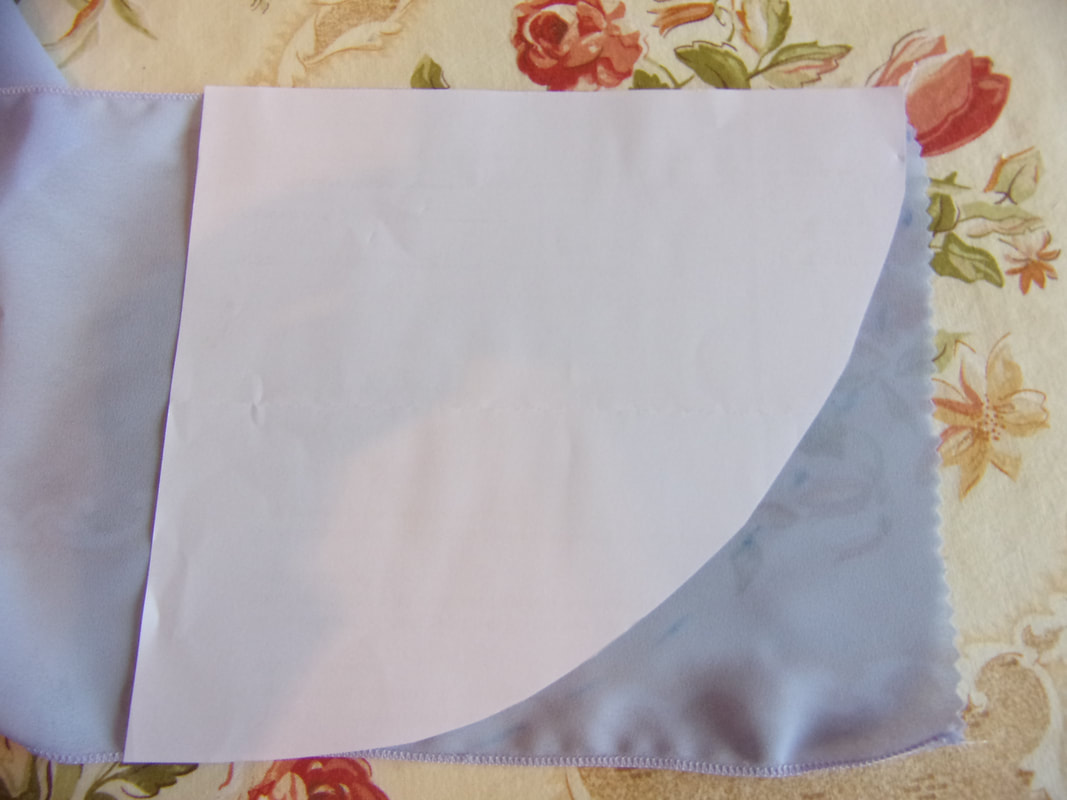
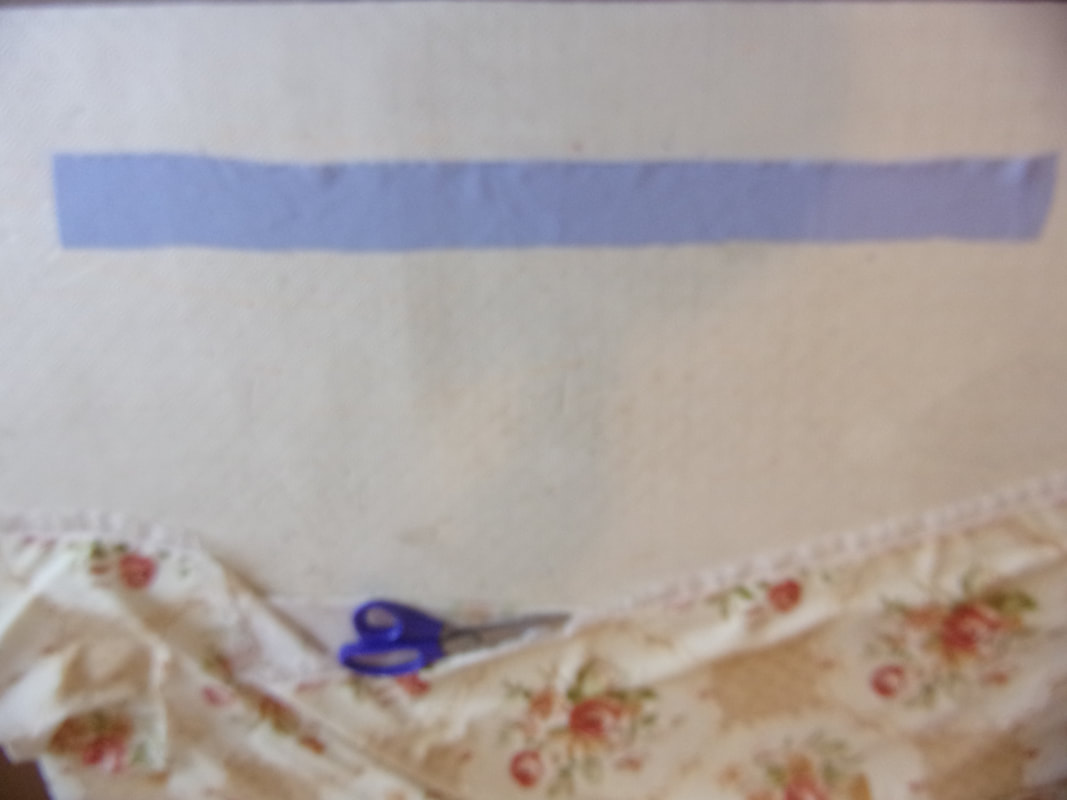
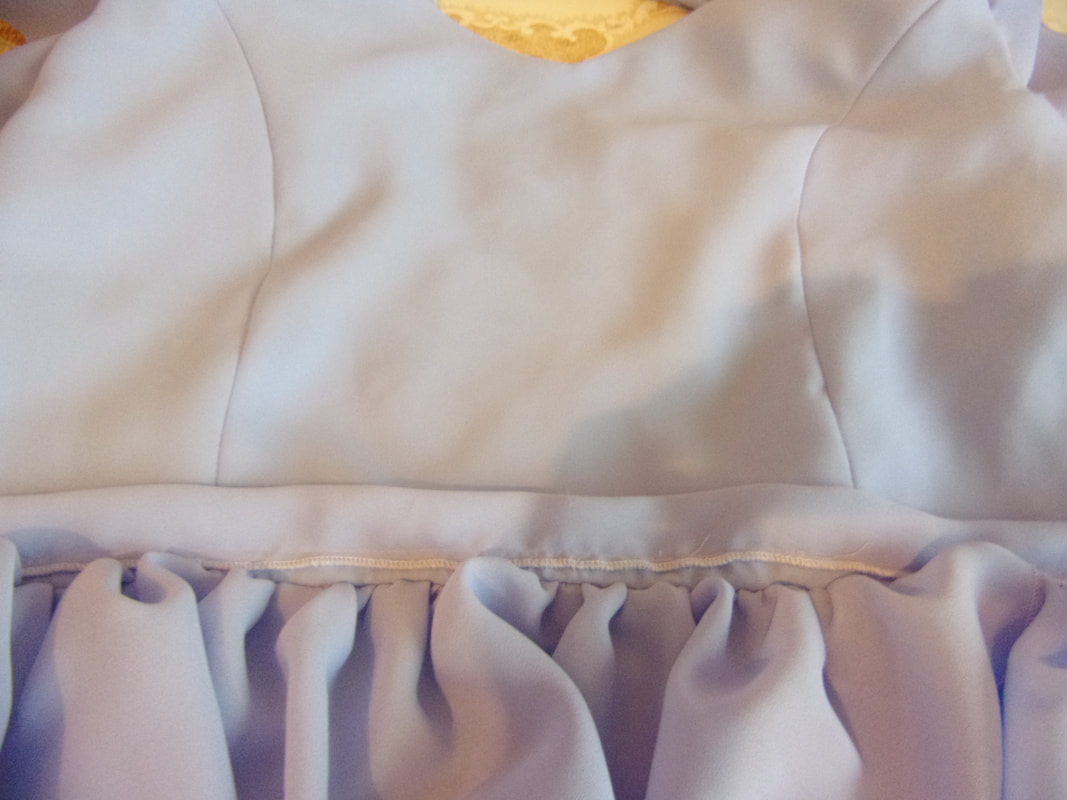
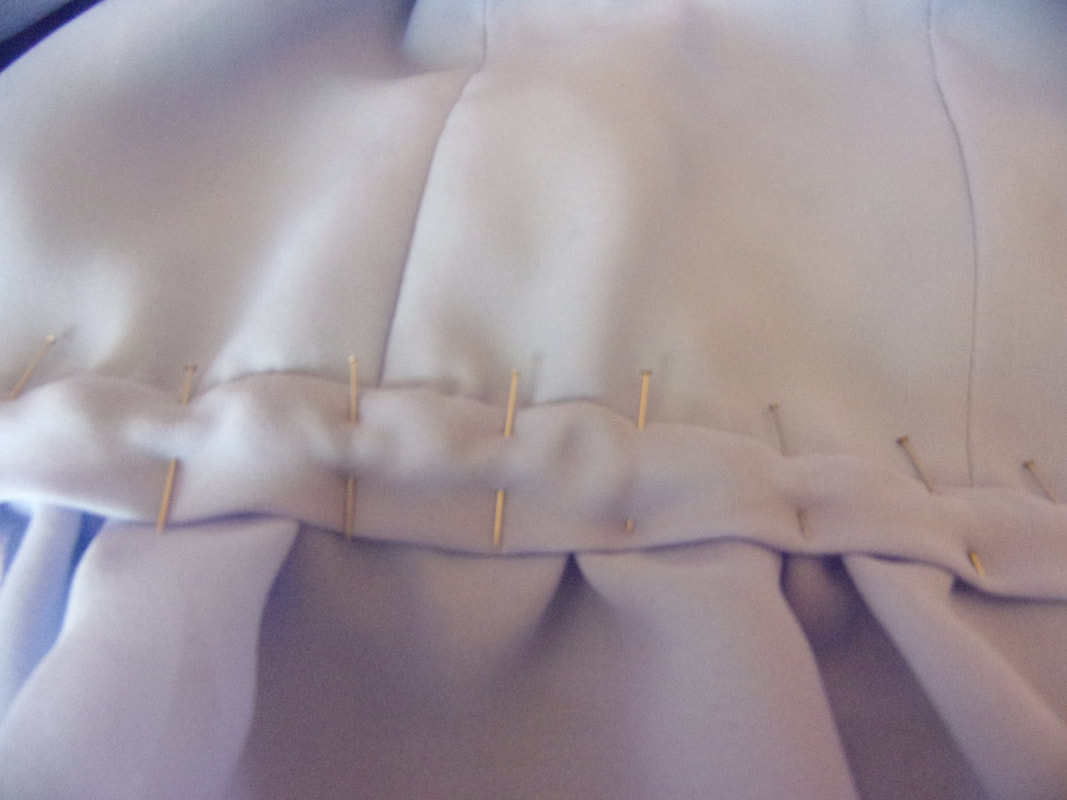
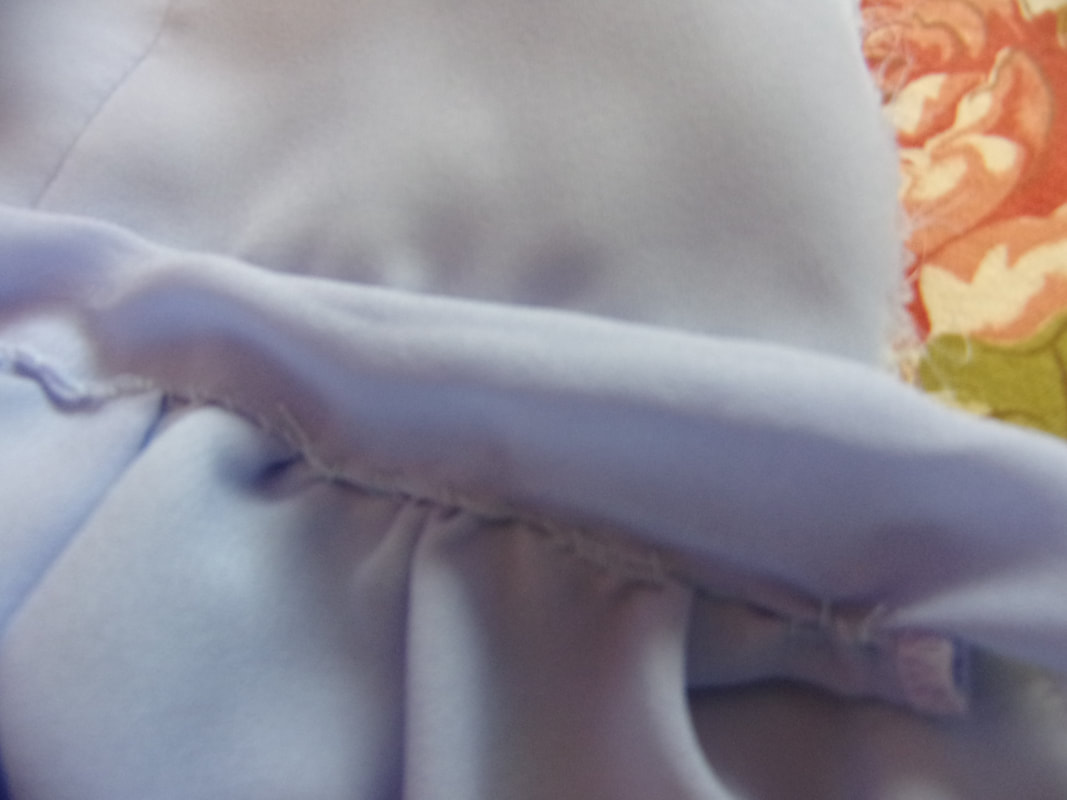
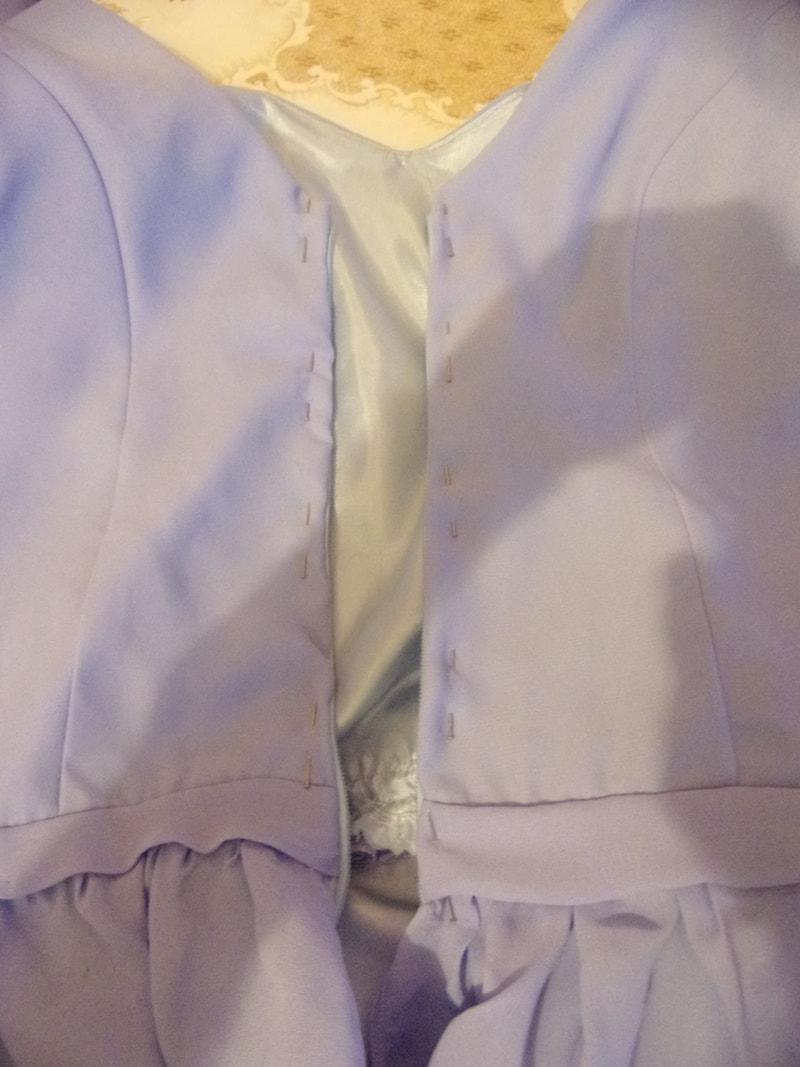
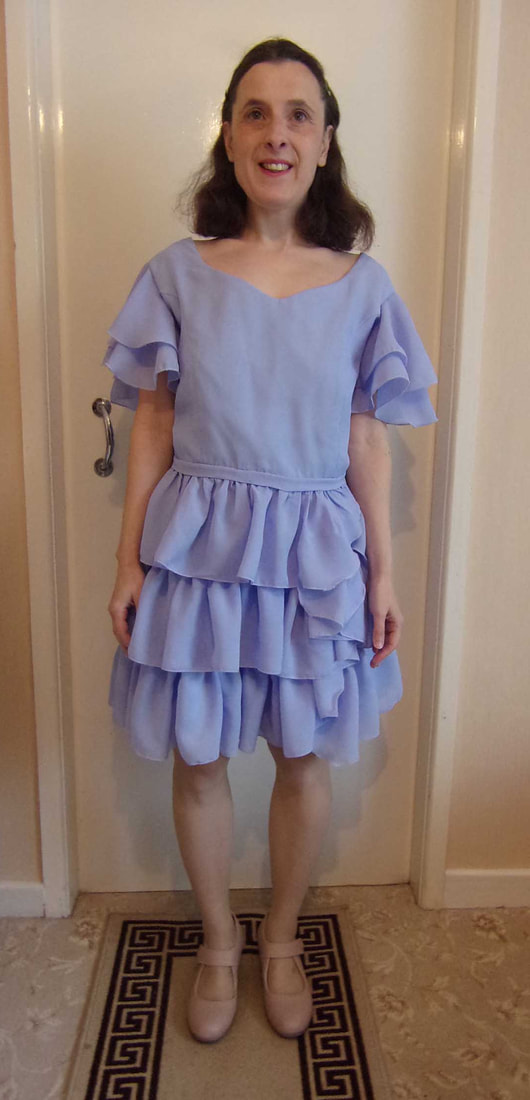
These are my 4 bodice pattern pieces, centre front on fold, side front,side back and back. I mounted each piece of blue crepe chiffon onto a liner. Here you can see all layers pinned together at bottom. Sew shoulder straps together. Iron all seams open. Make a separate liner the same way as your outer bodice, place right side to right side. Sew along the top edge only. Clip into corner at centre V without going through the stitching line! Under stitch the top seam so it stops the liner wanting to come back on itself. You now have a nice neat edge. :) I'm making flutter or butterfly sleeves that have no under arm seam (see right hand side photo) for a proper tutorial on how to make these there are many on youtube or see my tutorial video on this. I wanted double layers one shorter than the other, so cut out another approx 2" less around the entire edge. Cut two lots for both arms. Place the short sleeve over the top of the other and tack them together around the small hole in the middle. I then tacked and sewed together all layers at the arm hole to keep them still and in place. . Sew sleeve into arm hole. Skirt pattern pieces cut in Blue silky liner. Sew skirt sections together. Next to make frills, I made 3 layers of frills each was 19cm's wide. You will probably need to do a mock up or run through to find out how much you'll need, remembering gathering eats fabric, I sewed about a 10-11 metre length at the 19cm's wide. Running a machine gathering stitch along the top of all 3 layers of frills. Measuring from the top of the skirt, 15cm's from the top, mark, do this all the way around the skirt. Over lock the top edge of your frills. Sew the top layer frill on then the second then the third, making sure you keep the same distance so that the top layers of frills overlap by approx 2cm's on top of the next layer and so on. You can see here I've gone right back to the very start and and I'm placing them at odd angles, this is hard to explain via photos, so please see my video for better information regards to this next part. This is a better photo of the steep angle upwards, as frills are placed just off centre front. The inside of the skirt. Template piece used to shape the ends of each frill either end. I found it's better to shape the frills at the end. Making a band for the waist. I made mine 7cm's wide, and the length of my waist measurement plus 4cm's. then folded it into a tube and over locked the edge. Sew the band bottom over locked edge onto the dress bodice as shown. Then fold it down tight and hold with pins. Underneath, catch stitch in place, this can be seen better on the tutorial videos. Line up the back and sew in a concealed invisible zip, again to save time on this, many tutorials can be found on youtube or the internet on sewing invisible zips. |
Making of the dress, can be viewed below
