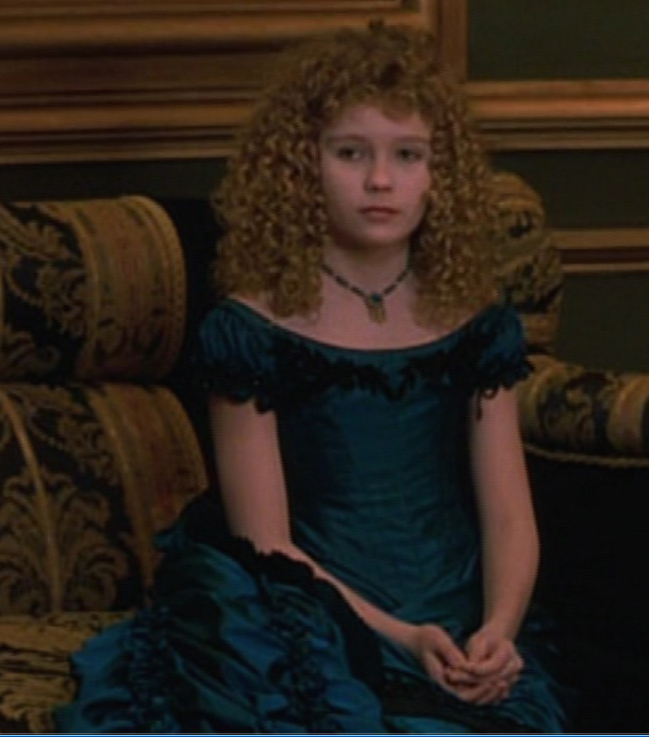
Claudia
Interview
With The
Vampire
Interview
With The
Vampire
For this costume, you will require intermediate to experienced expertise in sewing, bodice making and use of an overlocker.
Difficulty factor 8 - 10
Difficulty factor 8 - 10
Please note, that we do not make costumes to order or to hire. These are one off costumes designed for Tracy.
Please use these instructions in conjunction with our videos, as they contain more information on items needed, their sources and technique
Please use these instructions in conjunction with our videos, as they contain more information on items needed, their sources and technique
Materials:
9 metres Teal Blue Taffeta (all together)
2 metres Floral Teal Blue Fabric
Approx 60-70 black flower beads x 8mm
Approx 1400 - 1600 6mm Black bicone beads
Skirt:
2 metres floral fabric of your choice in Teal Blue
1/4 metre Teal Blue Taffeta for pleating
Train:
5 metres Teal Blue Taffeta
1/4 metre fabric for pleating
Apron:
1/2 metre Teal Blue Taffeta
1/4 metre fabric for pleating
Bodice and Peplum:
1/2 metre Teal Blue Taffeta
Boning
1/4 metre blue lining
Hooks and Eyes
6mm black bugle beads
33 Jet Swarovski Crystals
Extra Items:
"Bum Bag" Instructions can be found in our Scarlett O'Hara dress tutorial.
Necklace
Petticoat:
1.1/2 metre Ivory Cotton fabric
Lace trim
Tape
To Make the Skirt:
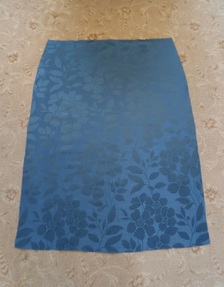
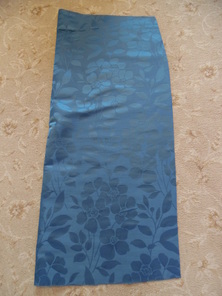
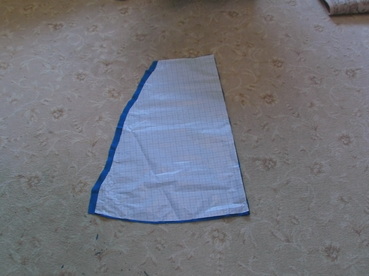
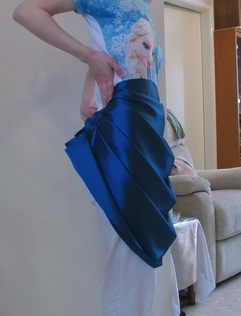
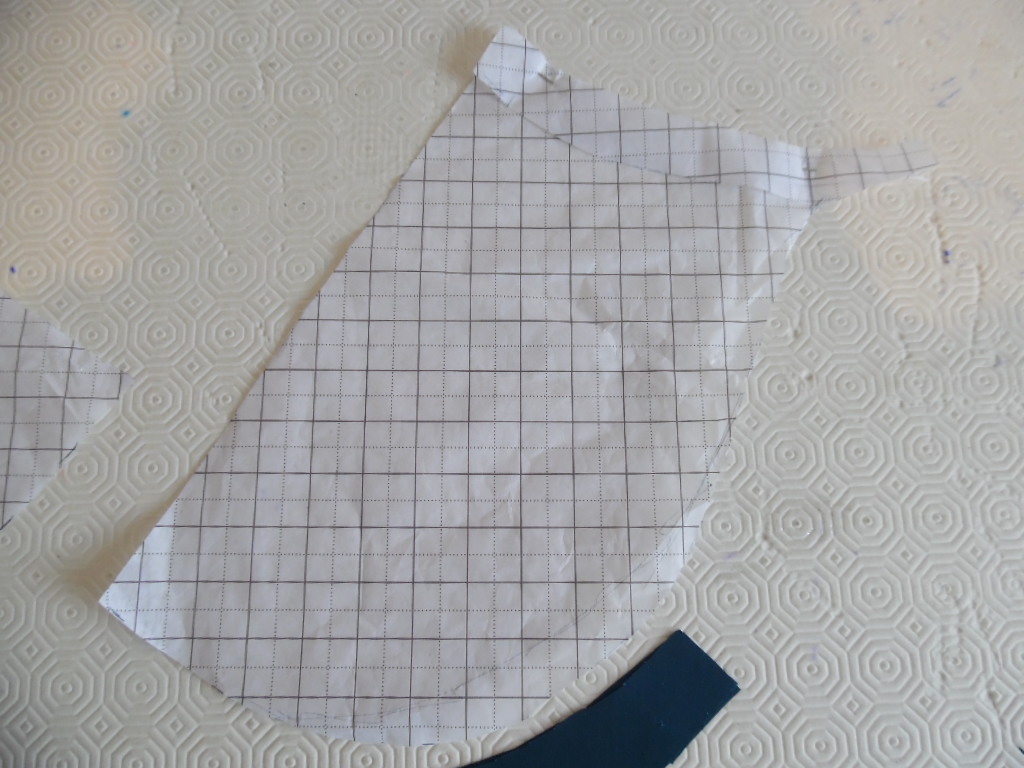
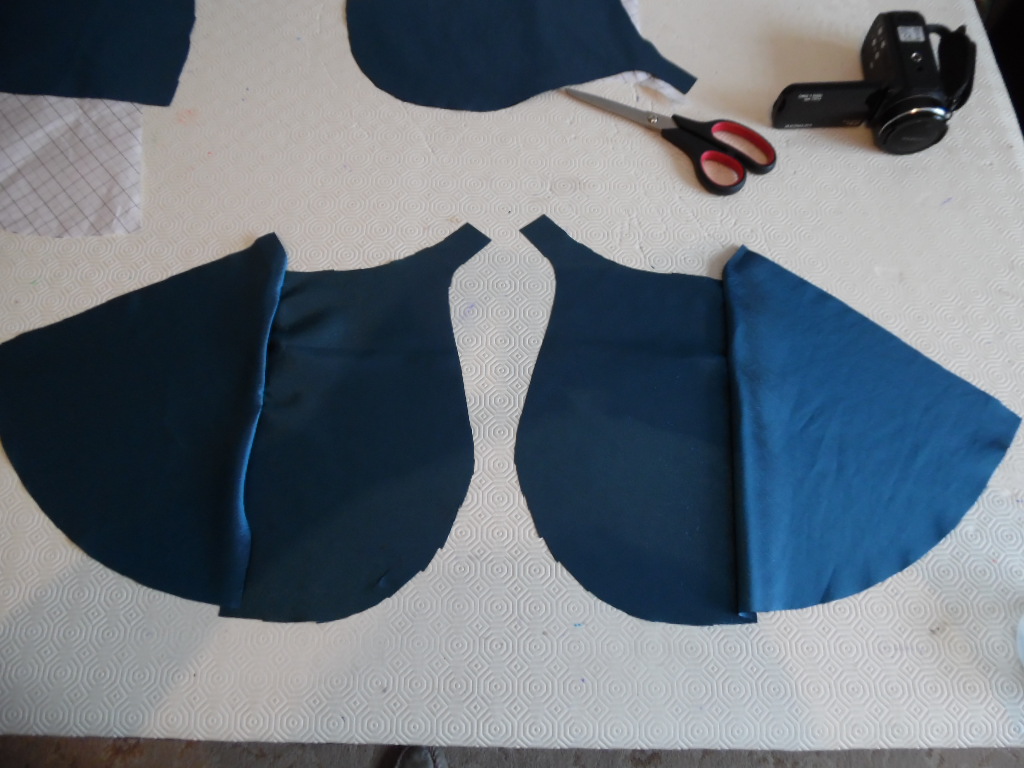
This is basically a straight skirt with a slight curve for the hips, it needs to be wider at the waist front as it needs to extend beyond the "normal" side waist line. The back shows it on the fold, this needs to be wider than the front as you will need to make a LOT of pleats at the waist. Any straight skirt pattern will do, but bear in mind all the extra material needed to pleat it AND it needs to go over a "bum bag" Try an 1870s style pattern if you cannot make your own pattern.
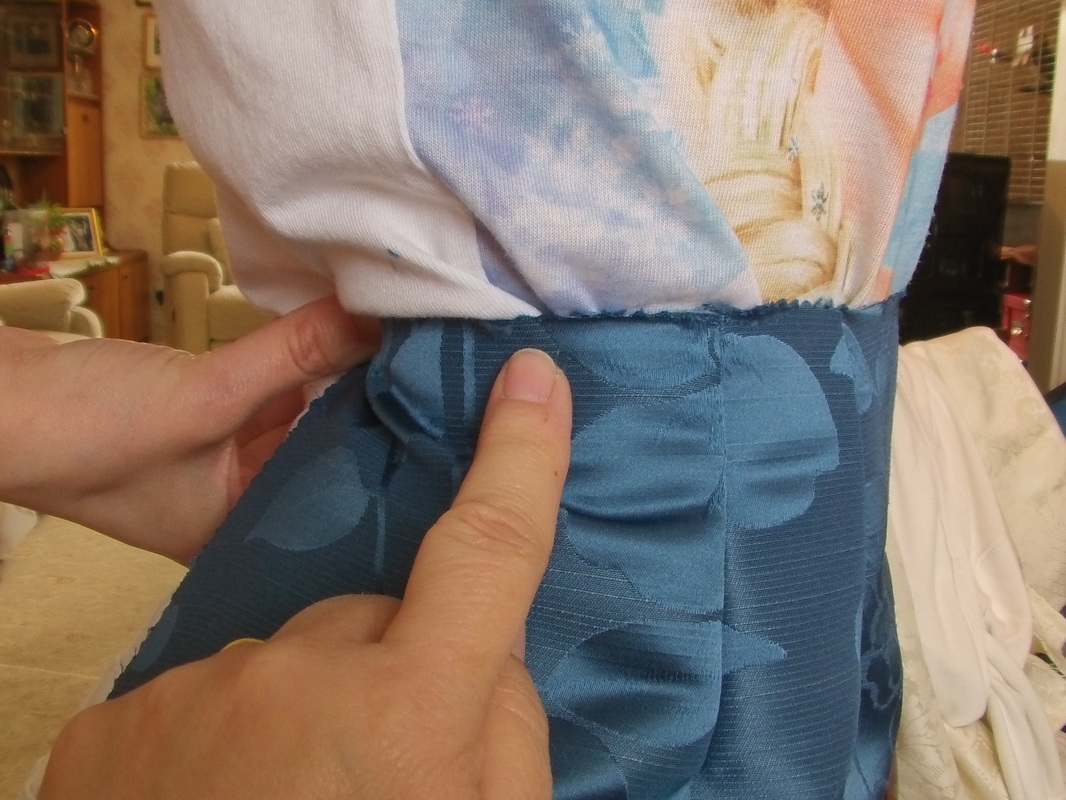
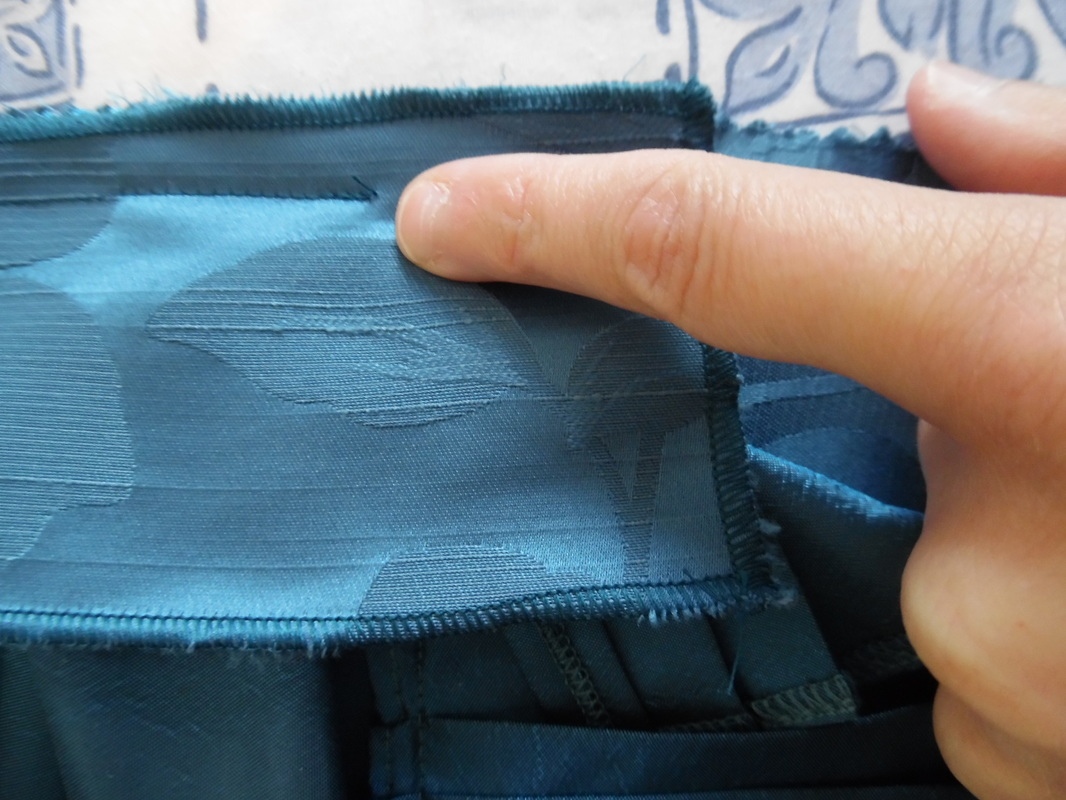
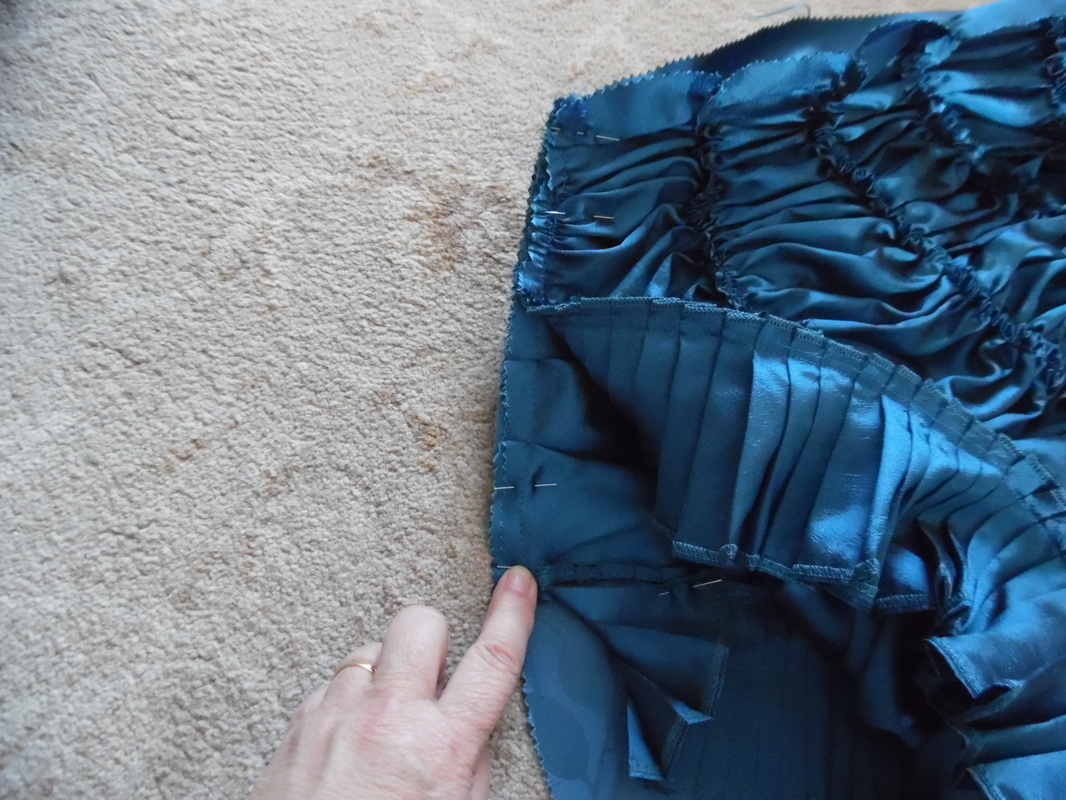
My finger is showing where the normal side seam would be, the skirt needs to extend further by about 3" (8cm). Sew in 4 darts at the front.
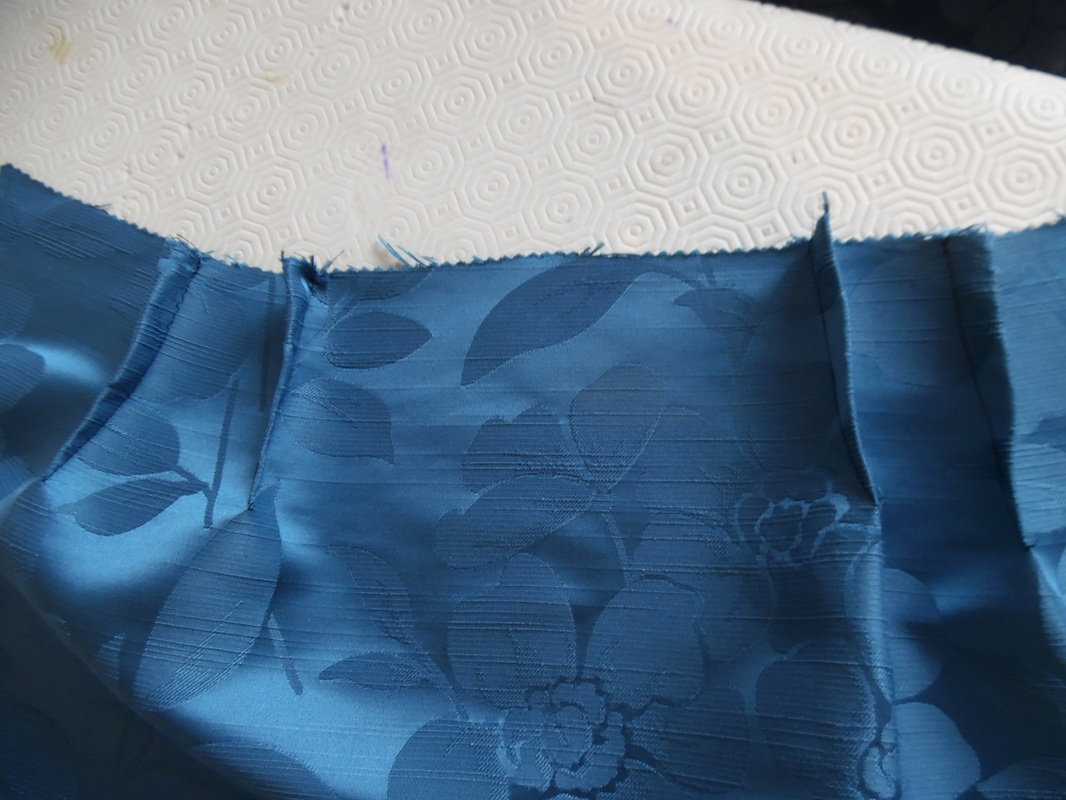
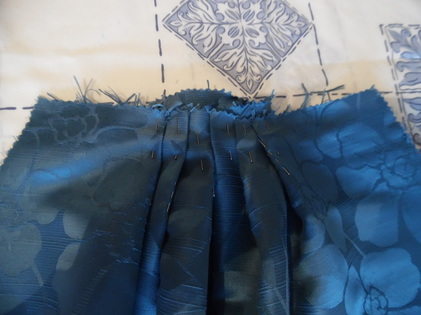
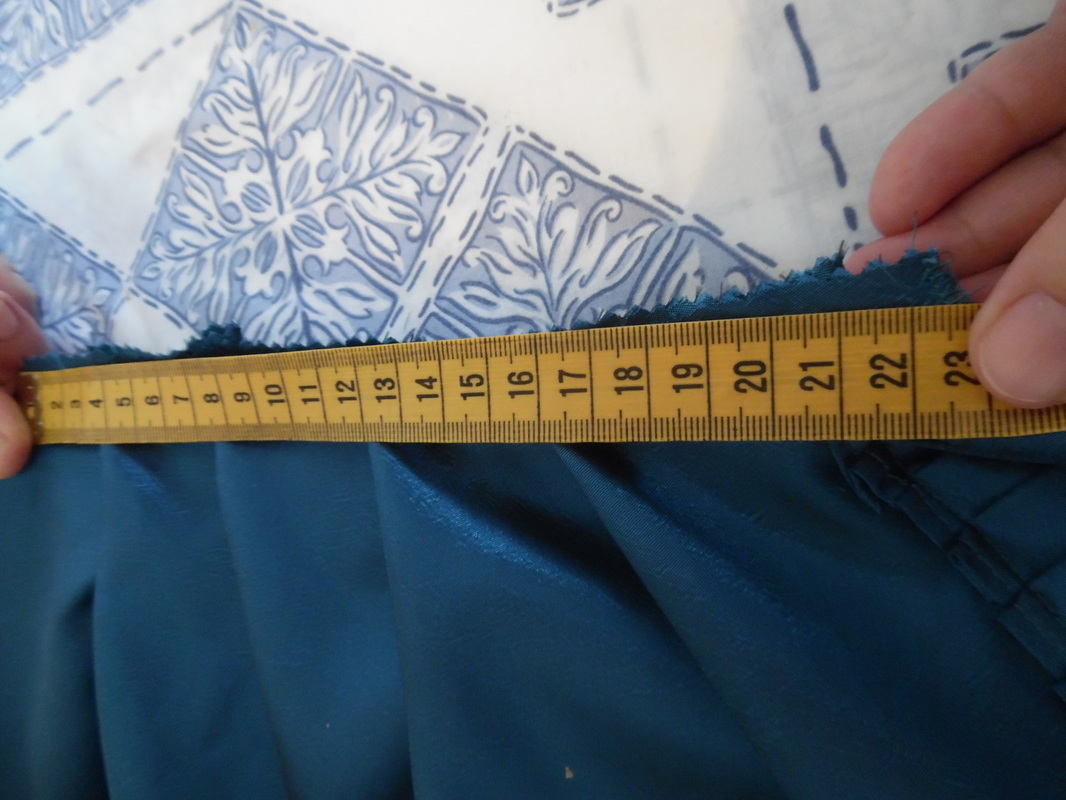
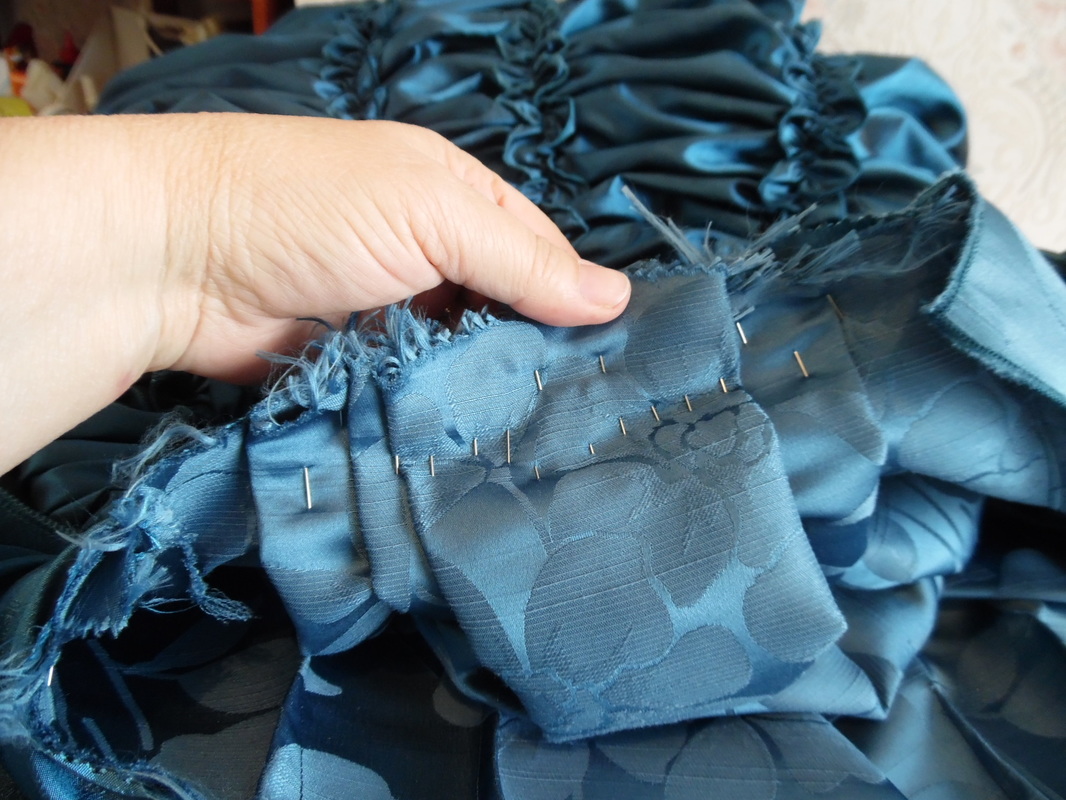
Very large pleats will be needed at the back to take in a lot of fabric, I estimate I need to get the width down to 6" (15cm)
Leave the pleats just pinned for now as there is nothing more that can be done to the skirt at this stage.
To Make the Apron:
This pattern is copied from a typical 1870s apron, you may need to search the internet for something similar. I have spoken in detail on the video tutorial how to measure for the side pleats. After pleating, you can then run a sewing line down them to keep them in place.
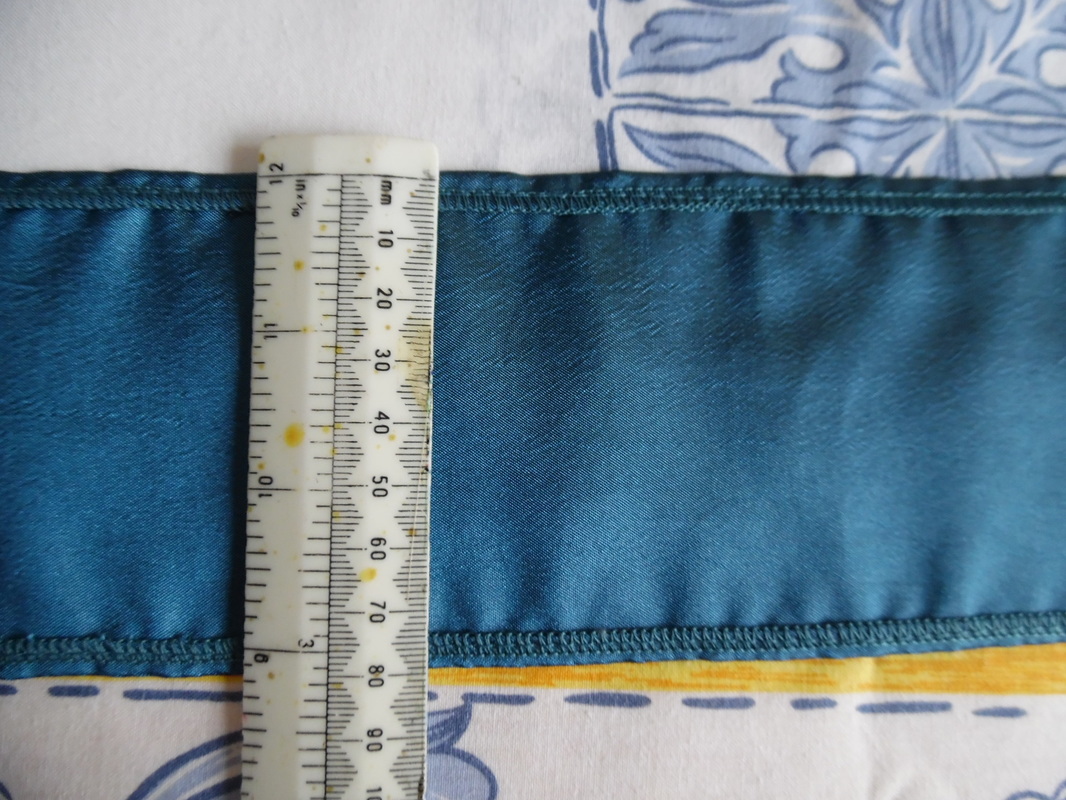
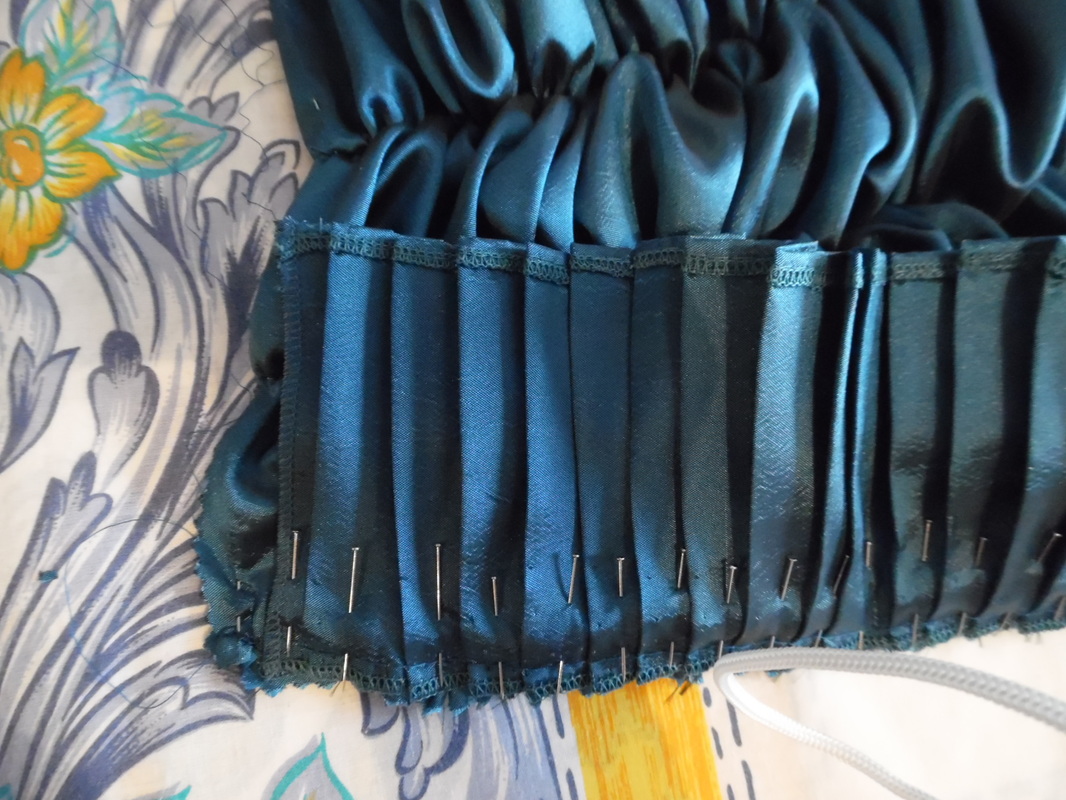
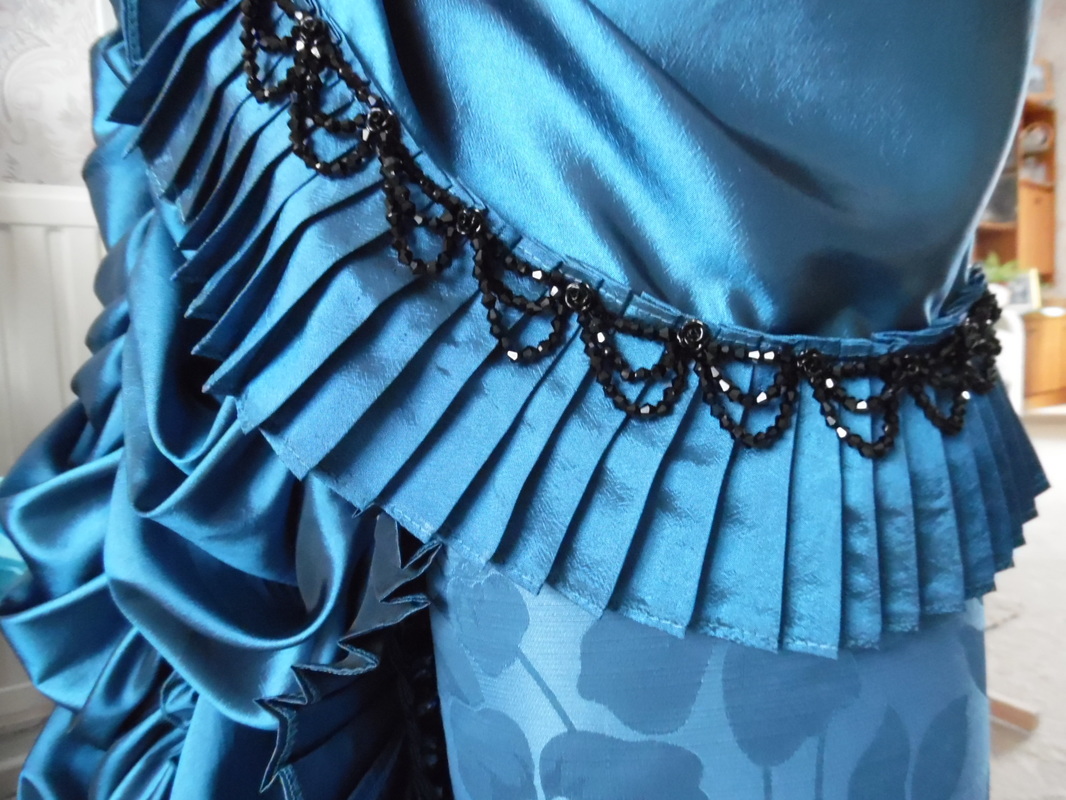
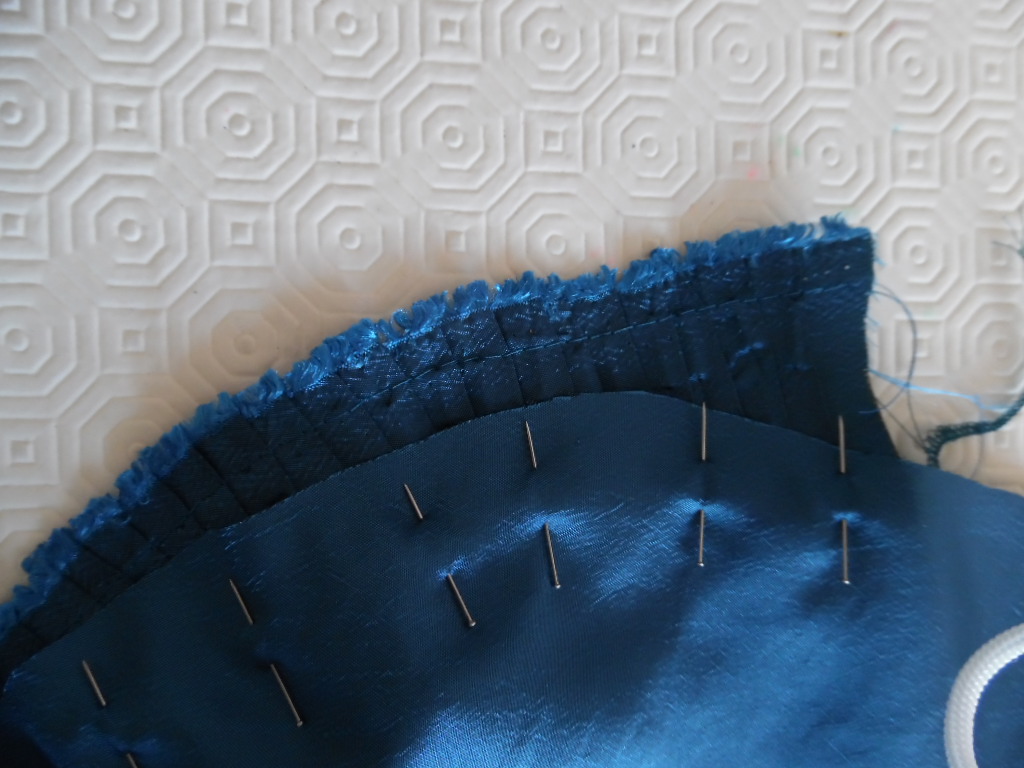
Cut strips of fabric 10cm wide and over lock the edges, then turn under the overlocking on one edge and sew down using a long stitch length. More detailed instructions are on the video. (3 metres of fabric, makes 1 metre of pleating)
Overlock the bottom edge of the apron. When sewing on the pleating, leave a seam gap of approx 1/2" (1.5cm) at both ends.
The beads will be put on later, so this completes the apron.
To make the train:
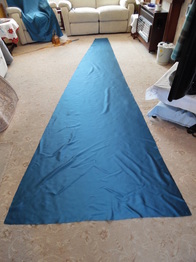
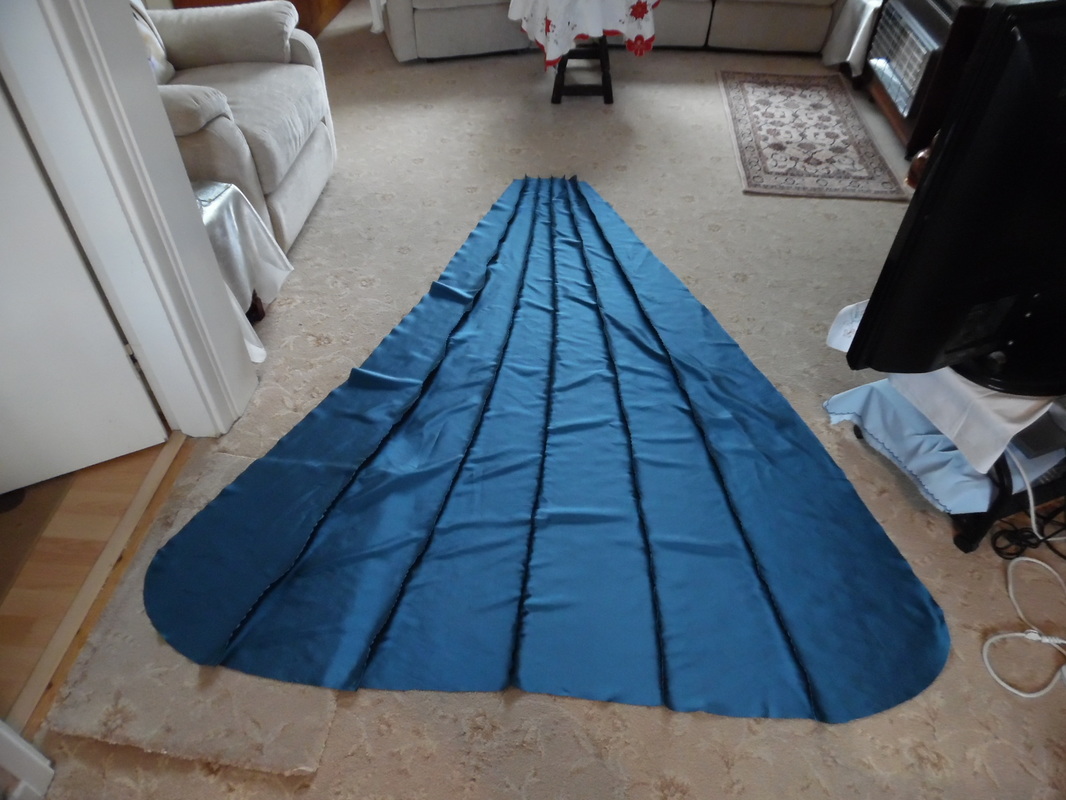
The train is made in two halves because of the width of fabric. Initially we cut it 2 metres long, but after ruffling the material, found it wasn't enough, so we recut it at 3.1/2 metres to make more ruffles. There is more detail on the video, which shows how to calculate the waist and hem measurements. The fabric is then split into three portions, the two pieces are then sewn together.
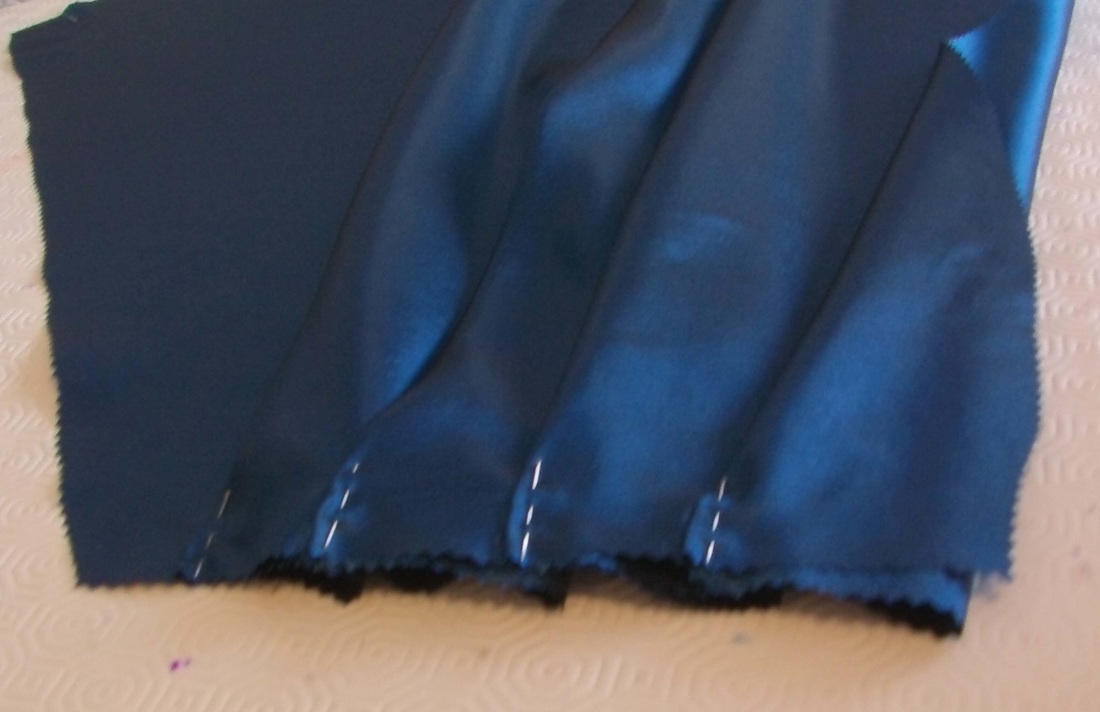
After drawing lines from top to bottom, pin and sew seams of 1cm. Then sew the two pieces together. (NOTE:) use a long stitch as this will be gathered. Leave a tail at one end and secure the other end. Slightly curve the end sections.
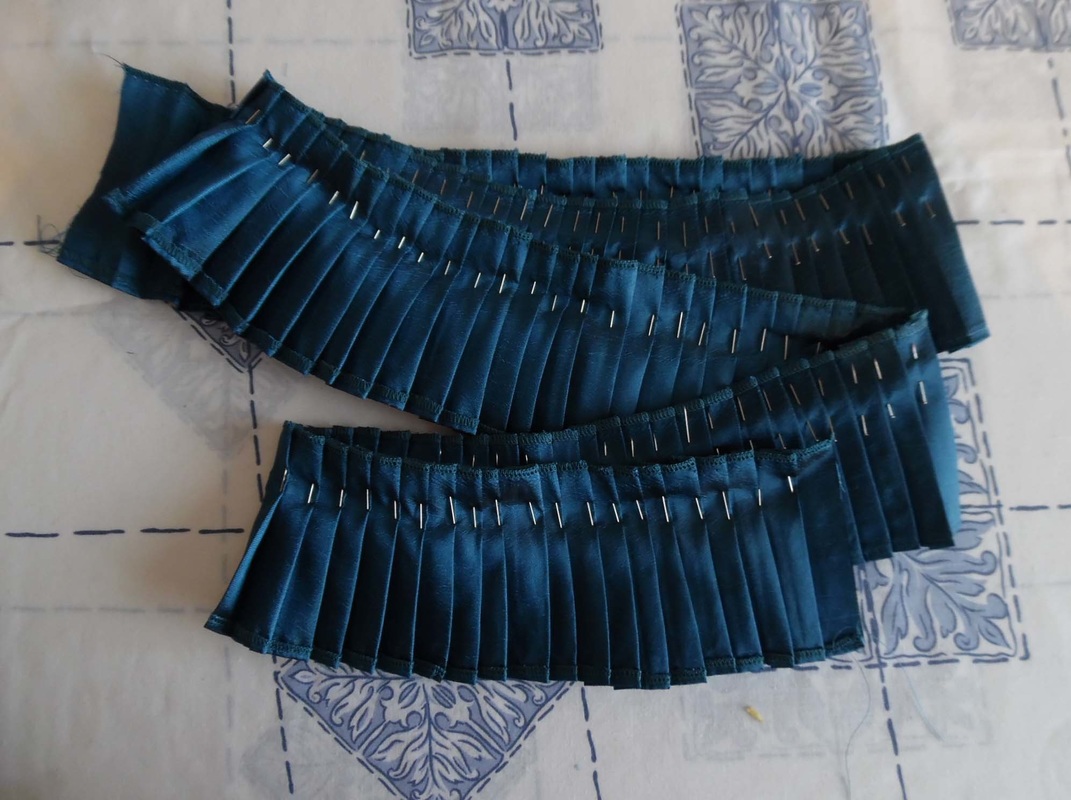
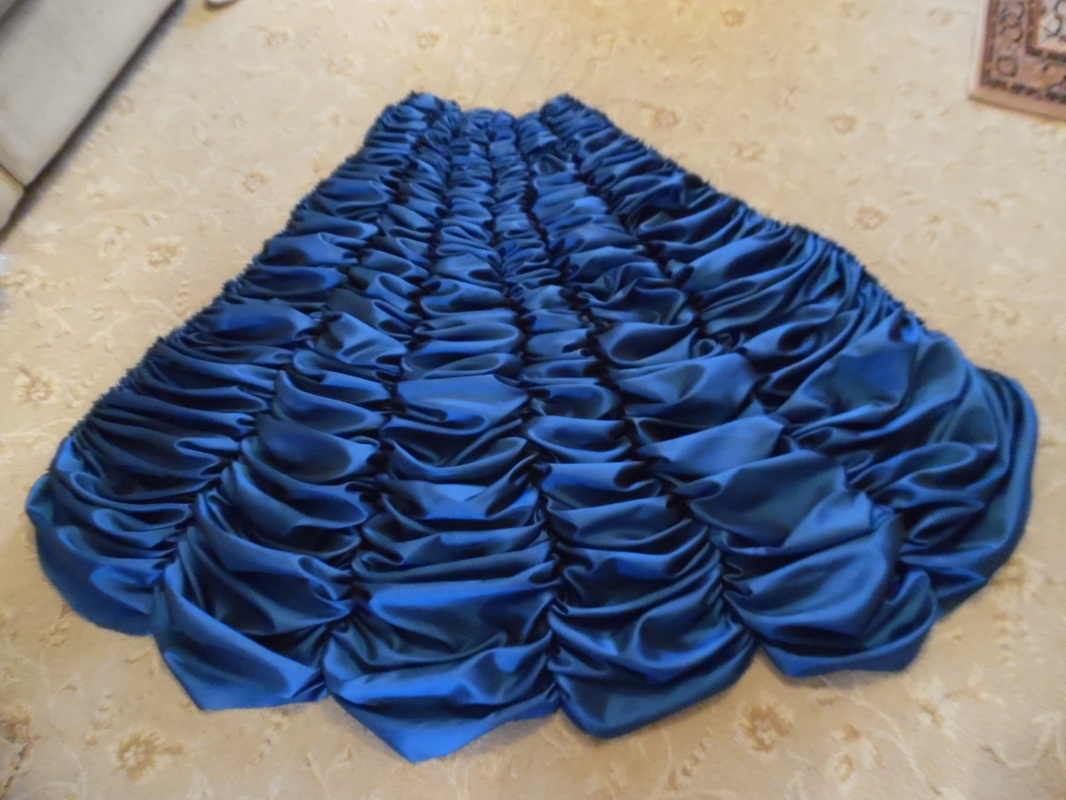
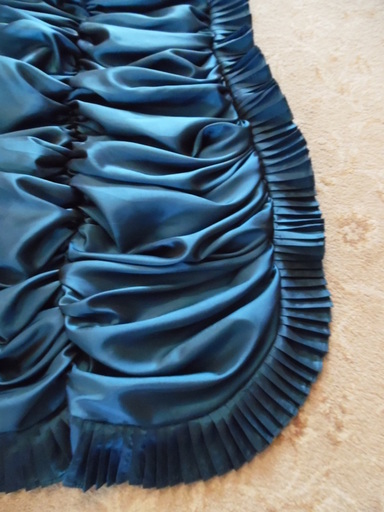
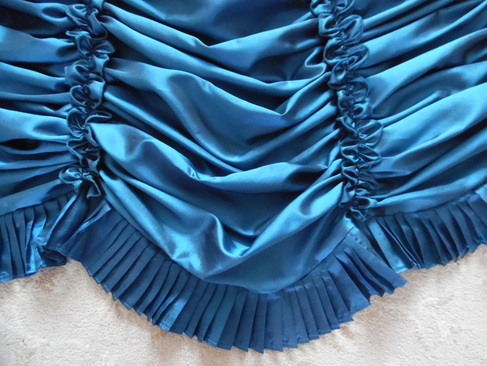
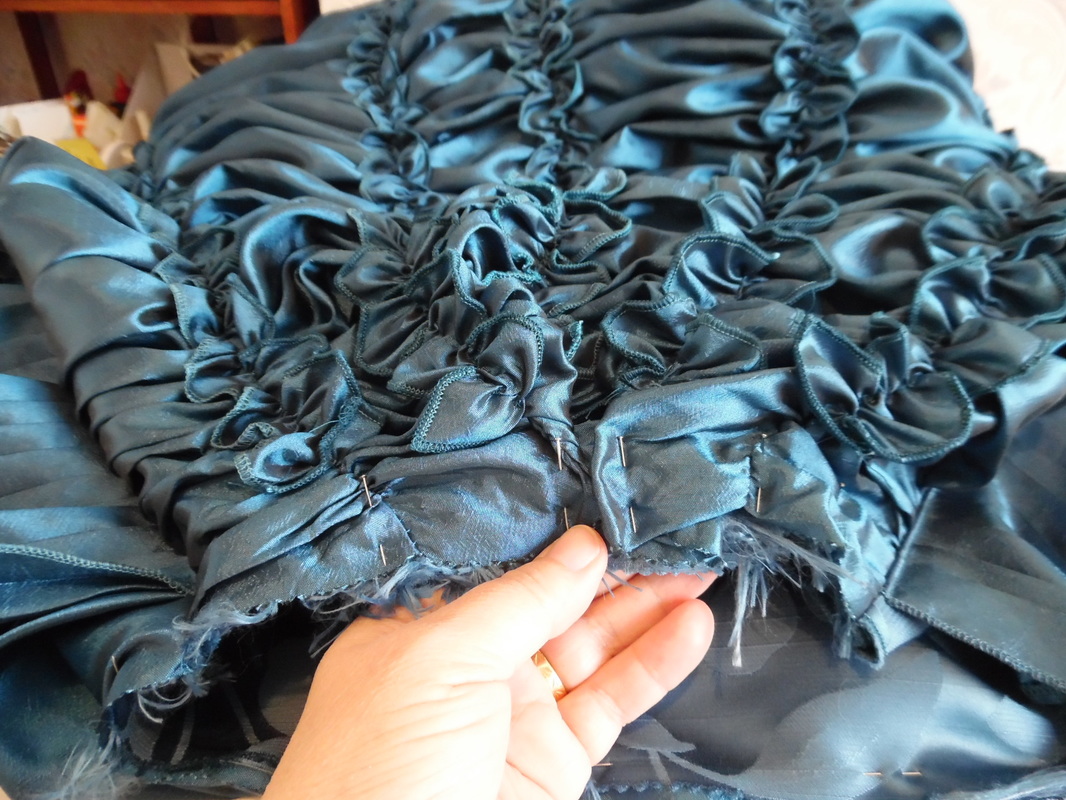
Very carefully, gather all the sections, this includes the edges on both sides. I needed to pleat approximately 12 metres of fabric to make about 4 metres of pleating. After starching and ironing, sew the pleat onto the edge of the train and along the bottom.
Next, I need to make the double scallop trim to go down all the seams.
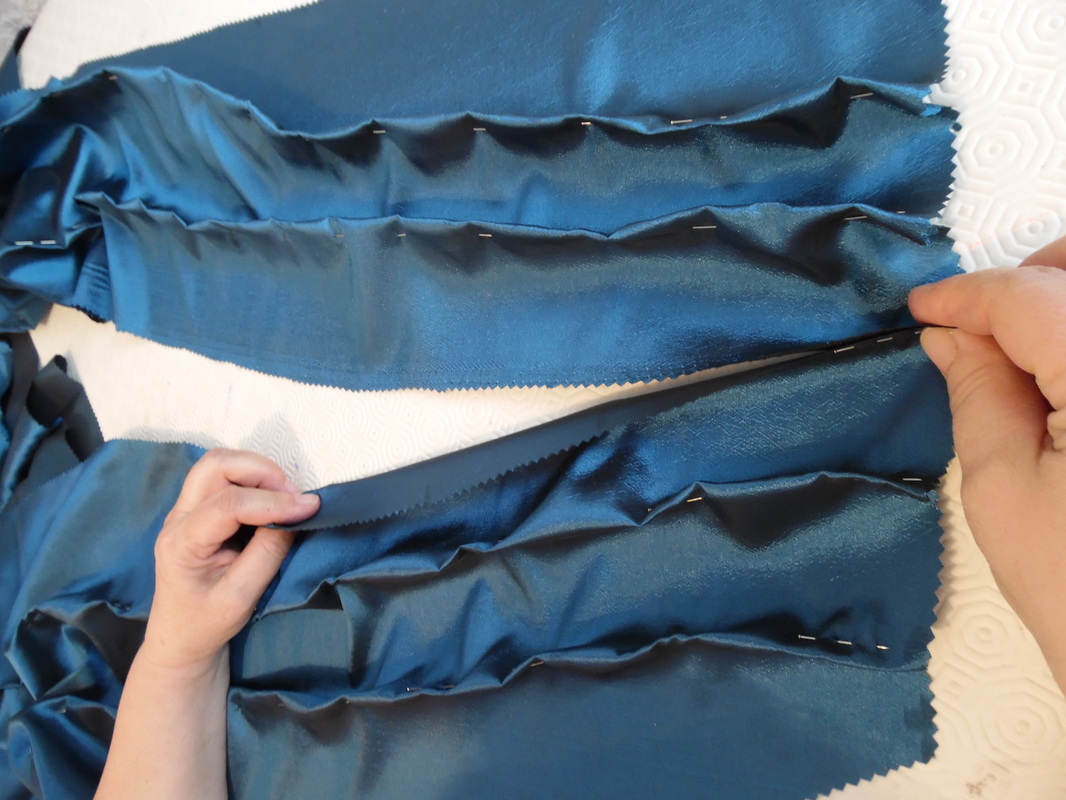
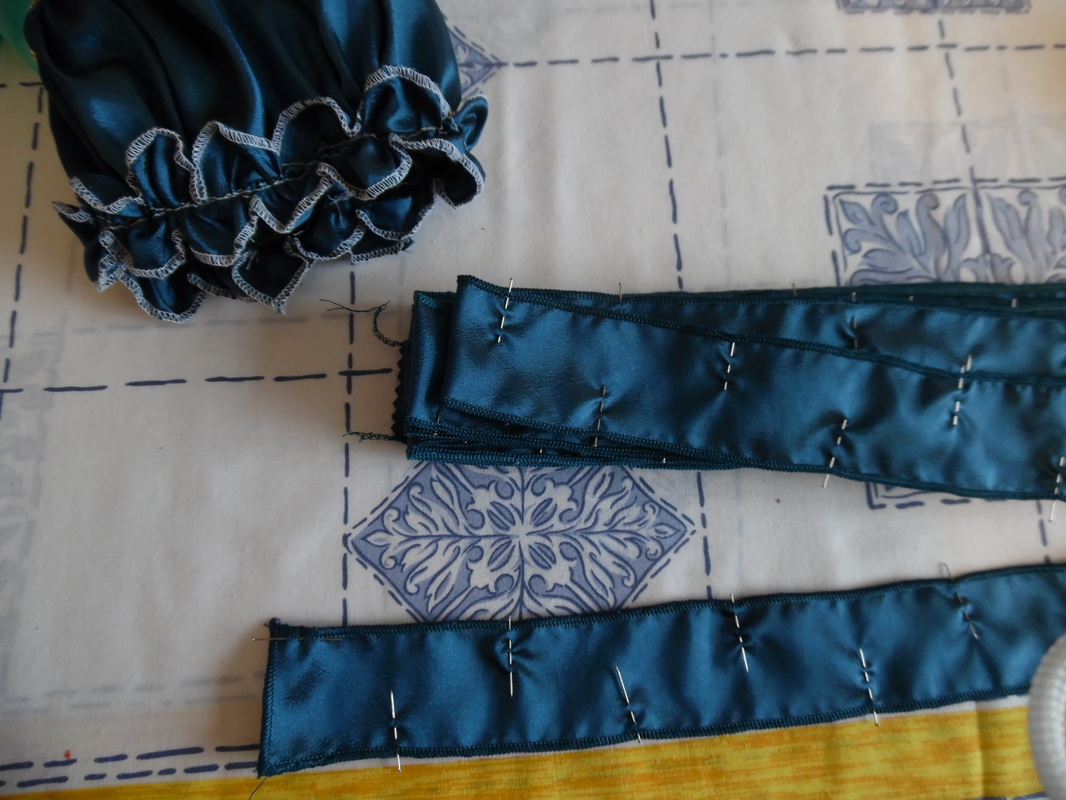
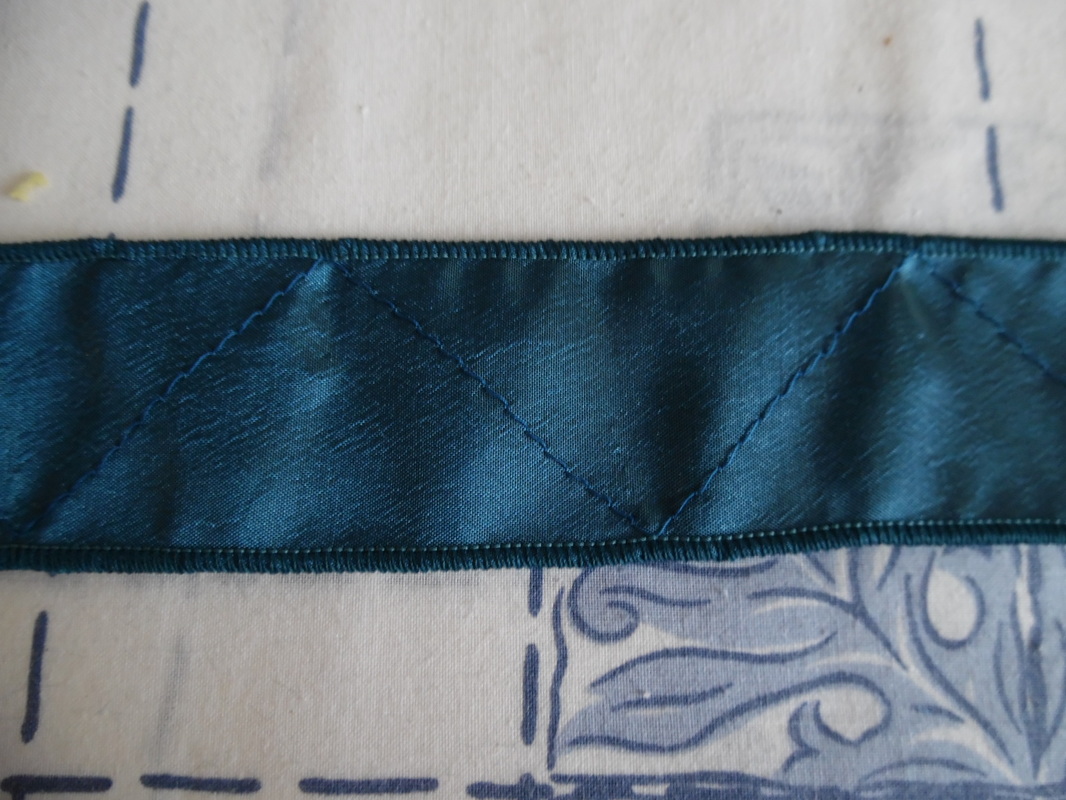
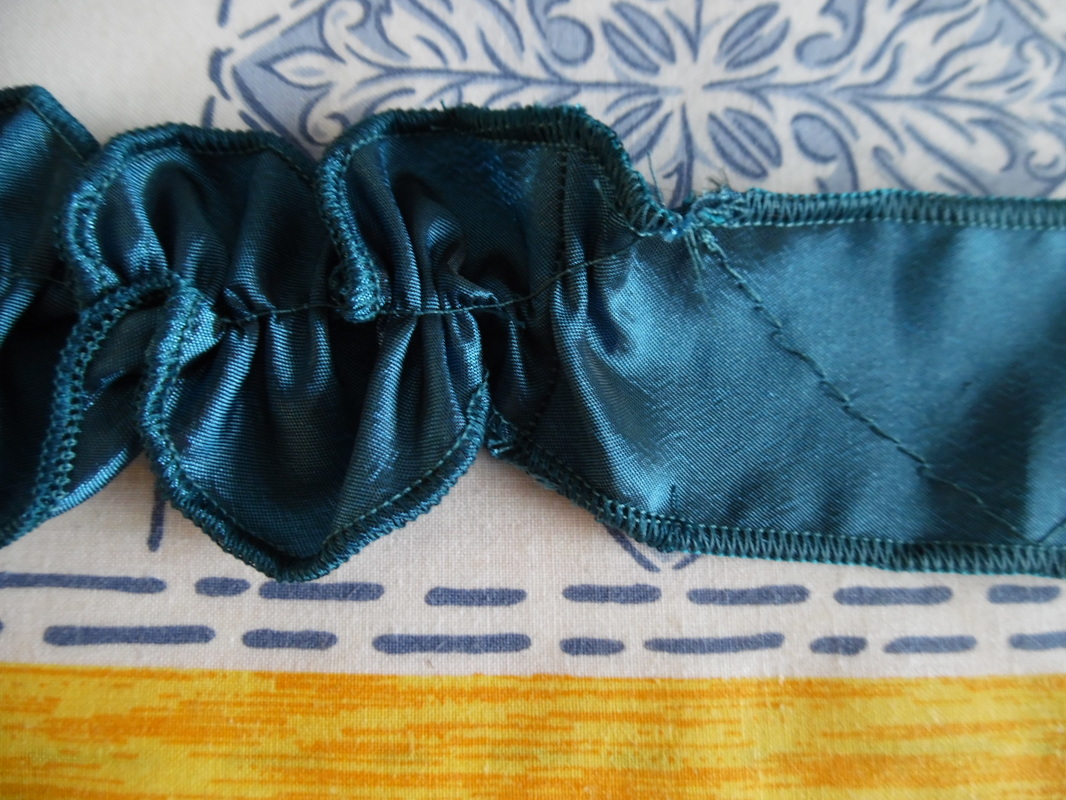
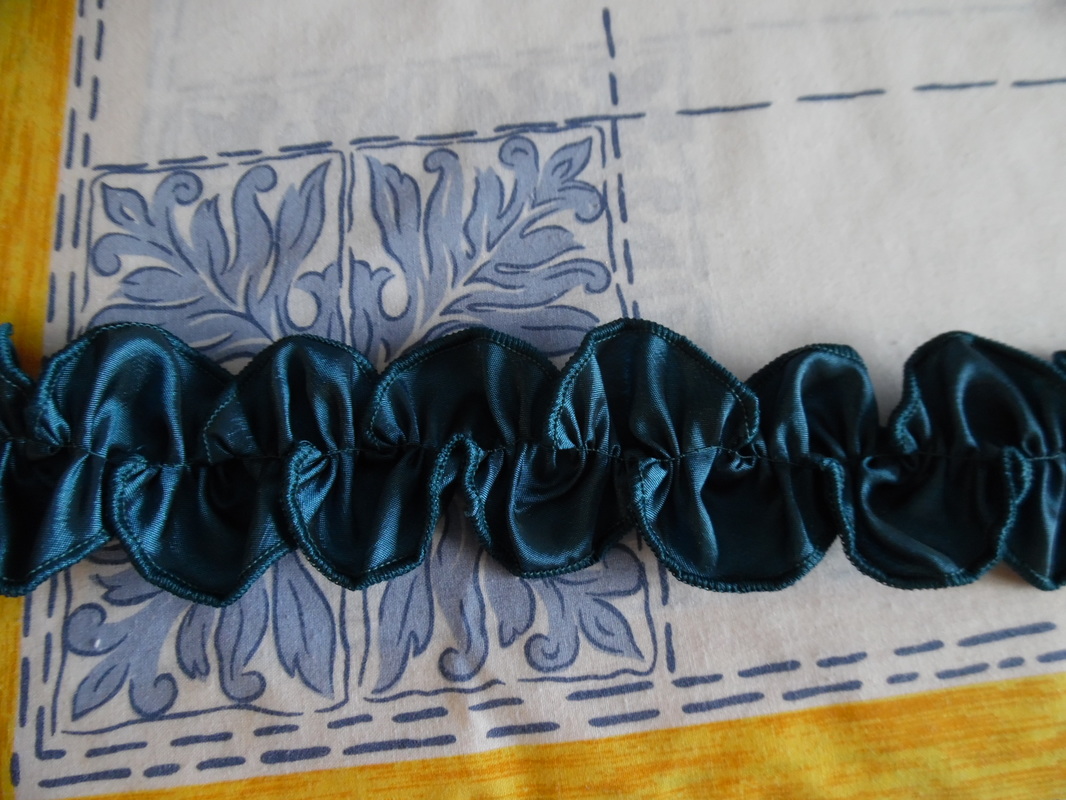
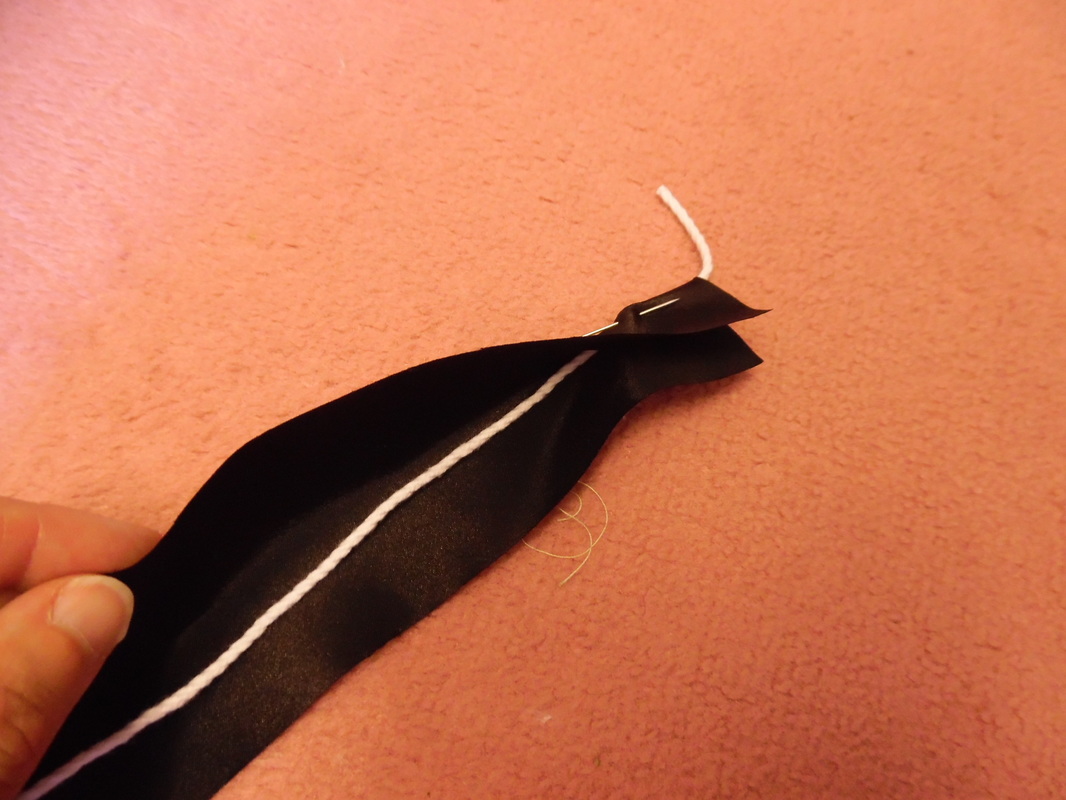
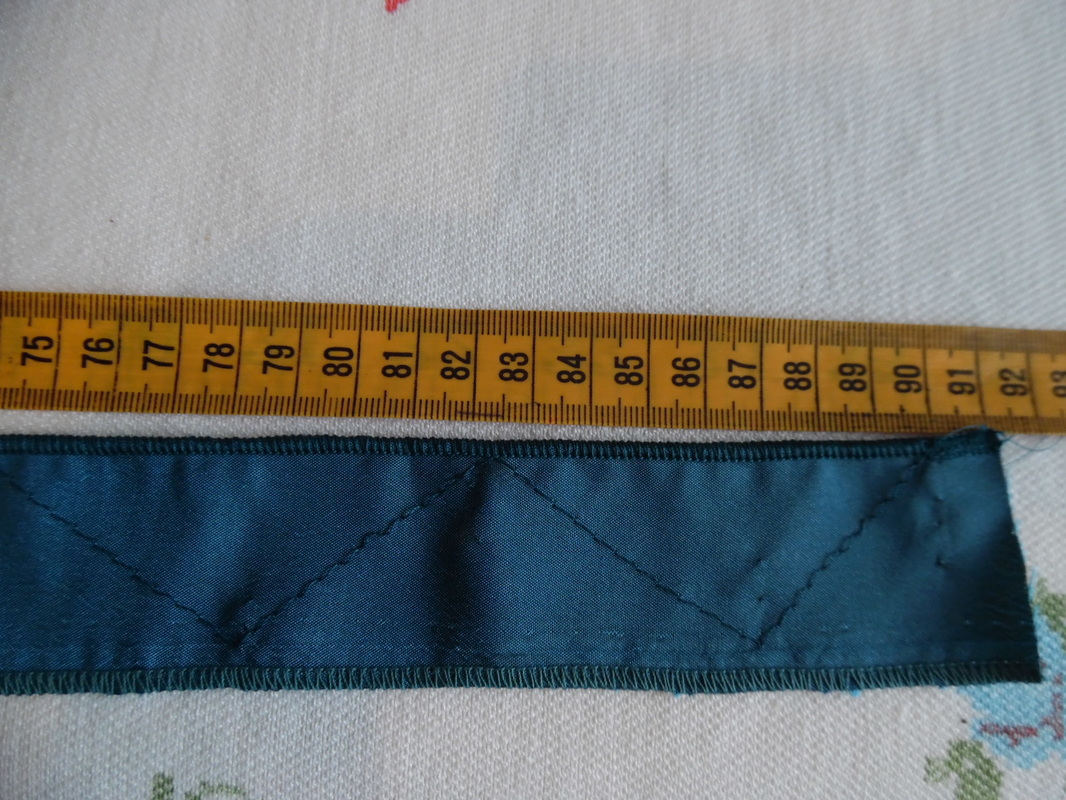
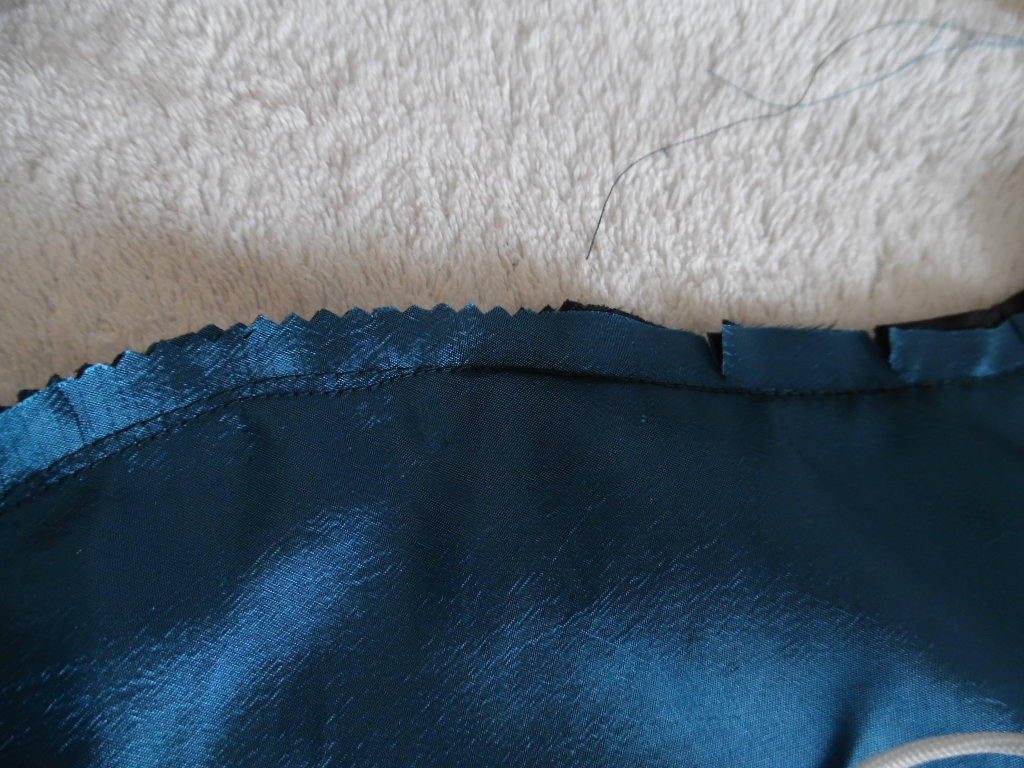
After over locking both sides, the trim should be approximately 1.1/2" (4cm) wide and each seam of the train uses approximately 3 metres of fabric. Place marks alternately 8cm apart and using a long stitch sew a straight line, but zig zag from point to point along the fabric. I found it easier to work in 2 metre lengths in case the thread snapped, adding more strips as I went along.
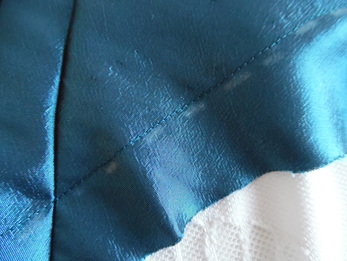
Very carefully, pull the thread to gather, this is what is should look like.
Hand sew the trim down the seams.
Now we can put all the pieces together.
Now we can put all the pieces together.
Measure the side of the apron and cut two pieces of material this length x 8cm wide. Neaten around the edges with over locking.
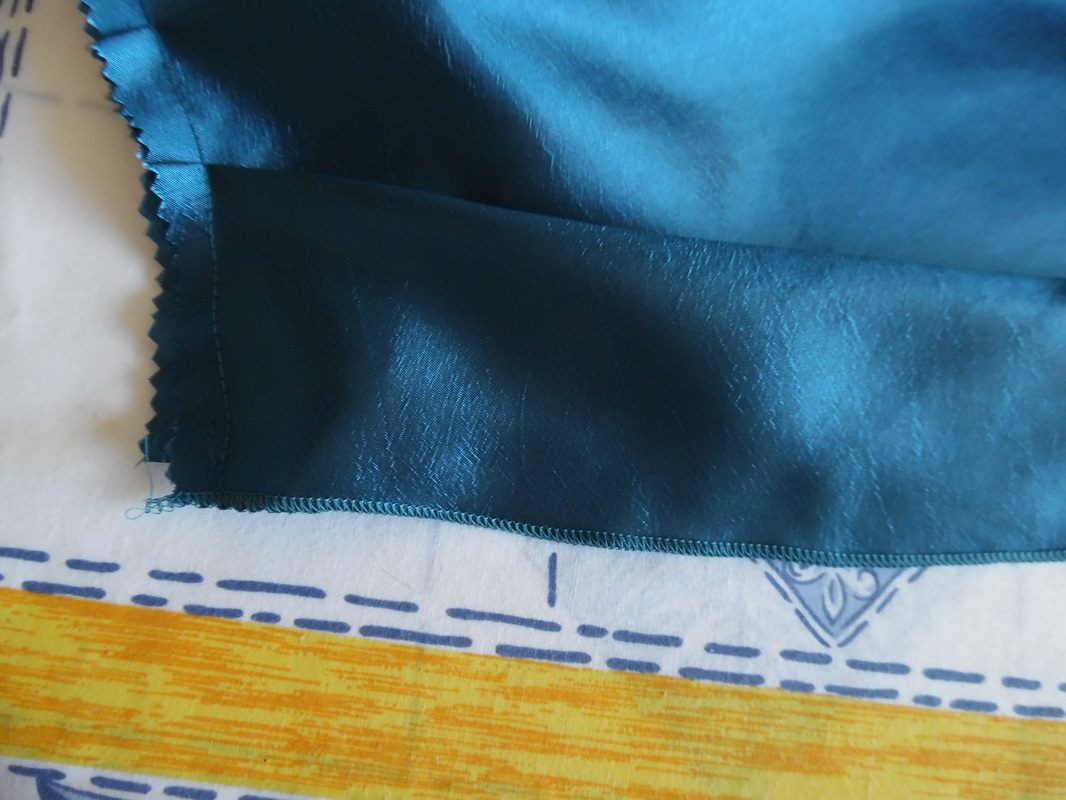
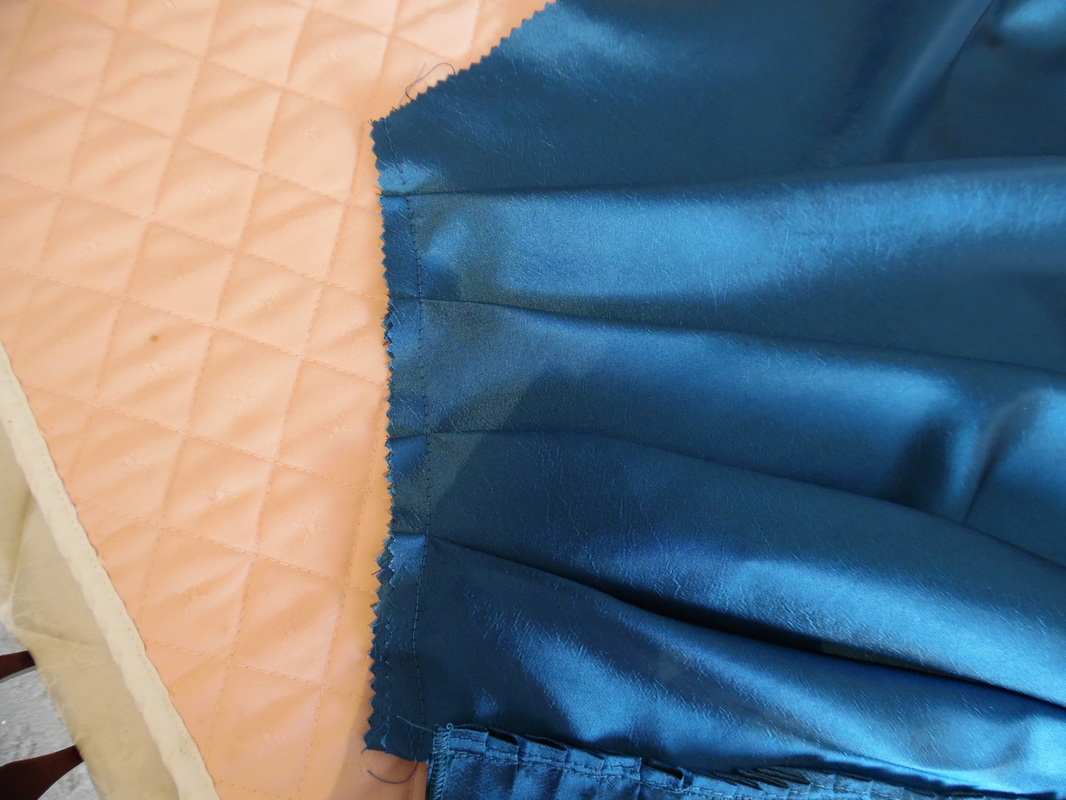
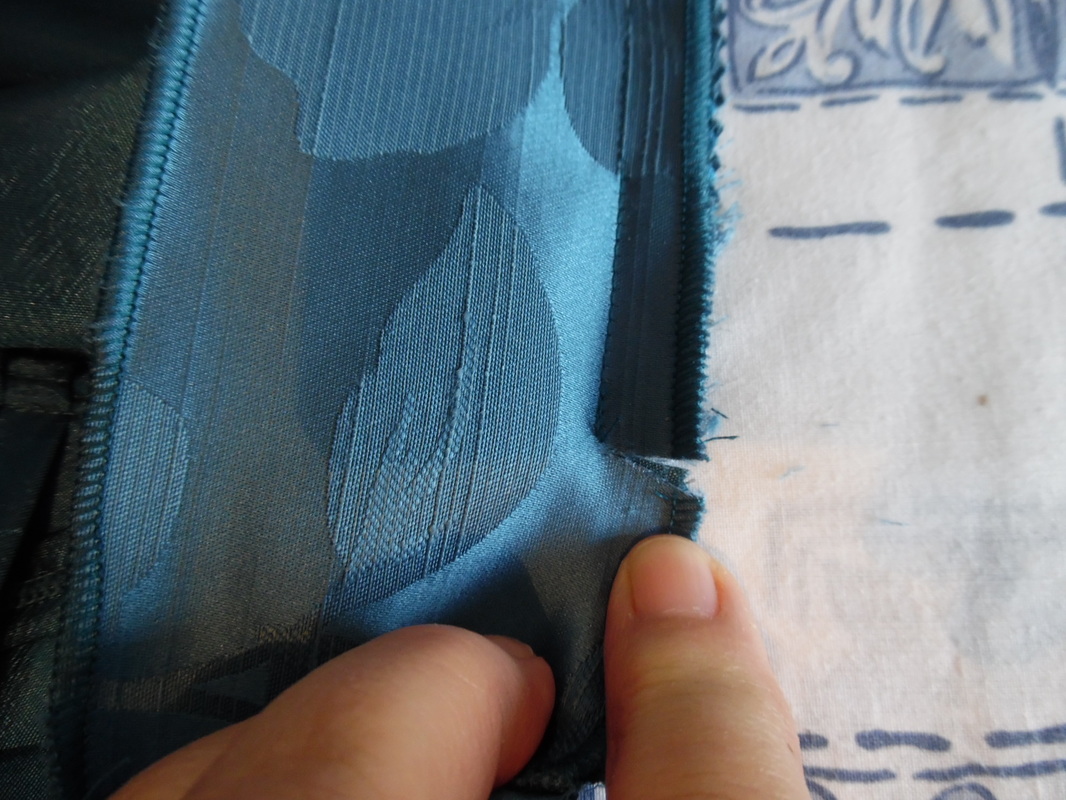
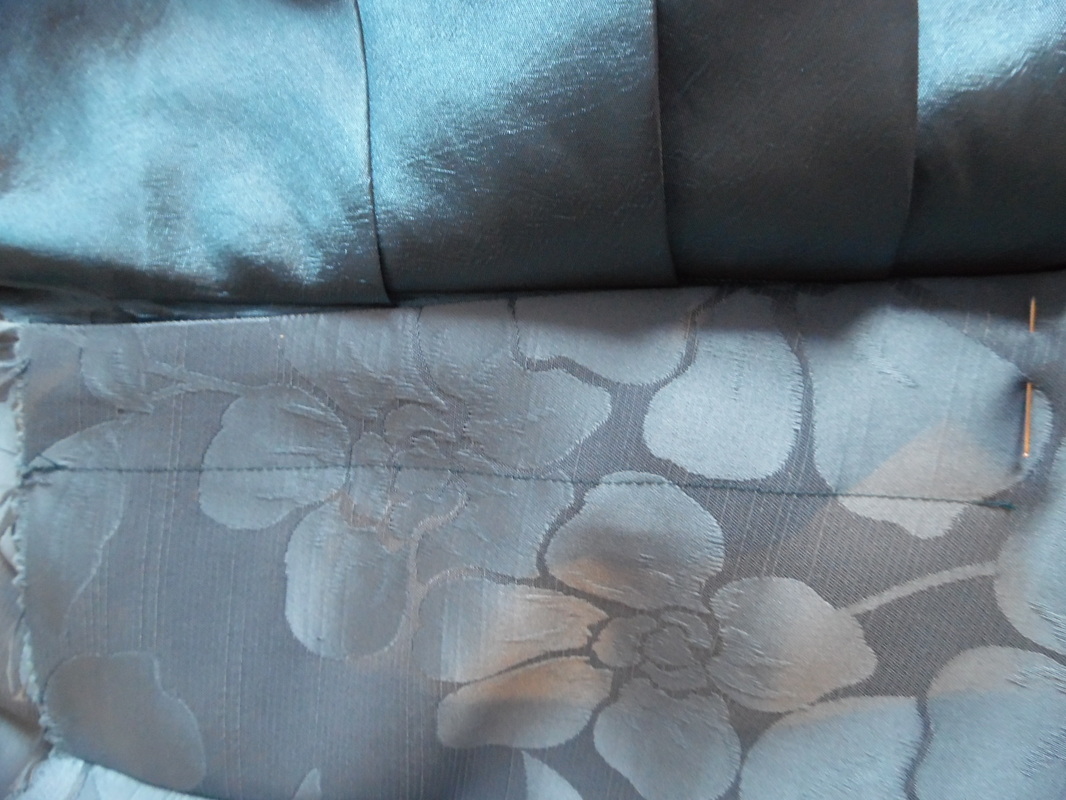
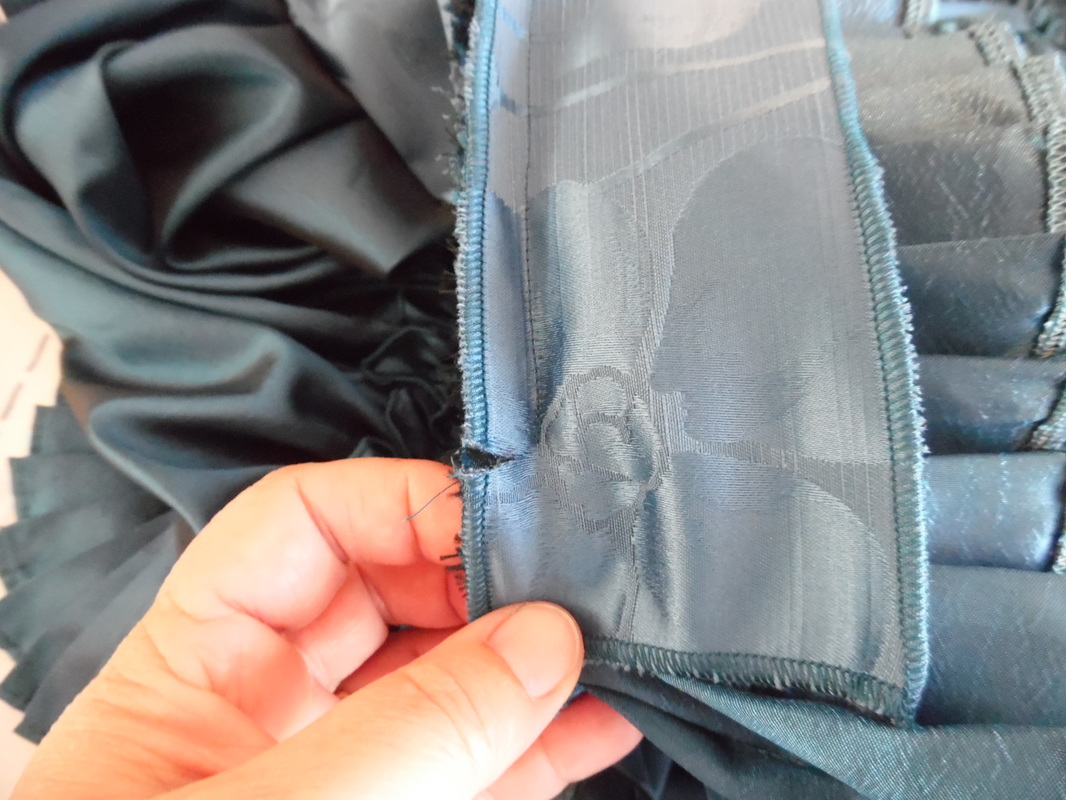
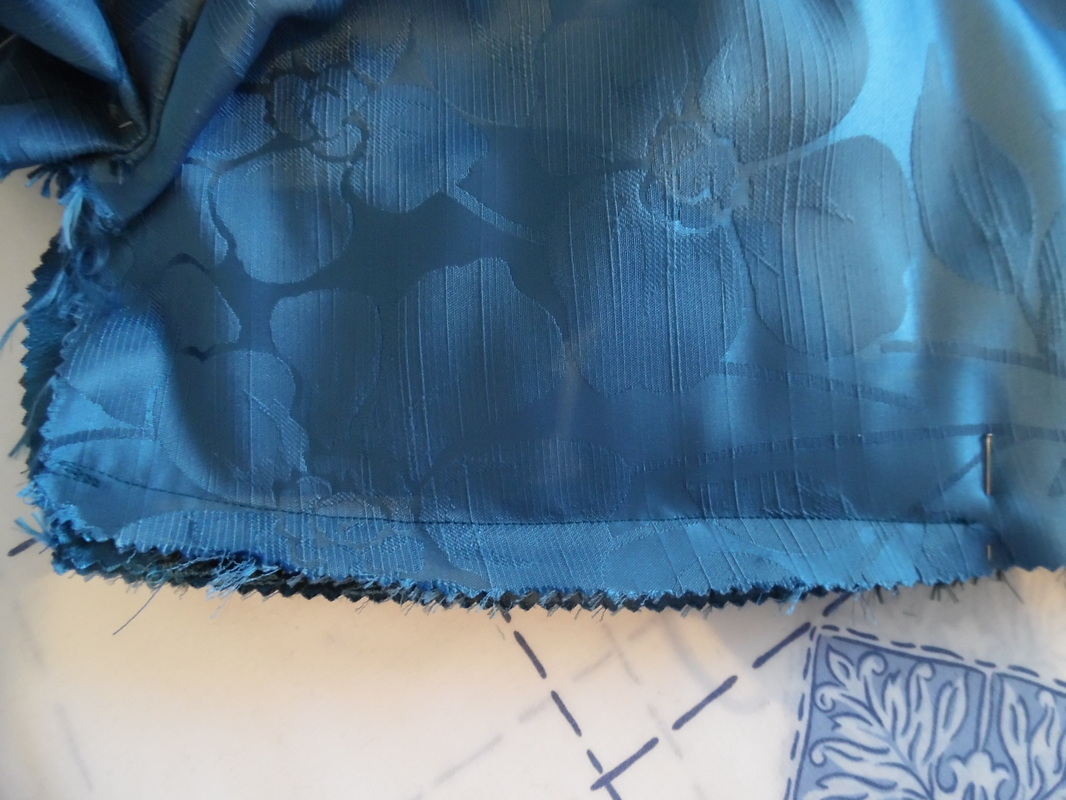
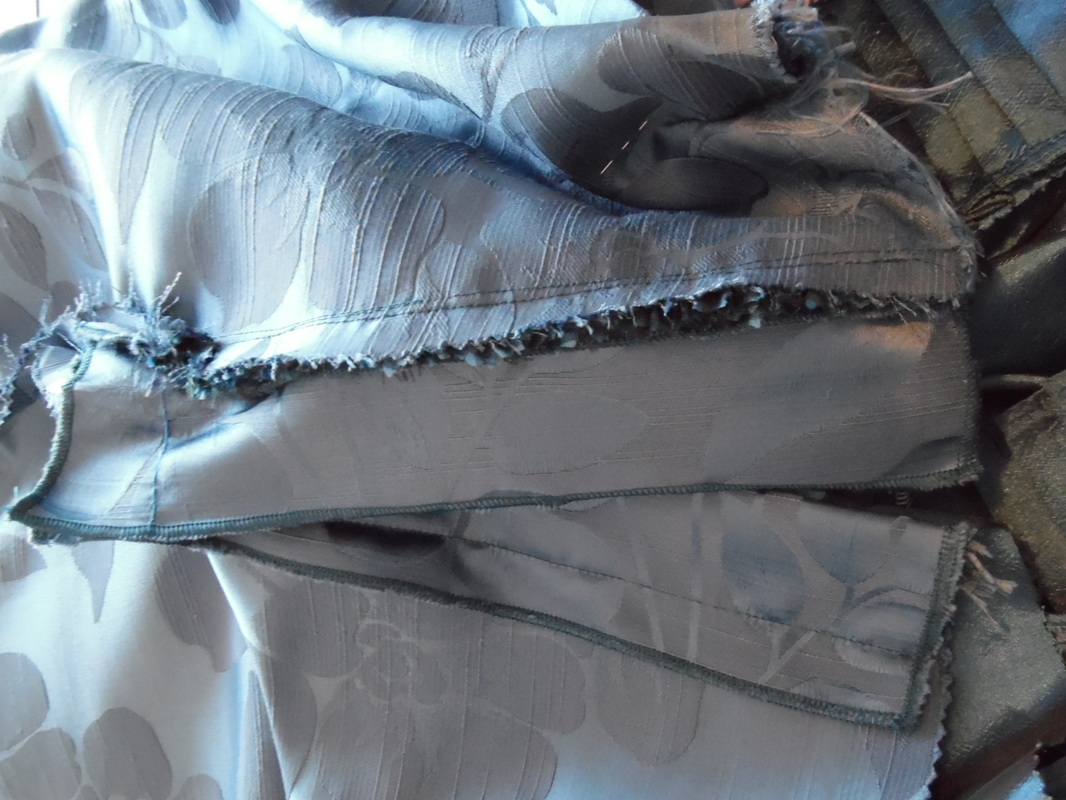
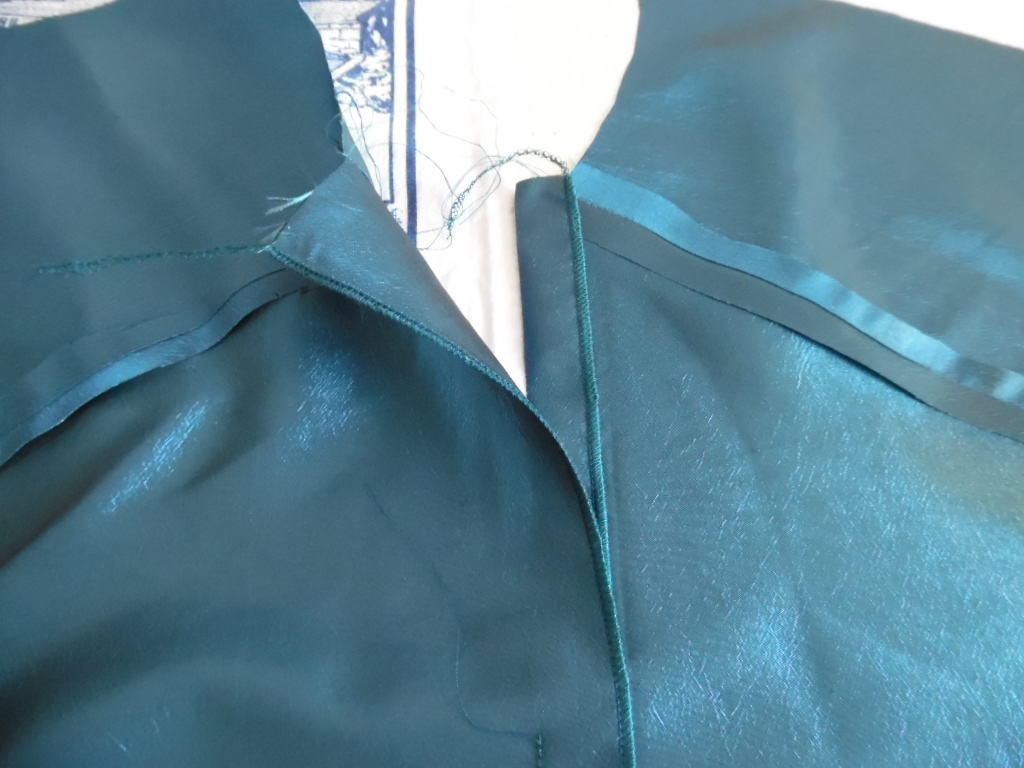
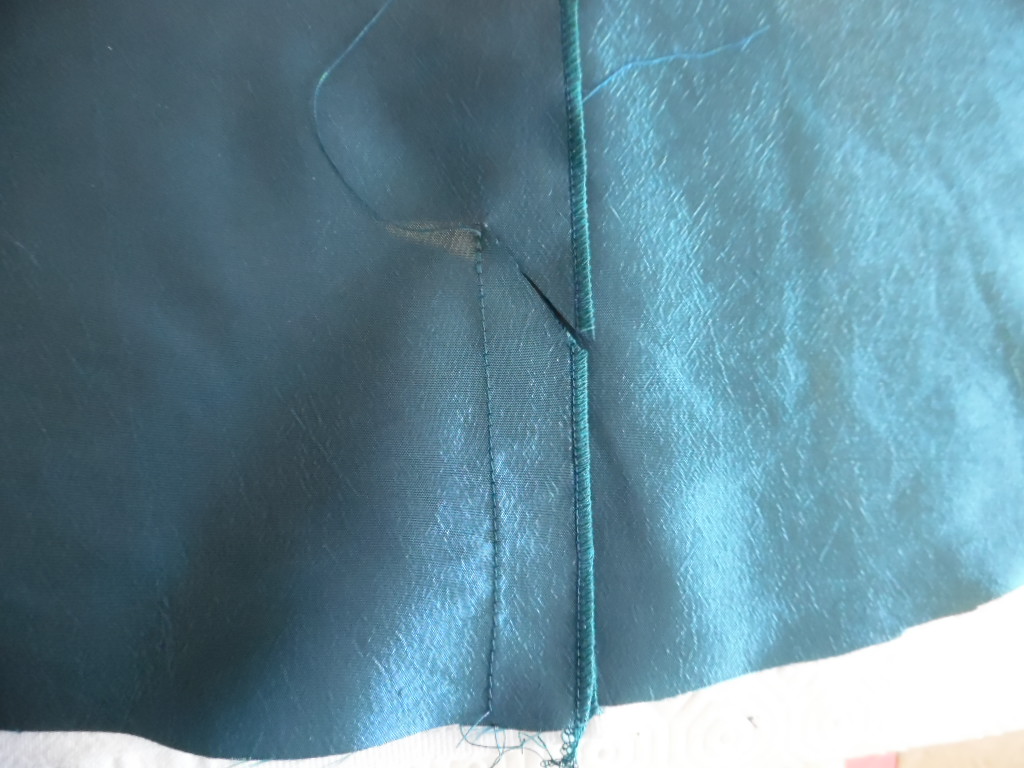
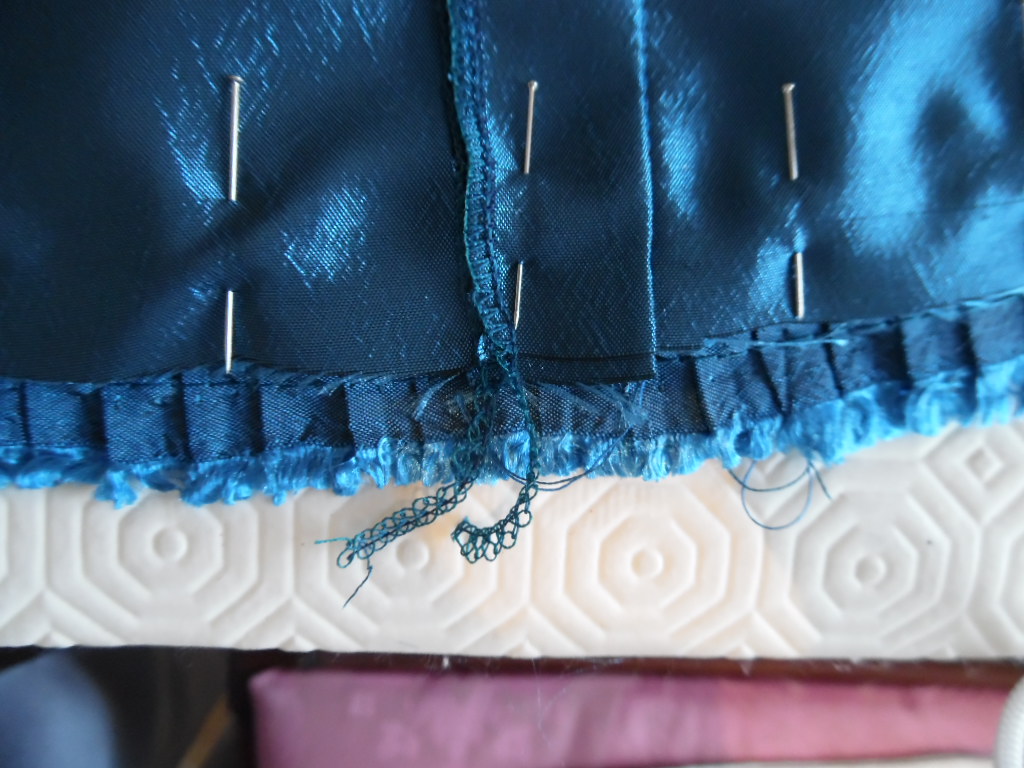
Lay the skirt front right side up, lay the apron on top of that and then one of the plackets. Sew all three items together but, stop sewing just before the pleating on the apron. Then cut a small nick just below where the sewing stops. It may help to pin the apron pleat out of the way so you don't catch it in the sewing.
Fold the apron out of the way and sew through the skirt to sew down the placket at the back. Do the same with the other side. Lay the skirt back the right way up, lay the train on the edge, then the placket. Sew all three pieces together, the same distance as your first placket. Nick just below the sewing.
For the opposite skirt seam.start with the skirt front, then the apron (pin the pleating out of the way), then the train, then the skirt back. Sew as far as the pleating, take it out of the sewing machine. This time, only nick the train which is sandwiched between the pieces. Move the train and apron pleating out of the way, so that now you are only sewing the skirt front and back to make your side seam from where you finished sewing (more information on the video).
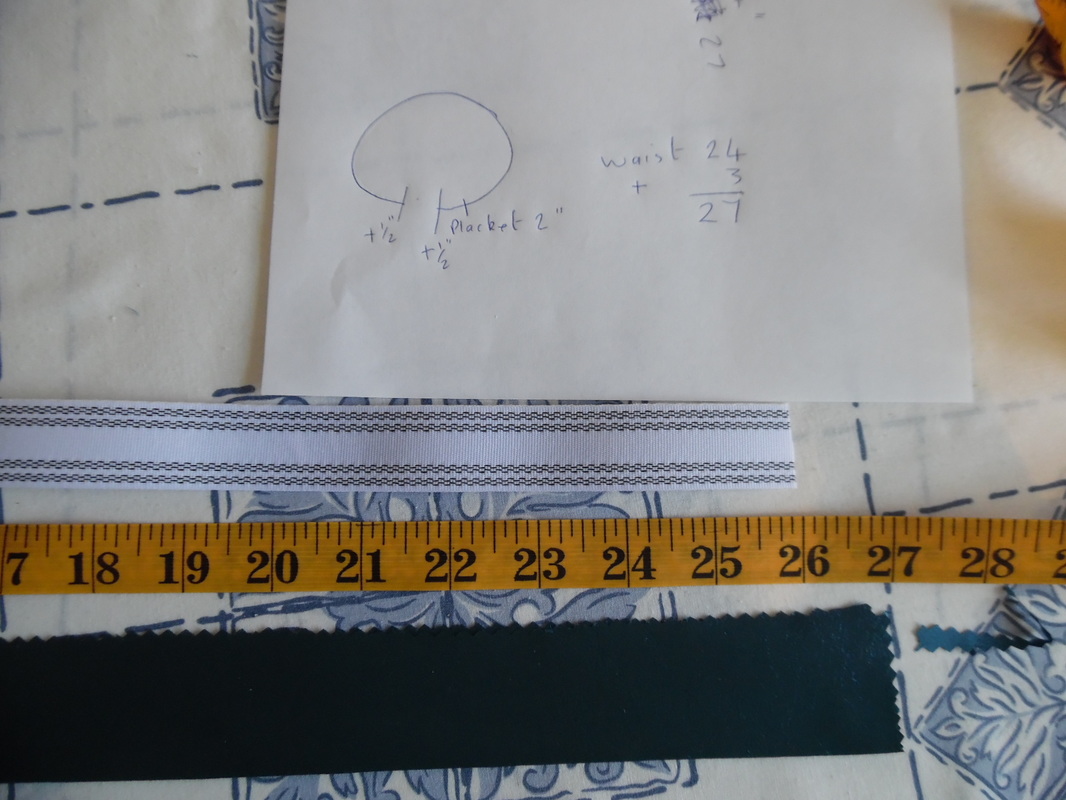
Placing the two plackets together, sew down the skirt seam, making sure the apron and train are out of the way. To measure for your waistband. Whilst wearing your corset if it is to be worn, get an accurate waist measurement, add 1/2" to both ends PLUS the width of your placket. Cut a piece of stiffener 1" (2cm) shorter.
You can now make any adjustments to the skirt pleating to fit it into the waistband and also pleat or gather any excess on the train. Both pieces need to be sewn into the waistband at the same time.
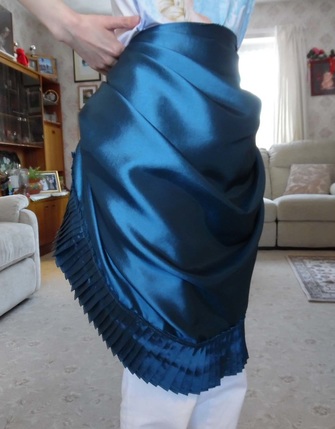
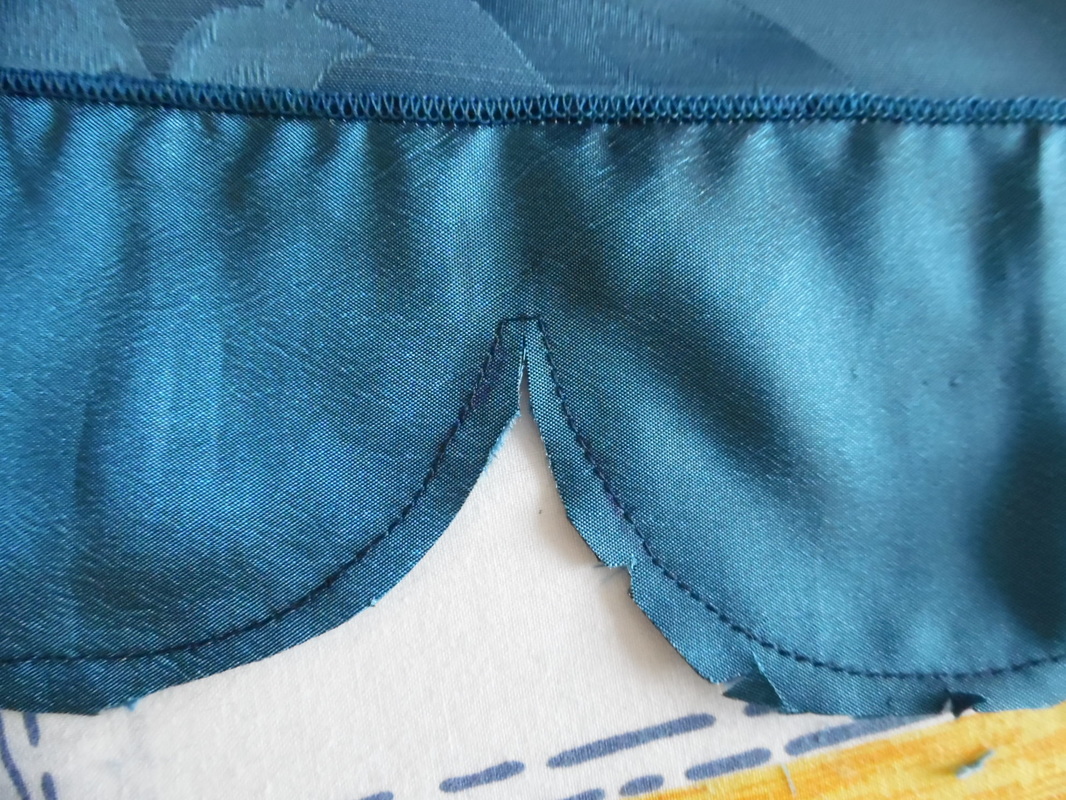
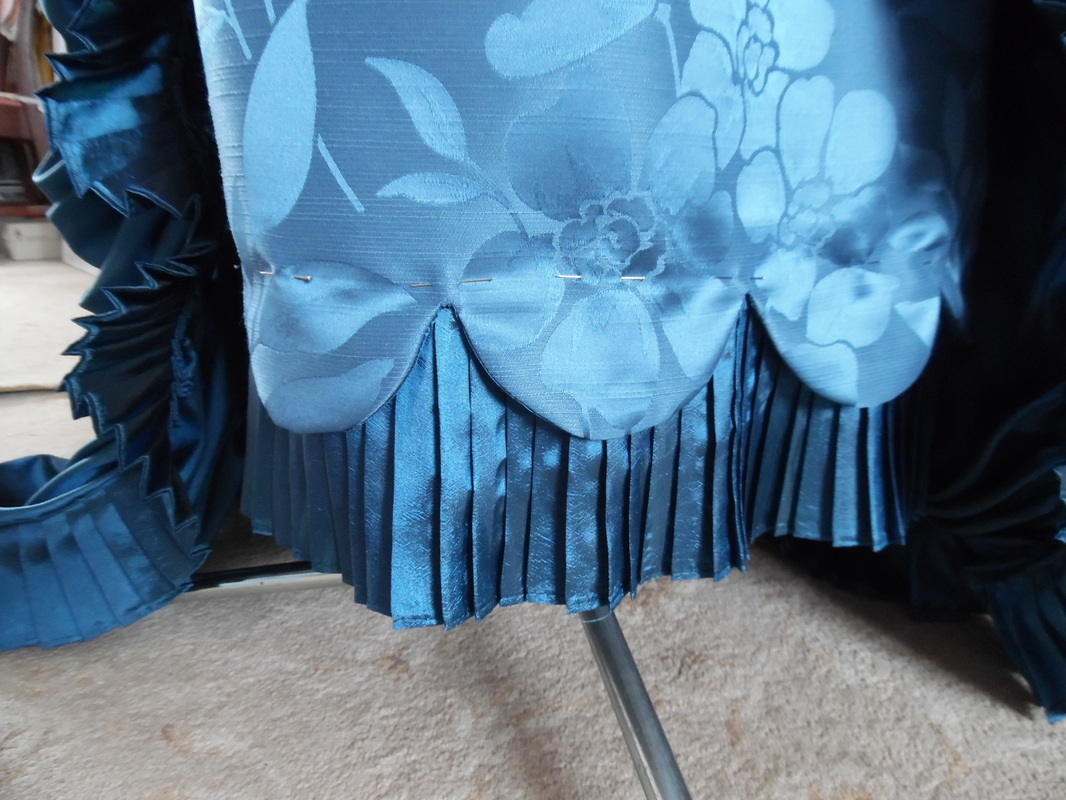
Cut a strip of fabric long enough to go around the hem, over lock one edge and pin in place.We chose to draw a semi circle approximately 12cm (which will reduce to 10cm once sewn). After sewing, clip the curves and into the "V".
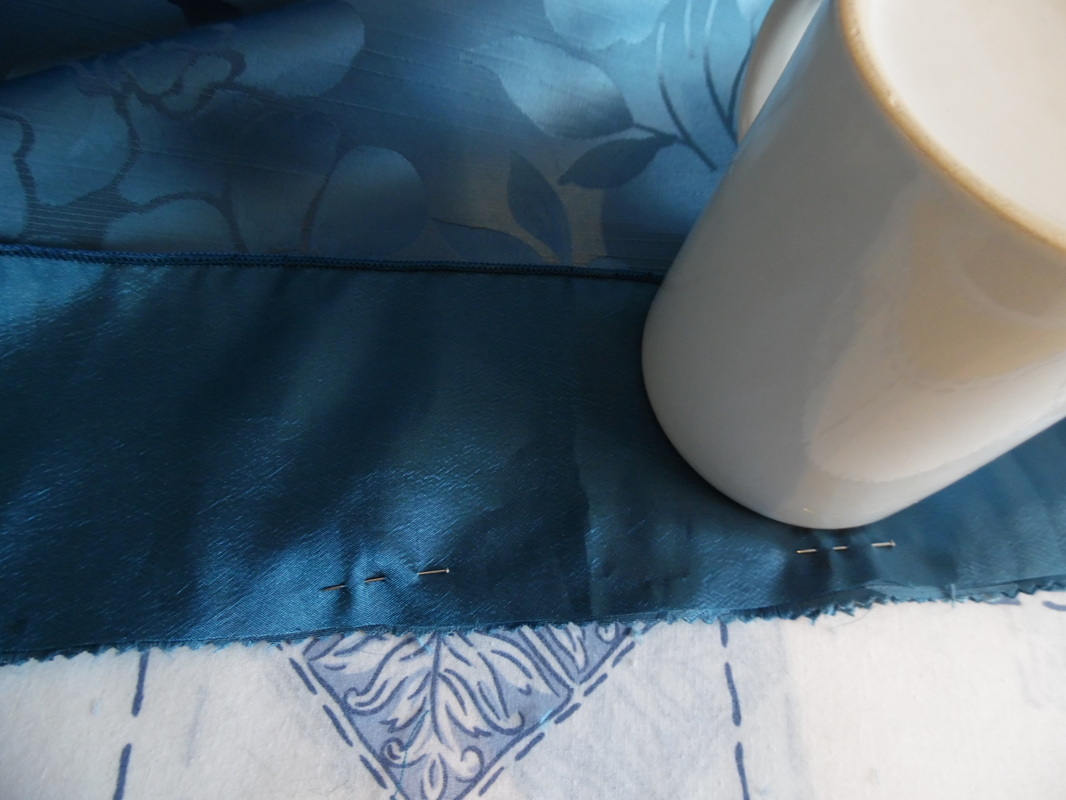
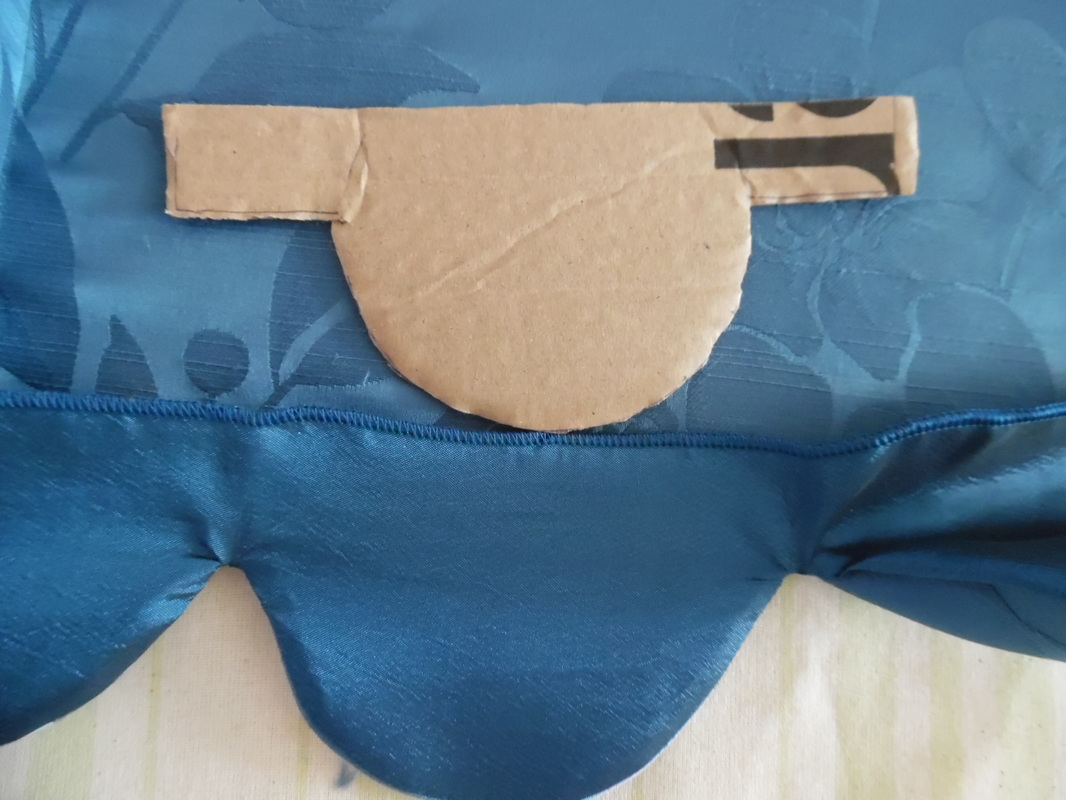
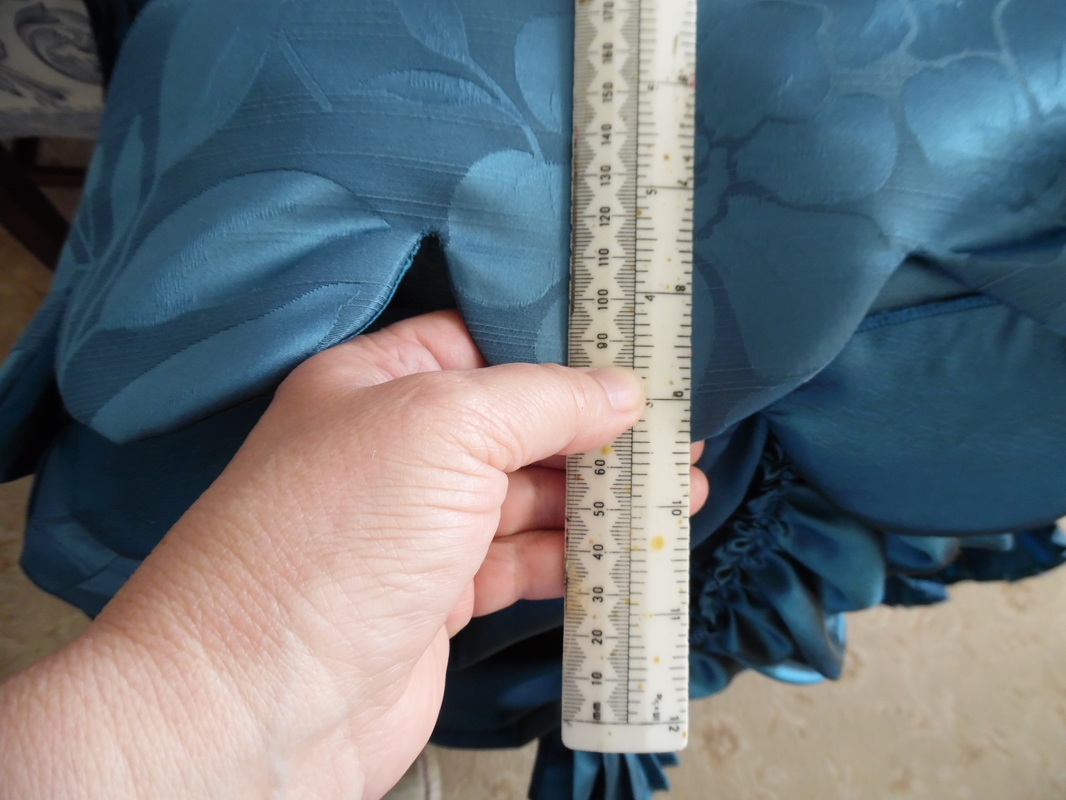
Cut a cardboard template of the finished scallop and slide this into the scallops, this helps push all the seams out for ironing. Next, place a ruler 2.1/2" (6cm) below the scallop and measure off, just above your finished scallop and add 2cm to the final measurement. This will be for the strip of pleating to go under the scalloped hem.
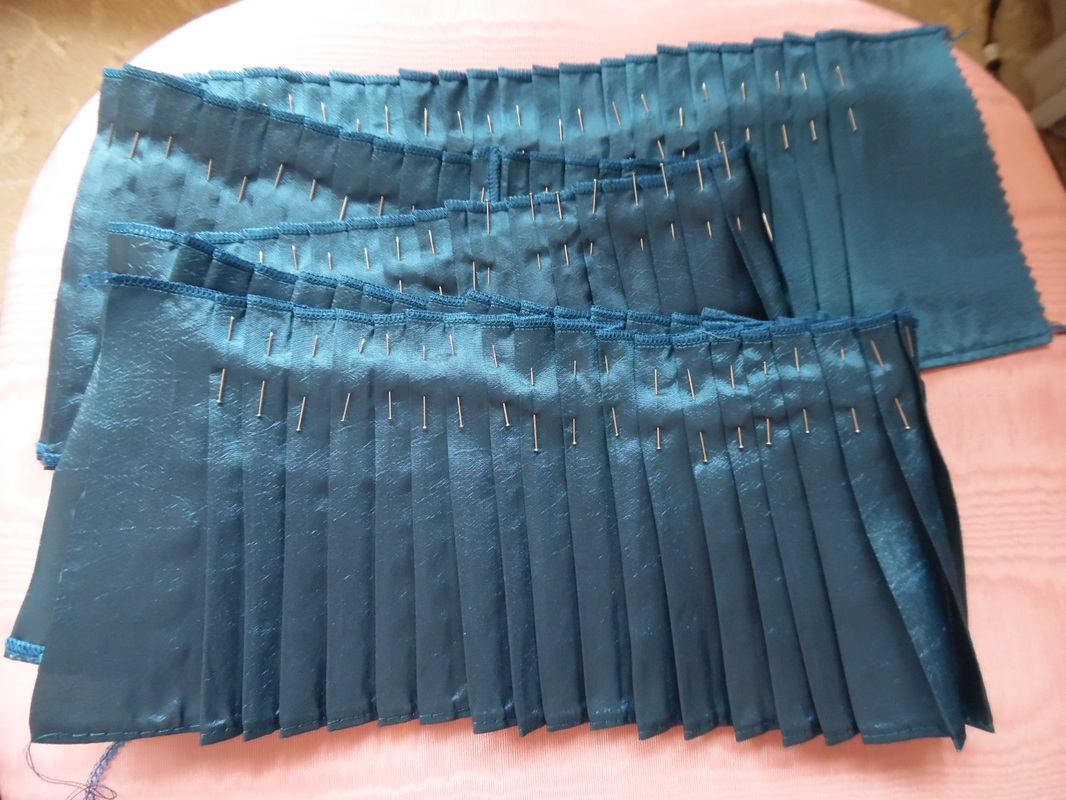
Run a sewing line across all the pleats and remove the pins. Pin the pleating to the bottom of the hem, this will then be hand sewn on the inside.
To make the Petticoat:
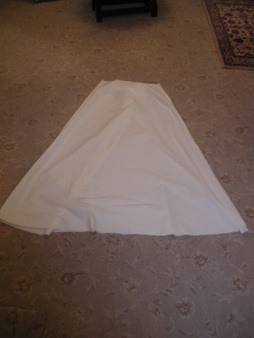
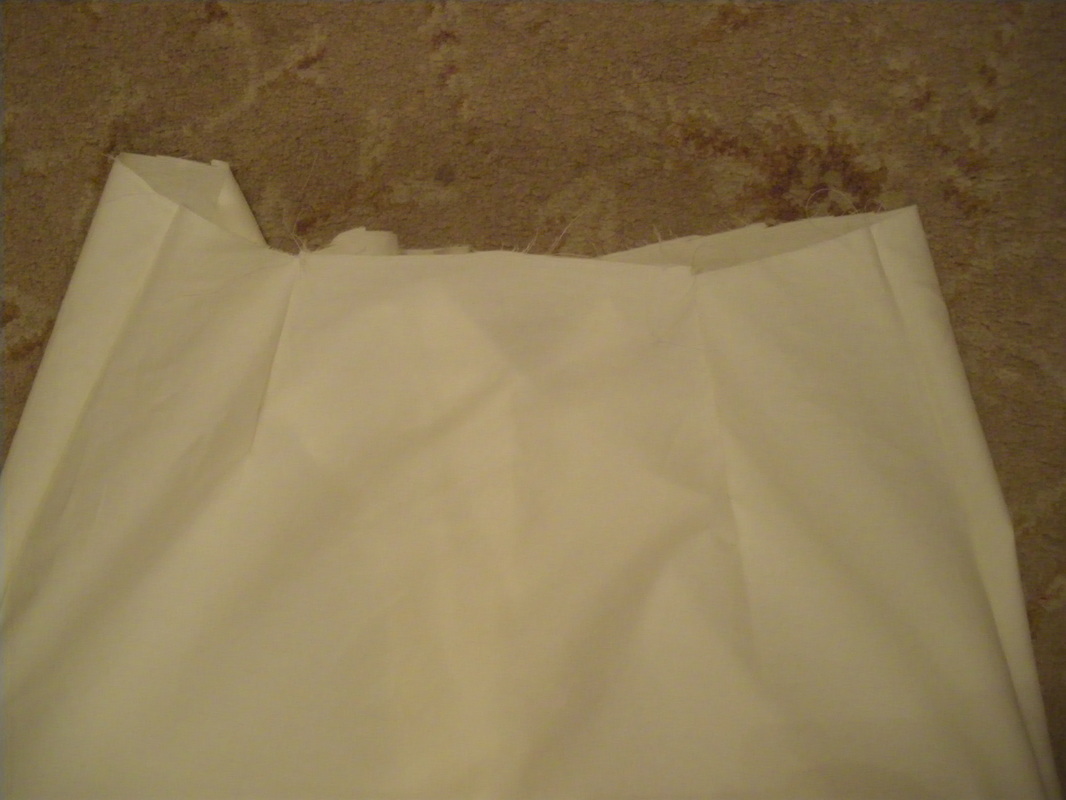
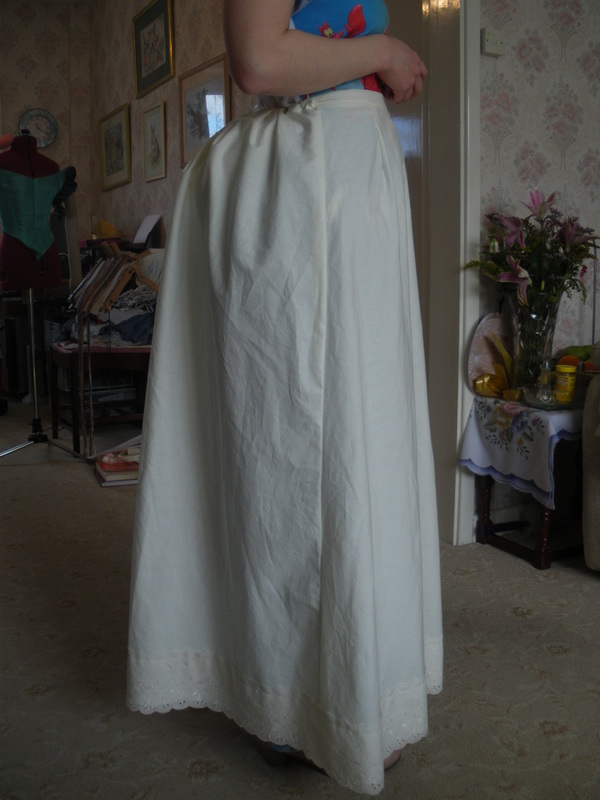
Using exactly the same pattern pieces as the skirt, sew in two darts at the front and sew up the side seams.
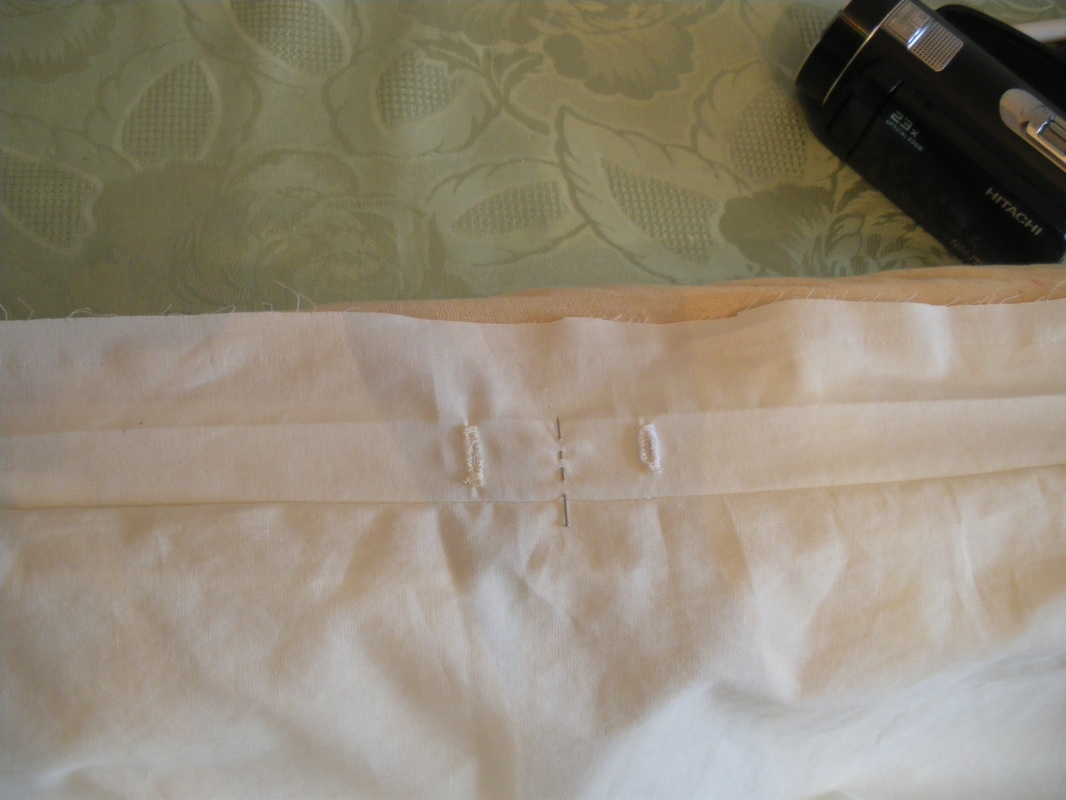
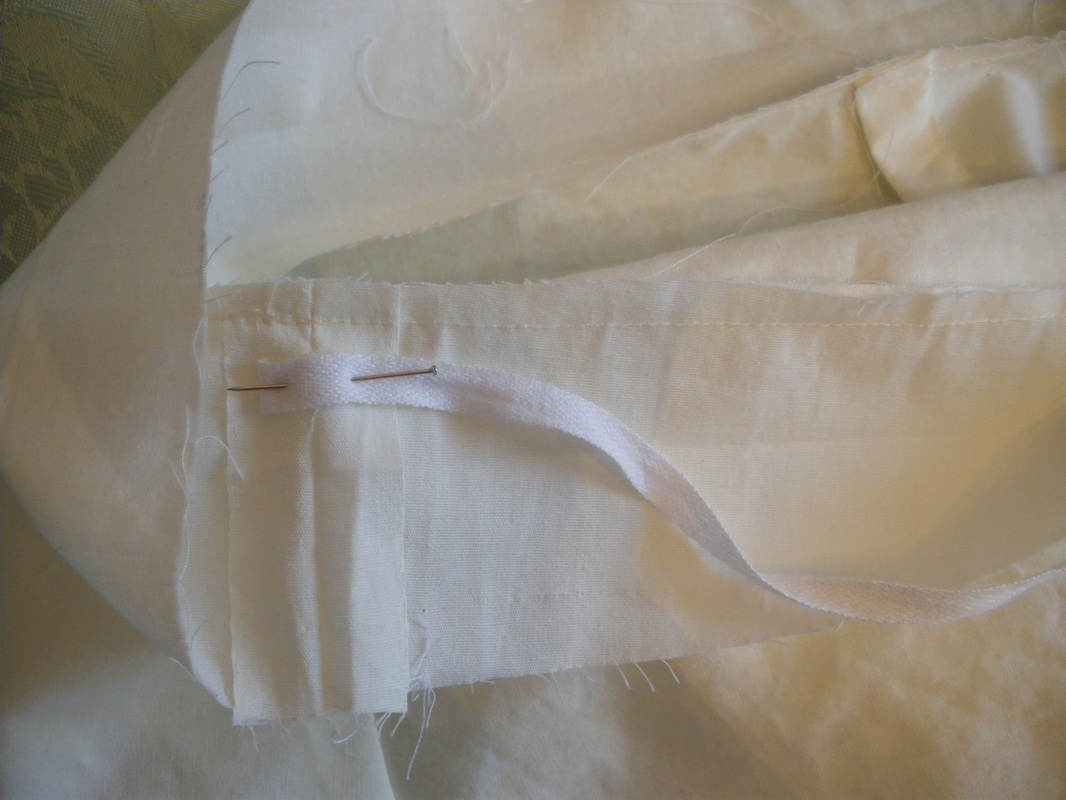
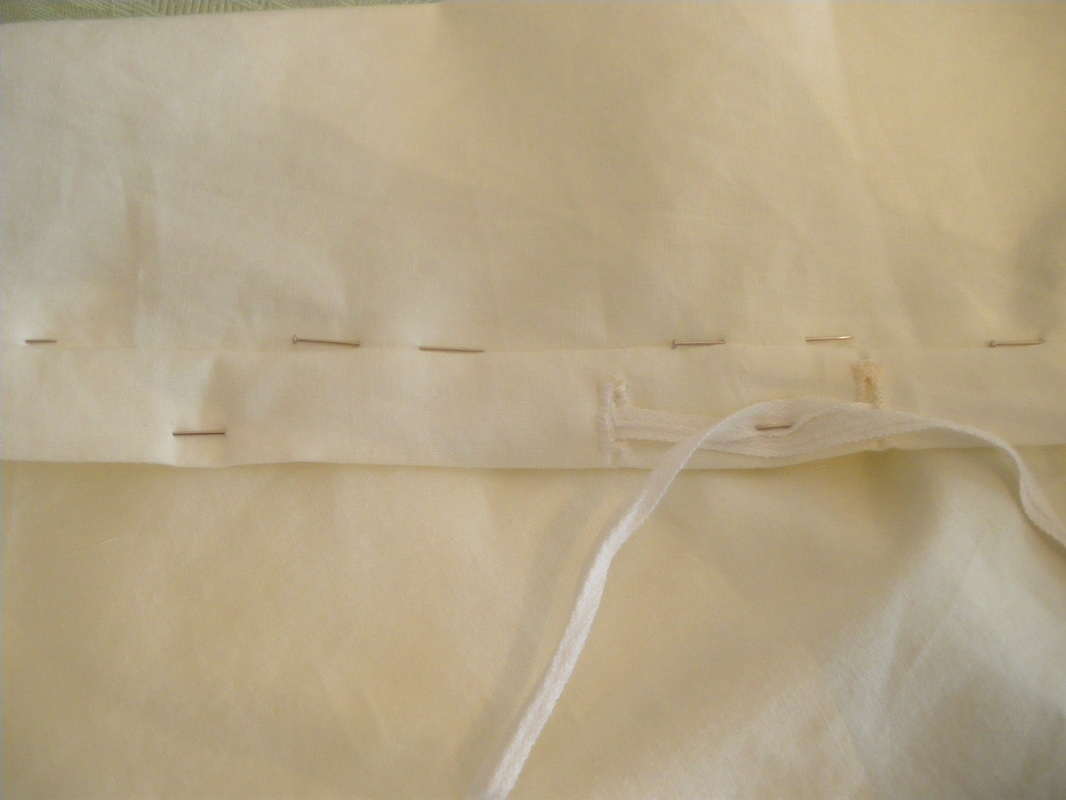
Cut a long strip of material for the waist band to fit the top edge. Fold the fabric in half and iron, attach waistband. 2cm on either side of centre back, make two buttonholes. Attach a piece of tape to the side seam, long enough to reach the button holes, plus a little extra.
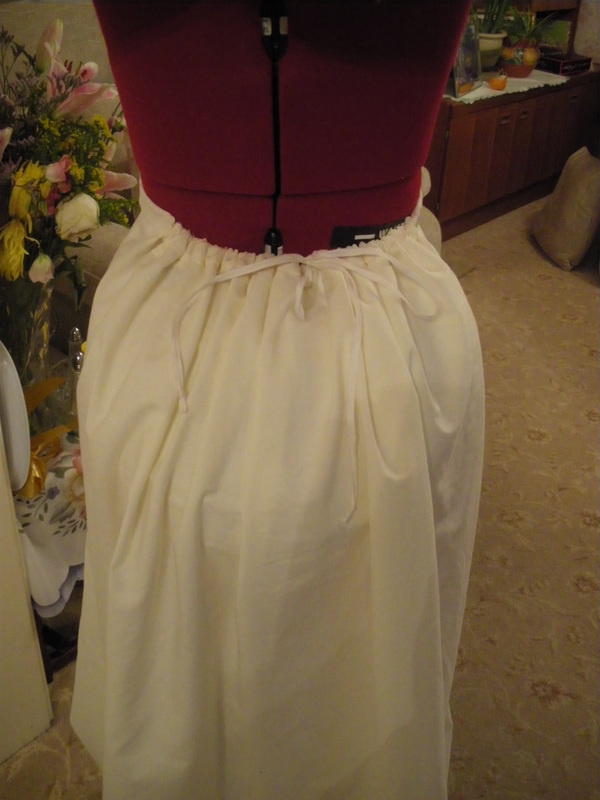
Thread each tape through a button hole, turn the waistband in half and either machine sew or hand sew the band in place, being careful not to catch the tape in the sewing. You should now be able to gather the back of your petticoat and tie with a bow. This is fitted over a "bum bag".
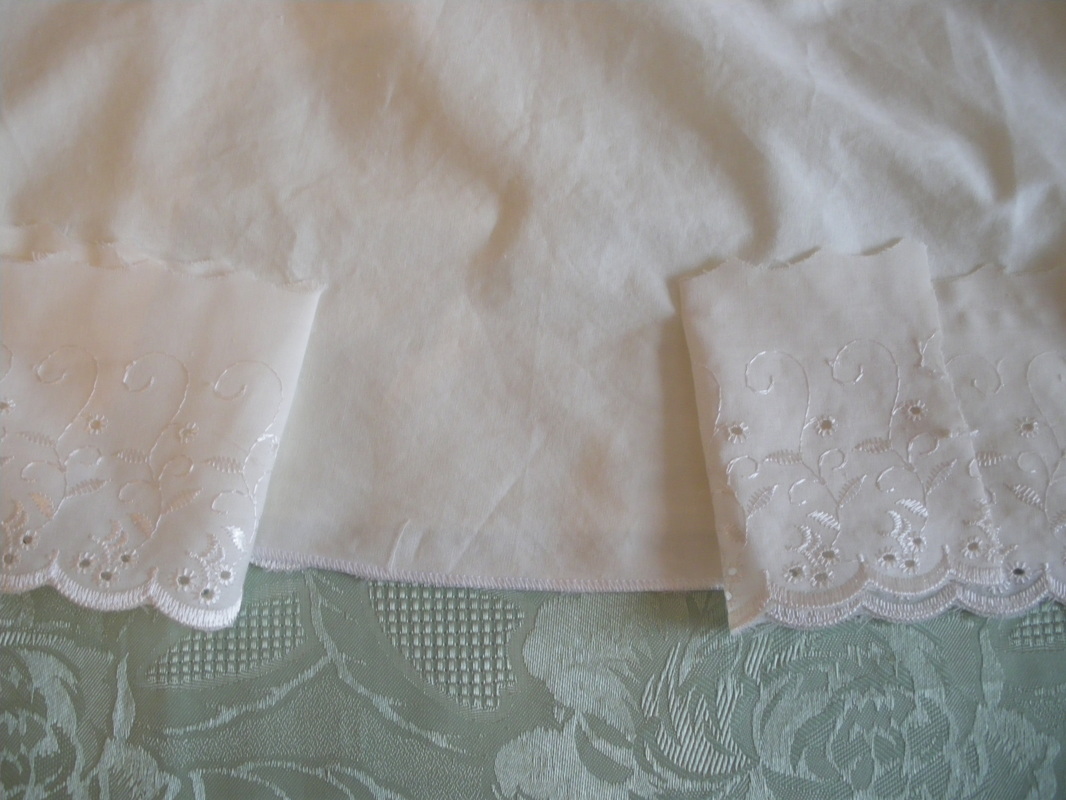
Using a lace of your choice, (straight or gathered), sew this onto the hem.
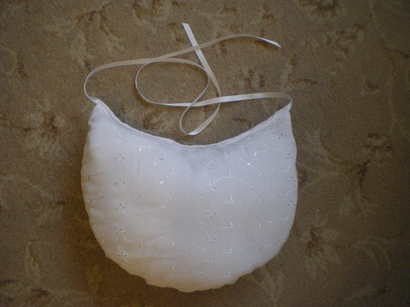
Underneath I am wearing a Bum Bag from another costume. This was made for Scarlett O'Hara's BBQ costume.
This completes the petticoat.
To Make The Bodice:
Underneath I am wearing a Bum Bag from another costume. This was made for Scarlett O'Hara's BBQ costume.
This completes the petticoat.
To Make The Bodice:
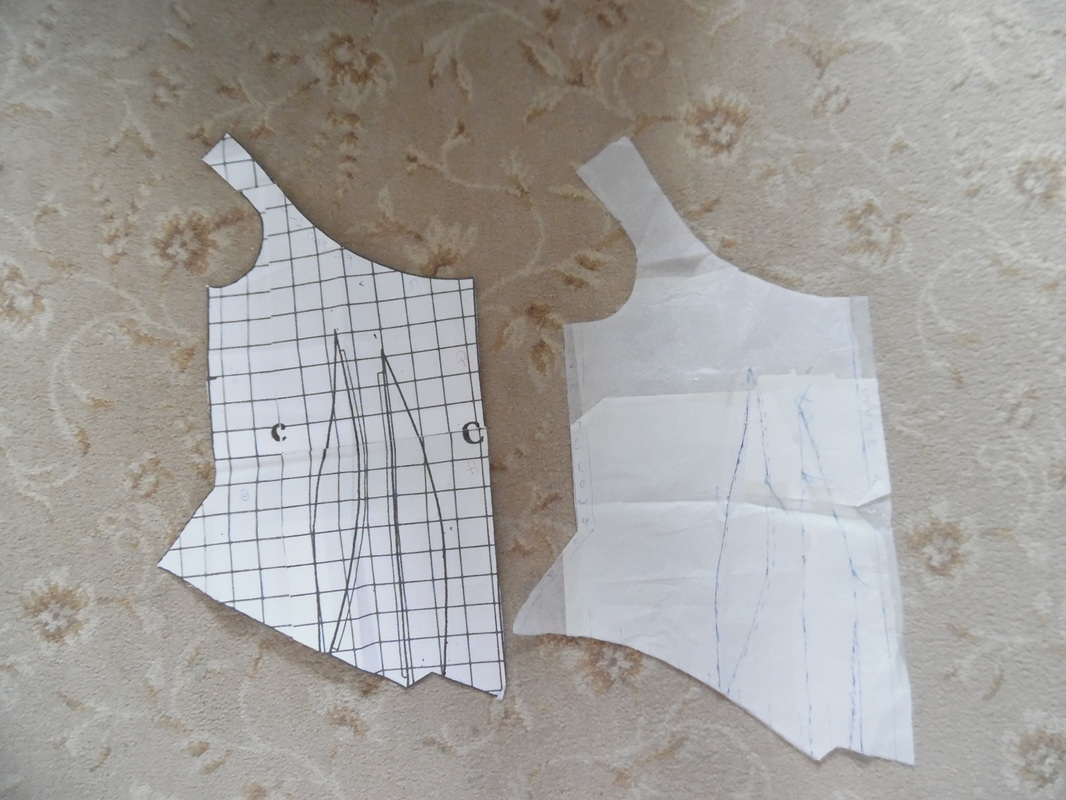
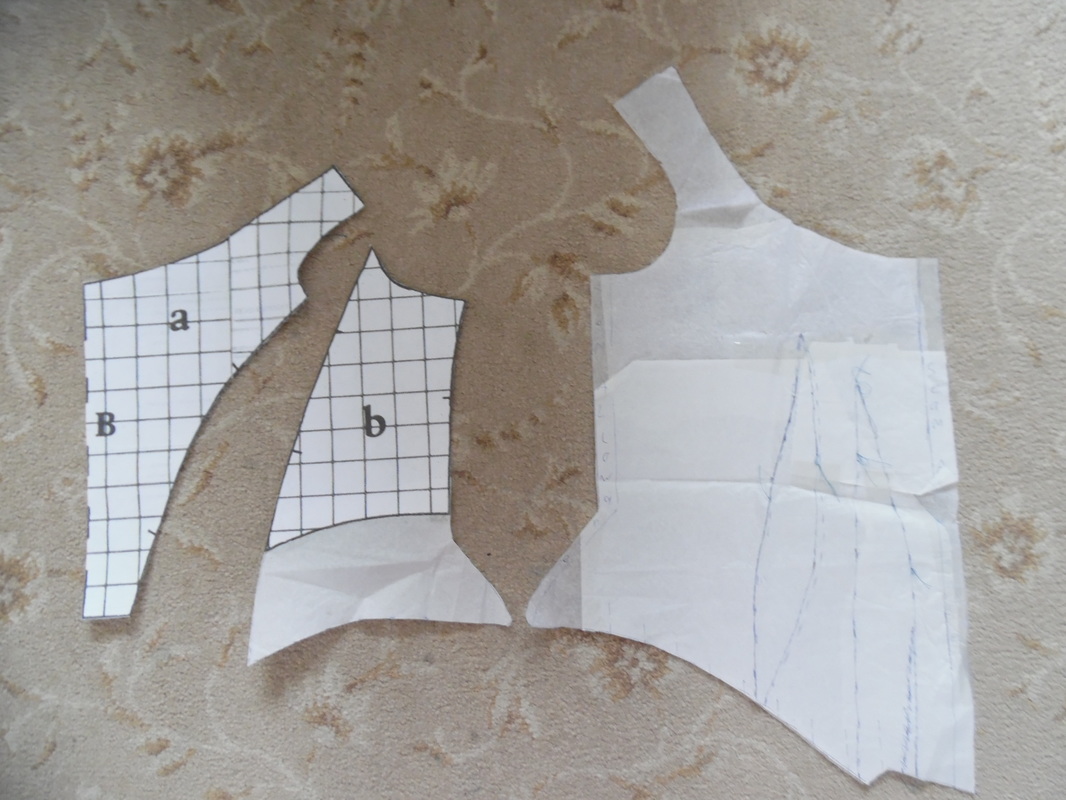
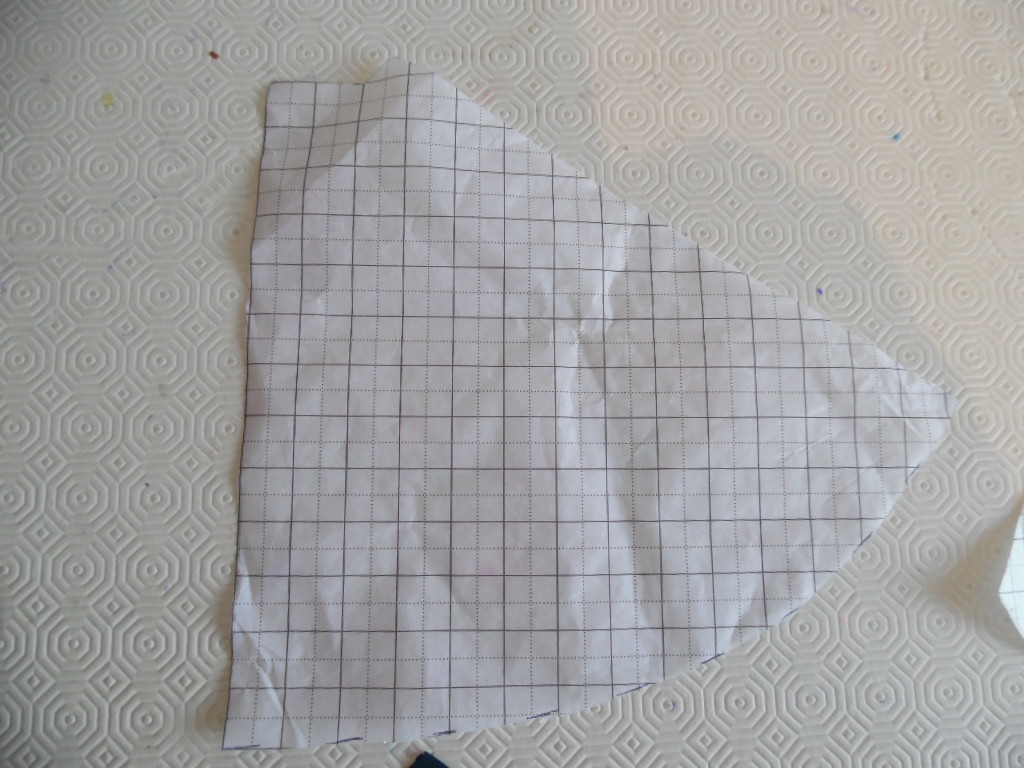
You may well have your own idea of what type of bodice you want to use, I copied this one from an old book for late victorian corsets and clothes. Mine has two darts at the front and two pieces for the back (although Claudia's dress, has 3 pieces at the back), this is entirely up to you. If you wish to copy these pieces, they are 1" squares and you will have to adjust the scale for yourself. This size will fit a size 8-10.
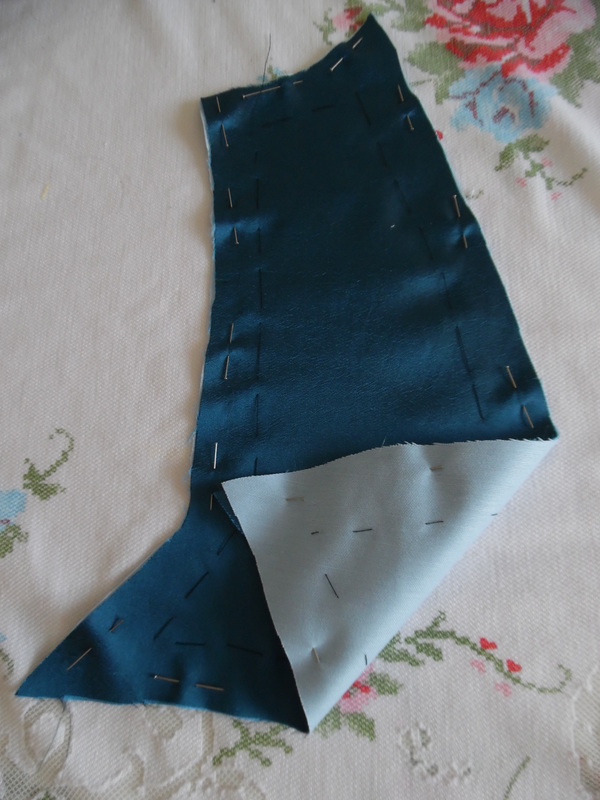
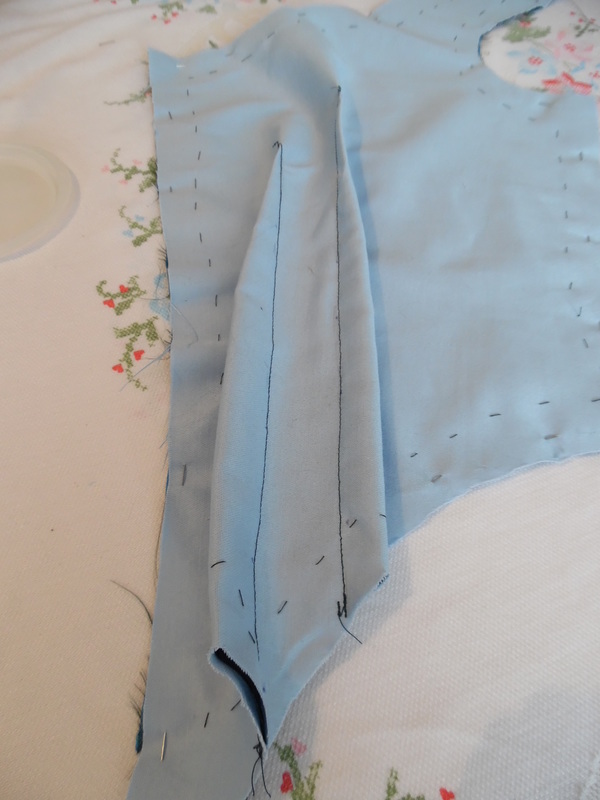
Each piece is mounted on a cotton lining and the darts sewn.
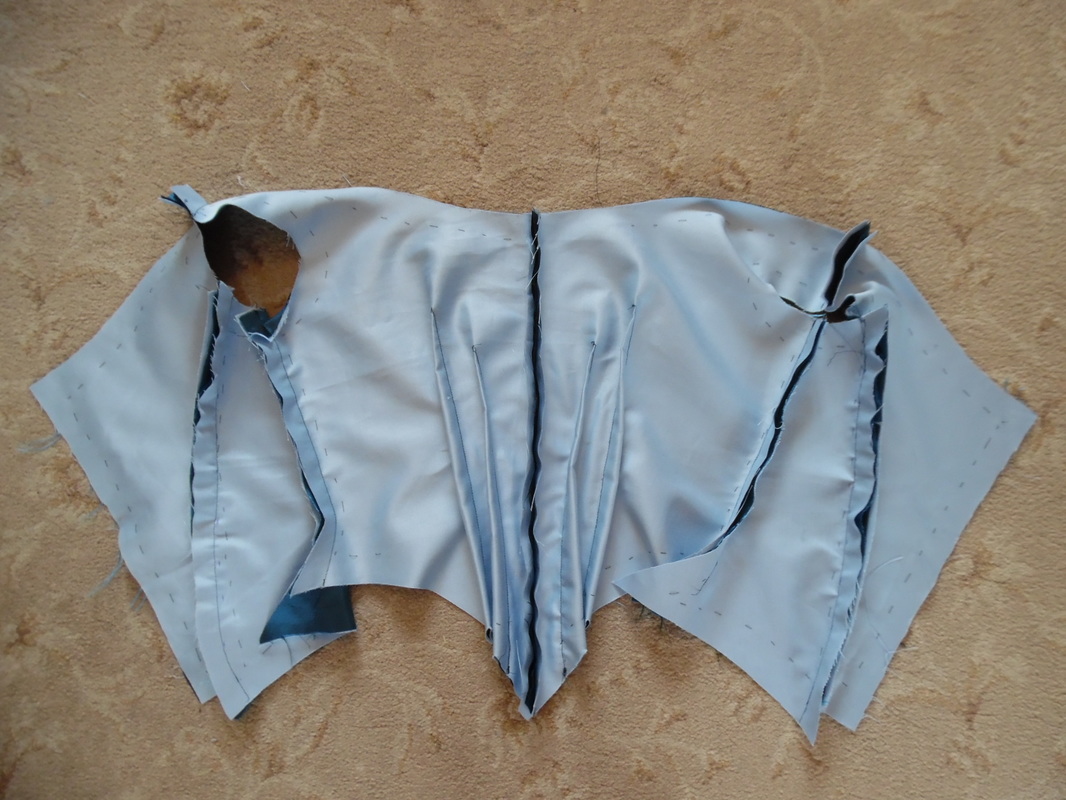
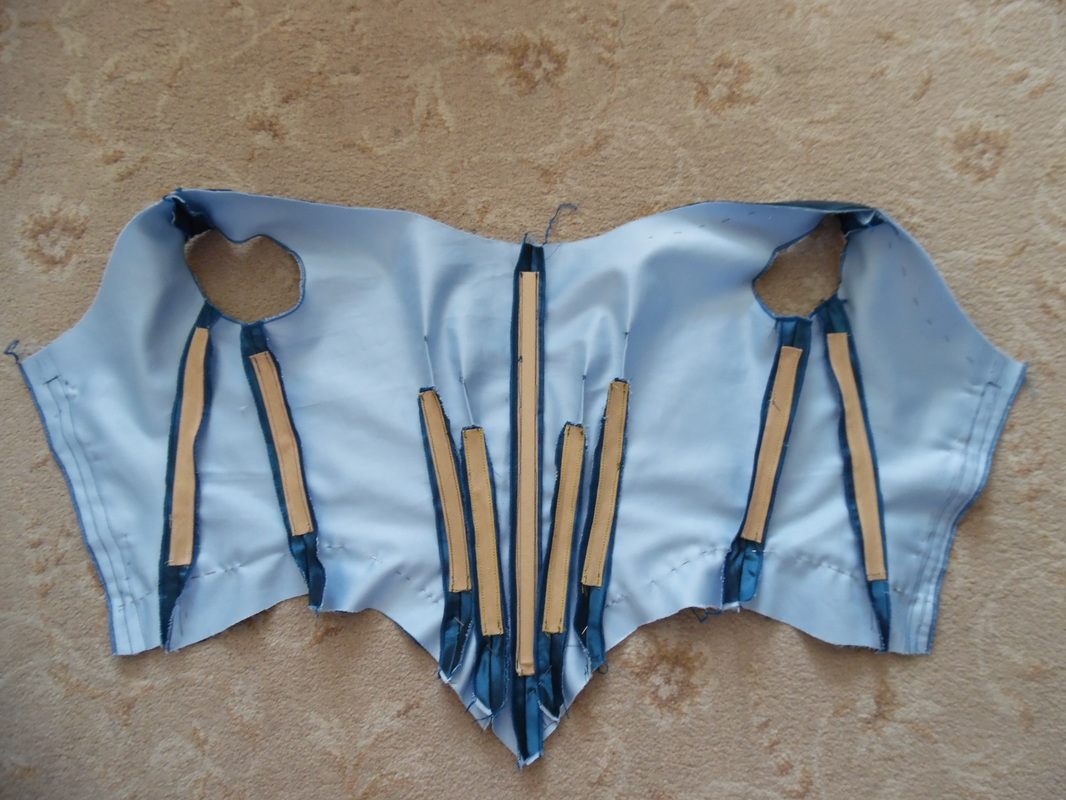
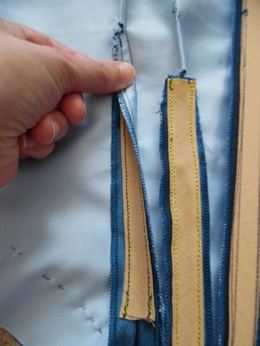
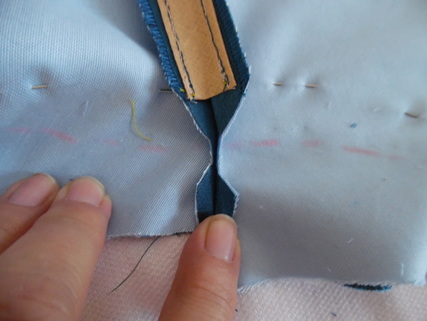
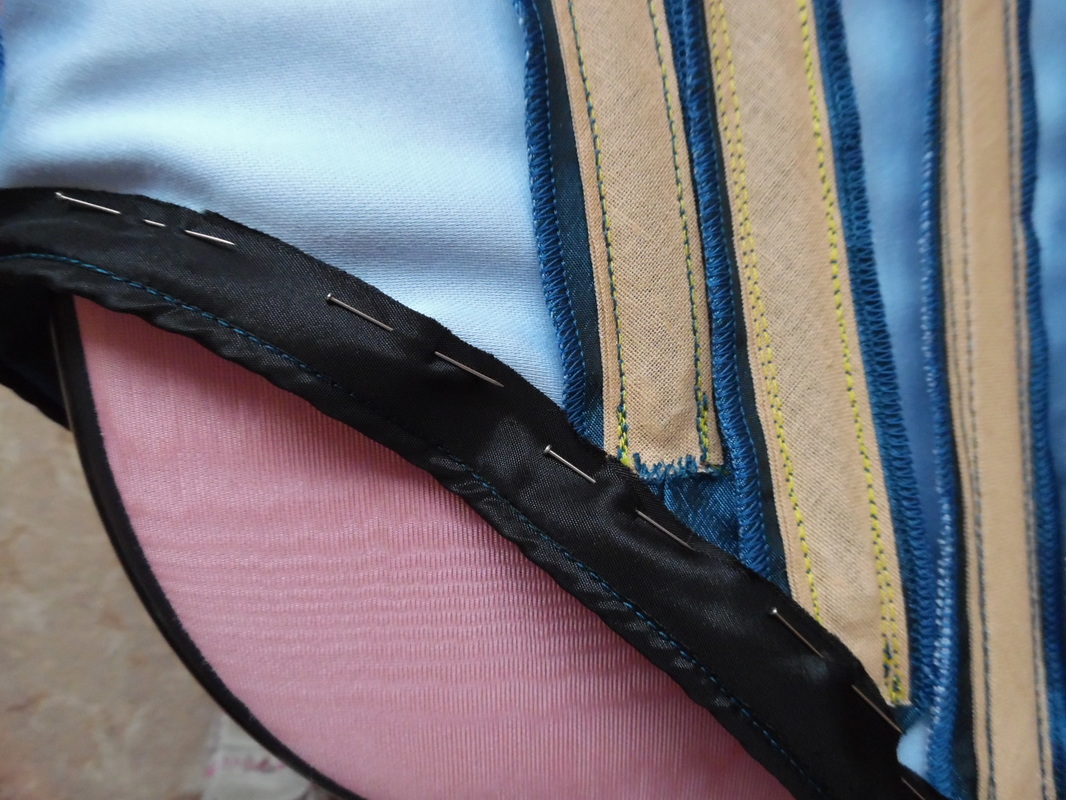
Pin and tack all the pieces together and do a trial fit, changing any seams as necessary. I used bias binding to make my boning channels.
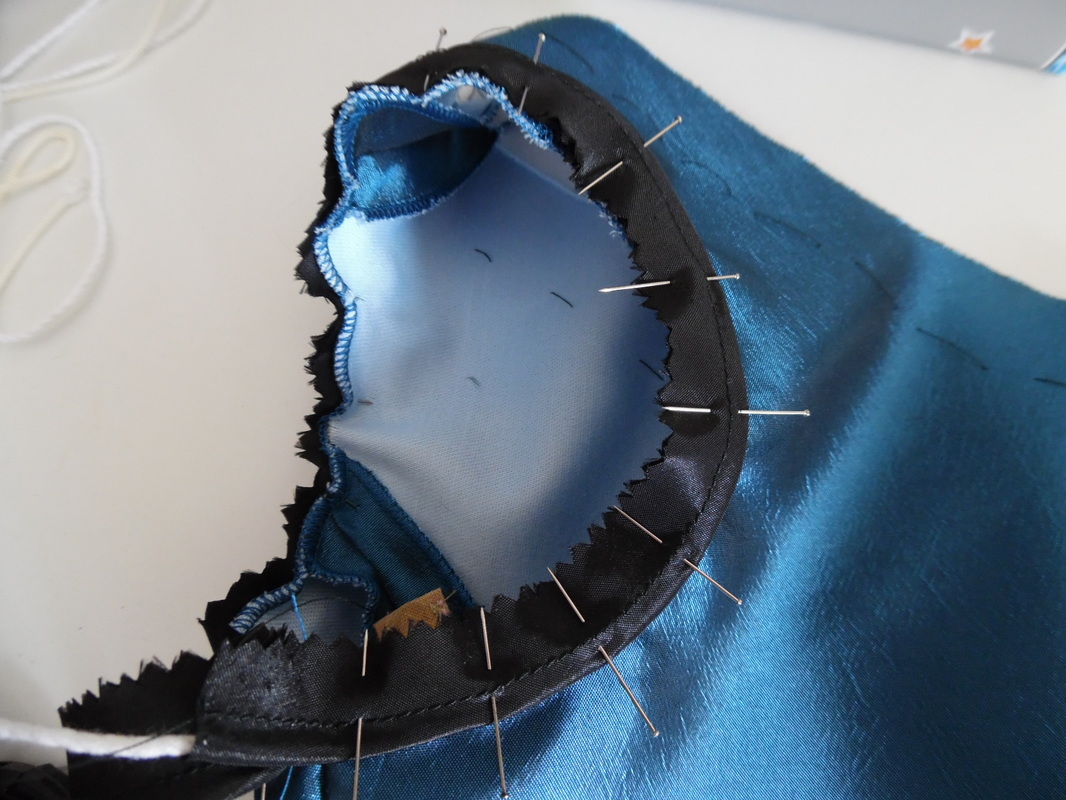
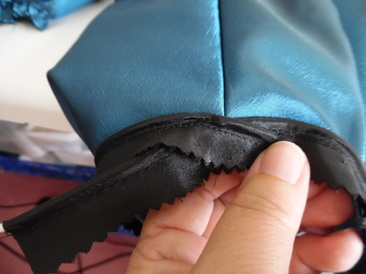
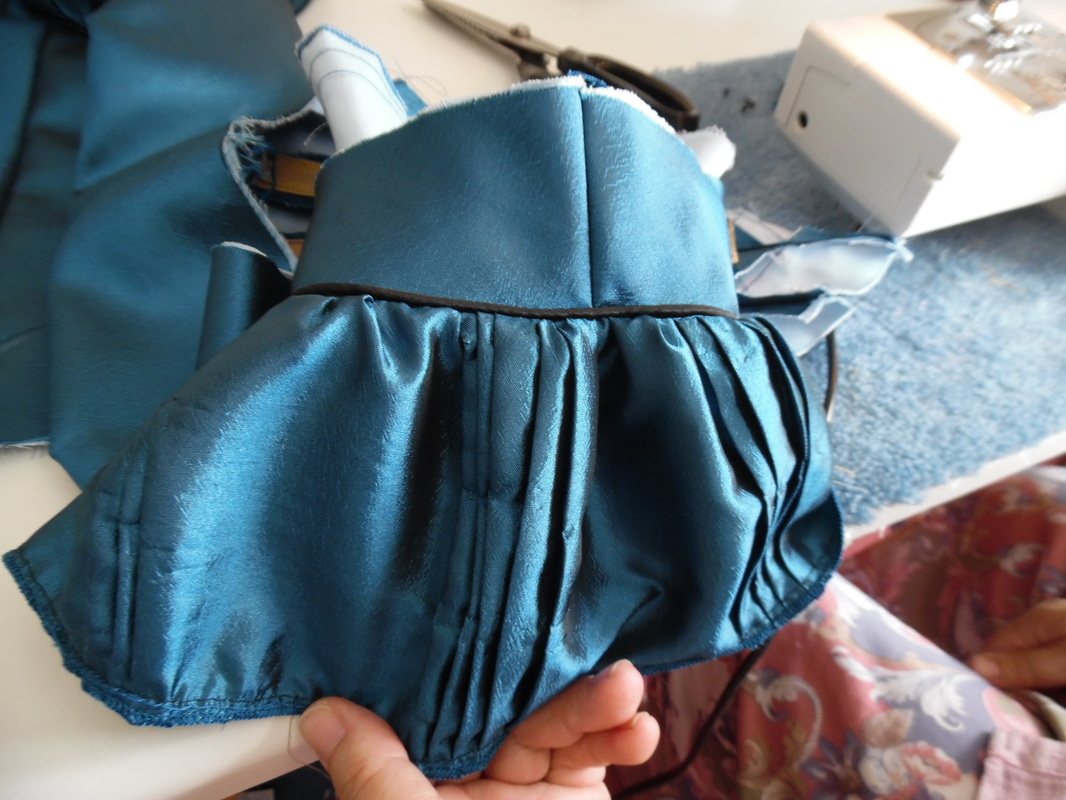
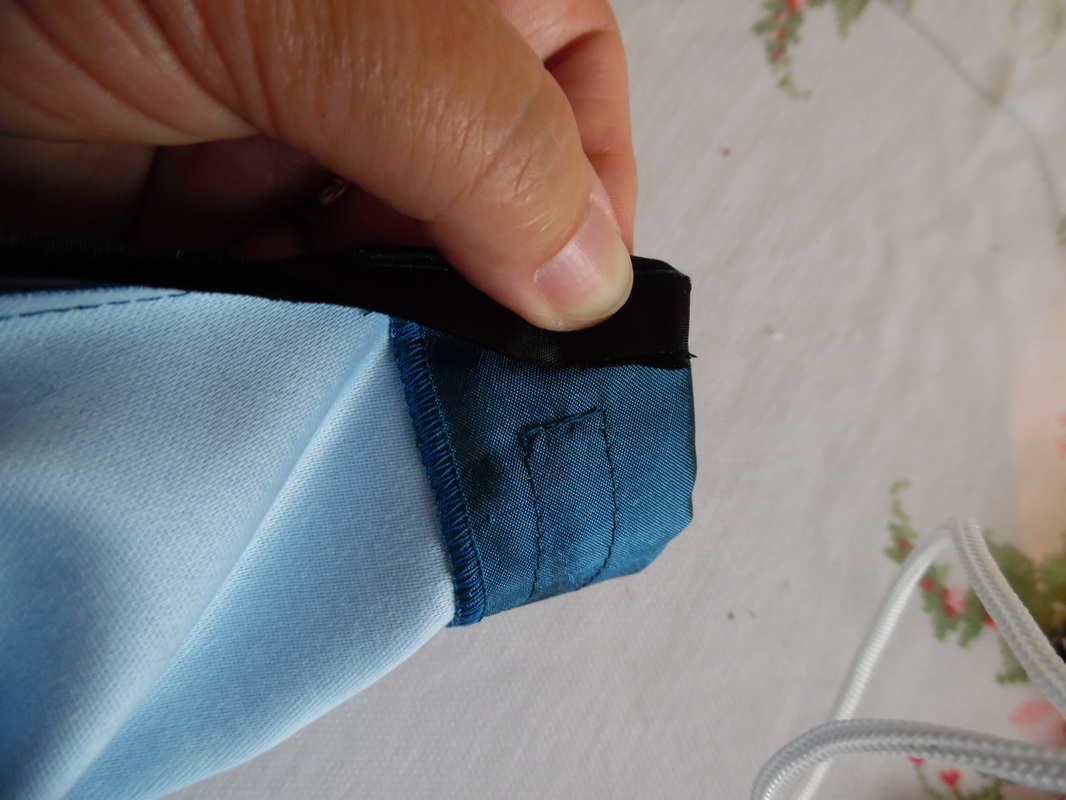
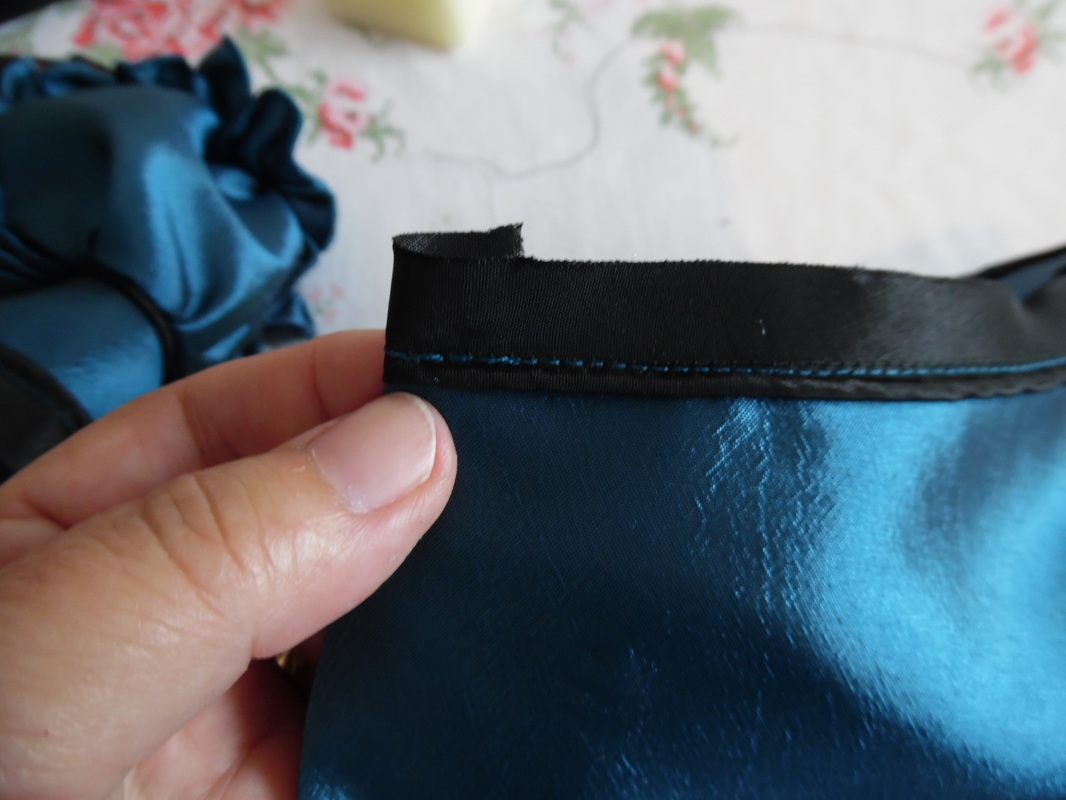
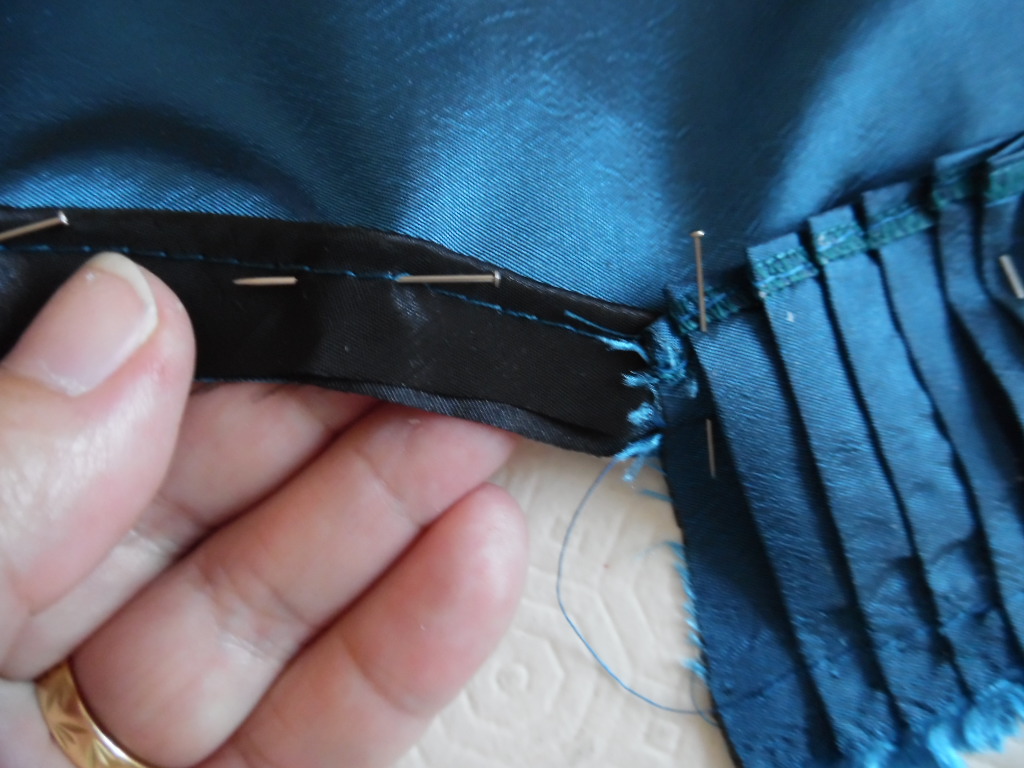
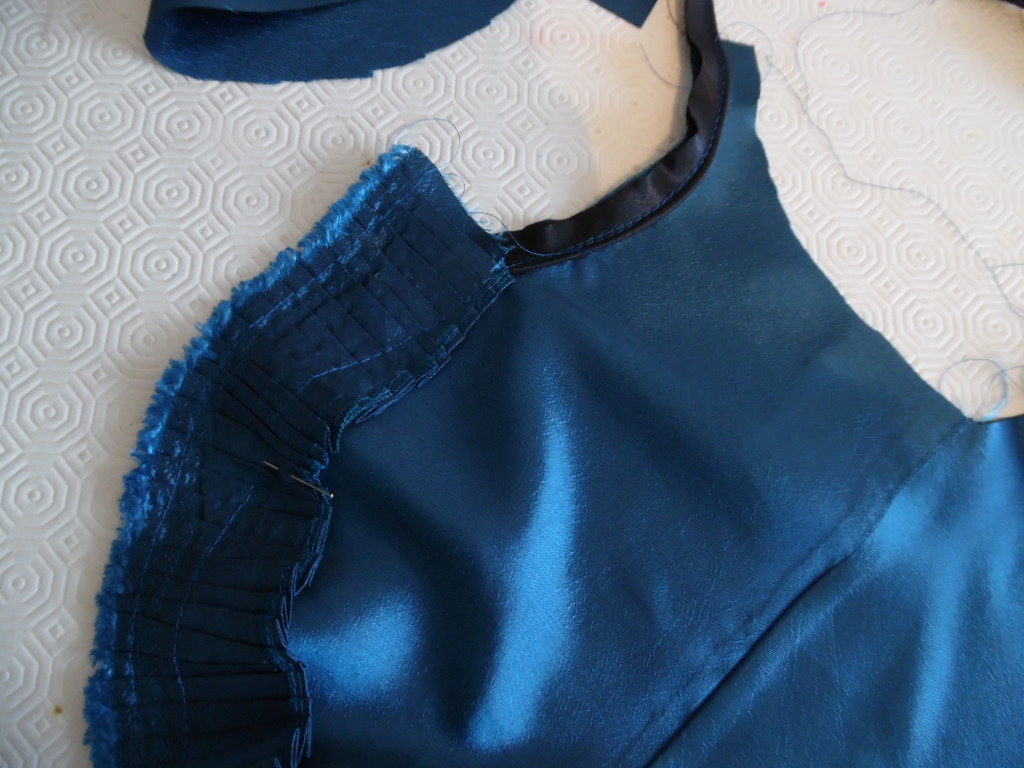
Make enough piping from black Taffeta to go around the sleeve opening, pin and sew in place, overlapping the piping at the bottom seam.
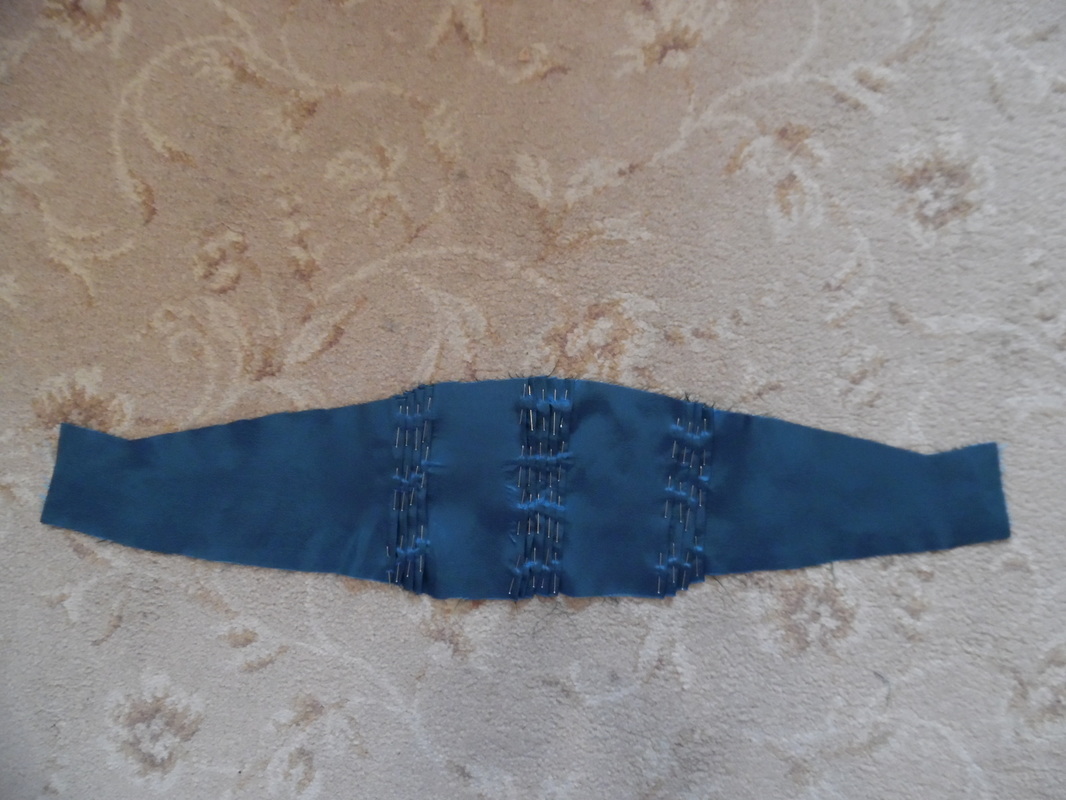
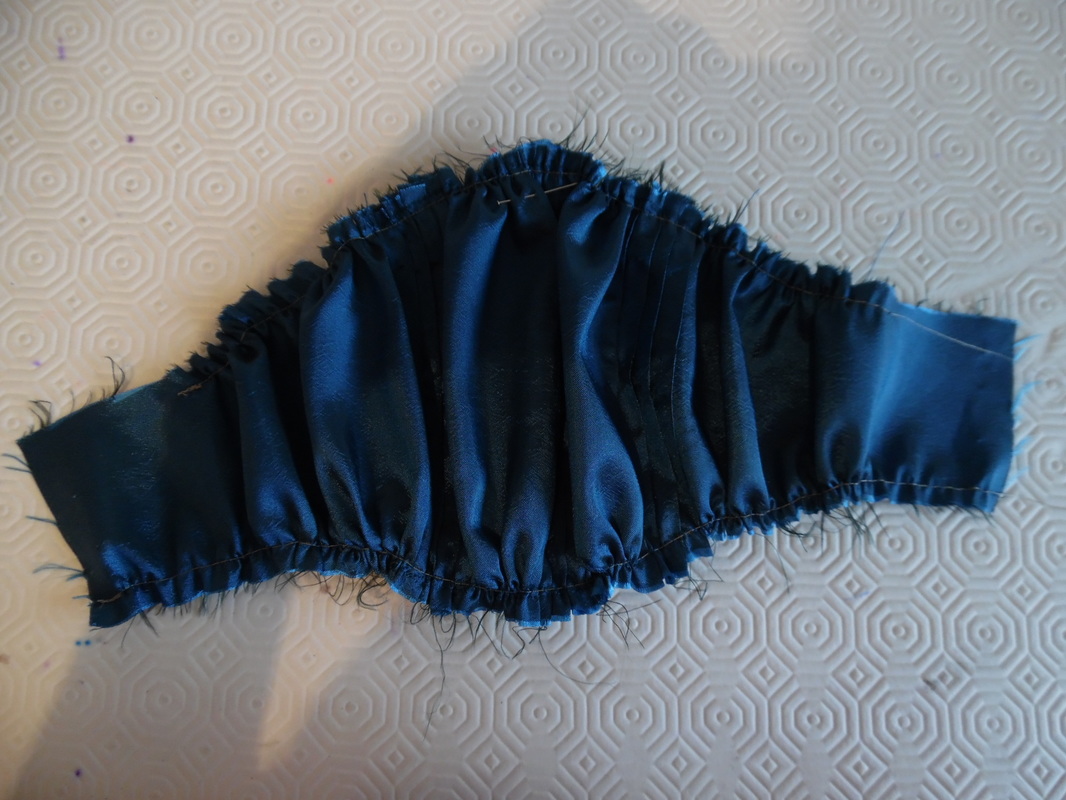
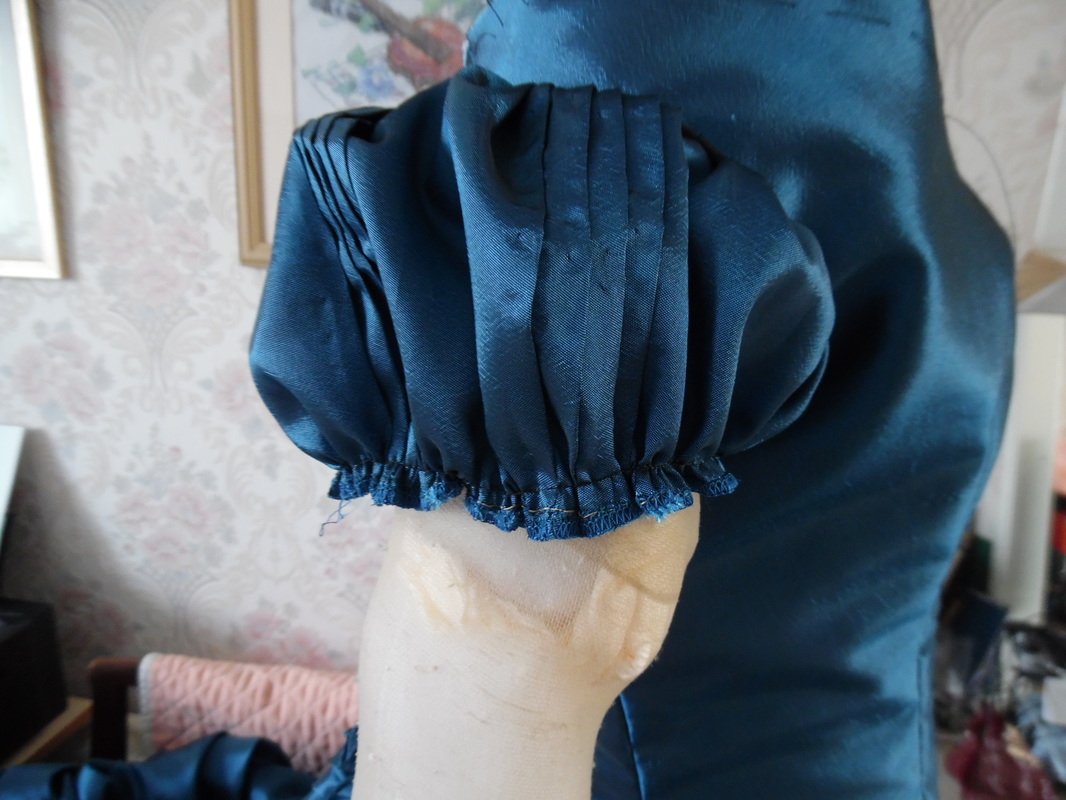
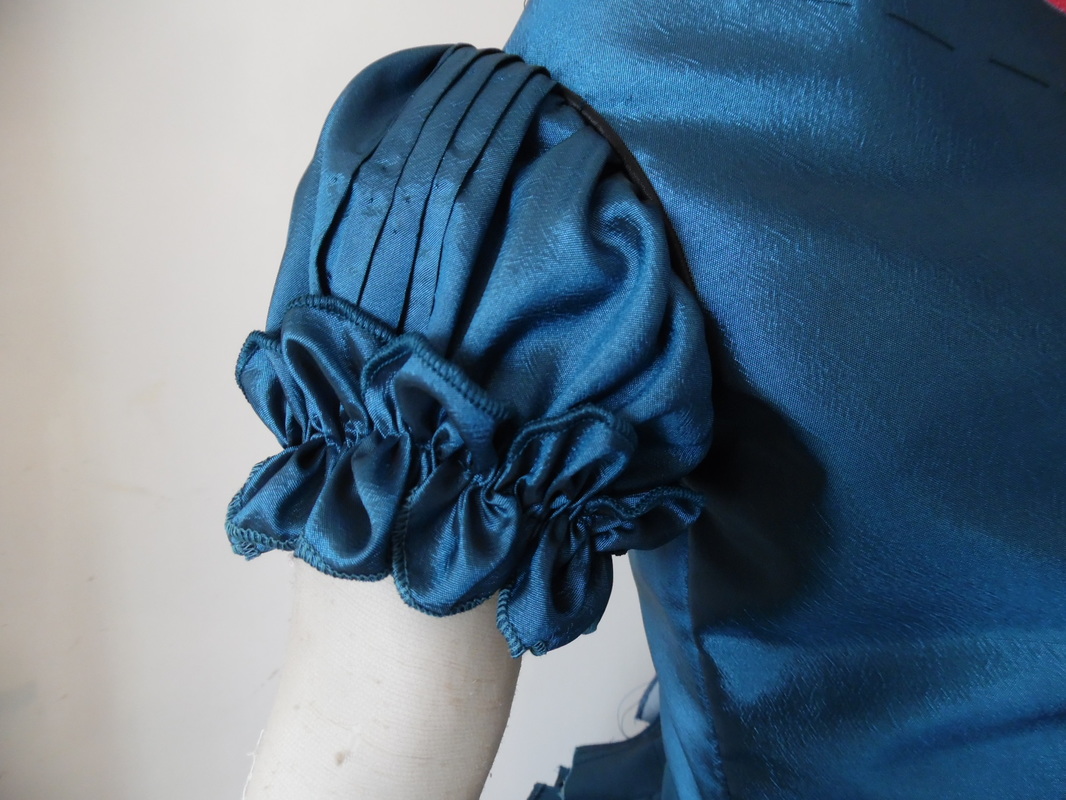
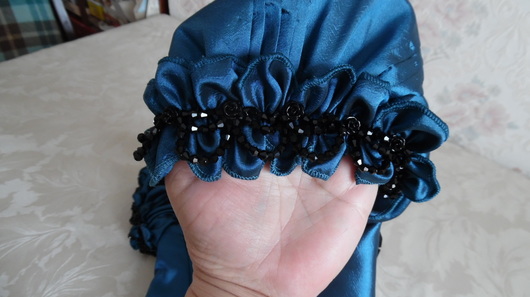
At approximately 1/3rd intervals, put in 4/5 small pleats, sew them down top and bottom, run a gathering stitch across the top and bottom of the sleeve, then close the side seams.
Sandwich the piping in between and sew in the sleeve.
Make some more trim to create double scallops and hand sew to the edge of the sleeve.
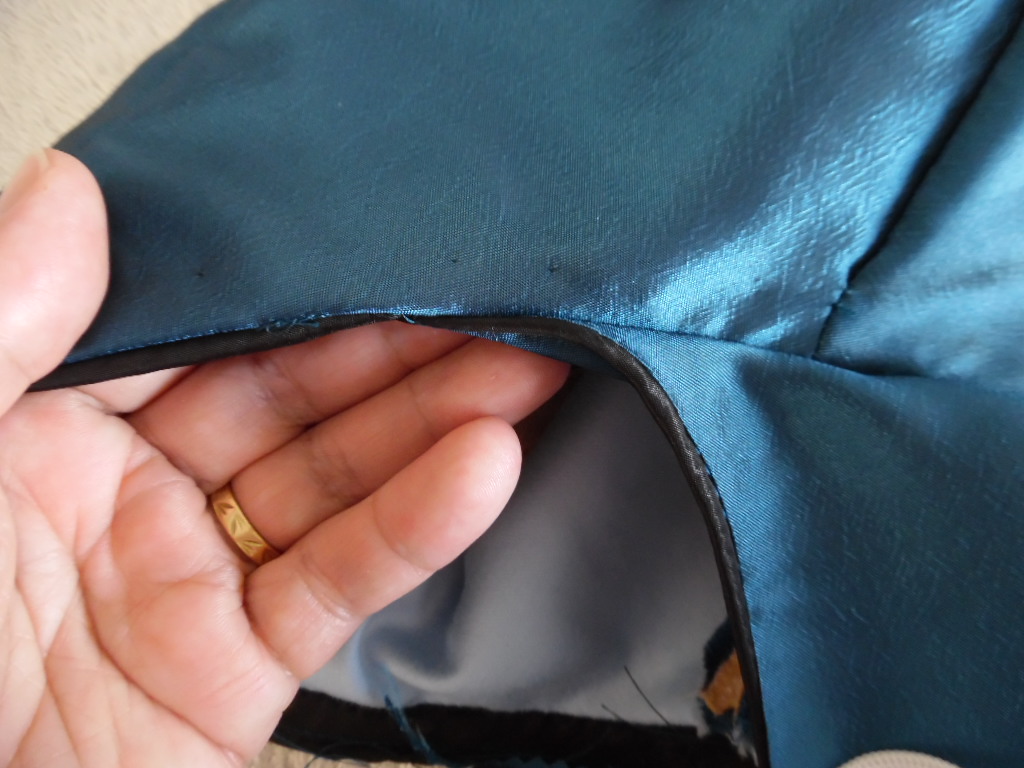
Turn in the back seam of the bodice so that you have a 2" (5cm) overlap at the centre back. Make enough piping to go around the top edge of the bodice with a 1" (2cm) overlap. Sew the piping in place, turn in the piping at the ends, turn the piping to the inside and hand stitch in place.
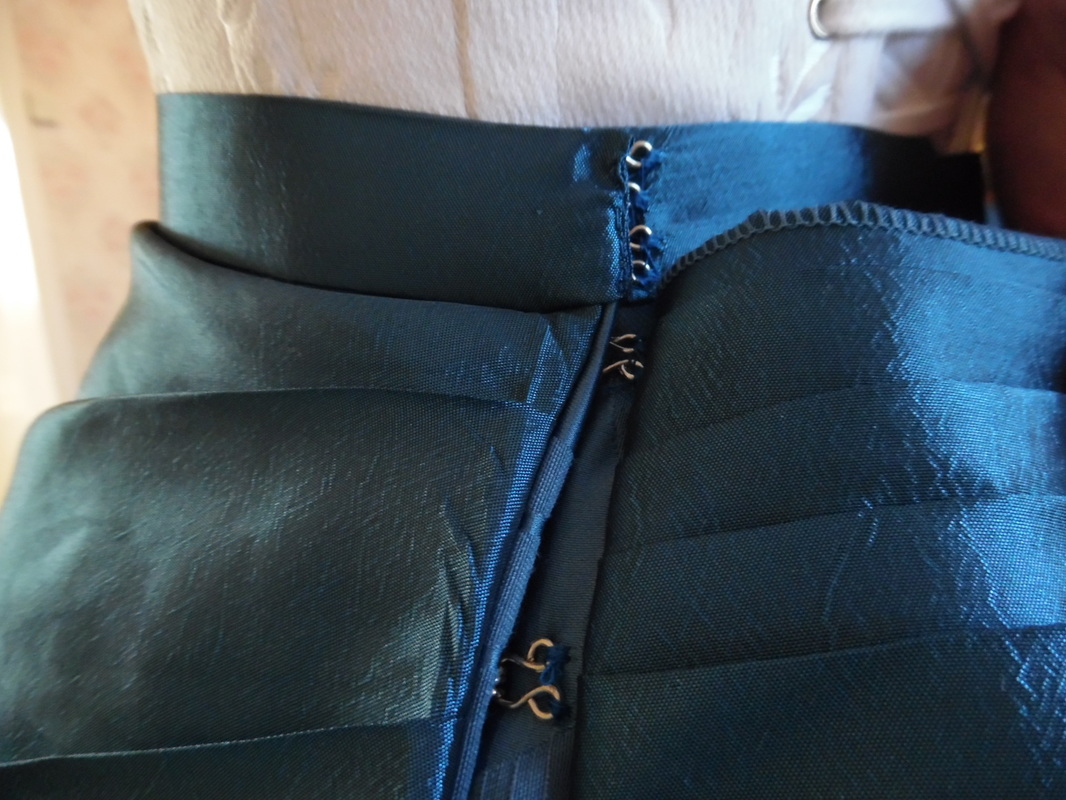
Do exactly the same for the bottom of the bodice. Sew on hooks and eyes at the back opening. I decided to use hooks and hand sewn bars. To make the bars, see this link:
http://www.craftsy.com/blog/2015/02/sewing-hooks-and-eyes/
http://www.craftsy.com/blog/2015/02/sewing-hooks-and-eyes/
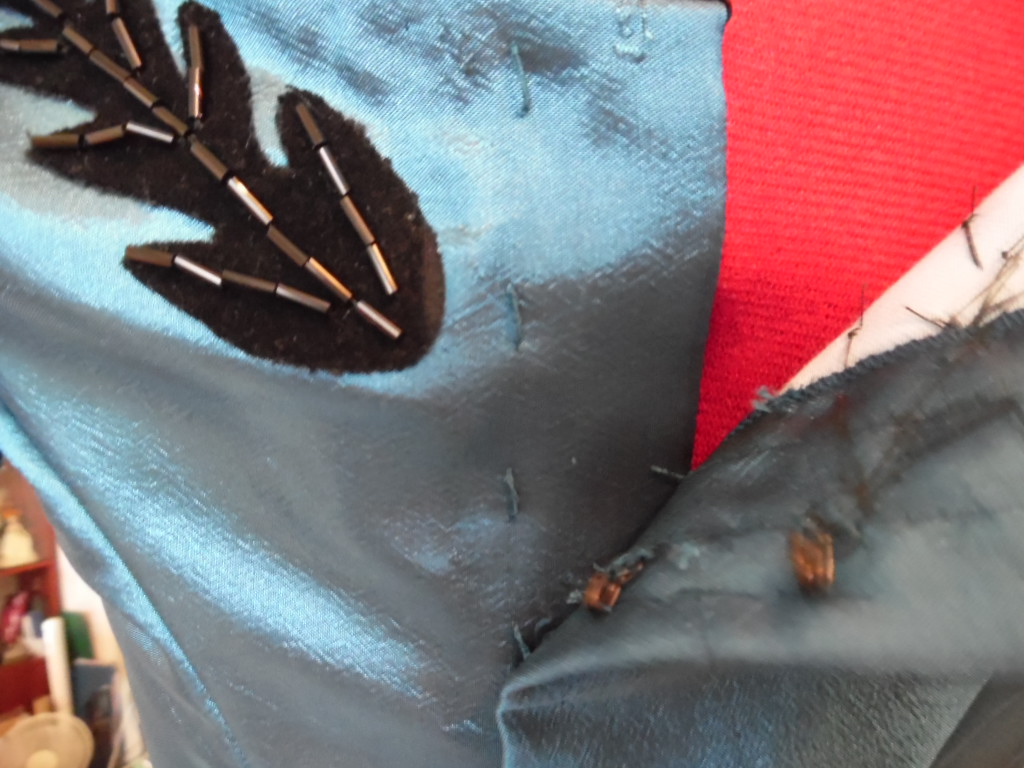
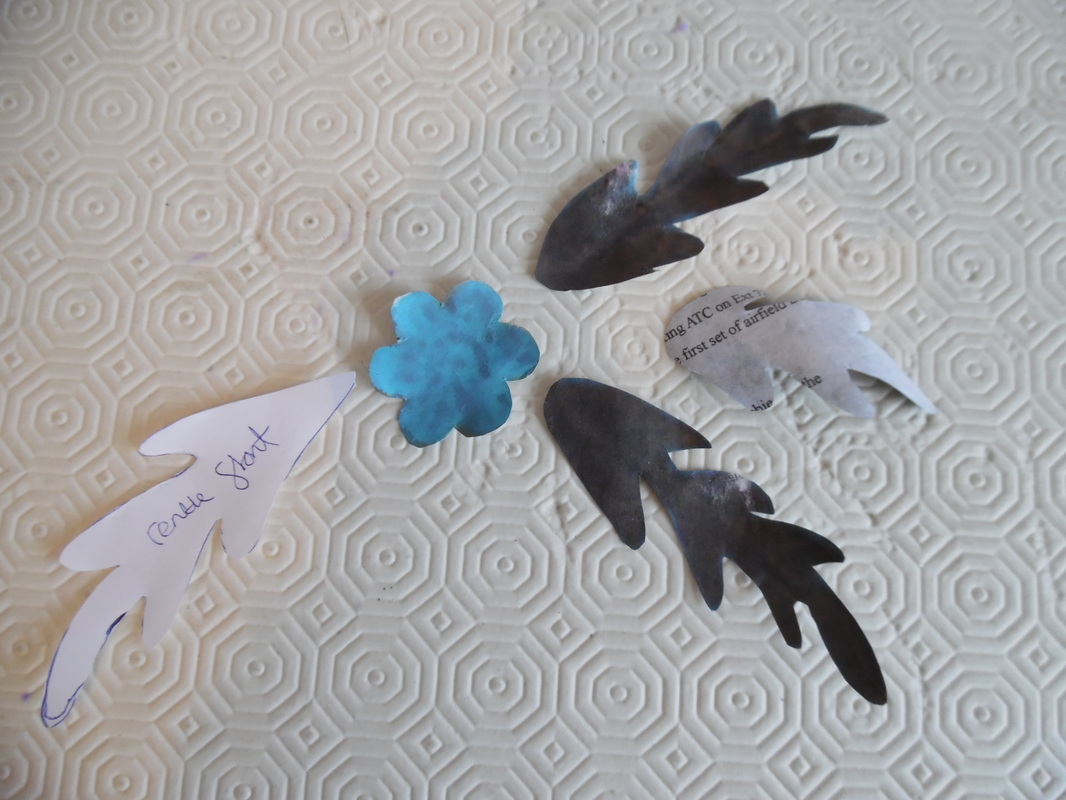
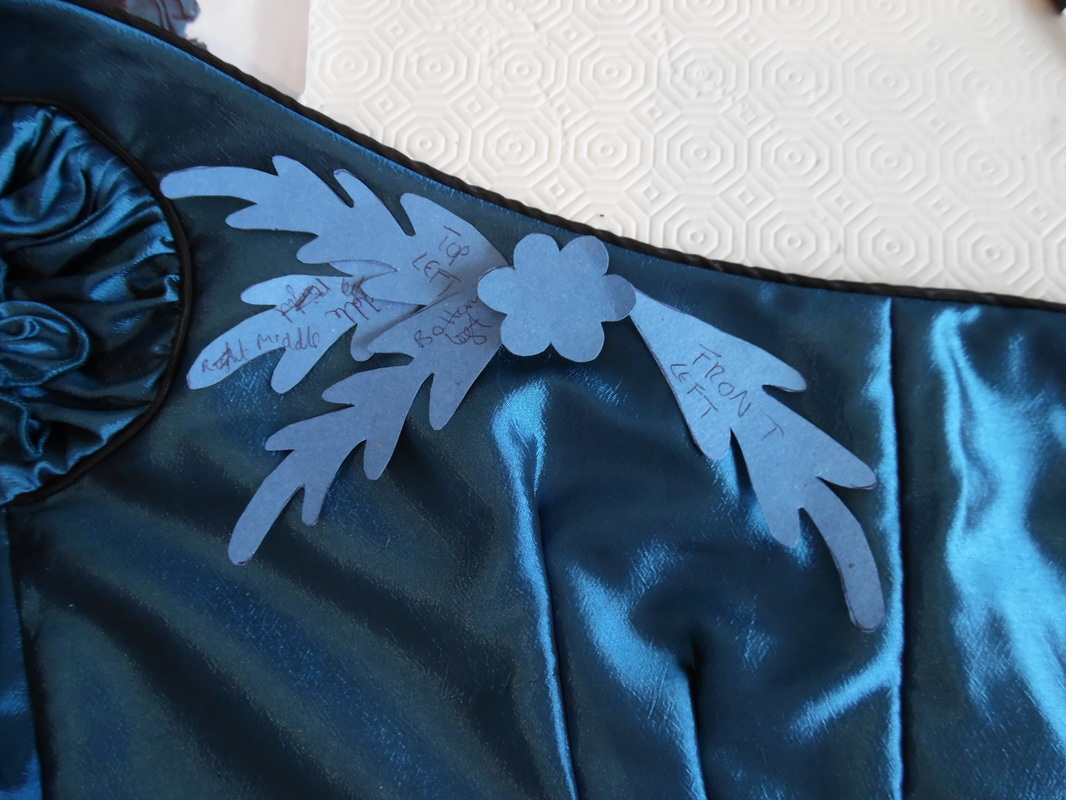
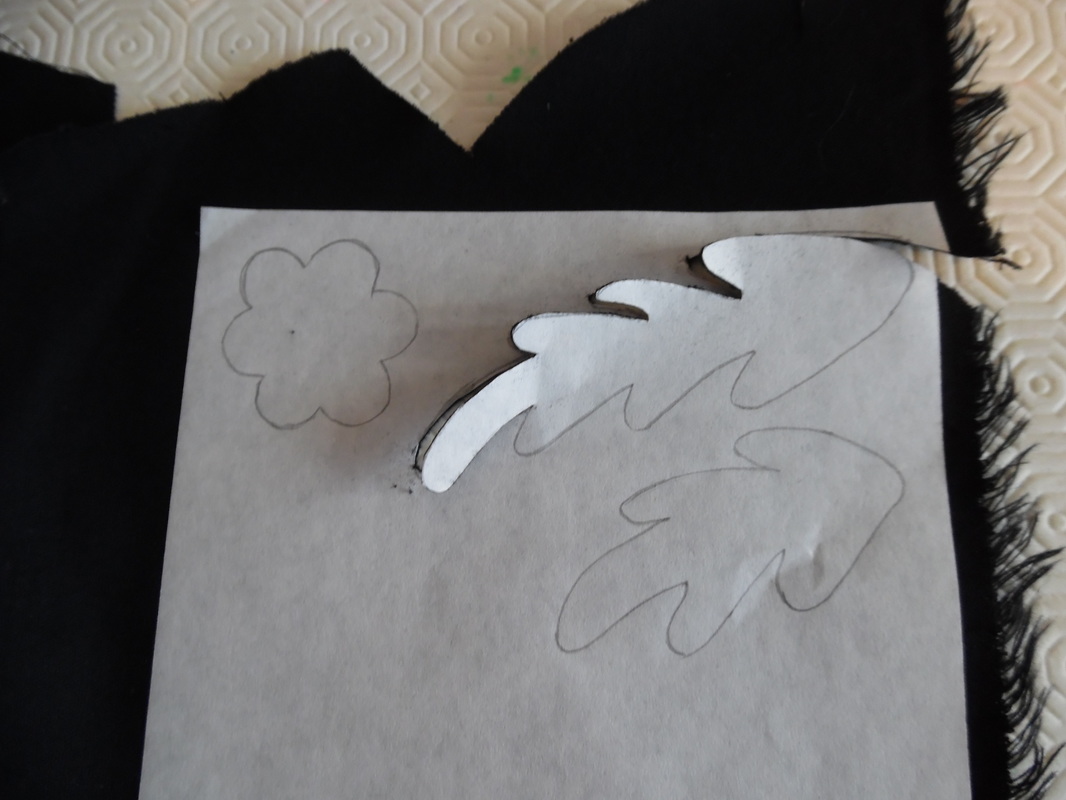
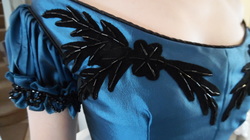
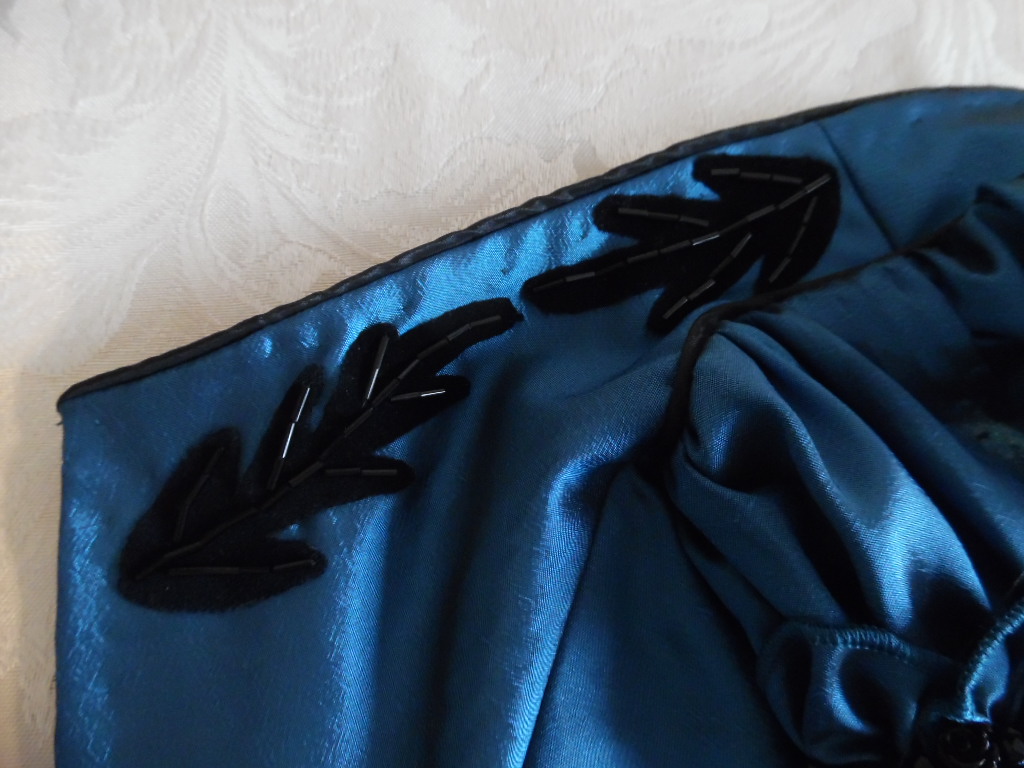
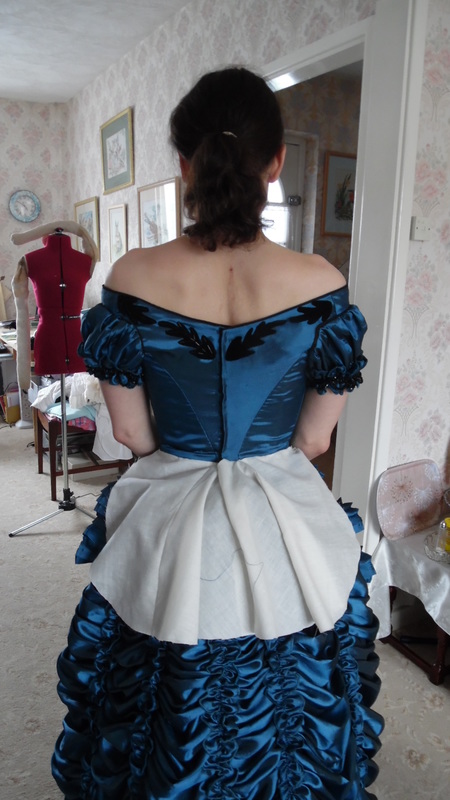
Using 6mm black bugle beads, sew the "veins" on the leaves.
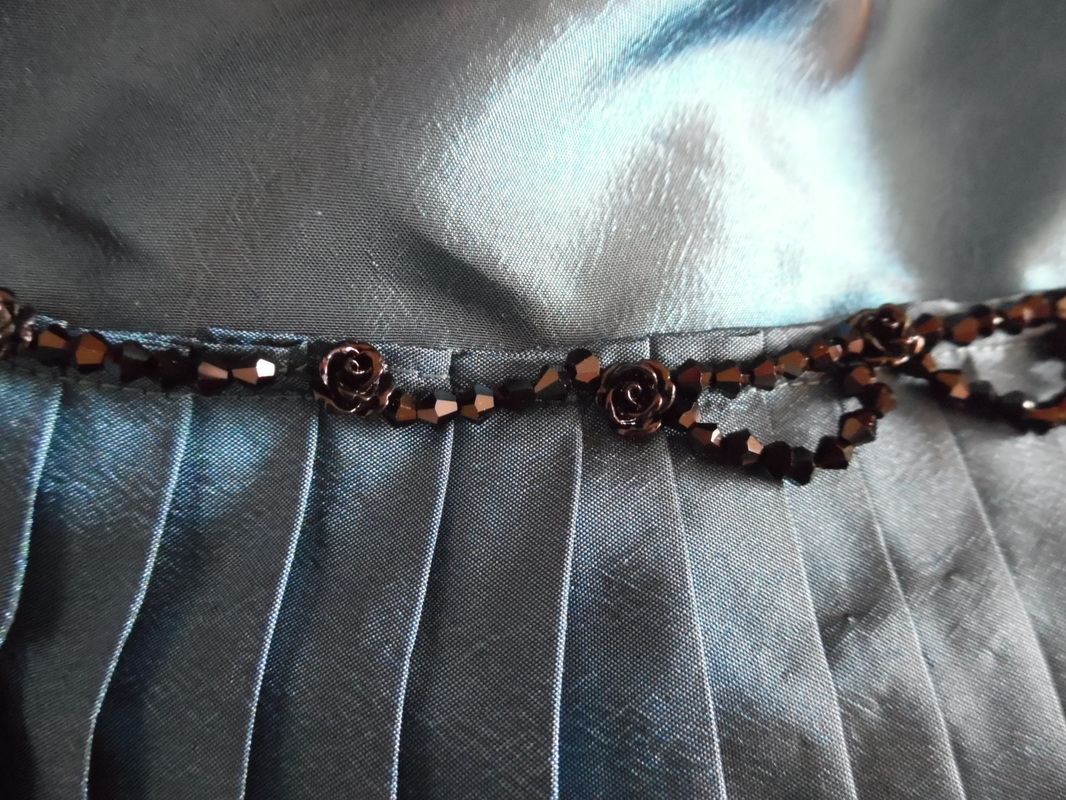
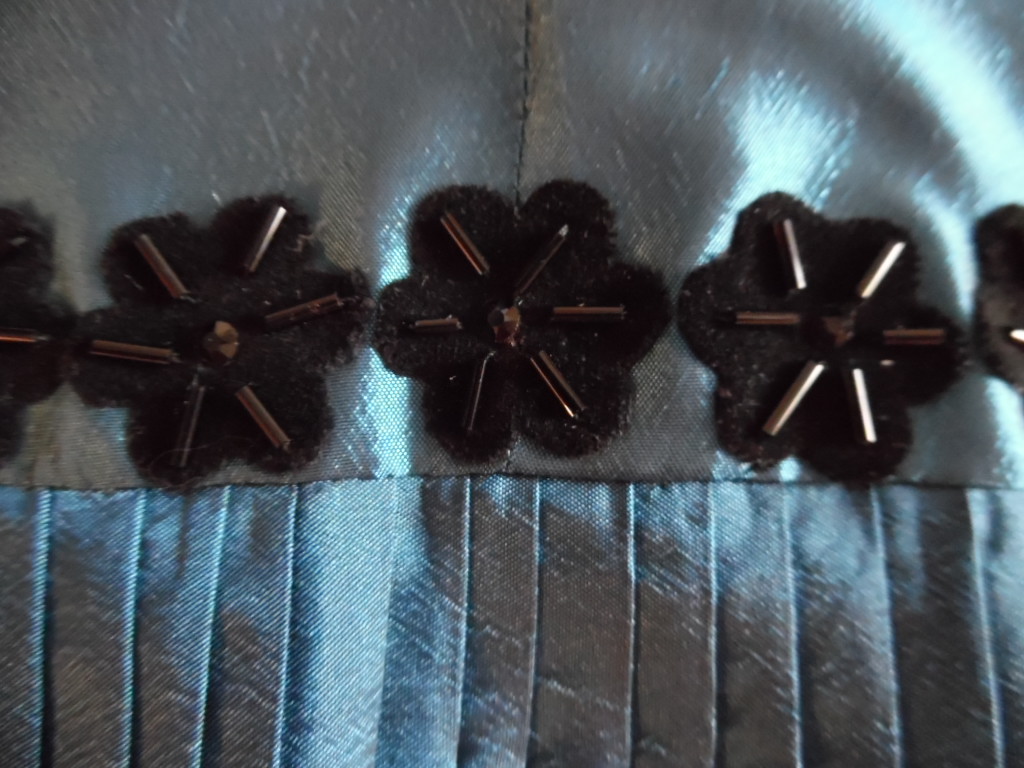
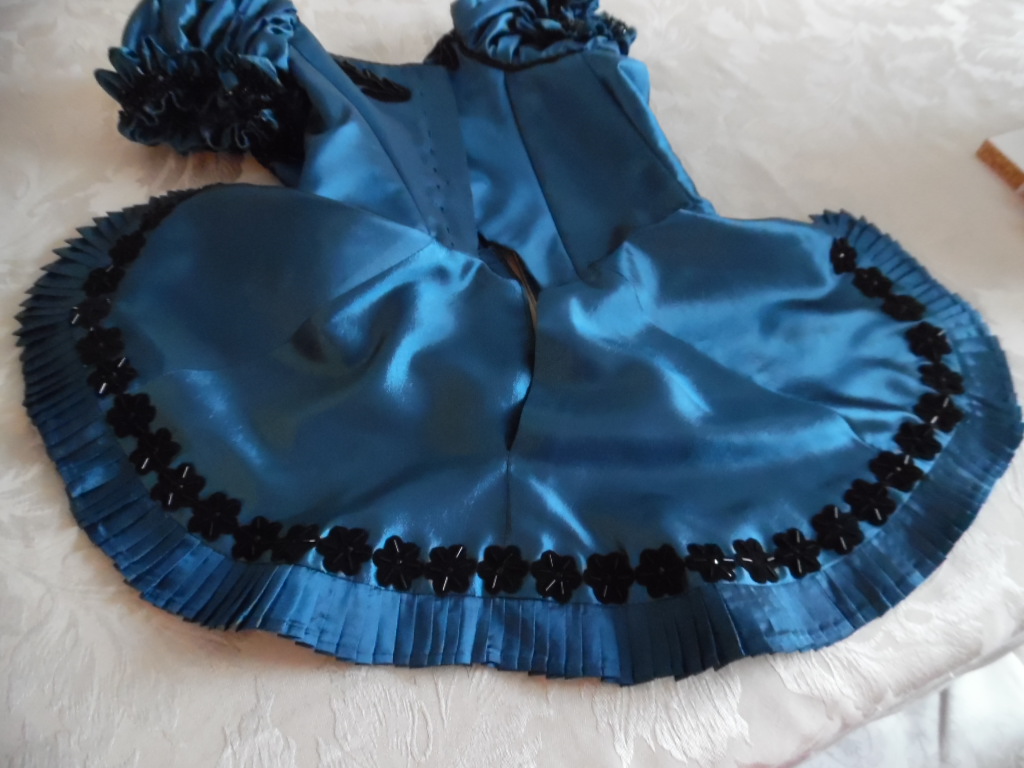
To make the bead trim on the apron and sleeves. Thread on 6 bicone beads, put the needle through the flower bead and secure to the fabric, thread on 6 more etc., to the end of the pleating. Going back to the beginning, thread on 9 beads, go through the flower bead and secure after each flower bead to the end. Third row, starting at the beginning, thread on 14 beads, go through the flower bead and secure to the fabric... to the end.
For the peplum, we have since found out, that the bodice pieces extend down into the peplum, but as it is a bit too late to do that now, we have decided to add it on as a separate piece.
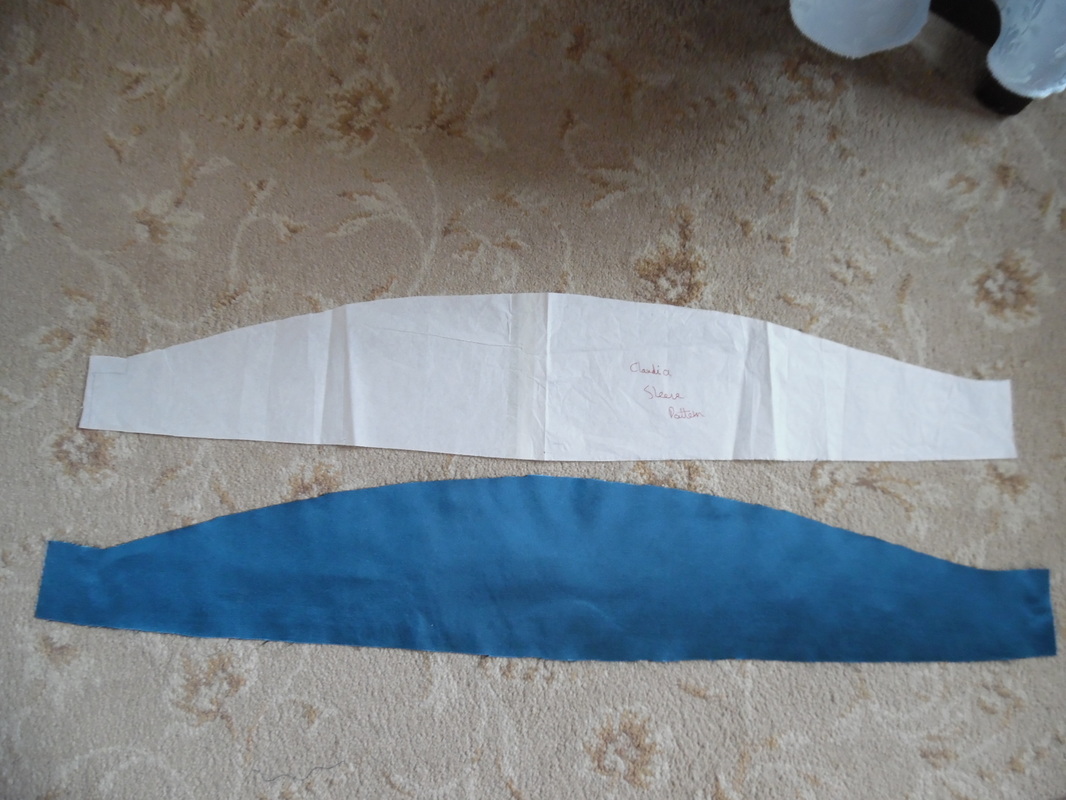
The mock up shows what we are aiming for. Again, as there are no patterns, we made one up. Each square is 1" (2cm). When fitted, it needs to extend slightly forward of the side seam on the bodice. Cut four of each piece as it will be lined in the same fabric.
Iron the seams flat. We need to have an overlap of 2" (5cm) at the centre back, so when ironing the centre seam, fold the bottom seam back
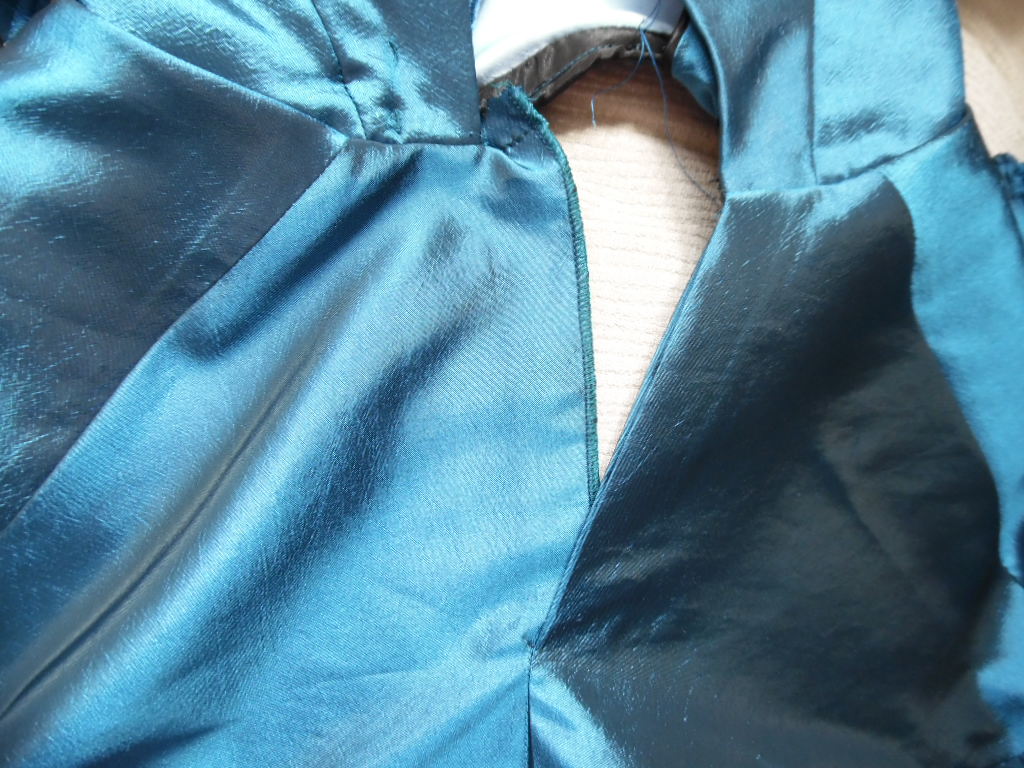
Pin the peplum to the bottom of the bodice for a trial fit and ascertain how much of an opening you will need at the top of the peplum to enable you to take the whole lot off in one go. For Tracy, it was 16cm down, so then I stitched a 1" (2cm) seam from that point to the bottom. Clip a diagonal to the top of the stitching, you will need to do this with the liner, but fold the back seam in the opposite direction. Next comes the difficult bit!!
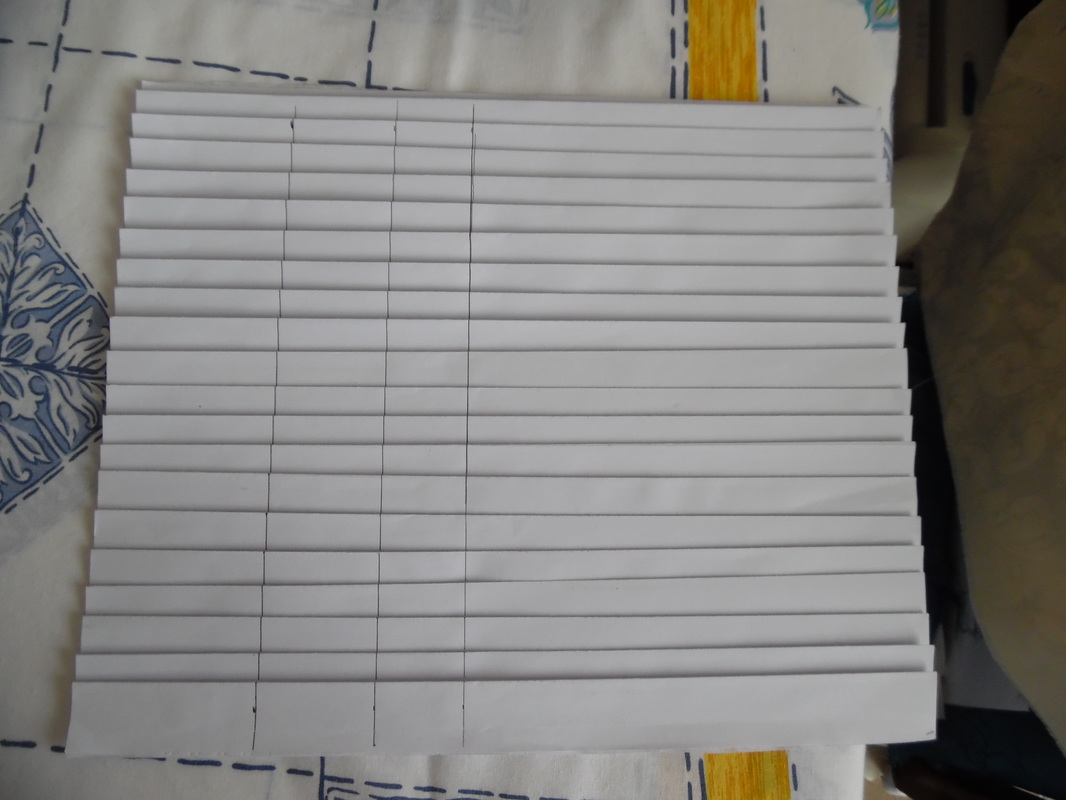
Make up another section of pleating. We made another pleating board as before, but reduced the size of the pleats, as they are much smaller. Following the video may be easier for this section.
Starting approximately 5" (10cms) from the top curve of the peplum, pin in the pleating starting at the edge and blending it further and further in as you go, and bring it out again as you reach the other side.
At the bottom of the peplum, you should only be able to see about 1/2" (1 cm) of pleating. Make up a short piece of piping for the curve at the top and blend this into the seam where the pleating stops, angling the piping down out of the way of the seam.
Sandwich the pleating between the liner and snip the curves. Turn the right way out.
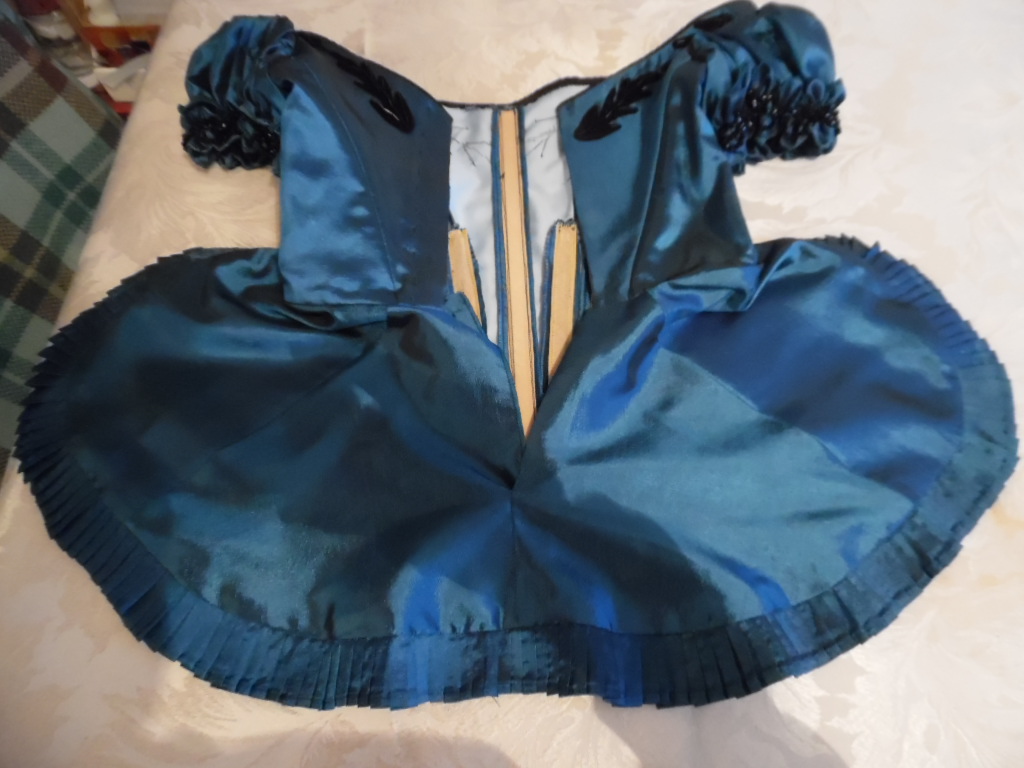
This is now sewn to the bodice, try and blend the piping in with the bodice piping. Fold the raw edges of the peplum underneath the bodice and hand sew in place. Your bodice and peplum should now look like this, with an overlap on the left side. The diagonal cuts you made, will enable the overlap to sit behind the top seam. Sew a few stitches to hold it in place on the inside.
The final part of the bodice, is to cut out 2.5cm (1") daisies, sew on black bugle beads and finish with Jet Swarovski Crystals.
This completes the bodice.
This completes the bodice.
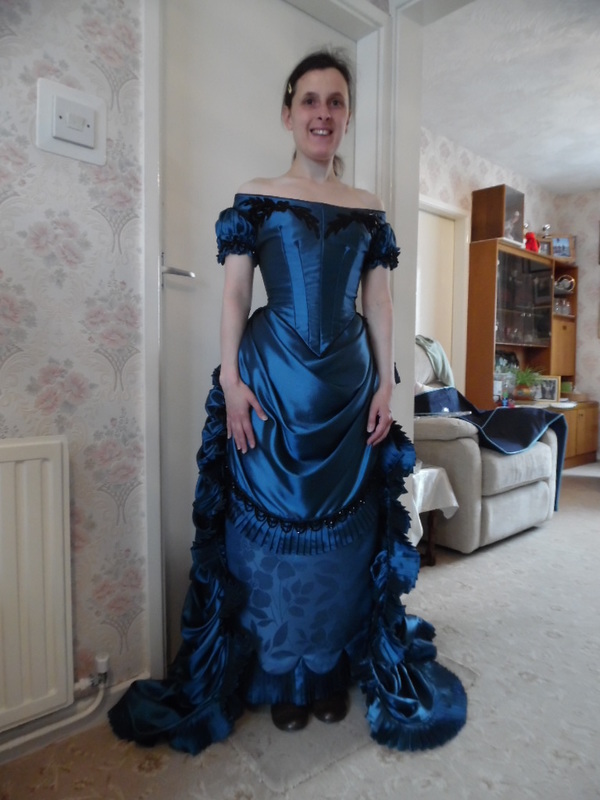
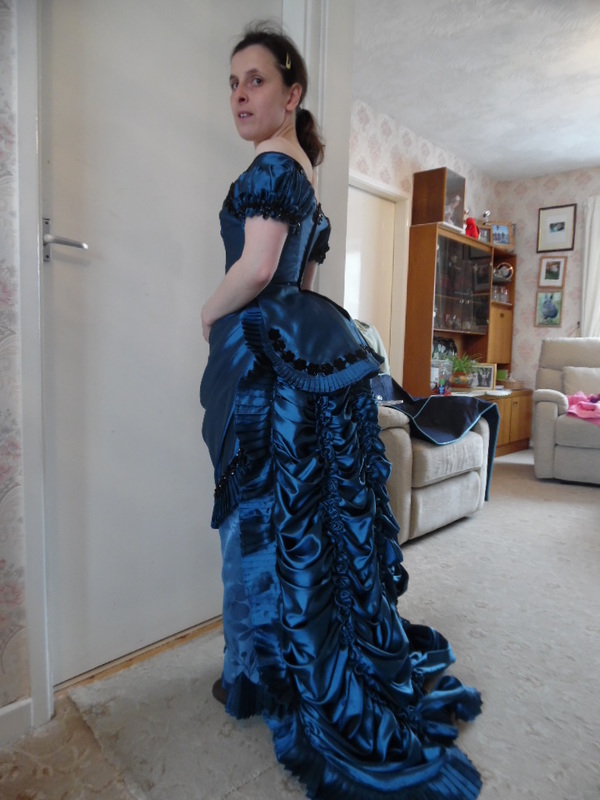
This completes the costume
