Making Disney Rapunzel
Wig and Tiara
Materials:
Stiff card in Gold
Wire
1 Crystal 50mm high bought from (www.allbelle.co.uk)
2 Crystals 38mm high
1 metre Diamonte Pink Crystal Chain 3mm
Small piece of 4mm Diamonte Pink Crystal Chain
4 x 6mm Swarovski Aquamarine flat back crystals
40 x 6mm Swarovski flat back crystal AB
13 x 6mm Swarovski Ruby flat back crystals
30 x 5mm Swarovski flat back crystal AB
Use Hot Fix crystals if you have a Hot Fix gun, if not you will need to glue them by hand.
|
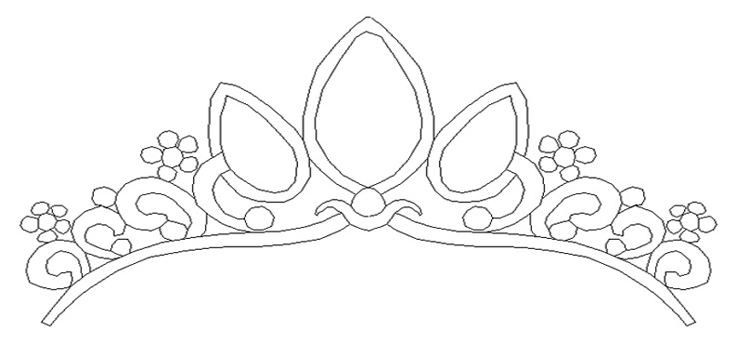
We were able to make a copy of the tiara off the internet. Measure your head to get the exact size to make the tiara
|
|
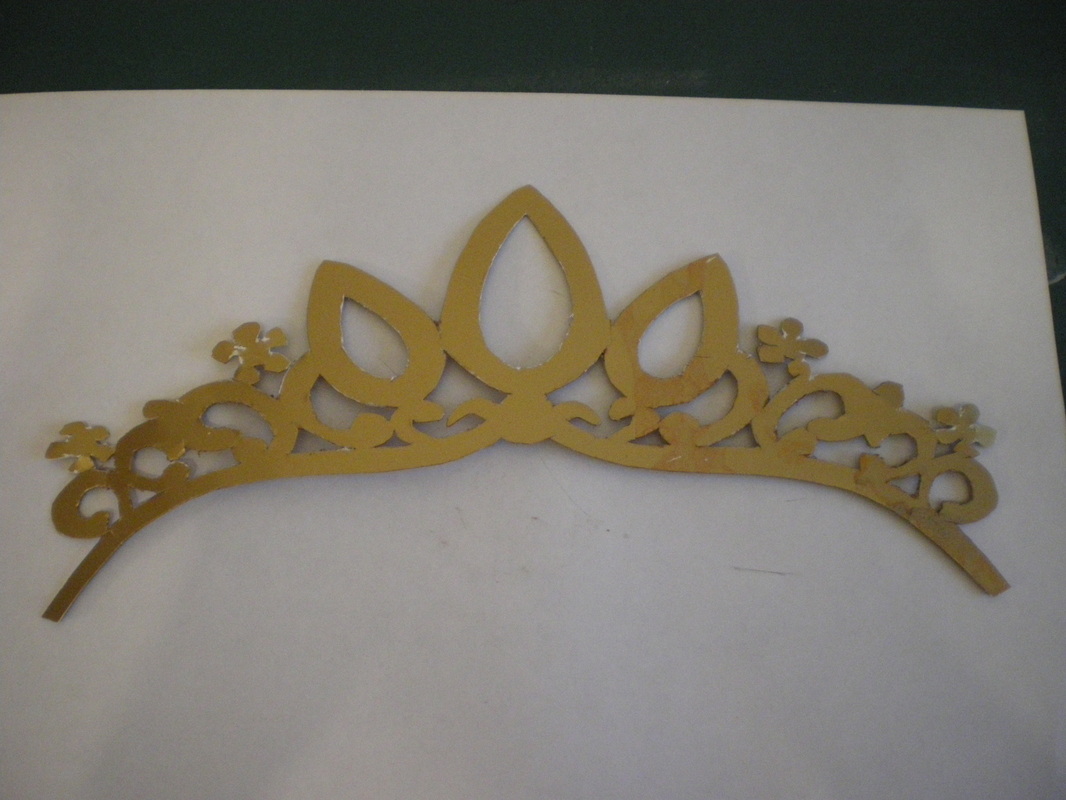
Trace it onto the gold card and cut out 2 of these shapes and glue them together to make it stronger.
|
|
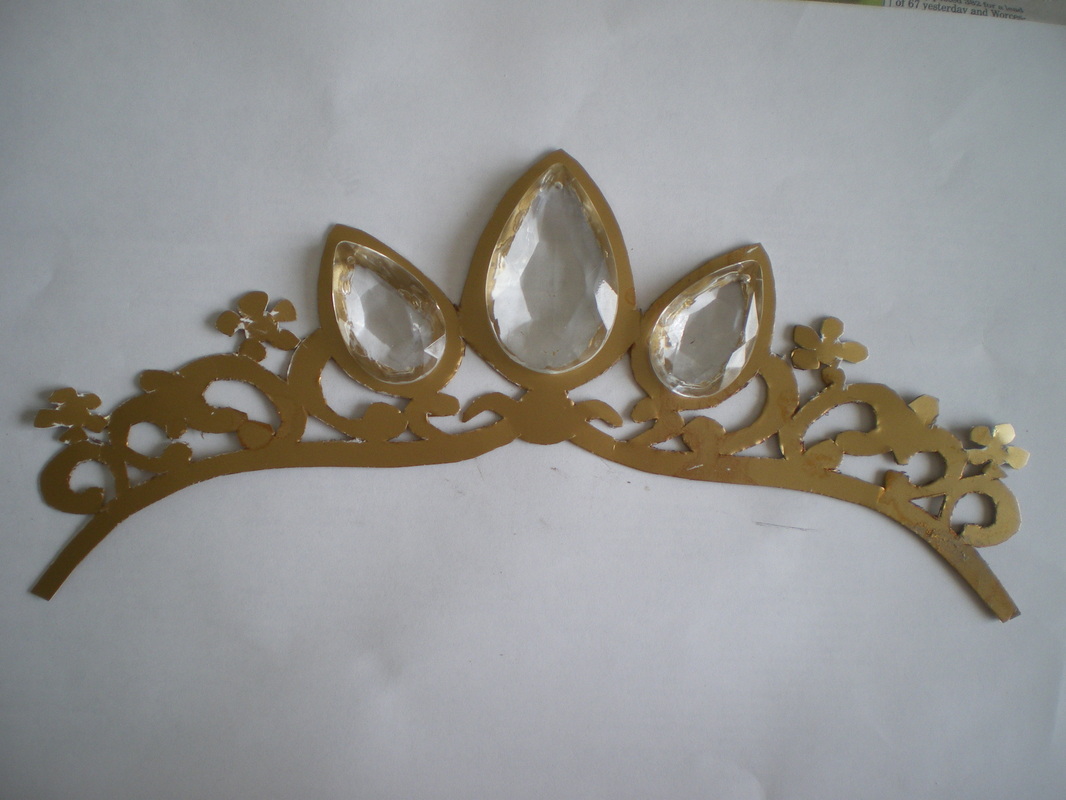
Glue the large crystals first using Araldite or an equally strong glue.
|
|
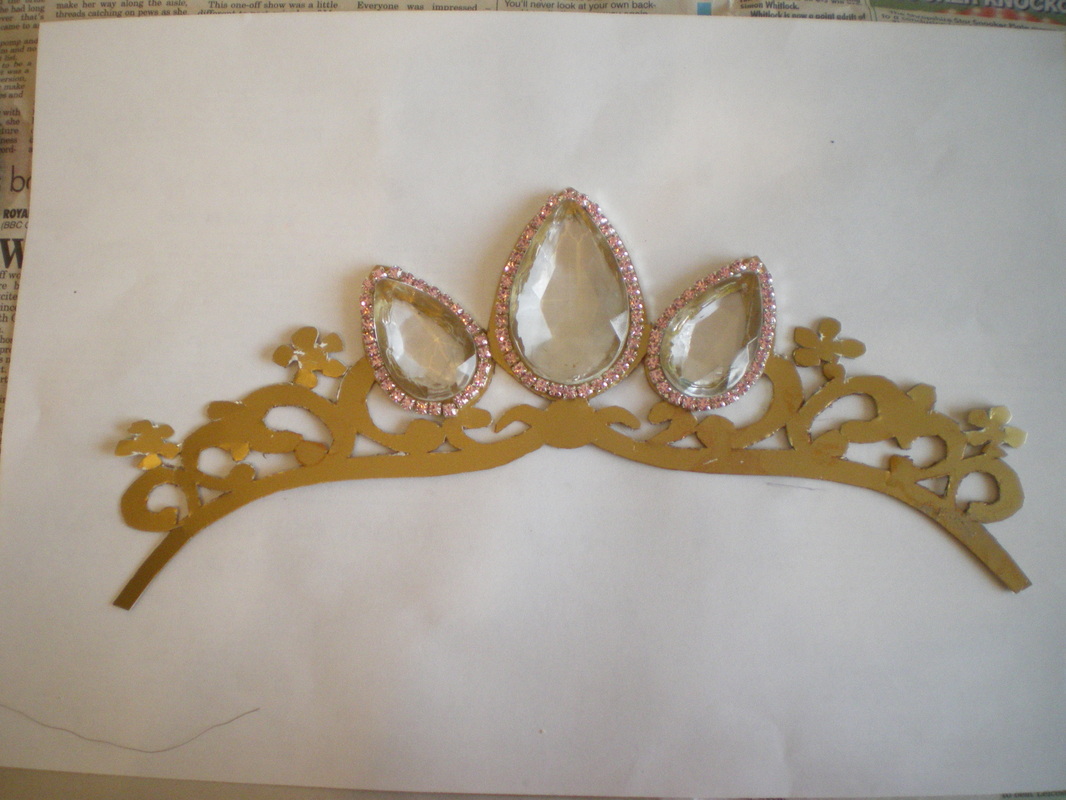
Glue the pink Diamonte chain around the crystals.
|

|
The 4mm Diamante is for the small curve at the bottom.
|

Copy the pattern (above) for the rest of the crystals. Your tiara at this stage is VERY heavy and will need some thick wire to attach to the back to hold the shape.
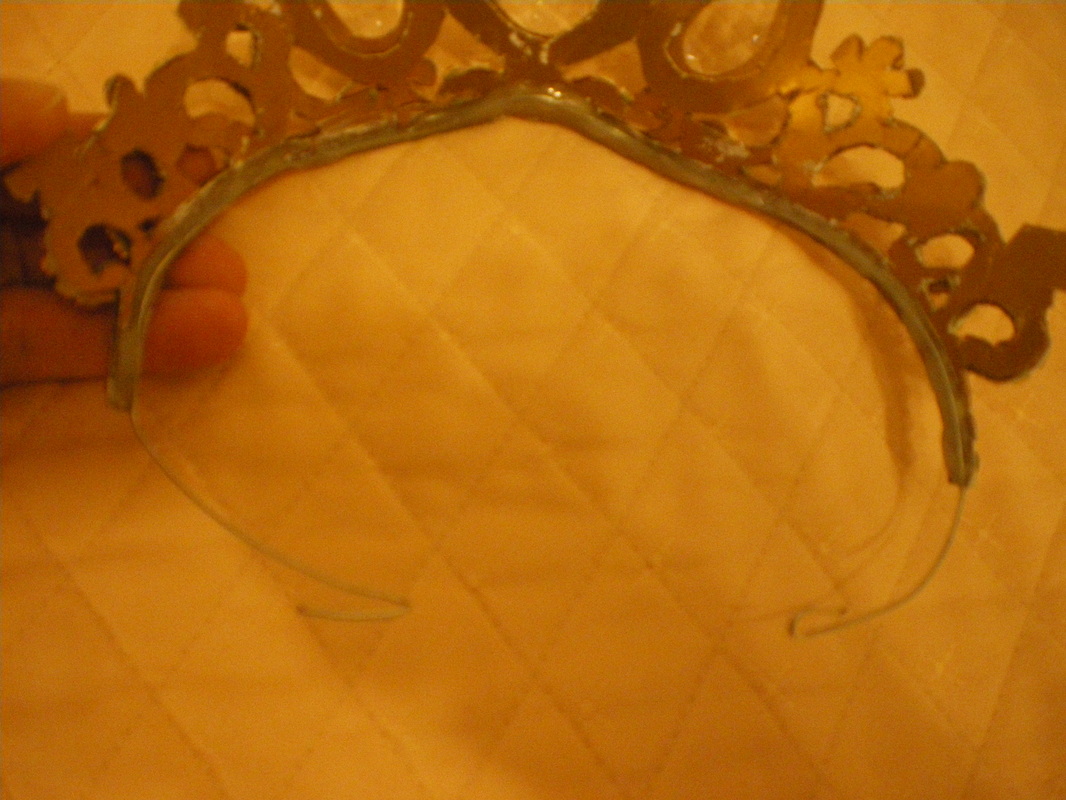
Lay the wire on the back and use Araldite to glue it down, then VERY CAREFULLY, bend the tiara to shape and bend over the wires at the ends.
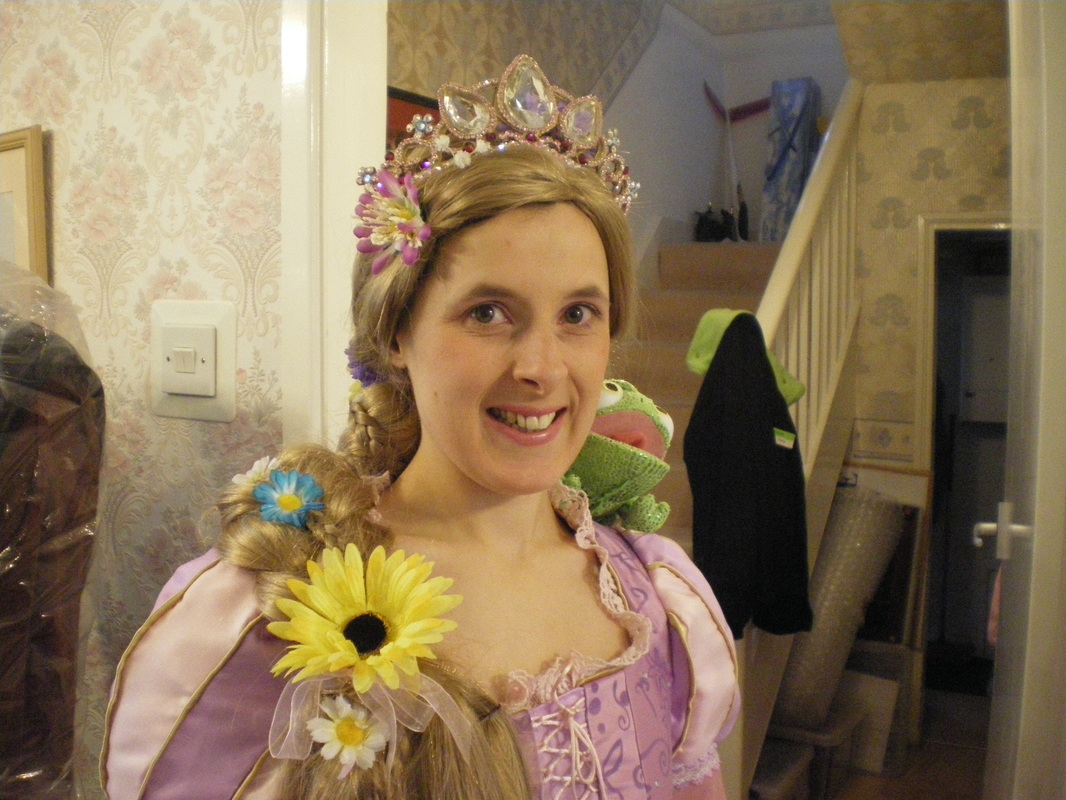
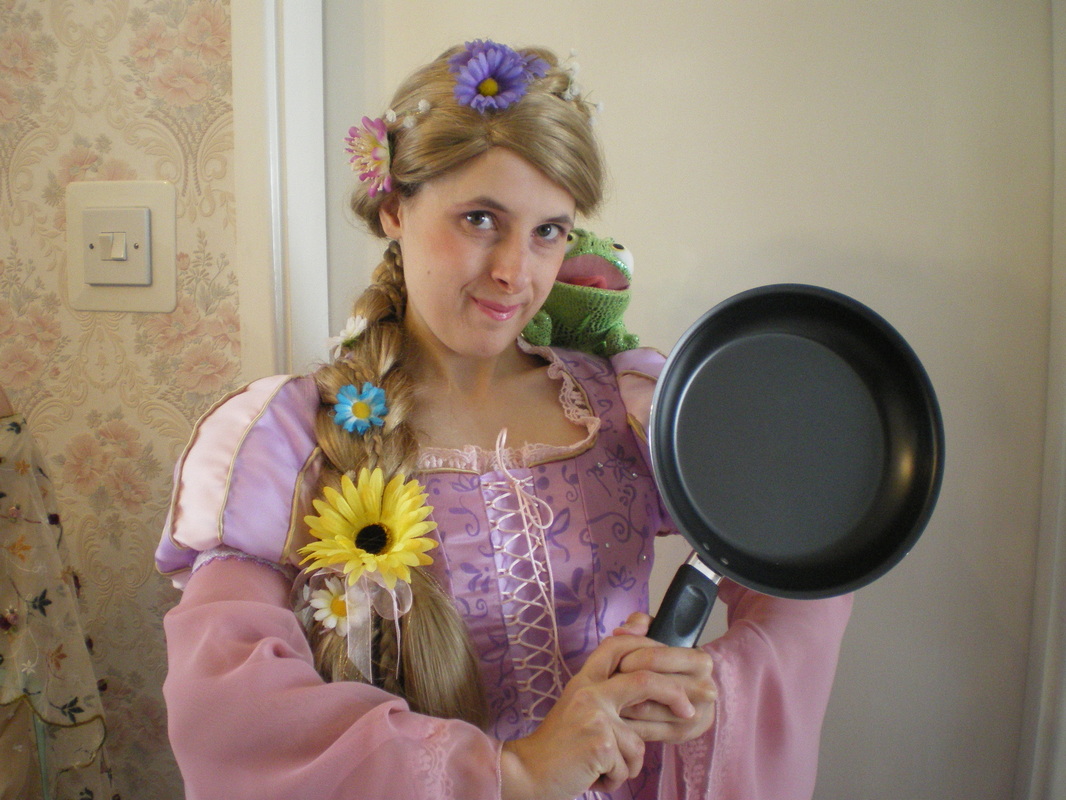
This completes the tiara
This completes the tiara
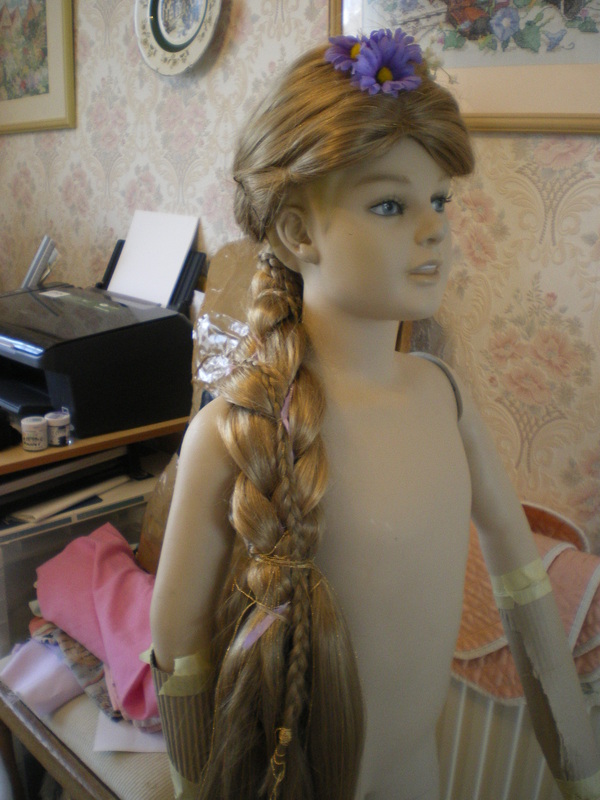
Making the Wig:

|
This is a Godiva wig bought from a wig company on Ebay called Wildcat Wigs (seller ID darcinut ). This is colour "16". You will need to buy two of these wigs. I bought a shorter one from China in a similar colour to make the plaits.
I found that one wig on its own wasn't thick enough to do a decent plait. Using the shorter wig, I cut off the bottom section and attached it to this longer one at the neck. The remaining cap was used for the spare plait on top of the head and the long plait that is wound around later on. I then stitched long lengths of gold thread throughout the wig, it is difficult to see this in the photos, but adds a bit of sparkly in the sun. |
|
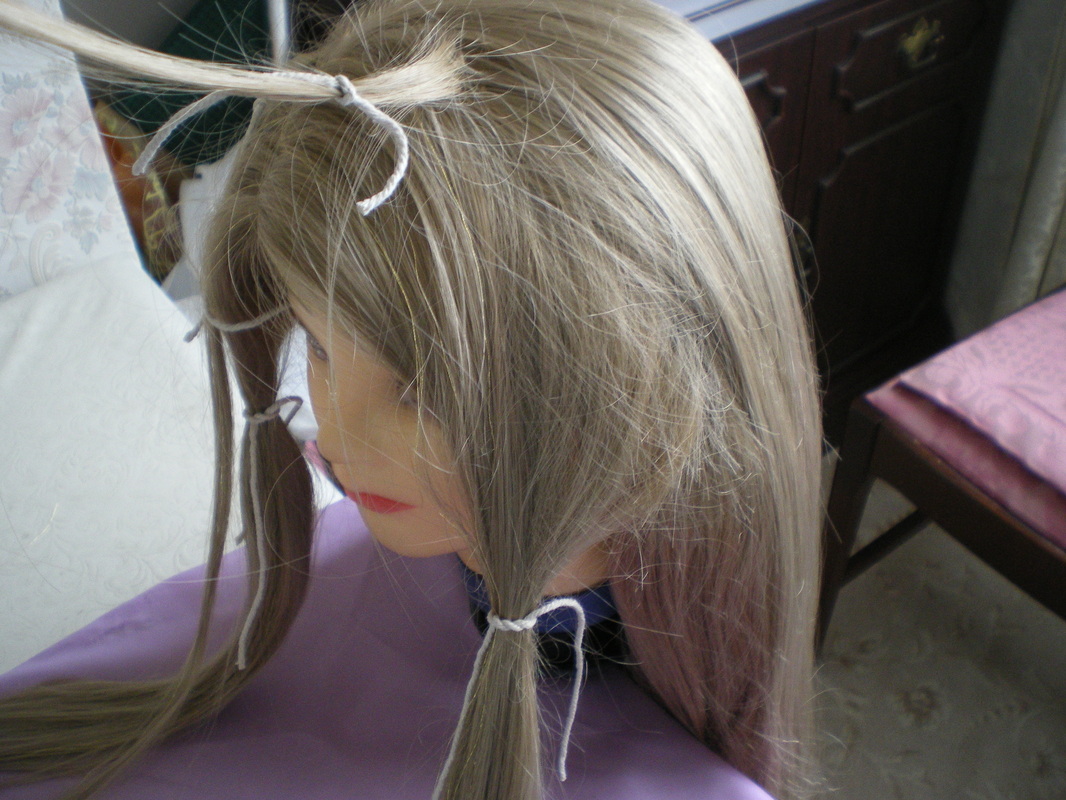
First we need to segment some parts of the hair. On each side separate a large section (see photo), plus two smaller sections and keep these separate for now.
|
|
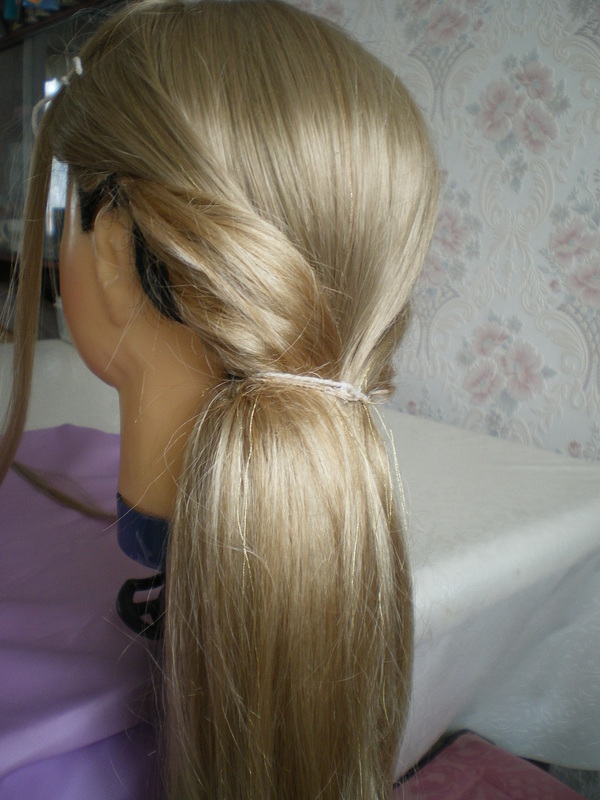
Side view.
Pull the remainder of the hair into a ponytail and secure with an elastic band. |
|
Pull the side sections back with a slight twist inwards, secure at the elastic band, I used string at this point as putting another elastic band on wasn't strong enough to hold all the hair.
|
|
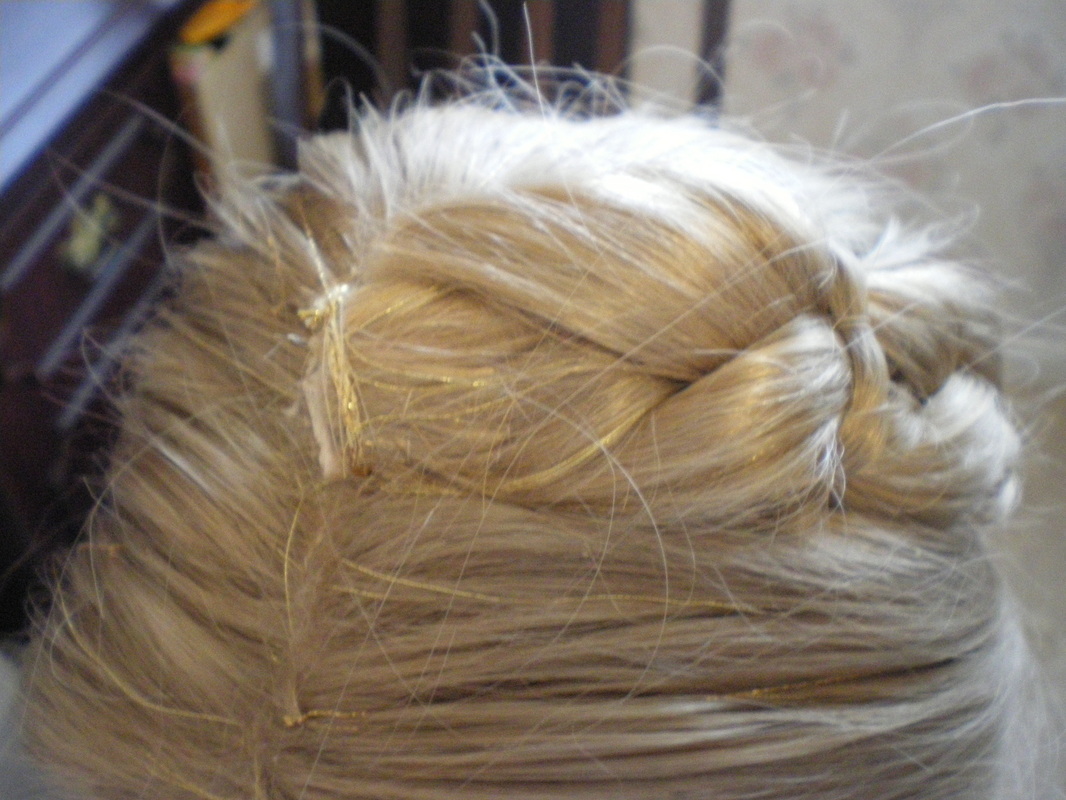
This shows the top of the head. Using the spare shorter wig, cut a large section out of it and plait it. Place it on top of the head and sew it through the wig to the netting underneath. Using the two strands of hair we kept separate. weave these around the plait to keep the plait secure and sew again to the netting underneath.
|
|
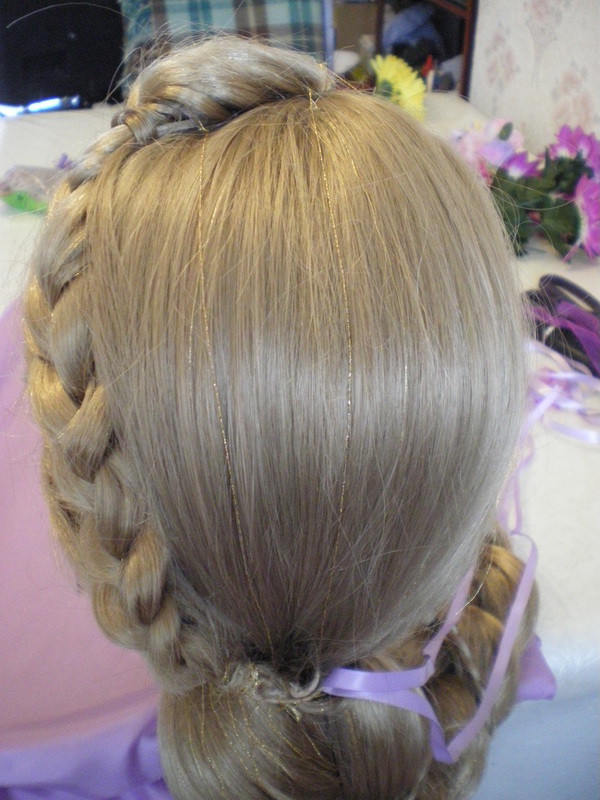
Take the plait to the back of the wig and secure at the ponytail. I sewed the plait to the netting of the wig underneath to make sure it doesn't move.
|
|
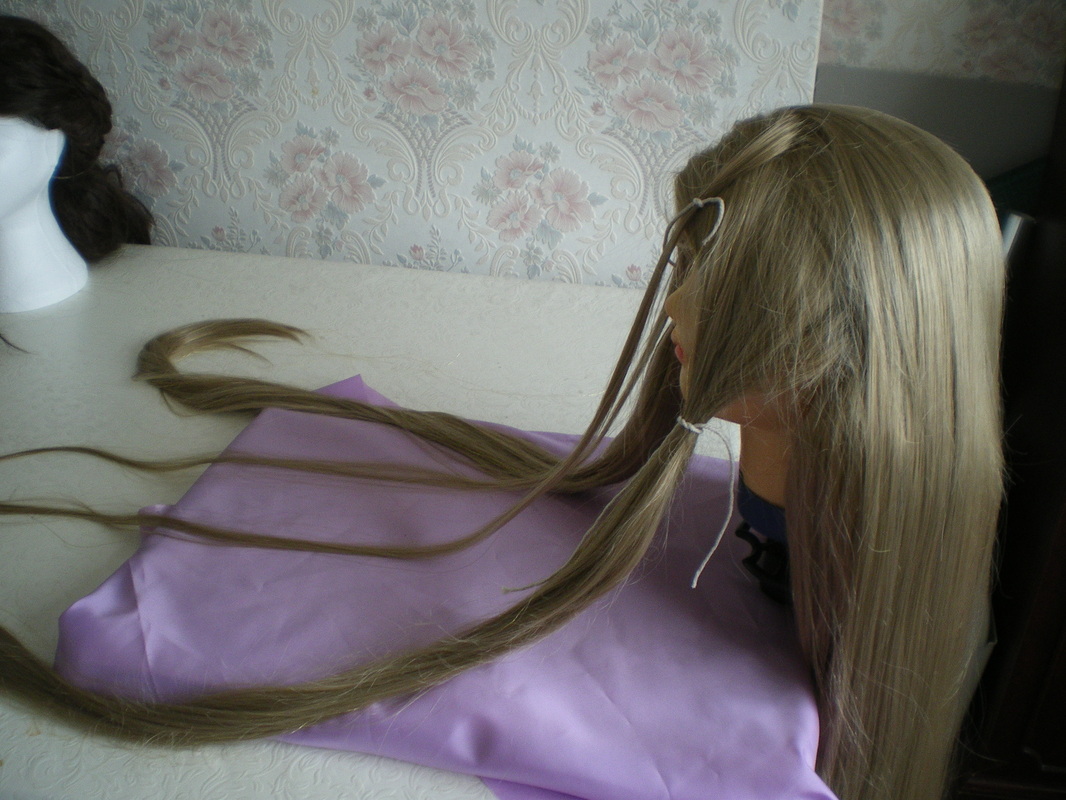
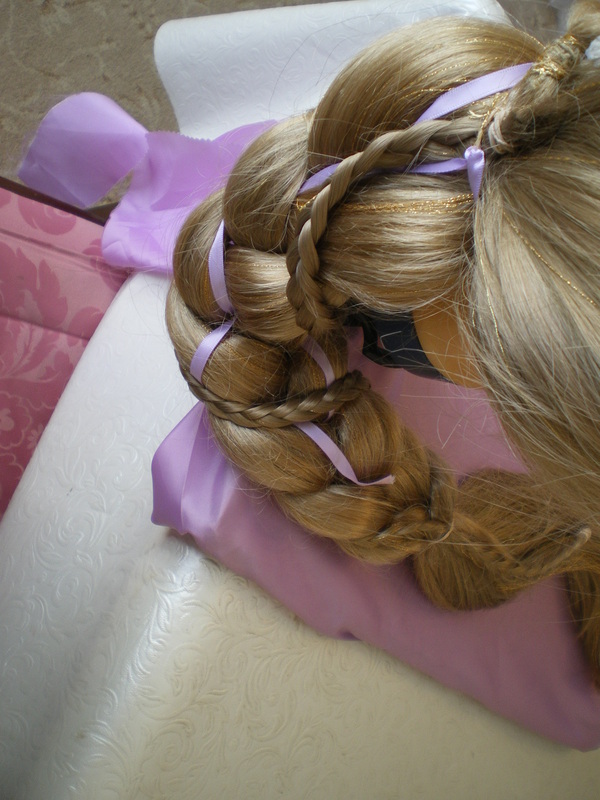
Now comes the complicated bit!!! Plait the hair, at the same time incorporate a ribbon into the plait AND take some hair from the short wig, plait it and incorporate THAT into the wig, plait until you're three quarters of the way down the wig, now we have to add on the second wig!
|
|
I left most of the netting on the wig and using a lot of sewing stitches, join the two wigs together, I also used gold string to make doubly sure it was secure. It was from this point I let the wig hang free.
|
|
Hit the shops and buy lots of different flowers to decorate your wig. Go to your local Disney store to get Pascal and don't forget your frying pan!!!
|
