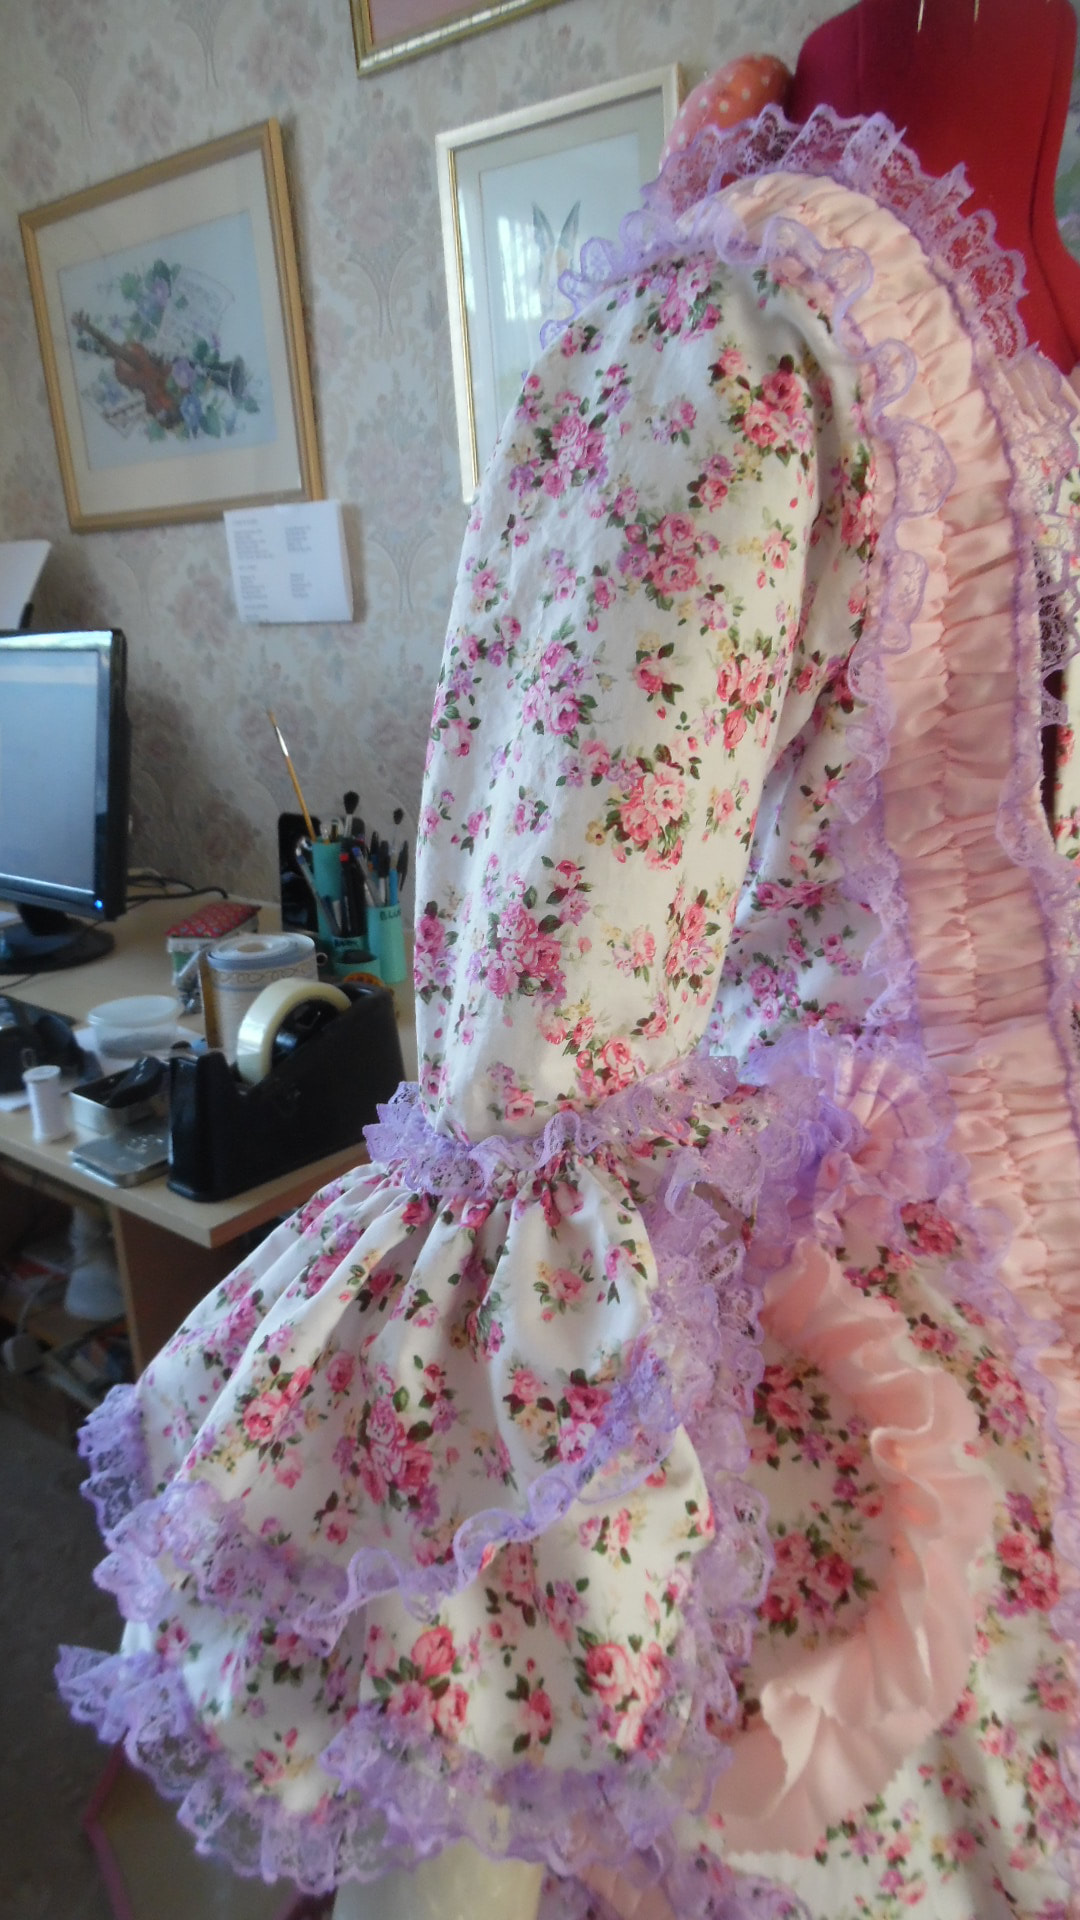
Georgian
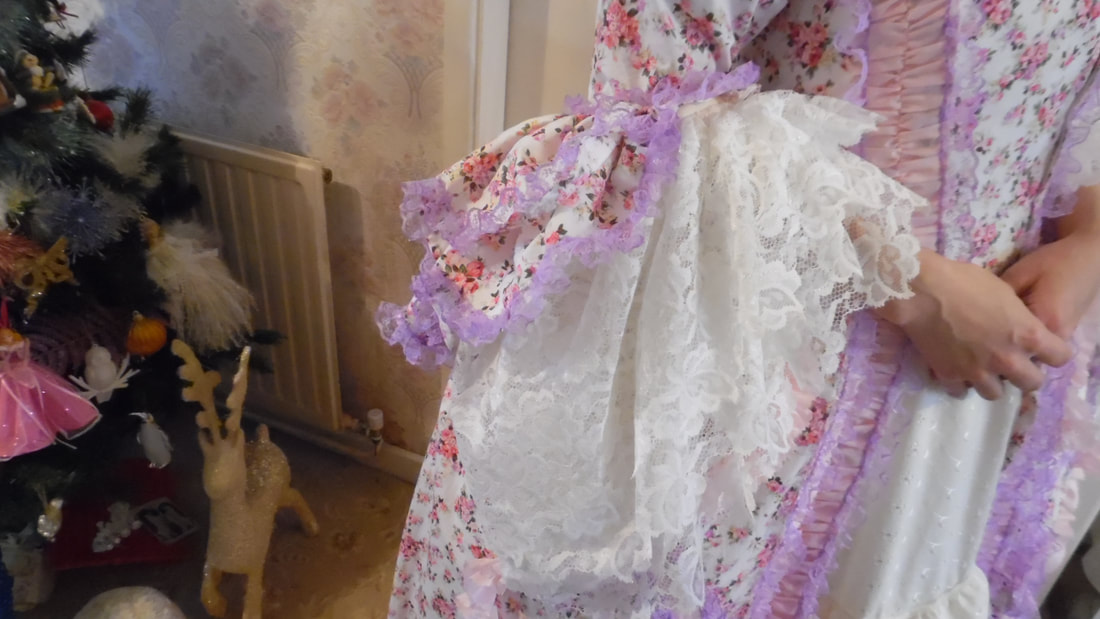
Stomacher and Sleeve
Flounces
Stomacher and Sleeve
Flounces
For this costume, you will require intermediate to experienced expertise in sewing
Difficulty factor 5 - 10
Please note, that we do not make costumes to order or to hire. These are one off costumes designed for Tracy.
Please use these instructions in conjunction with our videos, as they contain more information on items needed, their sources and technique
Difficulty factor 5 - 10
Please note, that we do not make costumes to order or to hire. These are one off costumes designed for Tracy.
Please use these instructions in conjunction with our videos, as they contain more information on items needed, their sources and technique
Materials:
Scrap of Fabric
Scrap of Canvass
Scrap of Cotton
Short piece of boning
Bias binding to fit cuffs (2cm wide)
Approximately 30cm tape
Scrap of Fabric
Scrap of Canvass
Scrap of Cotton
Short piece of boning
Bias binding to fit cuffs (2cm wide)
Approximately 30cm tape
|
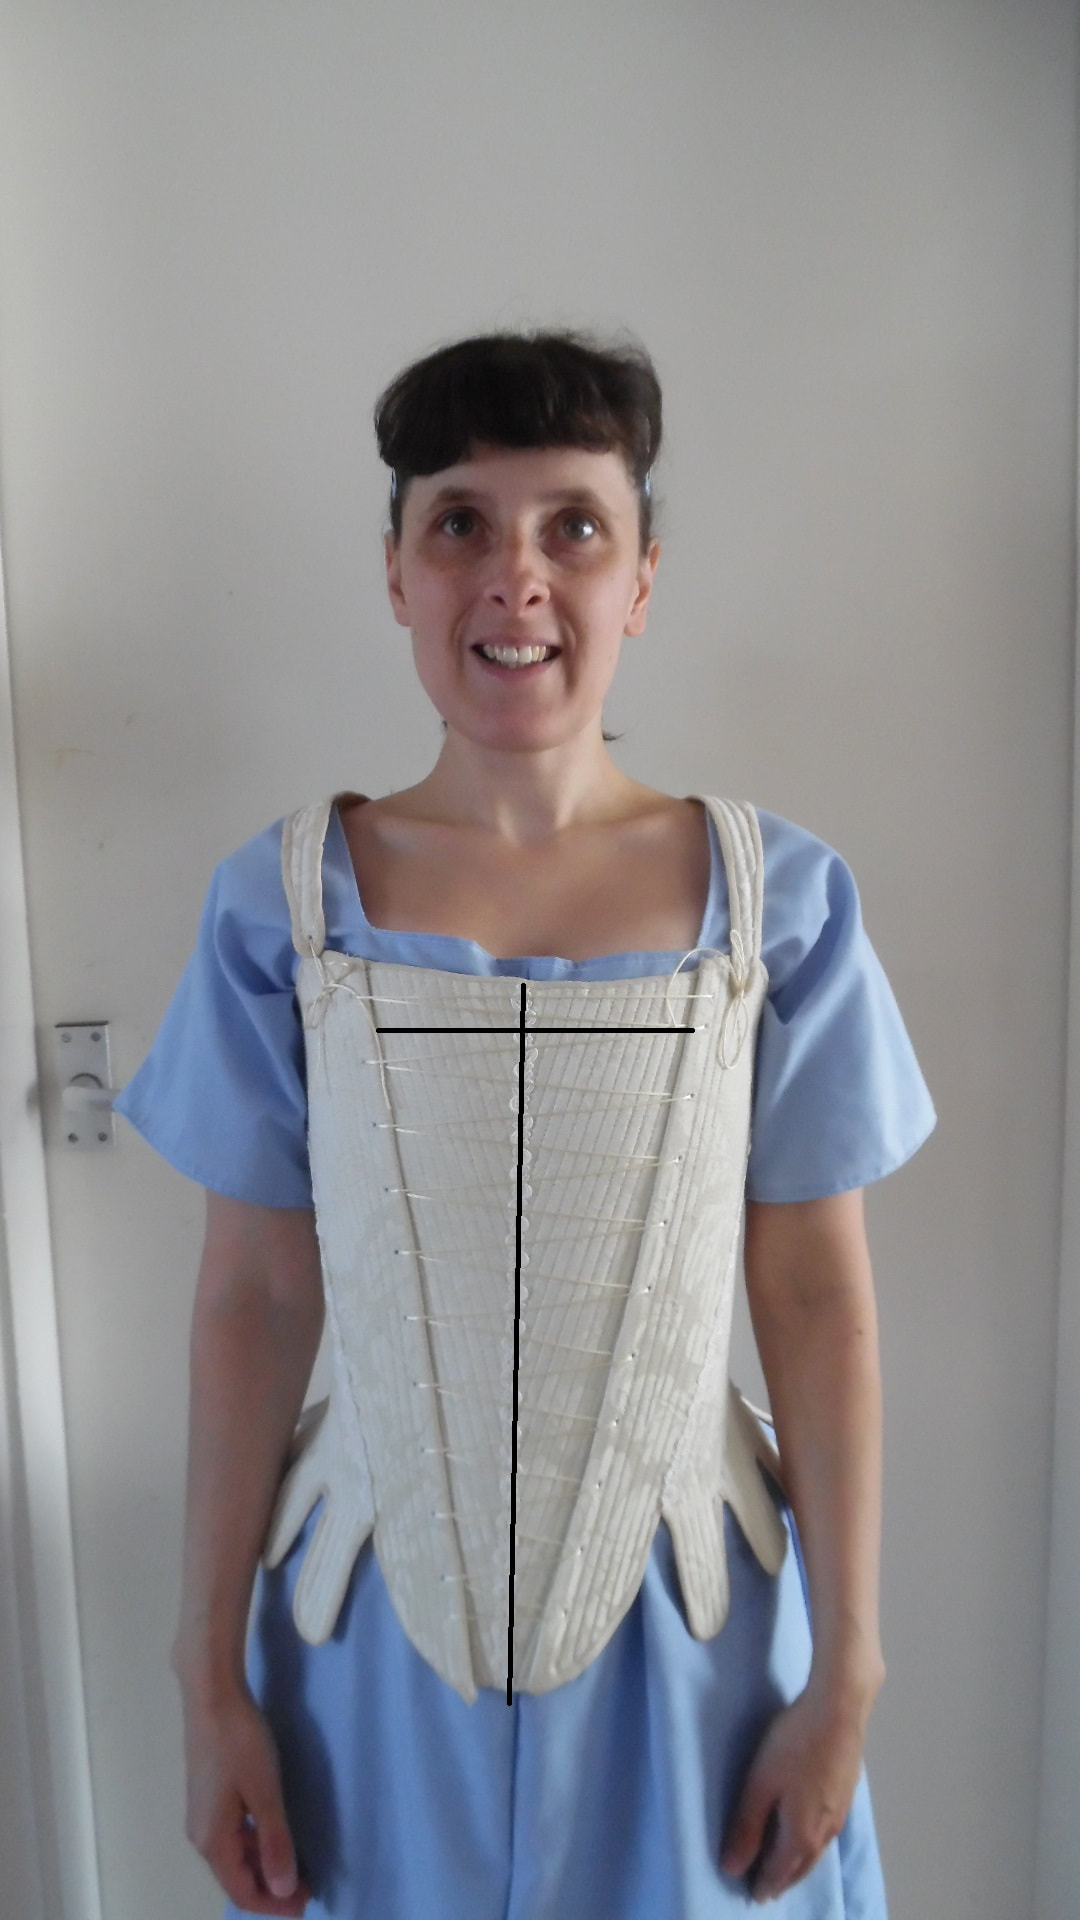
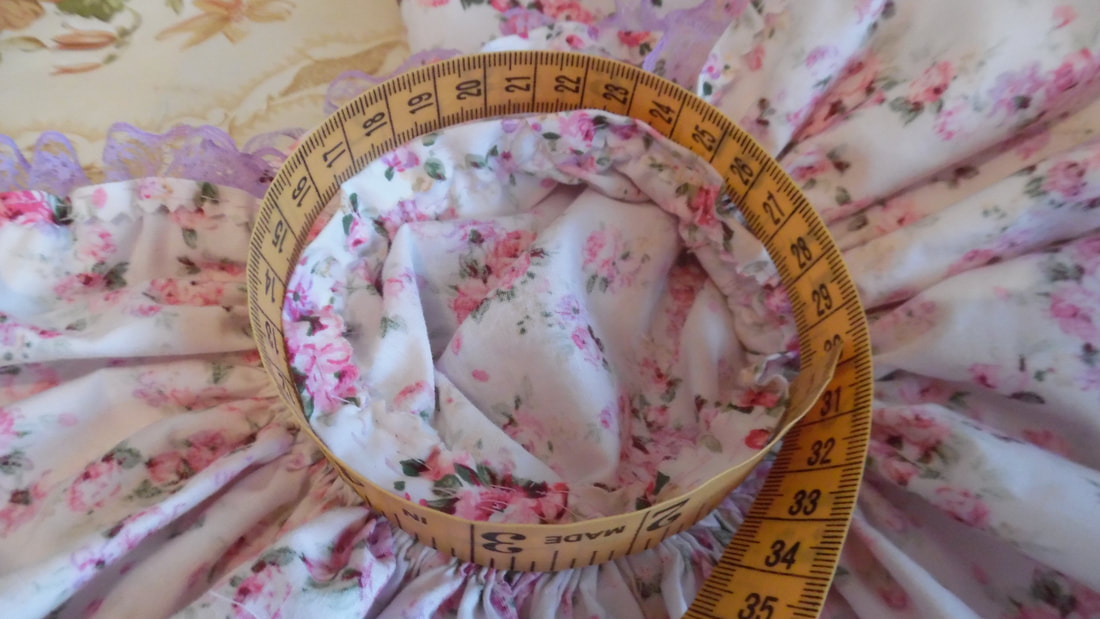
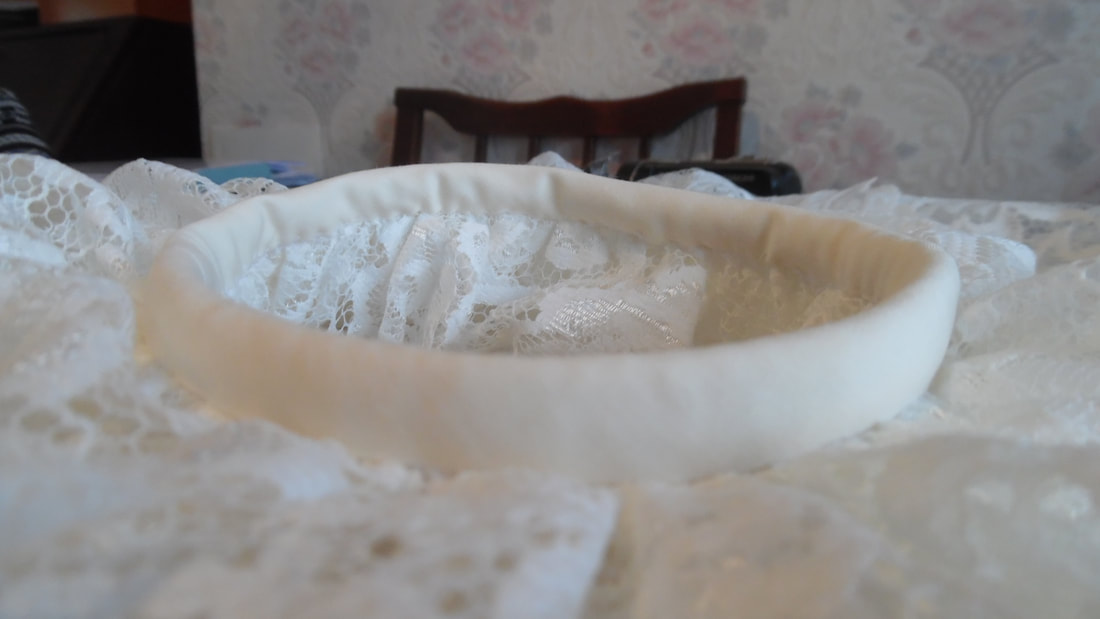
With your stays on, measure the available space across the top and add 2 cms to the measurement. Measure down to the exact measurement.
|
|
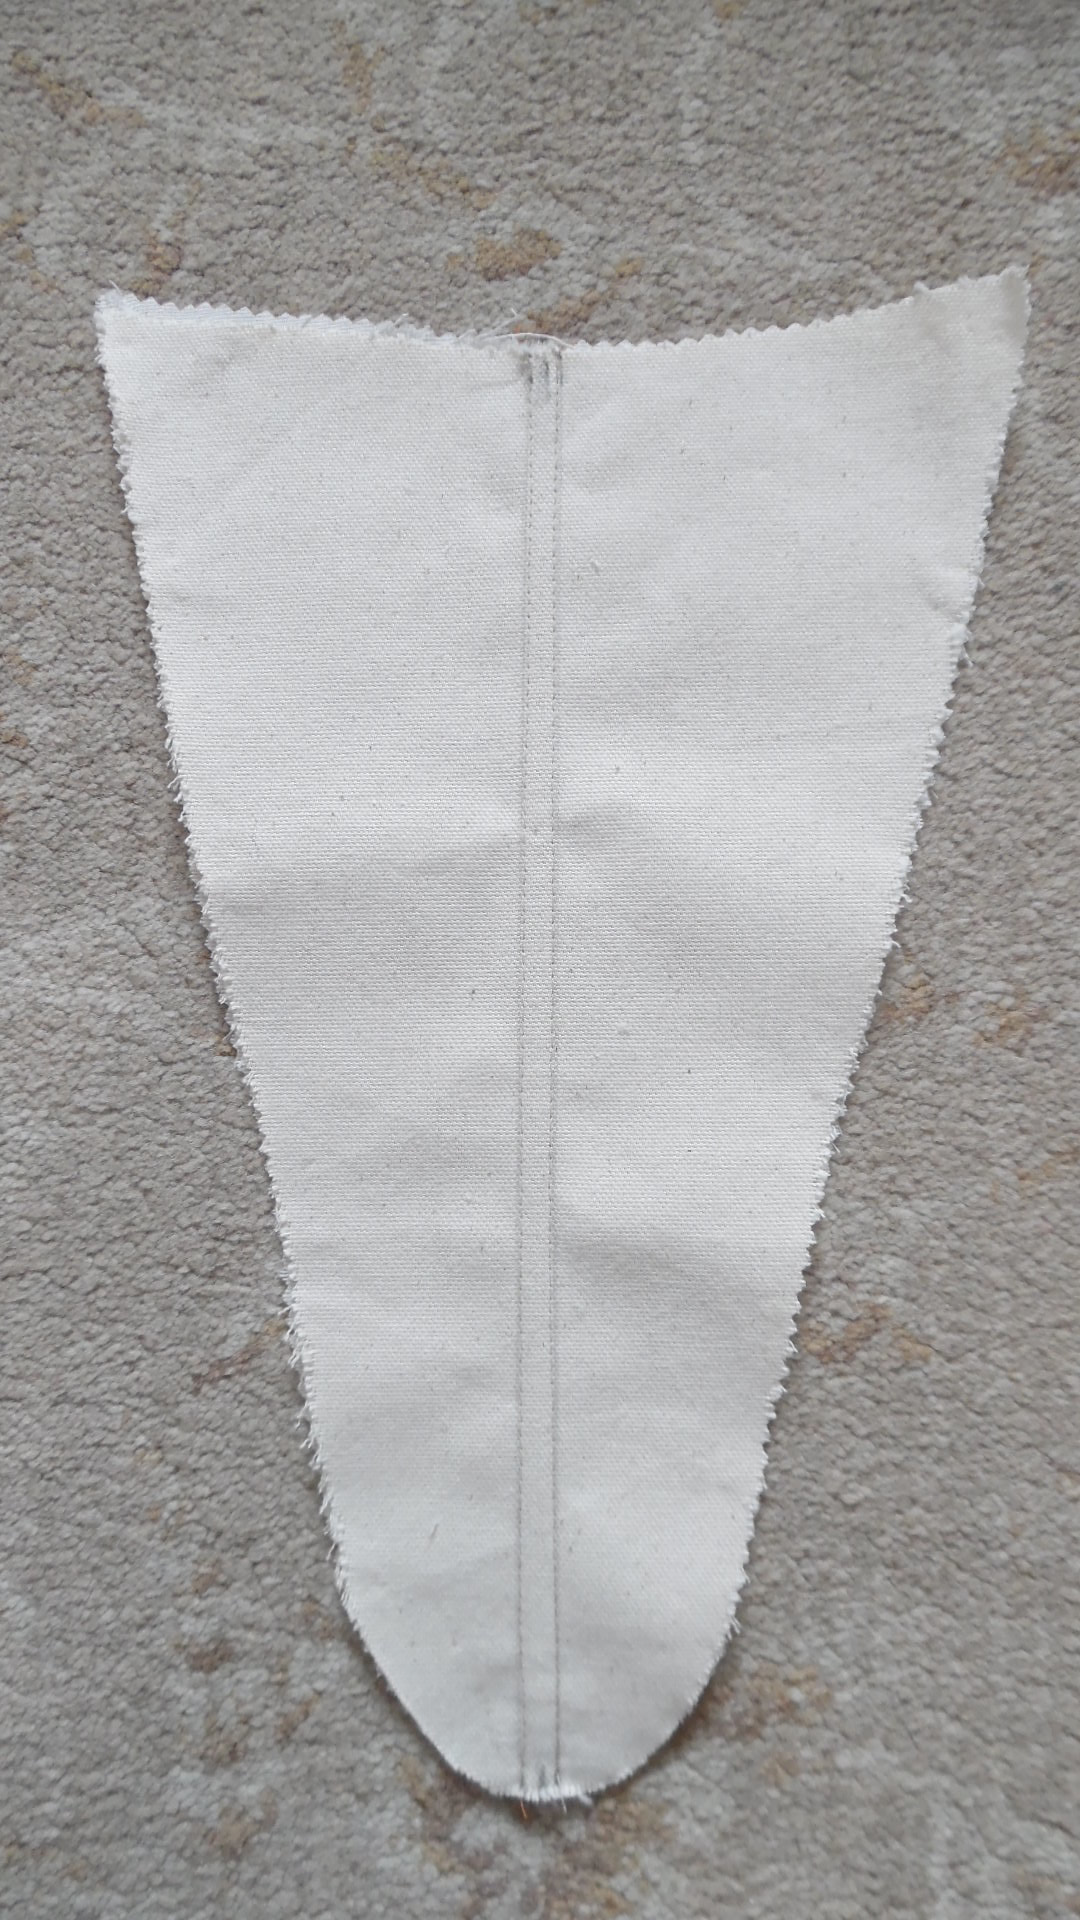
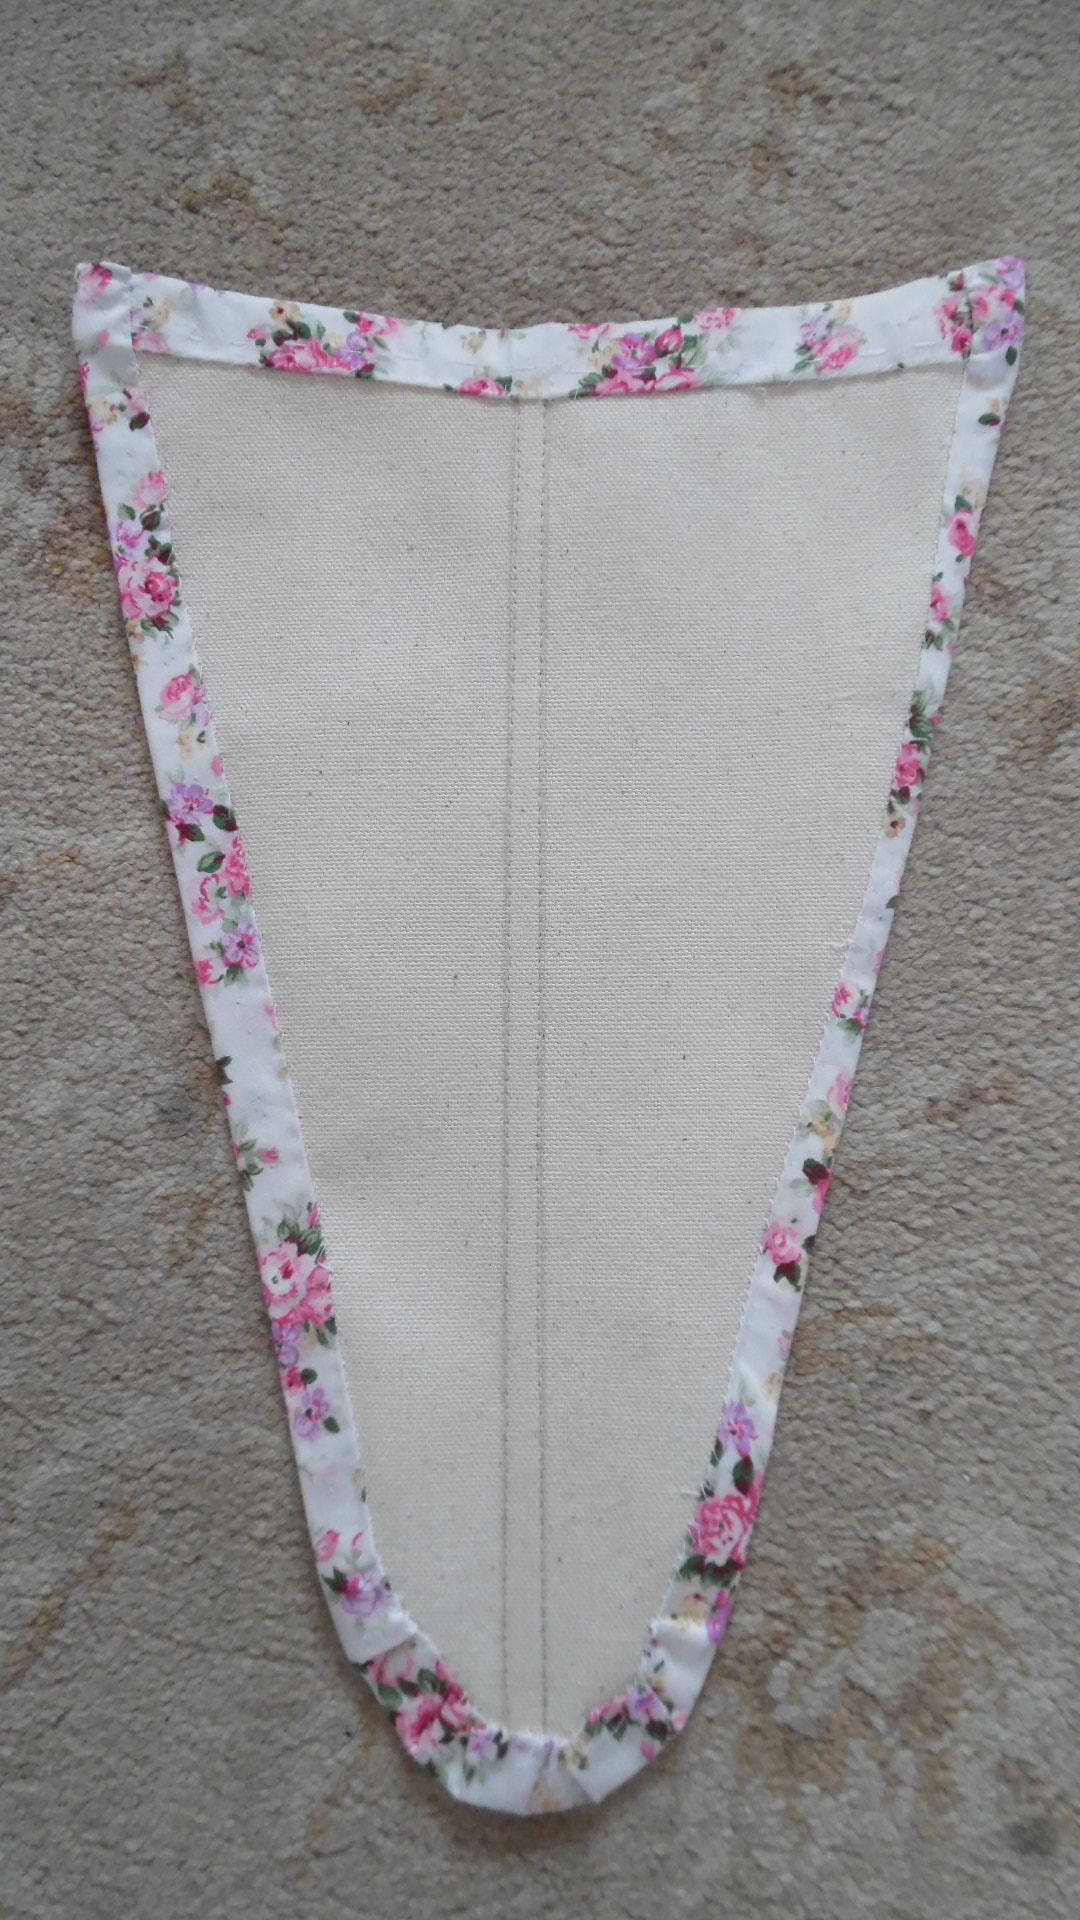
Cut out one piece of canvass and one piece of cotton. Tracy has decided to put in a piece of boning down the middle, to stop the bottom edge from turning upwards. If you decide you want this piece of boning, either sew a channel or sew in a piece of bias to take the boning.
|
|
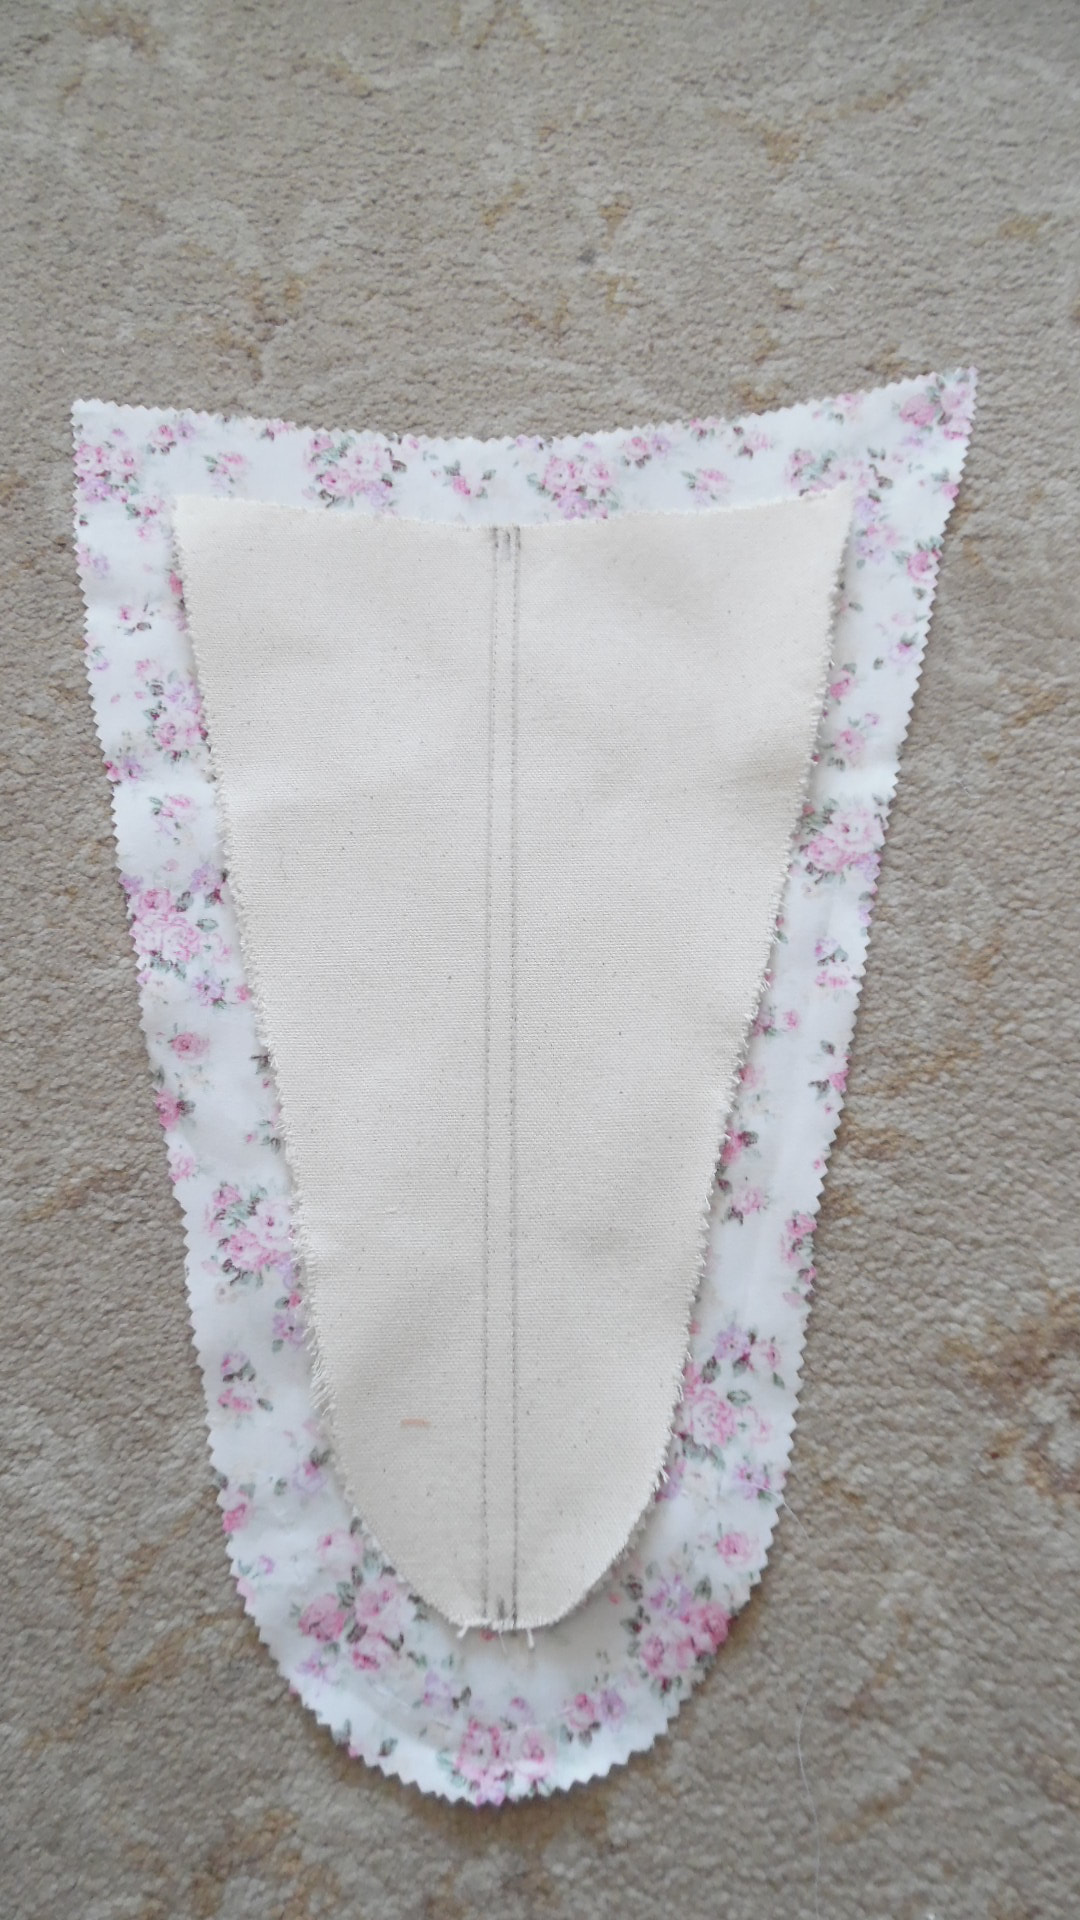
Cut a piece of fashion fabric that is larger all the way around, you will be turning this twice.
|
|
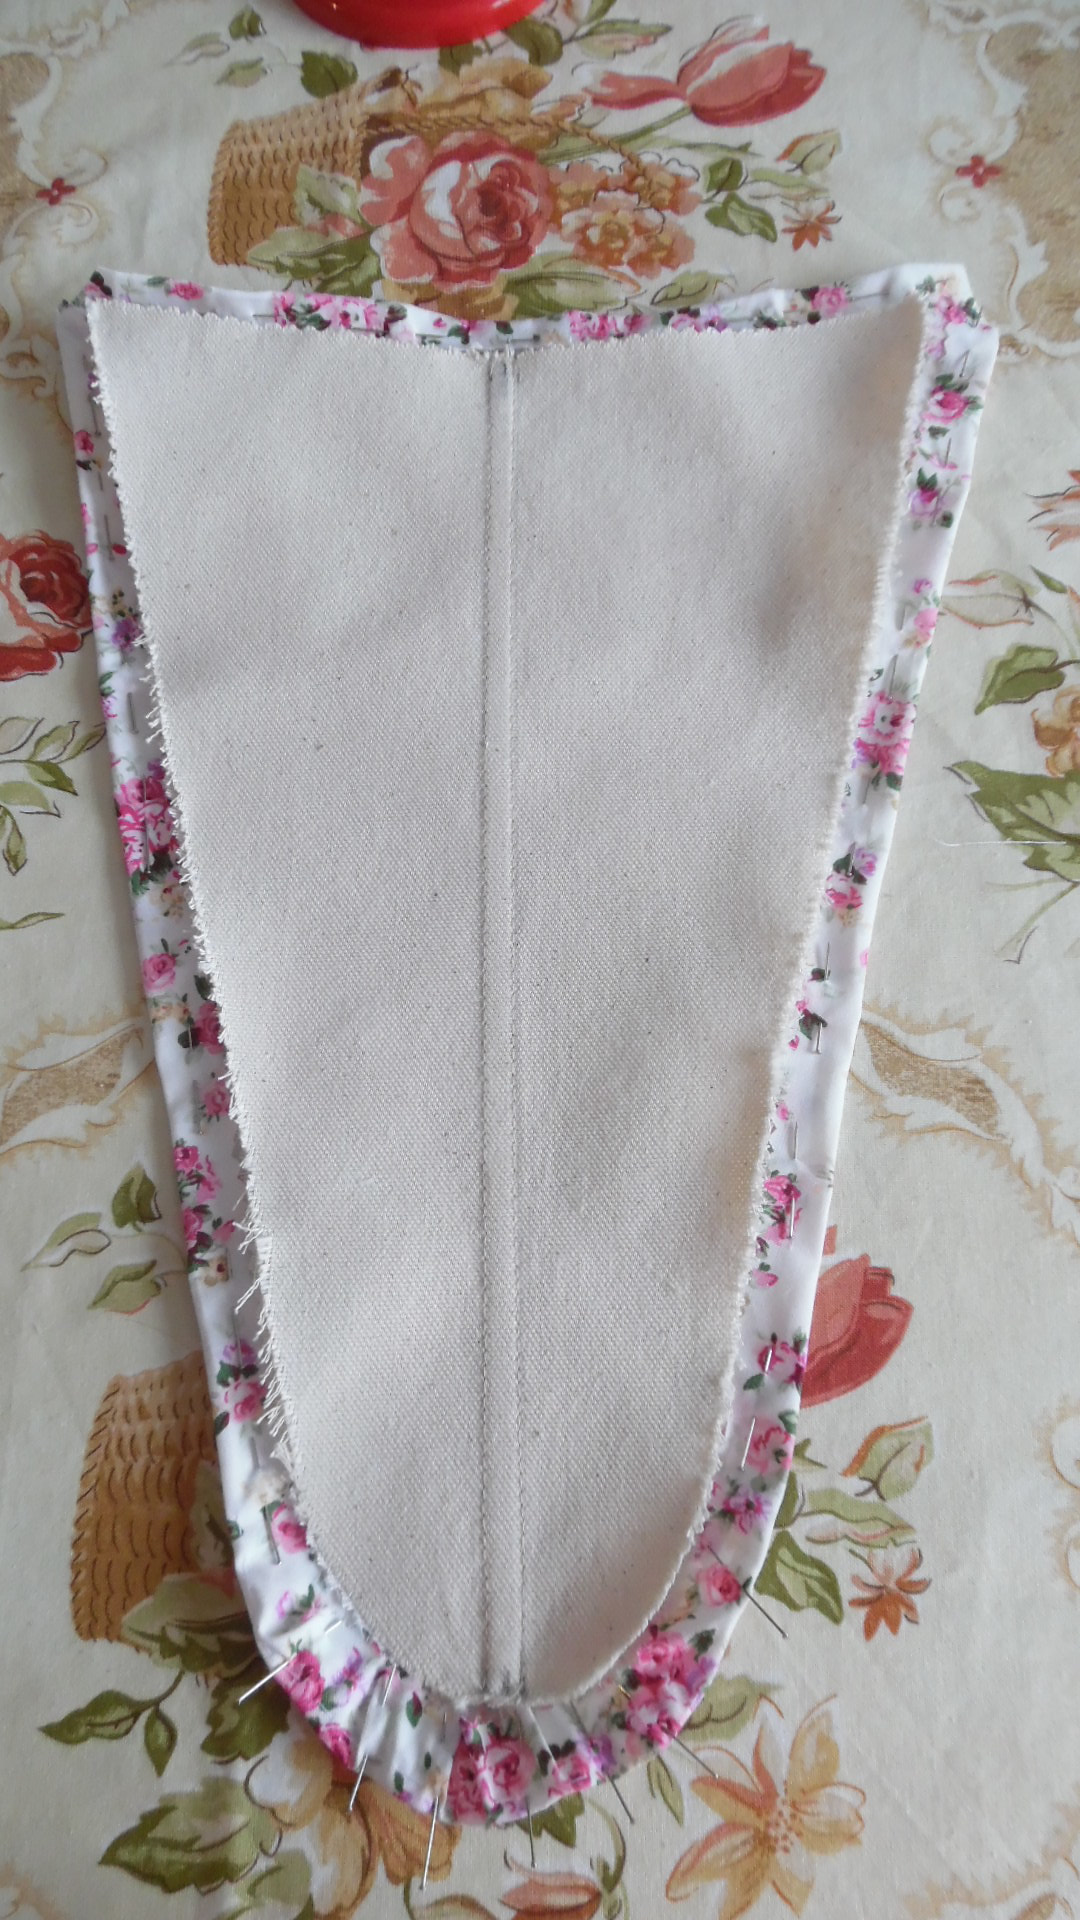
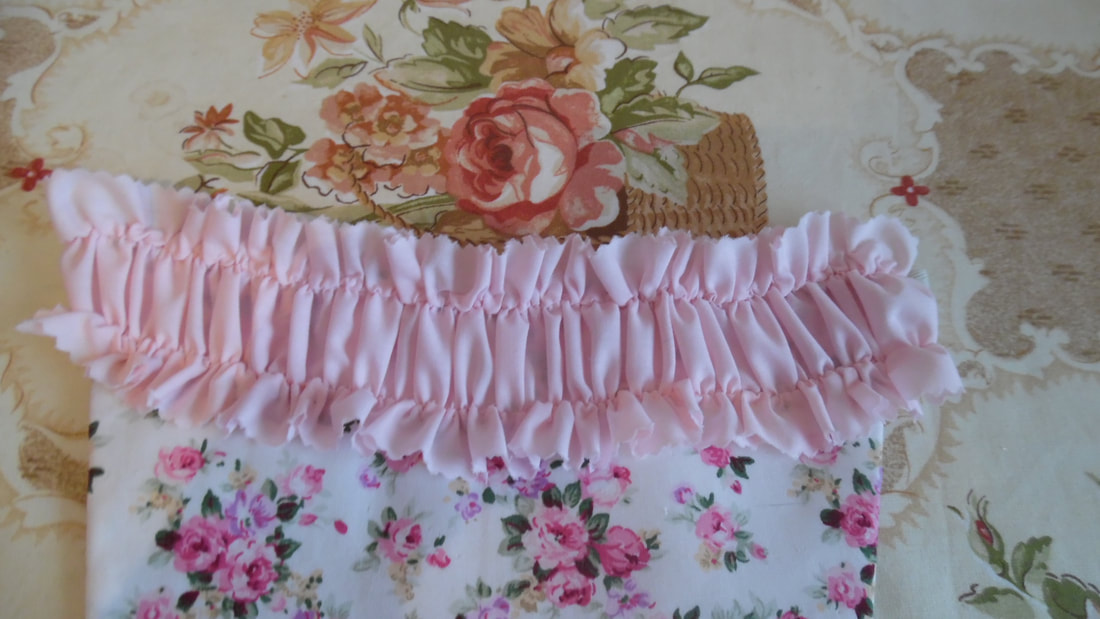
Clip off the top corners to reduce bulk. Sew a gathering stitch at the bottom edge to pull it into a curve. Turn a seam.
|
|
Turn a second seam and gathering stitch at the bottom. Whip stitch onto the liner piece.
|
|
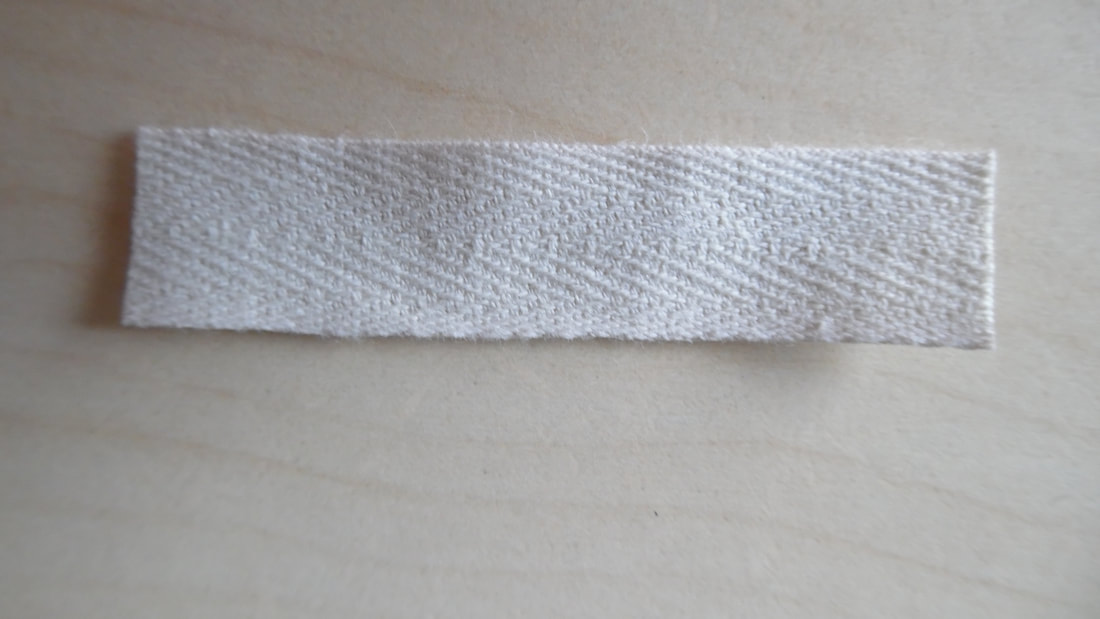
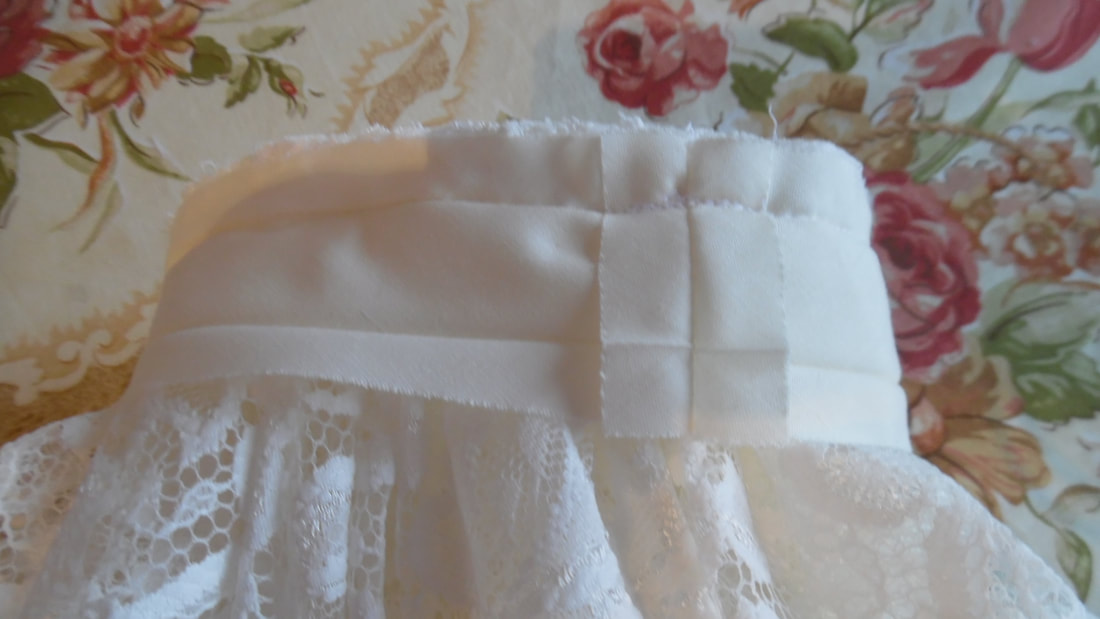
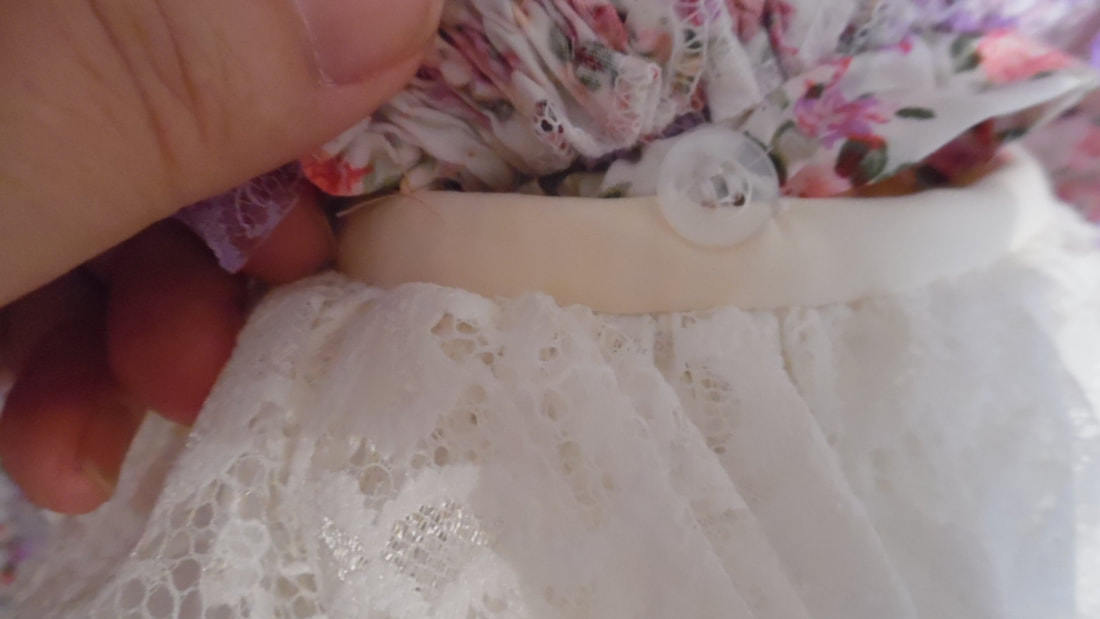
Cut six pieces of tape approximately 5cm long.
|
|
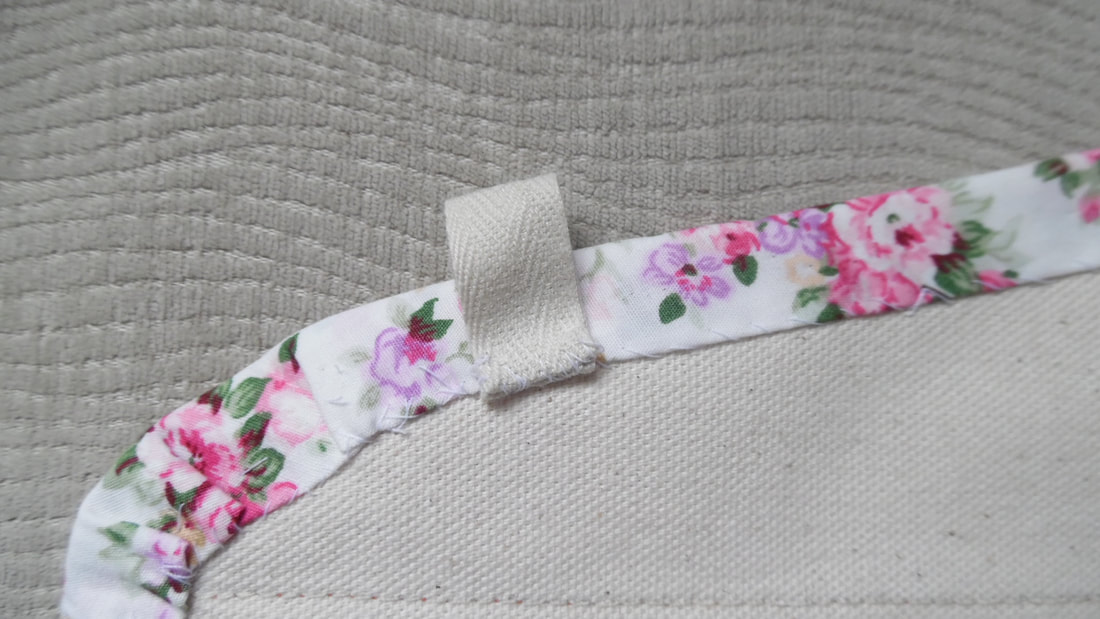
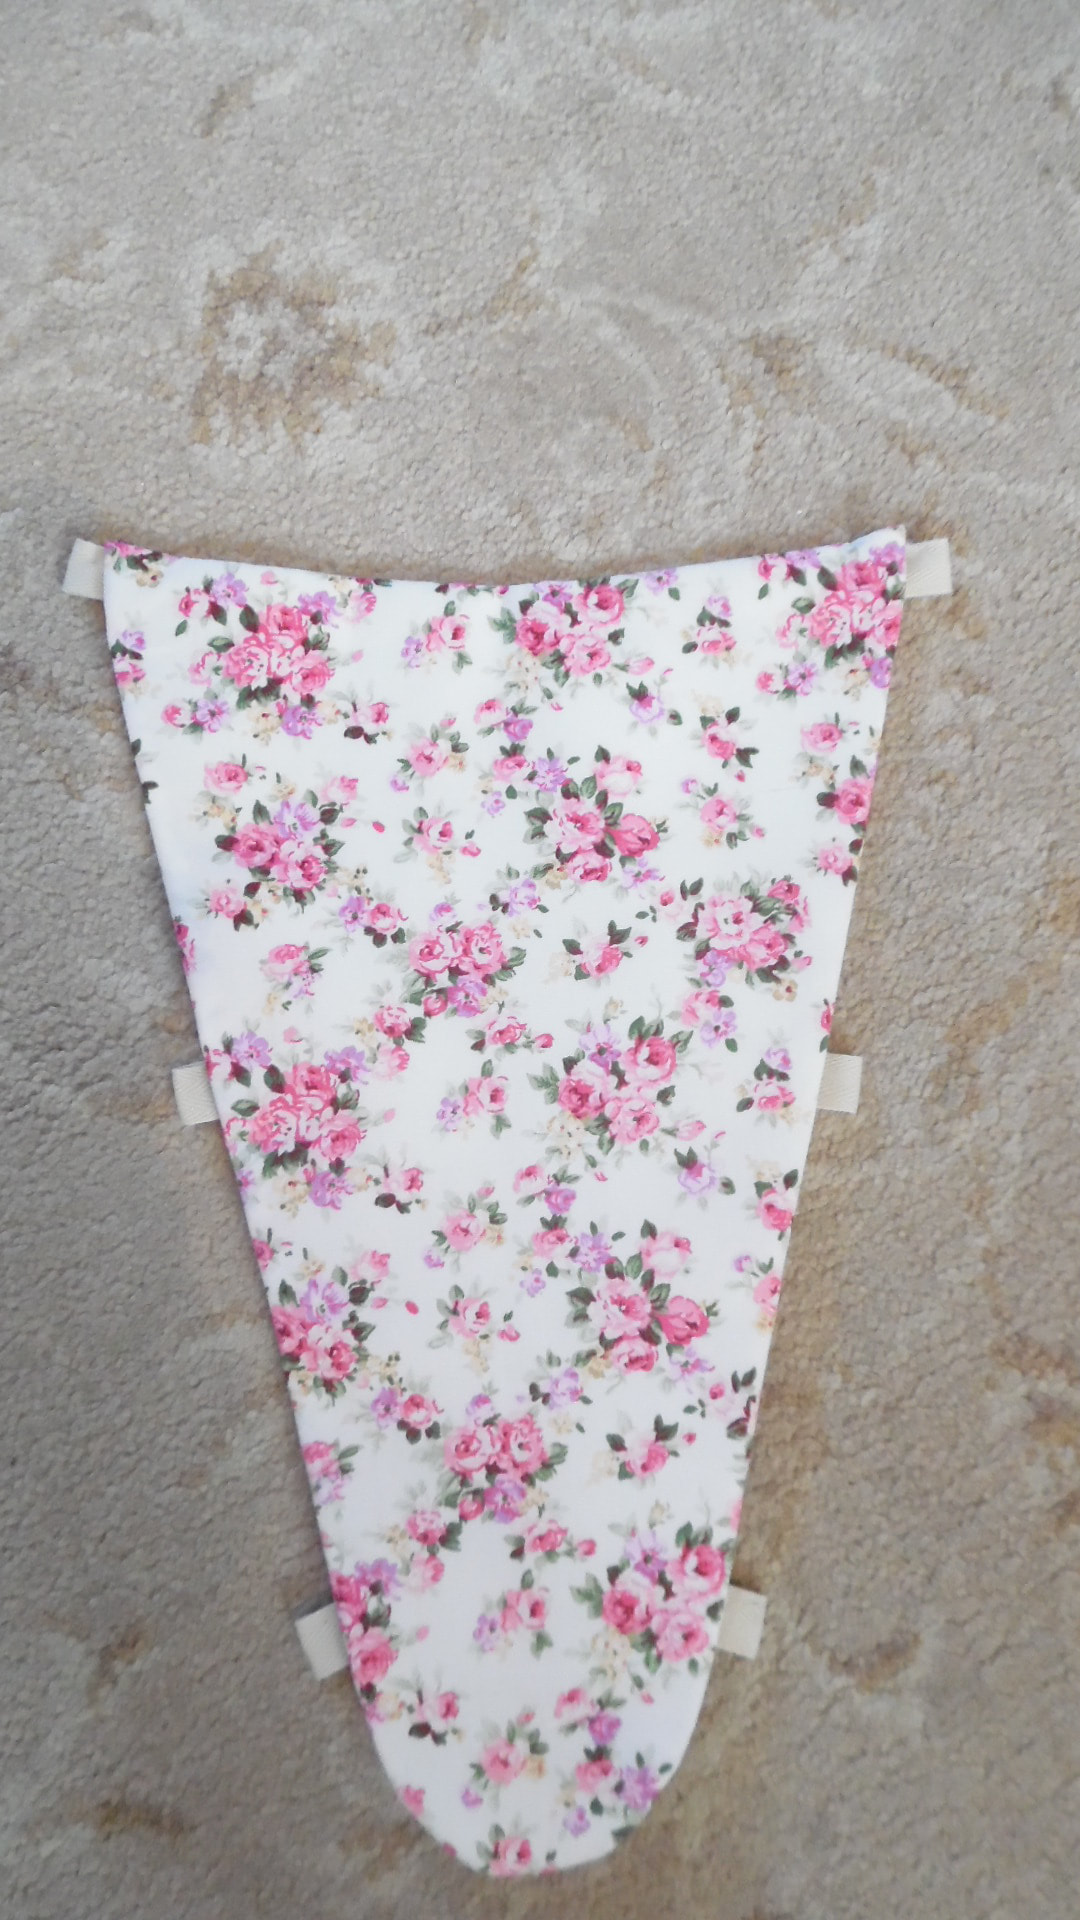
Fold the tabs in half and sew three of each side of the stomacher.
|
|
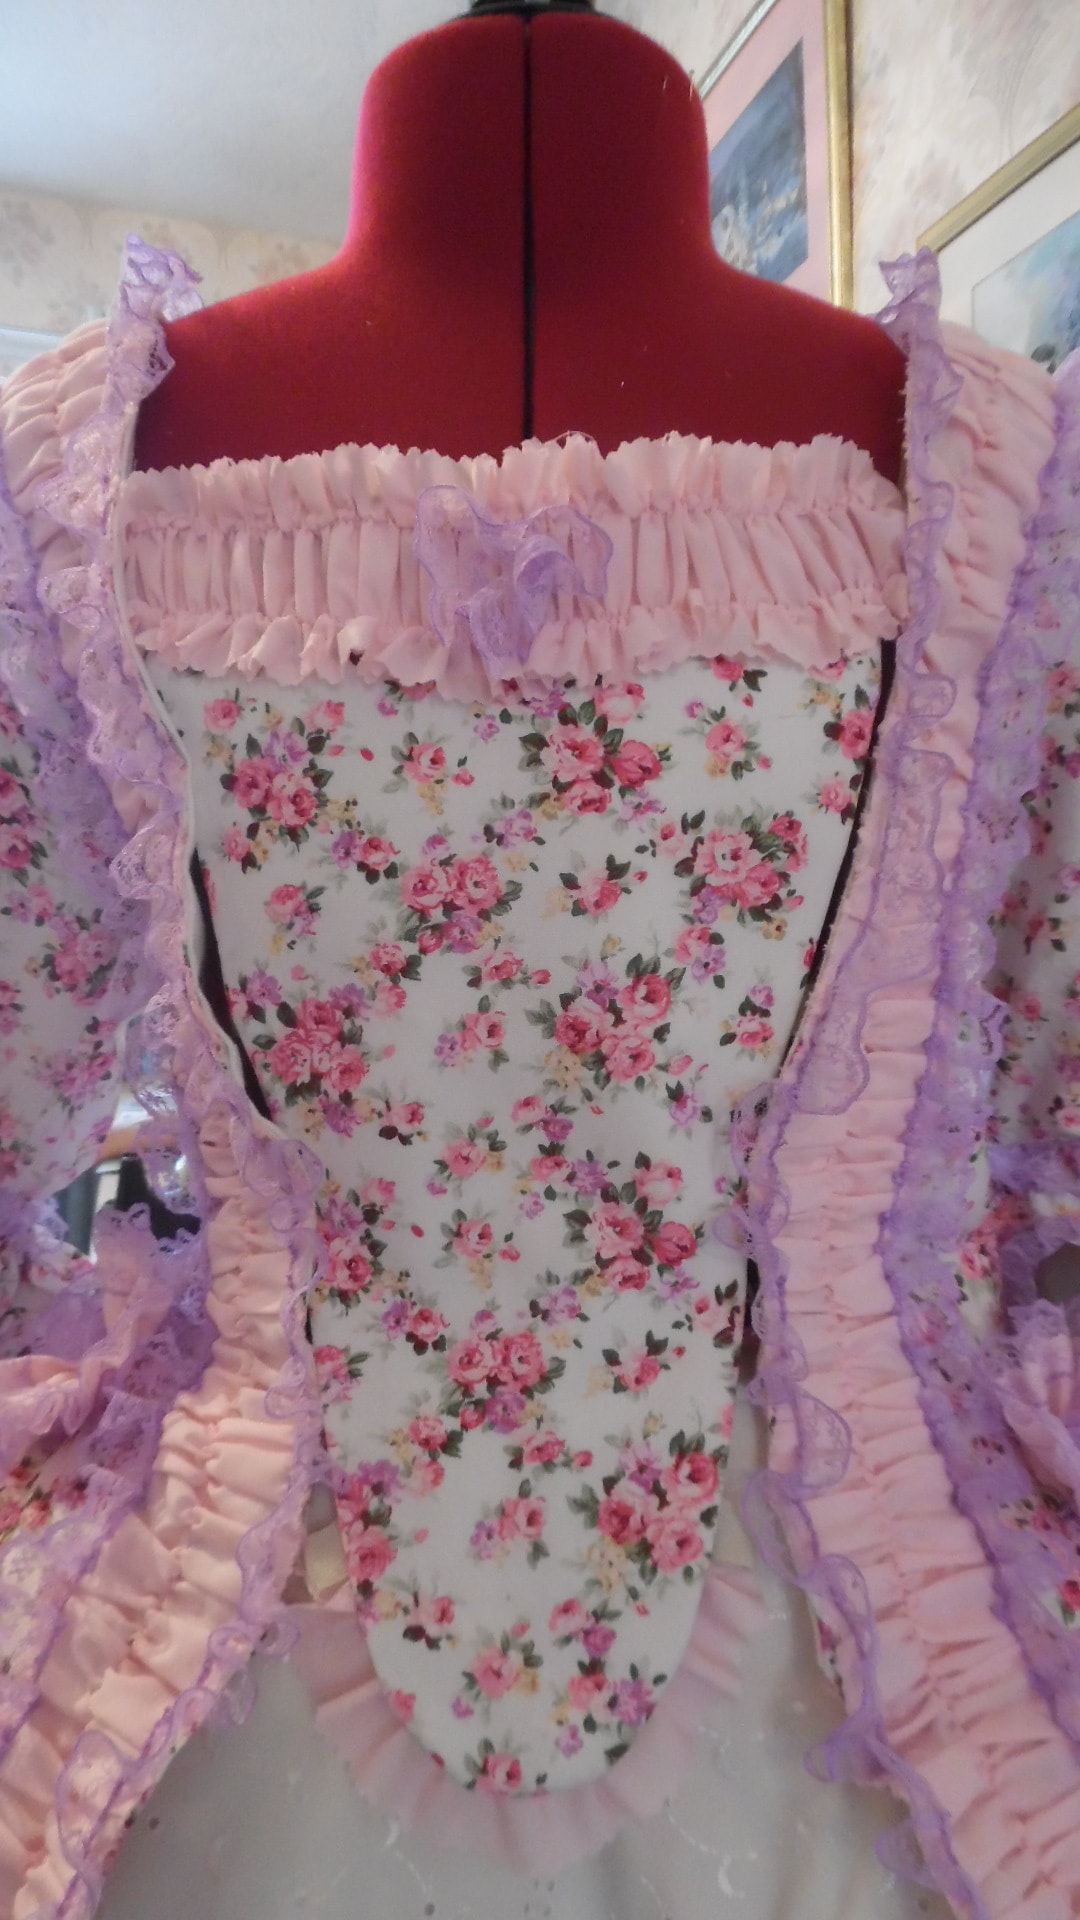
Using the same method as the front of the gown, I gathered enough material to sew a gathered piece across the top
|
|
I gathered a single piece and sewed it to the back of the stomacher, attaching it between the lower tabs.
|
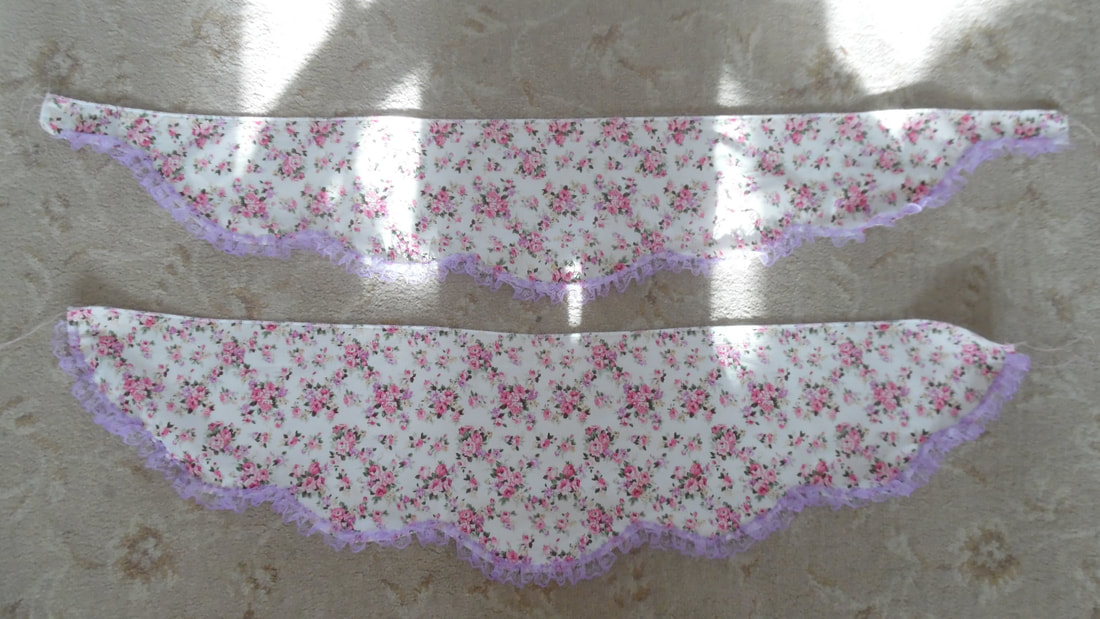
Sleeve Flounces
1/2 metre of fabric
Trim
There are numerous options for flounces, usually there are up to 3 fabric ones and 3 lace ones. But this is a free choice, as is the way it is designed. You can make the scallops as large or small as you see fit and may even decide not to scallop them at all.
|
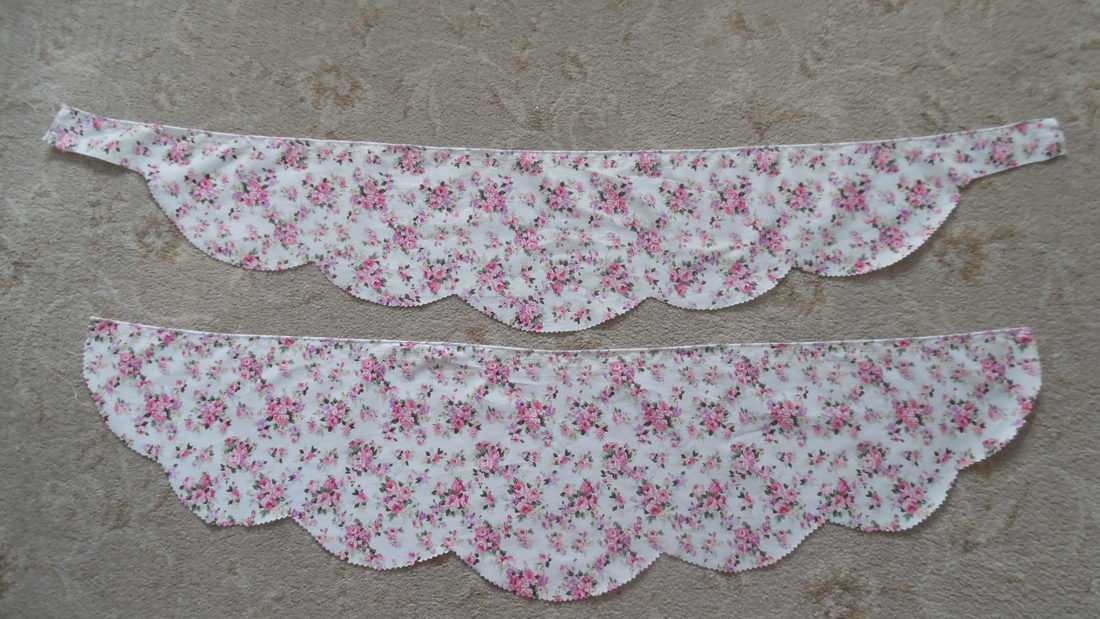
Overall length of the top flounce 106cm, at the widest point it is 19cm.
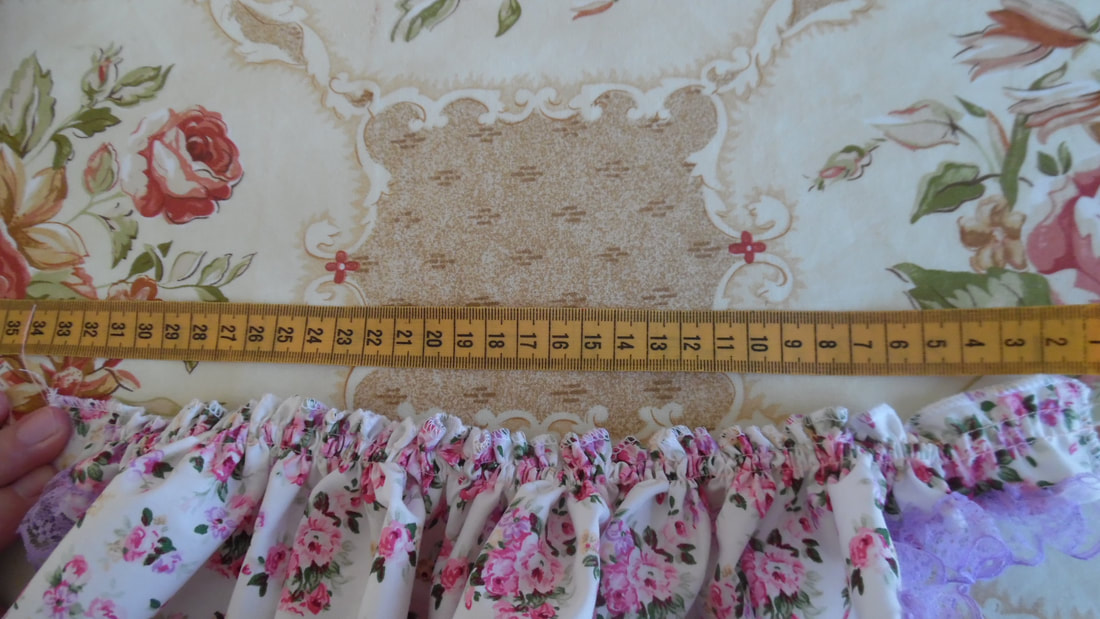
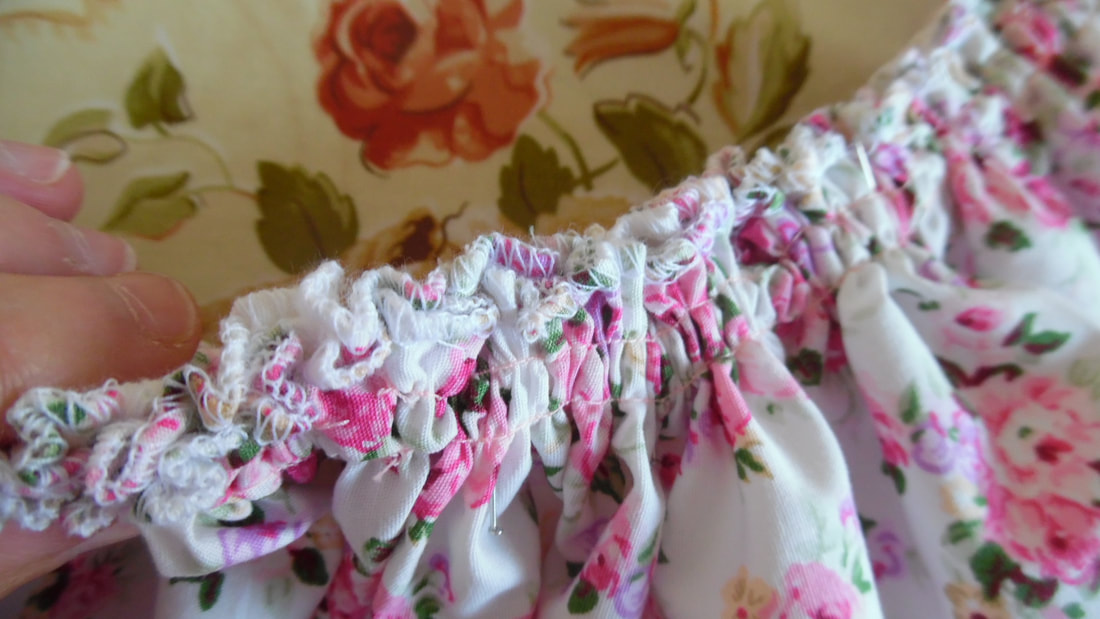
The bottom flounce is exactly the same except it does not have the extended tabs on the side, the widest part is 23cm. After overlocking the top edges, run two parallel gathering stitches across the top. |
|
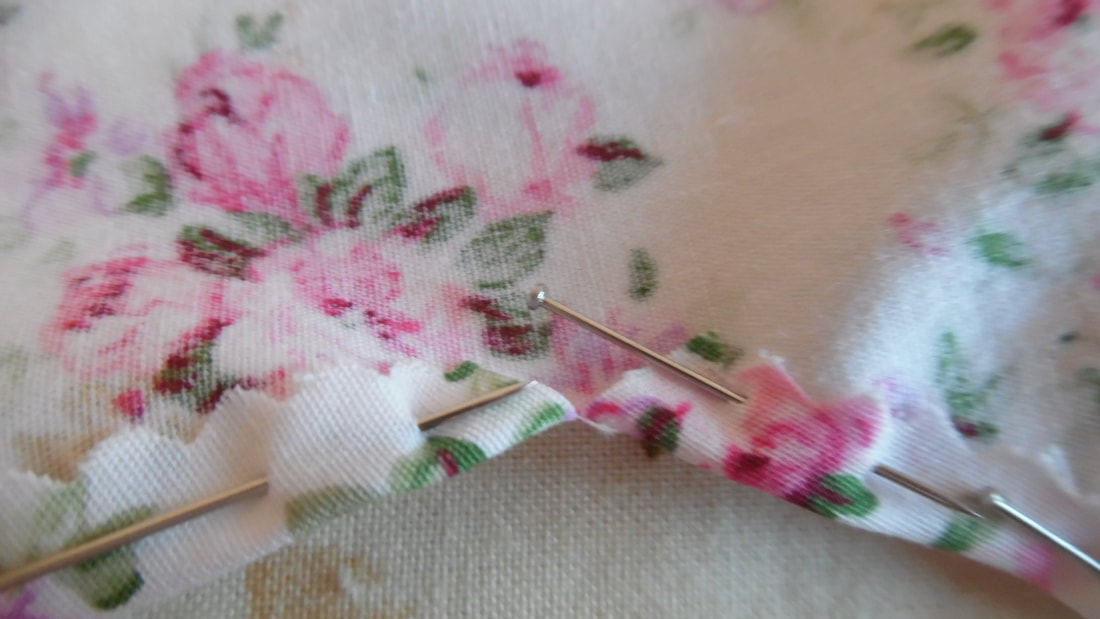
On the reverse side at the top of each scallop, snip approximately 1/2cm then turn under an edge all along both pieces and sew a running stitch.
|
|
Sew on your trim.
|
|
Measure around the bottom on your sleeve and allow a seam allowance. The bottom flounce does not go all the way around.
|
|
Sew the two flounces together, remember that the bottom flounce is 2" (5cm) shorter at both ends.
|
|
Sew the seam closed and then sew on trim around the inner circle.
|

|
This shows where to place the flounce. With the sleeve flat and the side seam on the edge, find the half way point and place a pin or mark approximately 1cm towards the side seam edge so it is "off centre".
You have probably decided already whether you want a level sleeve or a slanted one. If you want a slanted sleeve, flatten out the sleeve so the marker pin is at the edge then cut a slop towards the back. The marker pin is at the front of the gown. |
|
Sew the flounce on using the marker pin lined up with the flounce seam. Allow for 1cm to show underneath the flounce, we will be sewing buttons onto the cuff.
(When you bend your arm, it should come up through the gap) 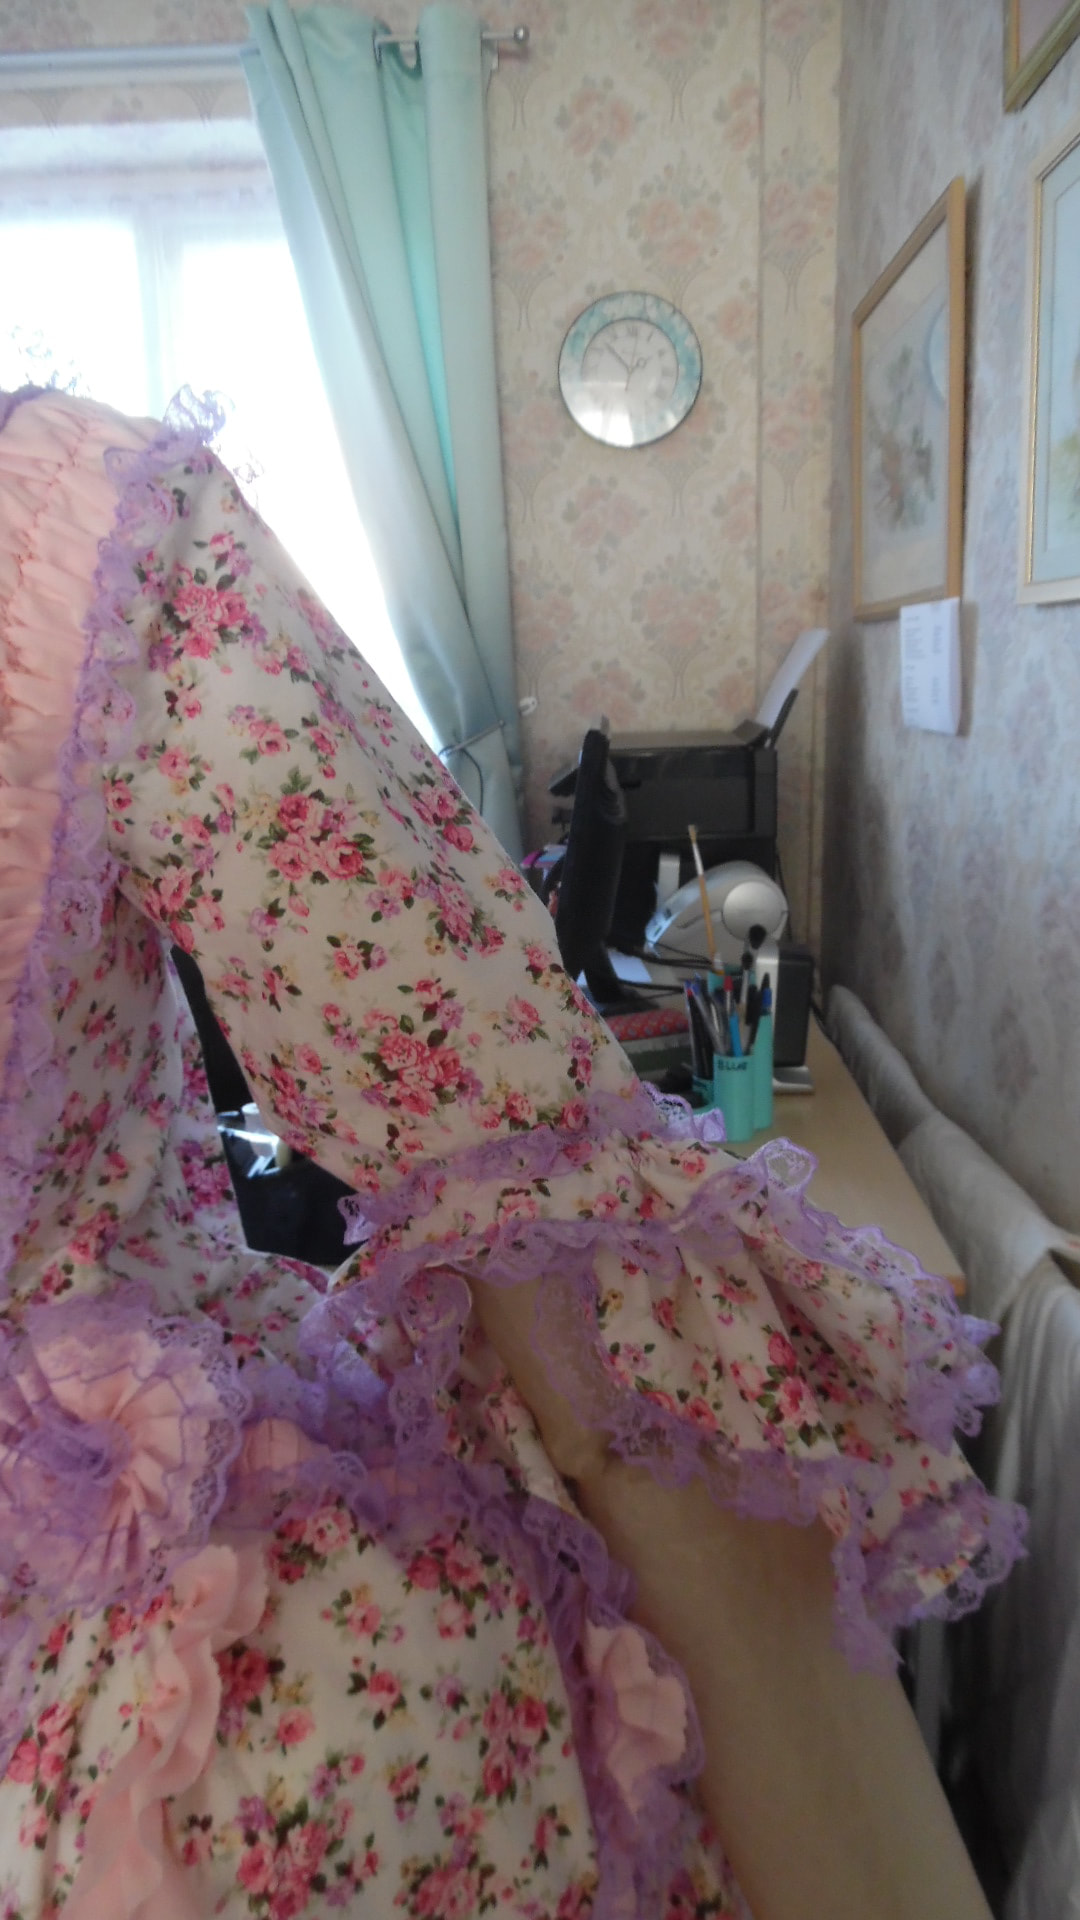
|
|
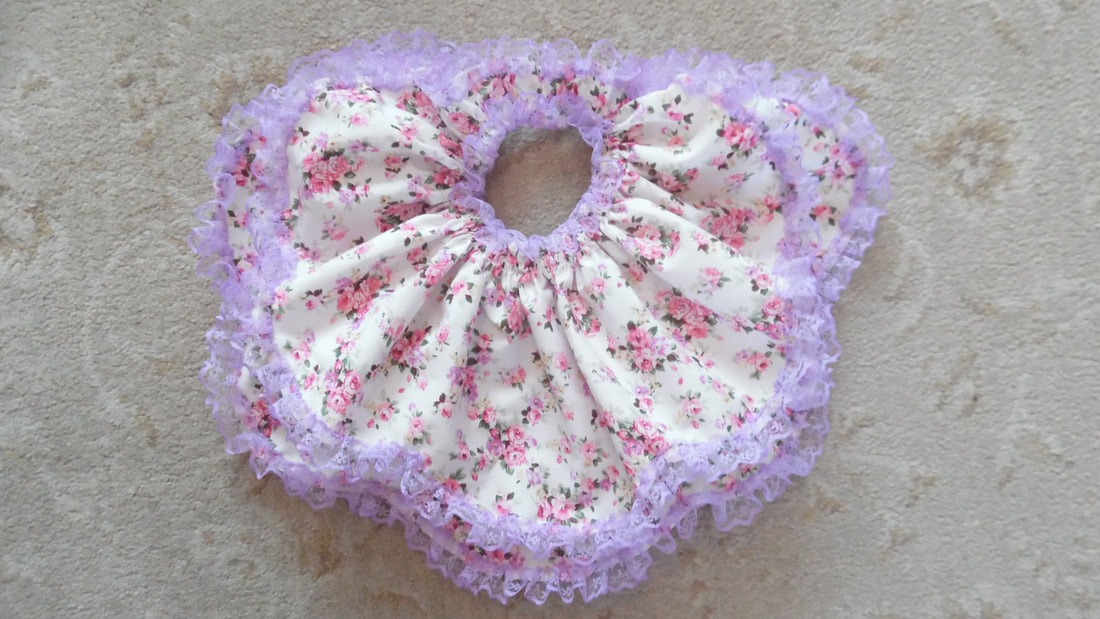
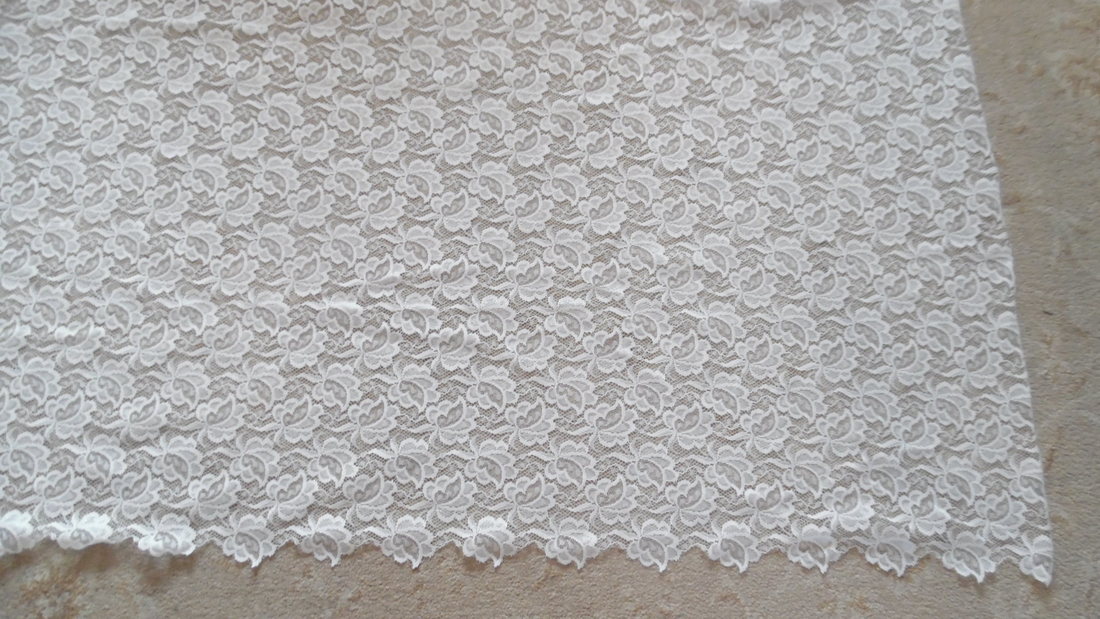
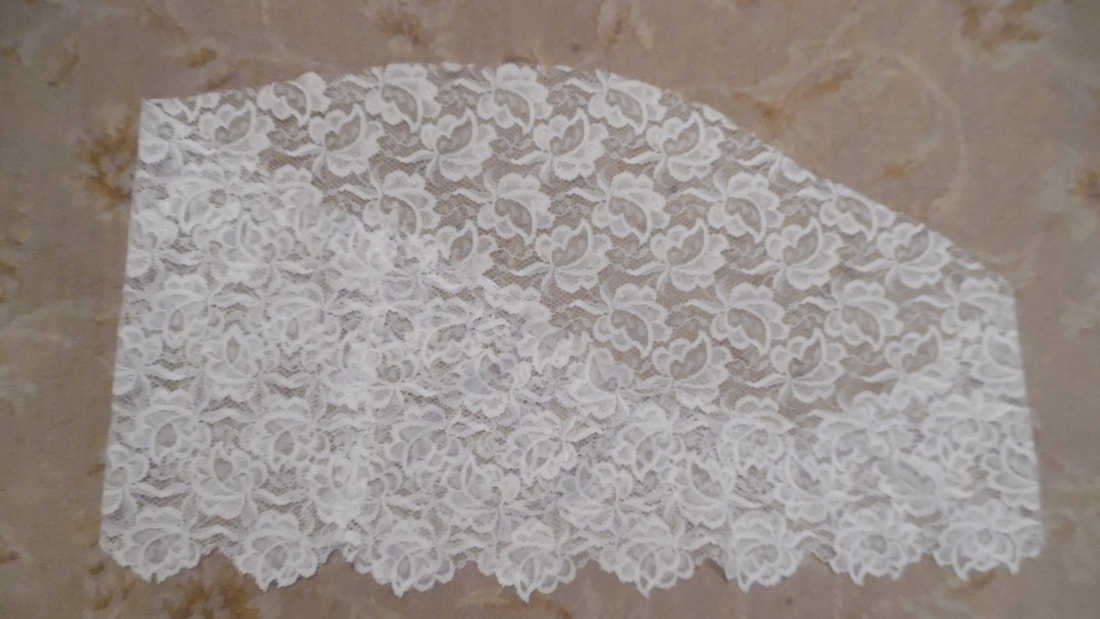
For the lace flounces, Tracy chose a net curtain fabric with a distinctive leaf pattern and carefully cut around one row to become the bottom of the flounce.
|
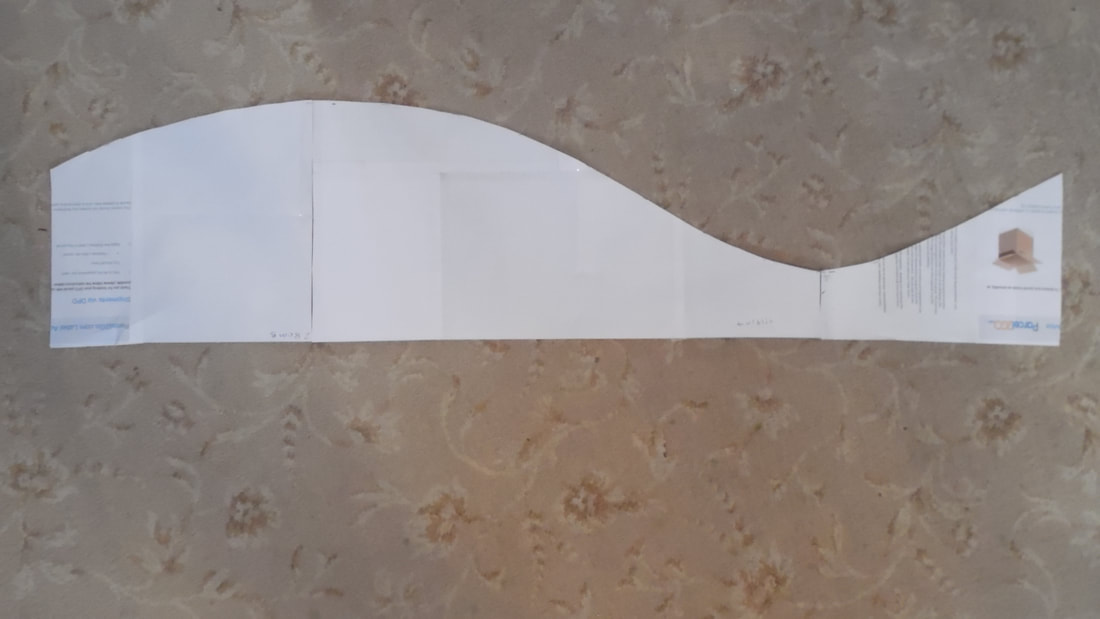
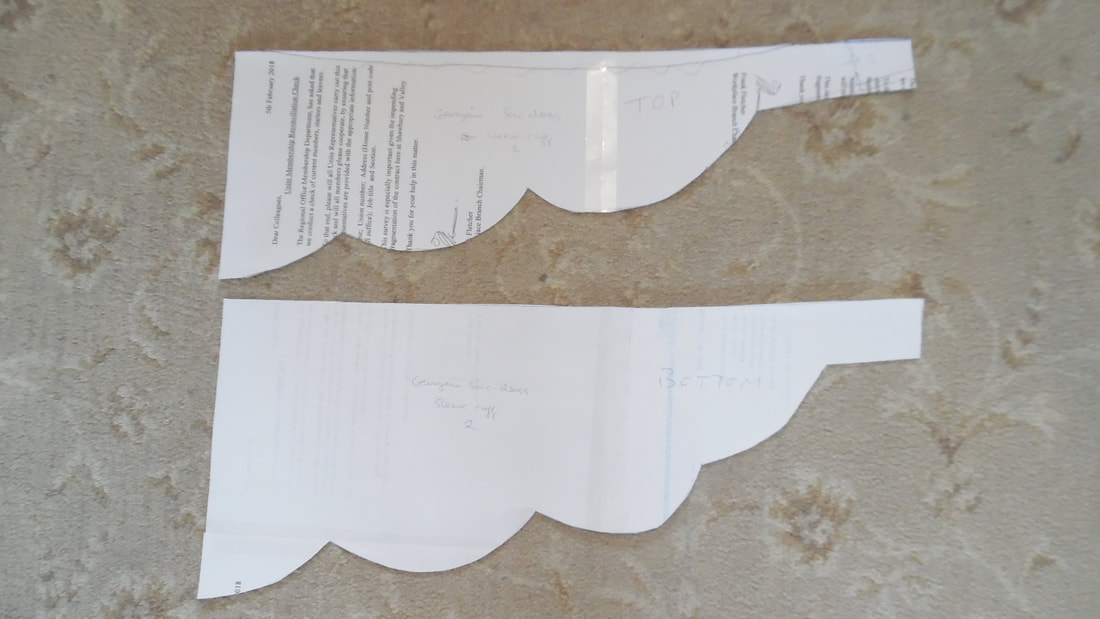
Using the original Jean Hunnesett flounce pattern (left), I turned the pattern upside down, found the quarter way mark, cut this off and attached it to the opposite end. All instructions for doing this are on the video.
Because we want a scalloped edge, this had to be done on a straight line, so by turning the pattern upside down, it works just as well. If you have chosen a fabric that does not require a scalloped edge, you can use the pattern on the right and either leave it with a plain edge or add scallops.
|
|
We are making 3 flounces, each 5cm longer than the previous one. So from your original fabric flounce pattern, add 5 cms to the back and 2cms to the front, the second flounce will be 10cms longer at the back and 4cms longer at the front. The last flounce will be 15cms longer at the back and 6cms at the front. Please see video for instructions.
|
Sew the side seam so it looks like this, looks a bit weird, but we don't want the seam to appear on the front, but want to hide it on the inside.
|

|
Run two rows of stitching to gather. This is done all the way around the "unscalloped" edge. We found it easier to do this in two stages as it reduces the risk of the thread snapping and then you will have to stitch it again.
|
|
Measure around the cuff at the end of the gown sleeves and cut a piece of bias to fit, allow 3cm for a seam.
Flatten the bias open first. |
|
Gather the flounces separately to fit the cuff. Open the bias and sew all three lace flounces together around the top crease. Then cut down any excess fabric to the width of the bias.
|
|
Turn the bias edge back, then fold it over to the inside and hand stitch in place.
|
|
Sew four loops to the top of the bias spaced around the top and four buttons sewn onto the cuff of the gown sleeve. This was made detachable so it can be removed for washing if necessary.
|
The finished flounces.
