For this costume, you will require intermediate to experienced expertise in sewing, bodice making and boning and use of an overlocker.
Difficulty factor 8 - 10
Aurora
from
Sleeping Beauty
Please note, that we do not make costumes to order or to hire. These are one off costumes designed for Tracy.
Please use these instructions in conjunction with our videos, as they contain more information on items needed, their sources and technique
Materials:
Skirt:
5 Metres Pink Pure Silk Satin in Cyclamen 563 (Ebay Eurofabrics)
5 Metres Ivory Polyester Satin
6-8" Invisible zip
8 Metres gathered Lace trim 1" wide
Skirt:
5 Metres Pink Pure Silk Satin in Cyclamen 563 (Ebay Eurofabrics)
5 Metres Ivory Polyester Satin
6-8" Invisible zip
8 Metres gathered Lace trim 1" wide
|
|
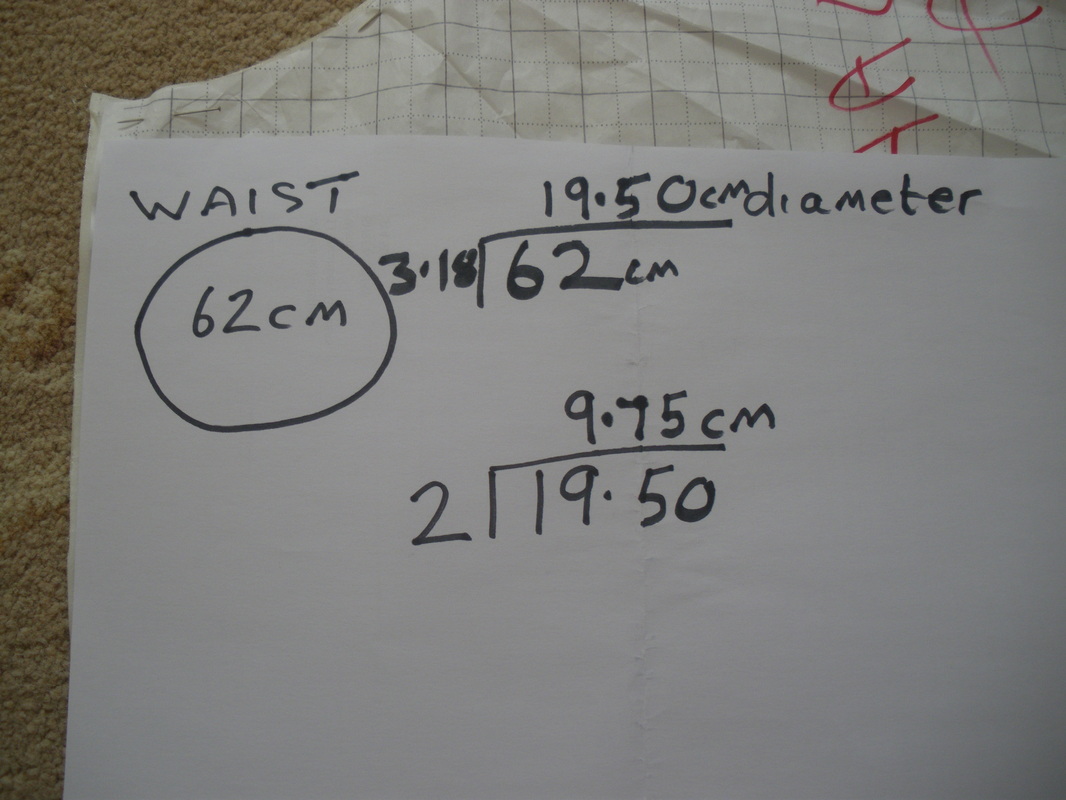
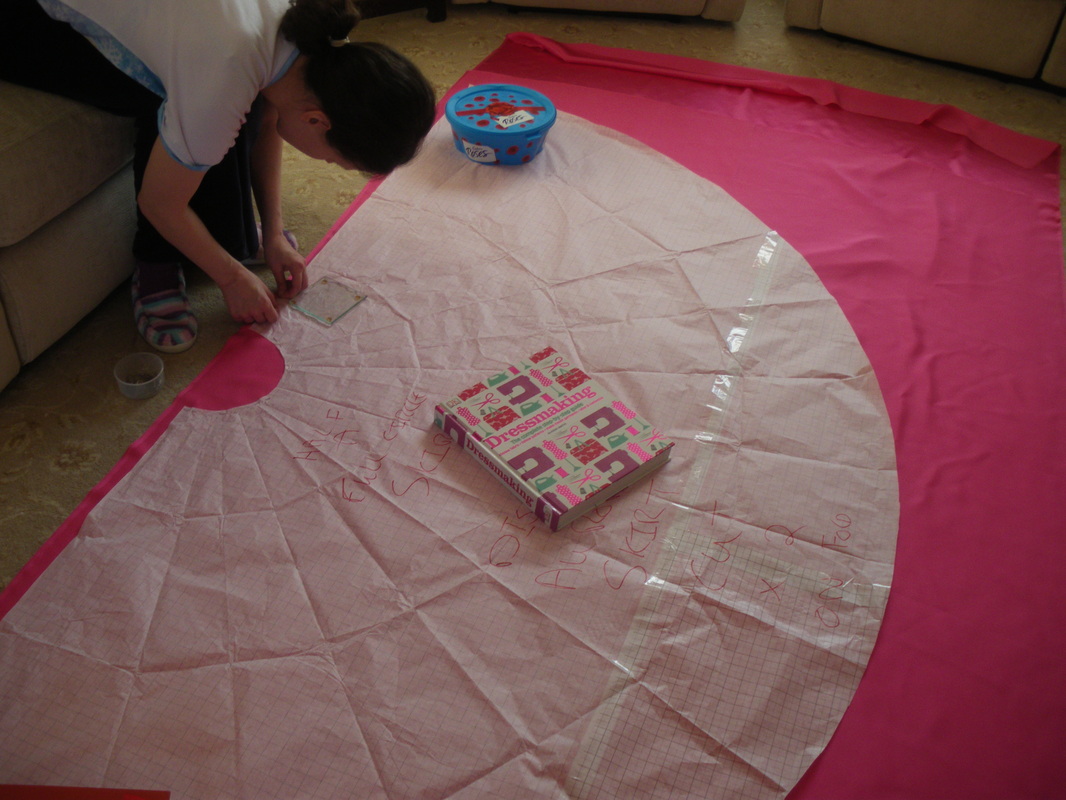
Instructions for working out your waist. We already have a pattern made as we have used this pattern several times. Get someone to measure from your waist to the floor, then add the radius measurement. Fold your material along the selvage edge. Use the measurement along the edge, to find the halfway point of your skirt, Set your compass to the radius measurement and draw your waist. then from the centre point again, draw a semi circle to this measurement for the length of the skirt. You will also do this for the petticoat material.
|
|
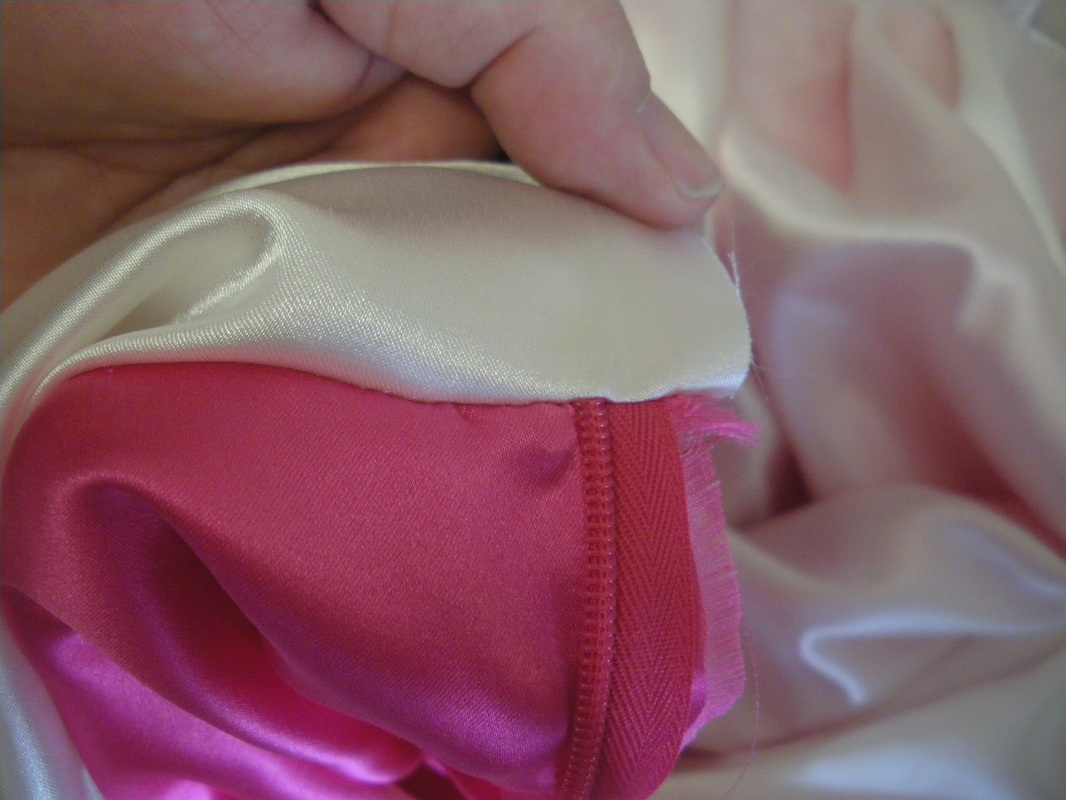
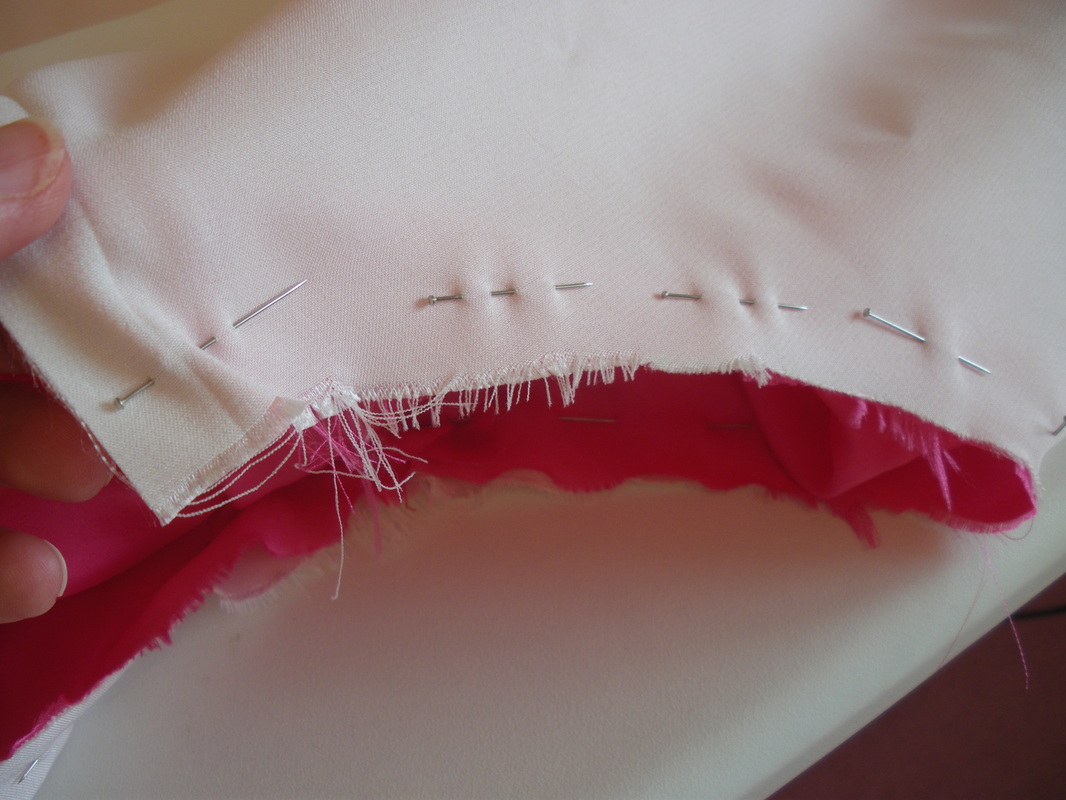
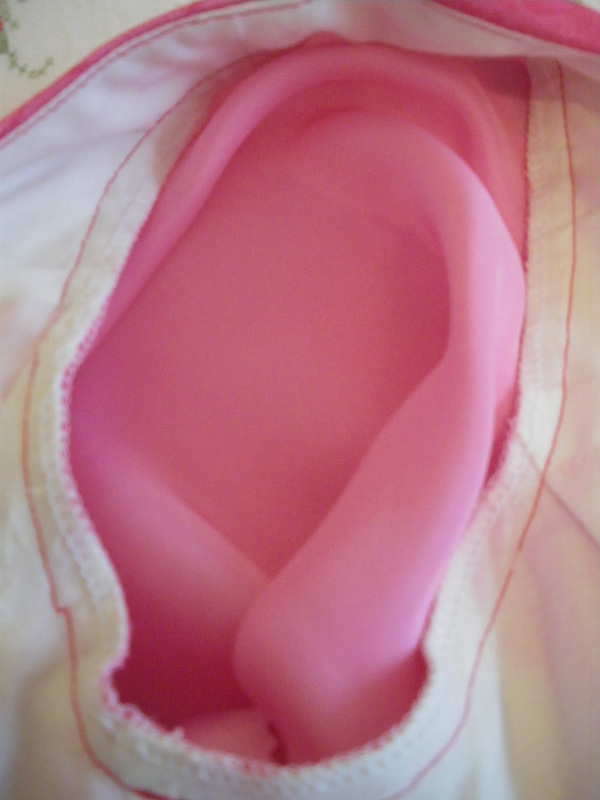
After sewing up your skirts along their side seams, remember to leave a gap for the insertion of a zip. You need only sew the zip into the pink fabric. Now pin, tack and sew your petticoat at the waist.
|
|
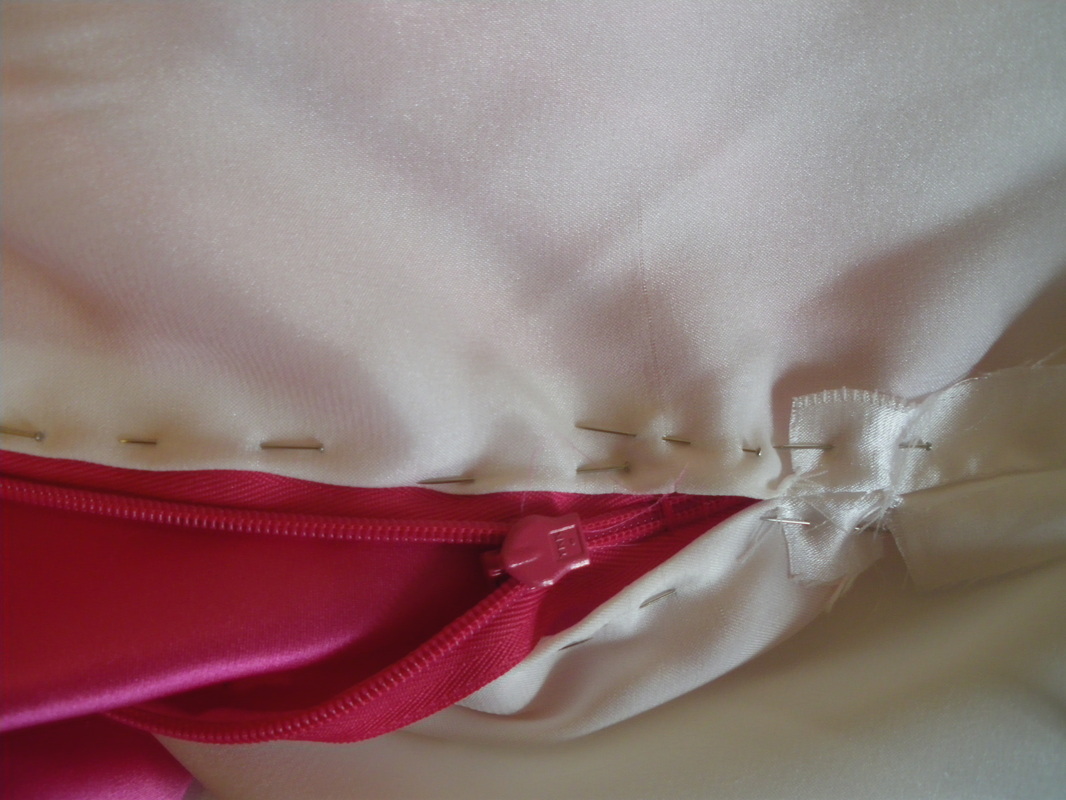
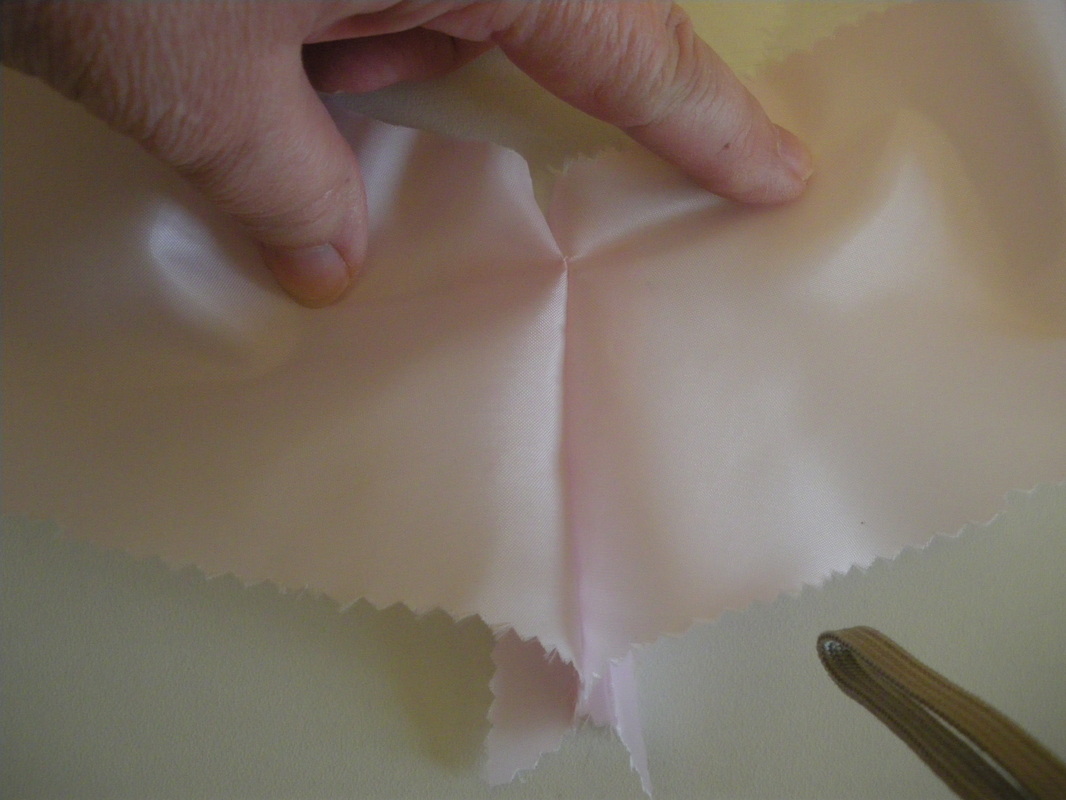
Turn the zip seam allowance in and also turn in the petticoat seam allowance and hand sew to the inside of the zip. Now because we didn't want a seam showing on the petticoat, you will find that the seam is facing the wrong way at this stage. Clip the seam below the zip so that it turns to the inside. Turn the hem up on the skirt.
|
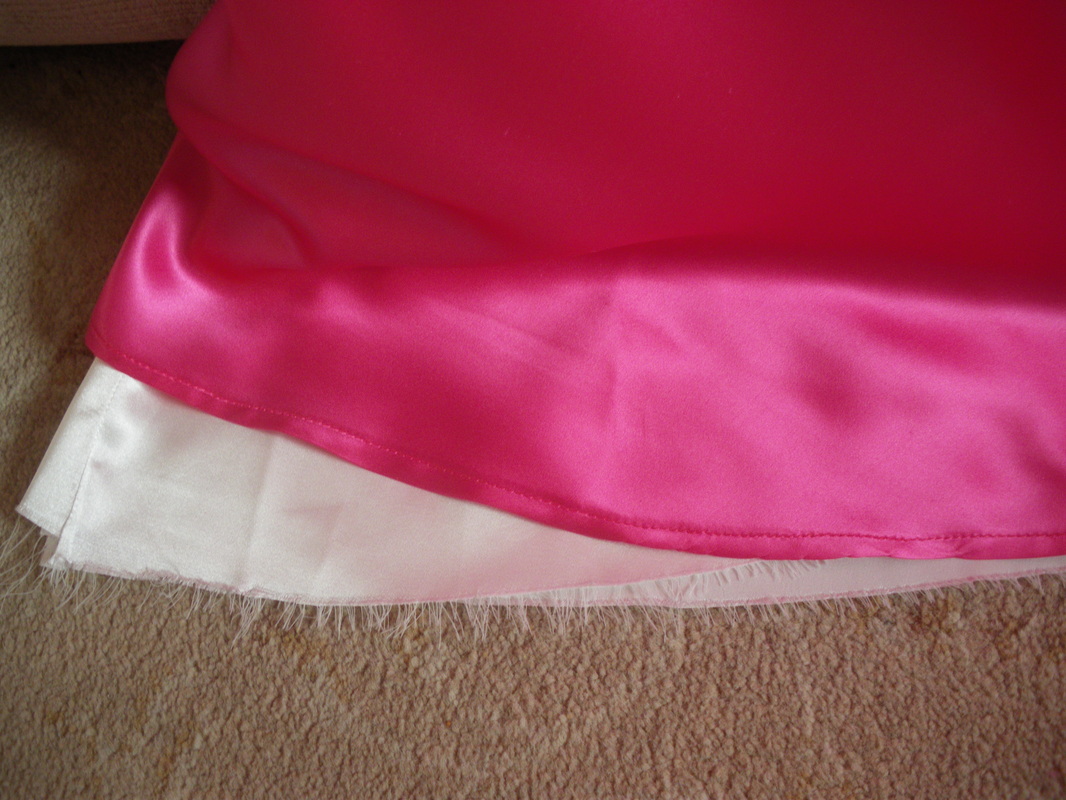
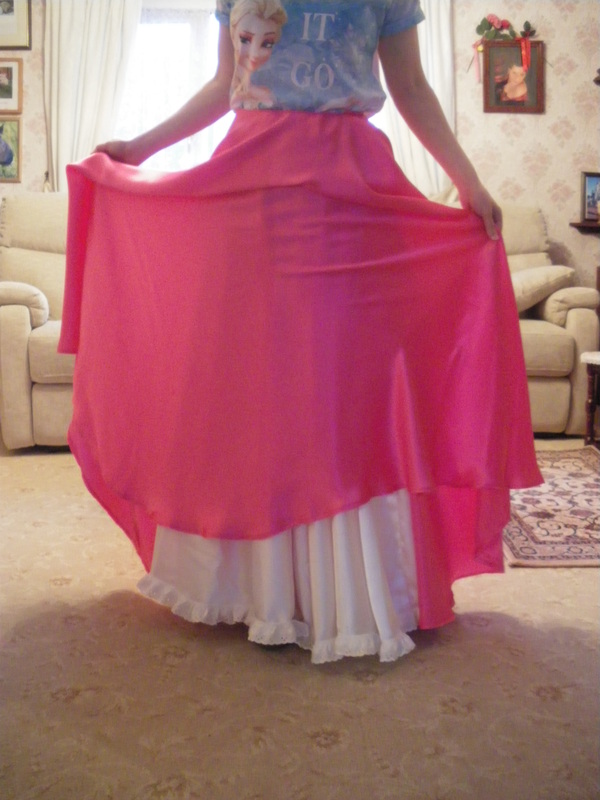
If you are going to add a lace trim, make sure it doesn't show under the skirt when finished.
This completes the skirt. |
The Peplum:
1 Metre pink Silk Charmeuse (Ebay happygoodbuy) (some of this is used to make the sleeves)
1 Metre pink lining
Optional iron on or sew in interliner
Short open ended zip to fit
Simplicity Disney Princess 1553HH or pattern of your choice
|
|
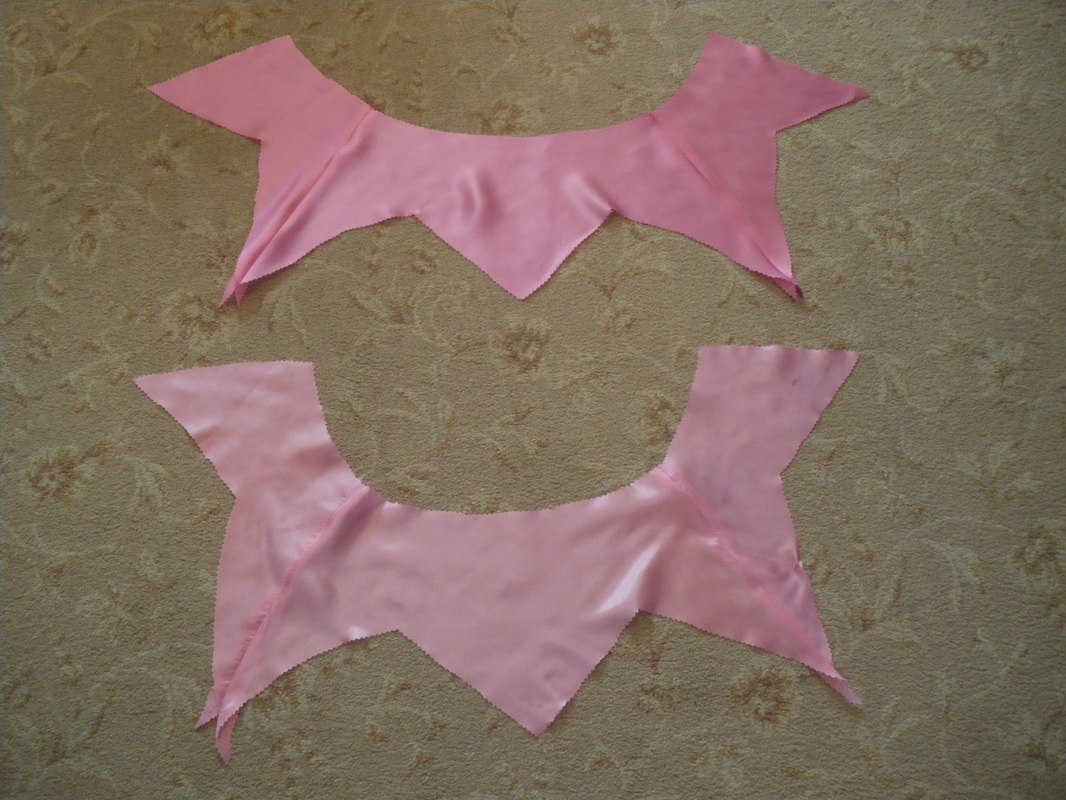
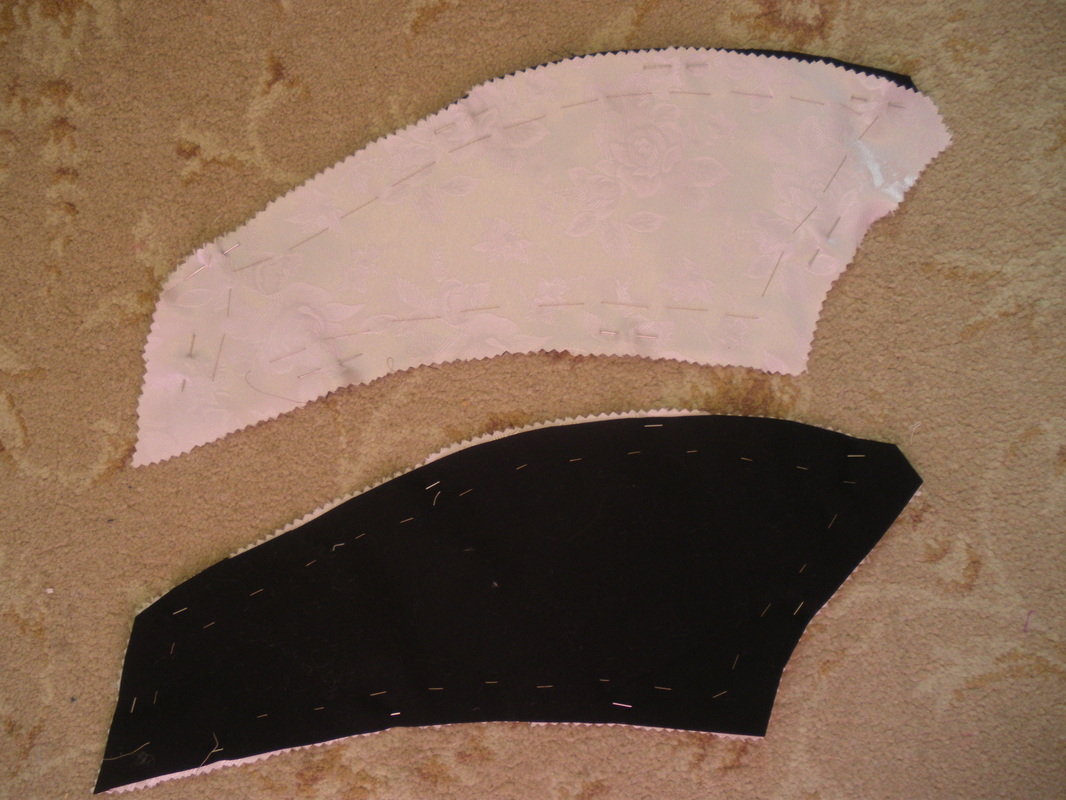
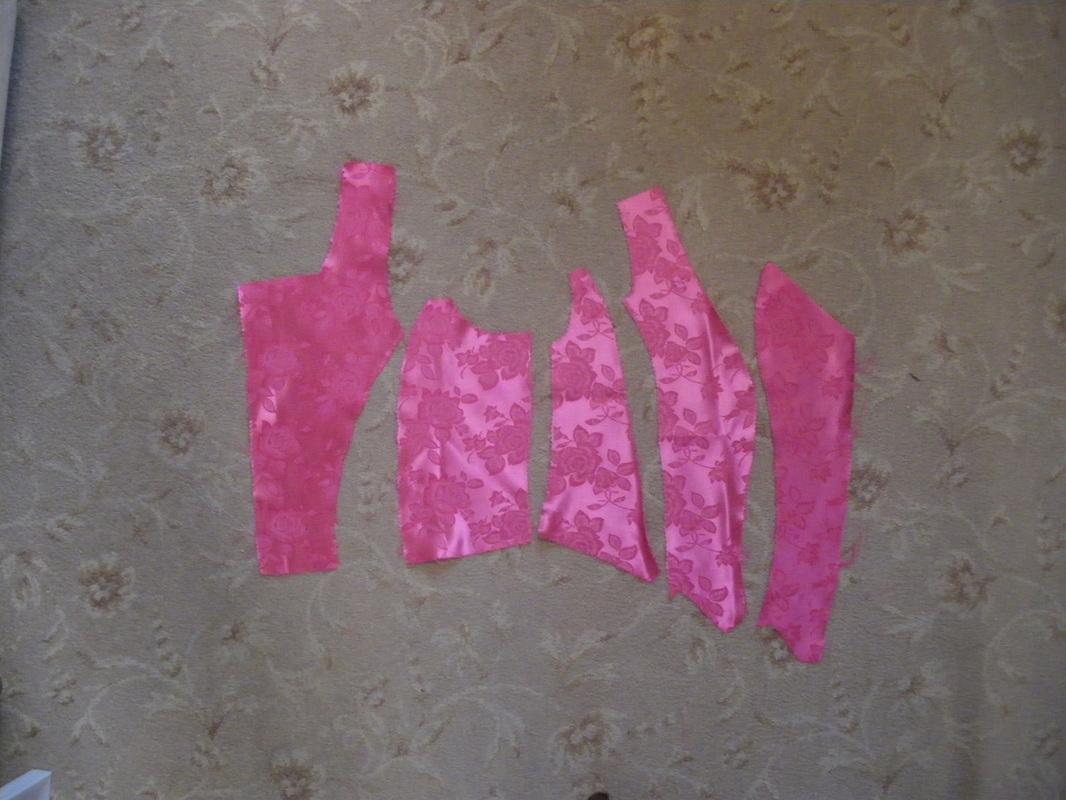
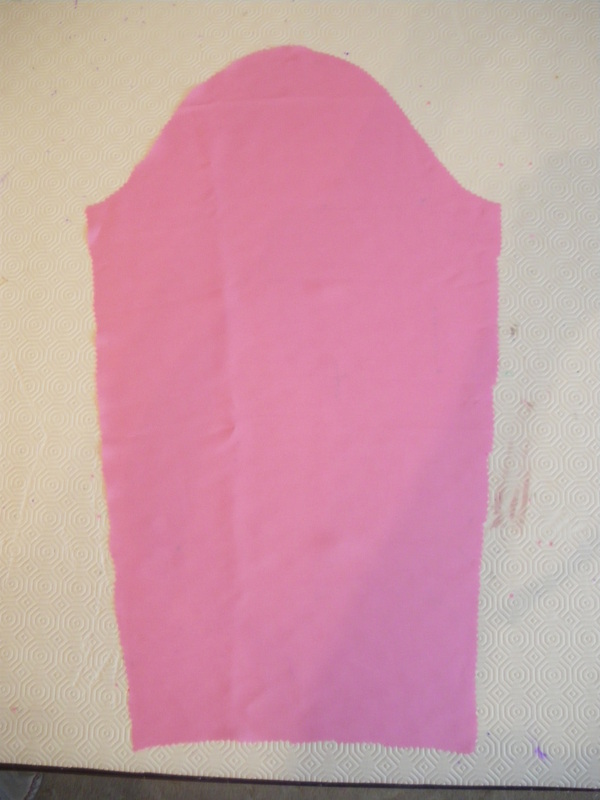
Using the Simplicity pattern for the peplum, cut out your pieces.

|

|
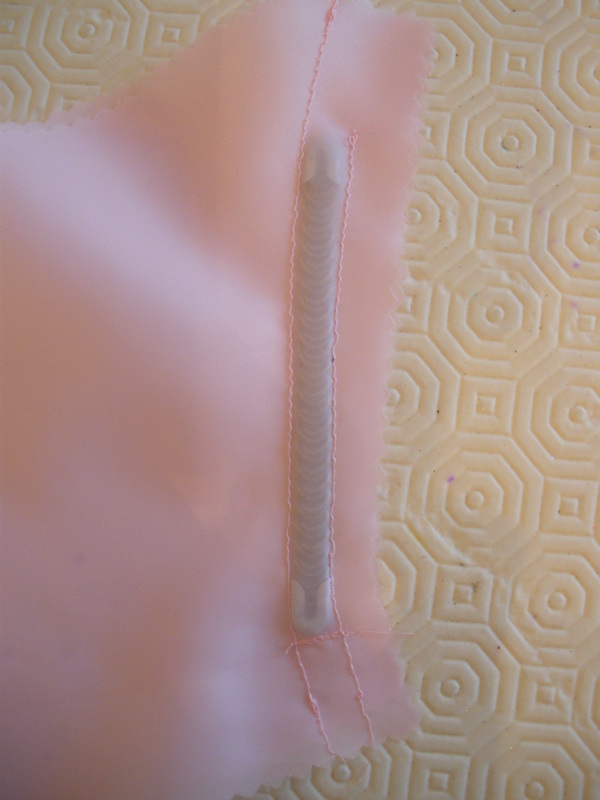
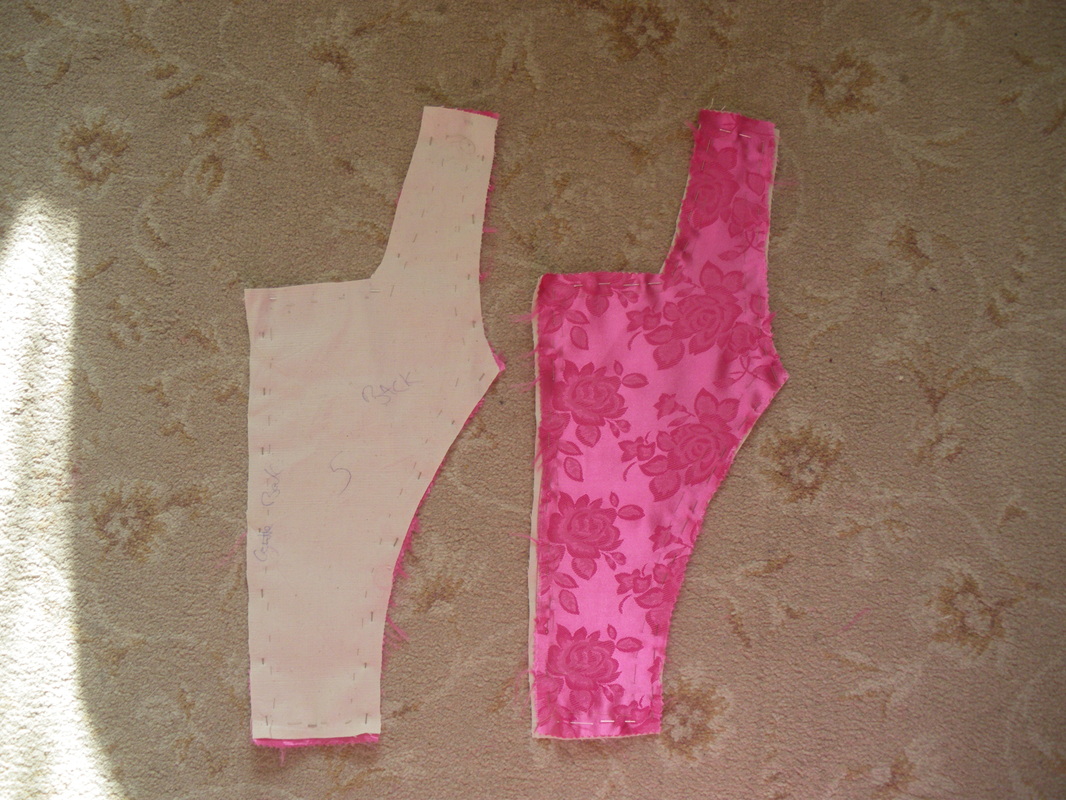
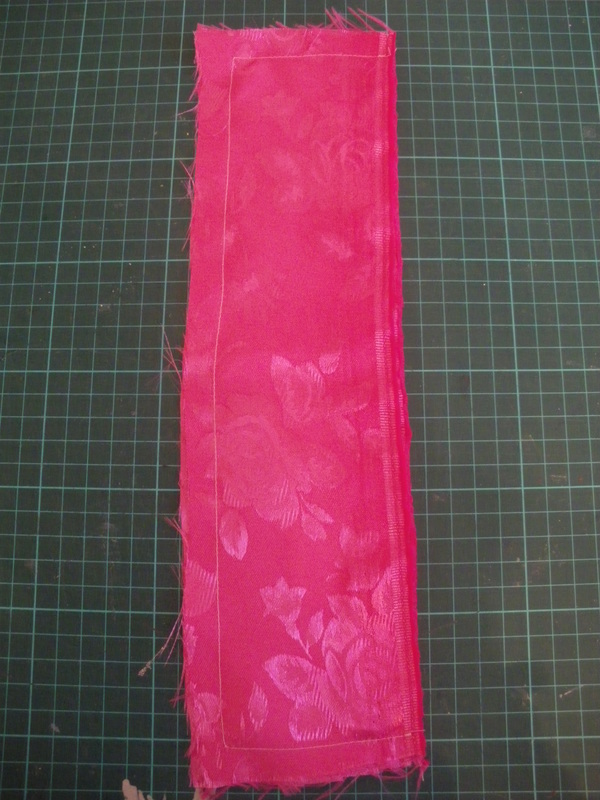
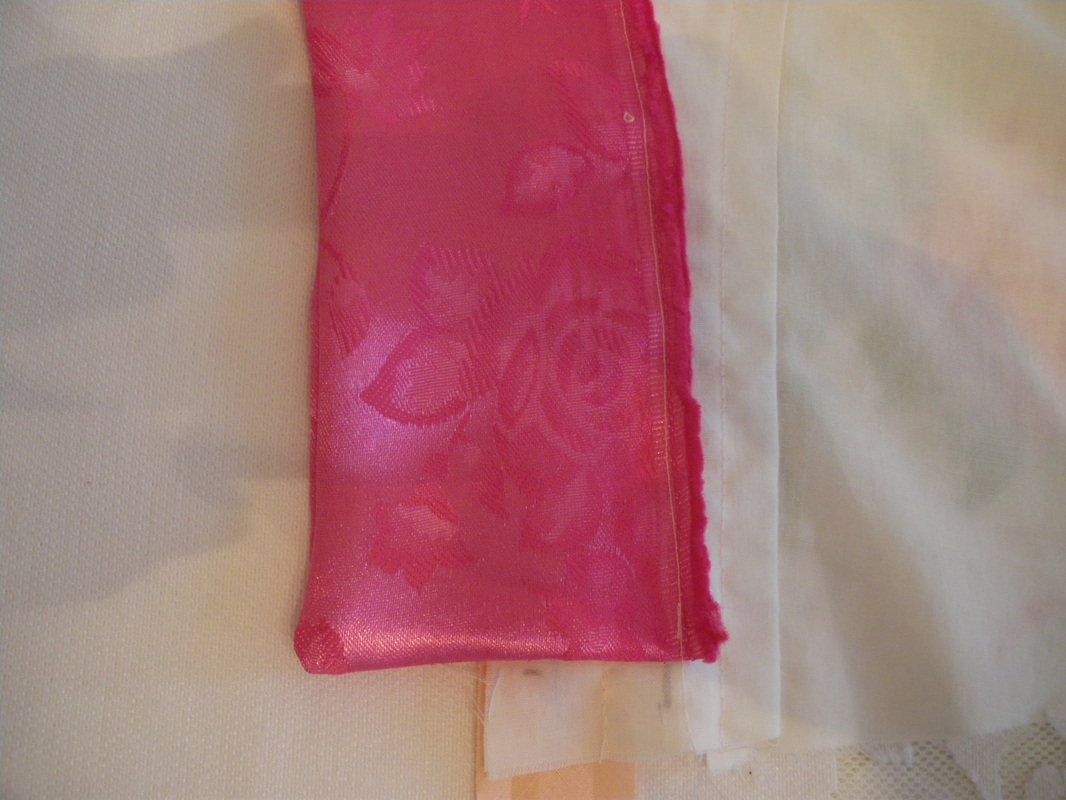
Sew the zip to the outer fabric only, remember that there will be a seam at the bottom, so make sure your zip end is well out of the way. Sew the liner and outer fabric pieces together, sewing down the zip approximately where I have placed the pins. Continue down past the zip then turn to sew up the bottom of the peplum.

|
|
Cut across the points and reduce the seam by at least half. At the inverted point, cut into the point and remember to clip any curves. When sewing up the top of the peplum, remember to leave a gap of about 5" (10cm), for turning it the right way out. Hand sew the gap closed.
This completes the Peplum
The Collar:
1 Metre pink rose Brocade
1 Metre pink lining
Coutil lining
2 short pieces of spring boning
2 metres of gold metallic piping
2 strips of velcro
The Collar:
1 Metre pink rose Brocade
1 Metre pink lining
Coutil lining
2 short pieces of spring boning
2 metres of gold metallic piping
2 strips of velcro
|
|
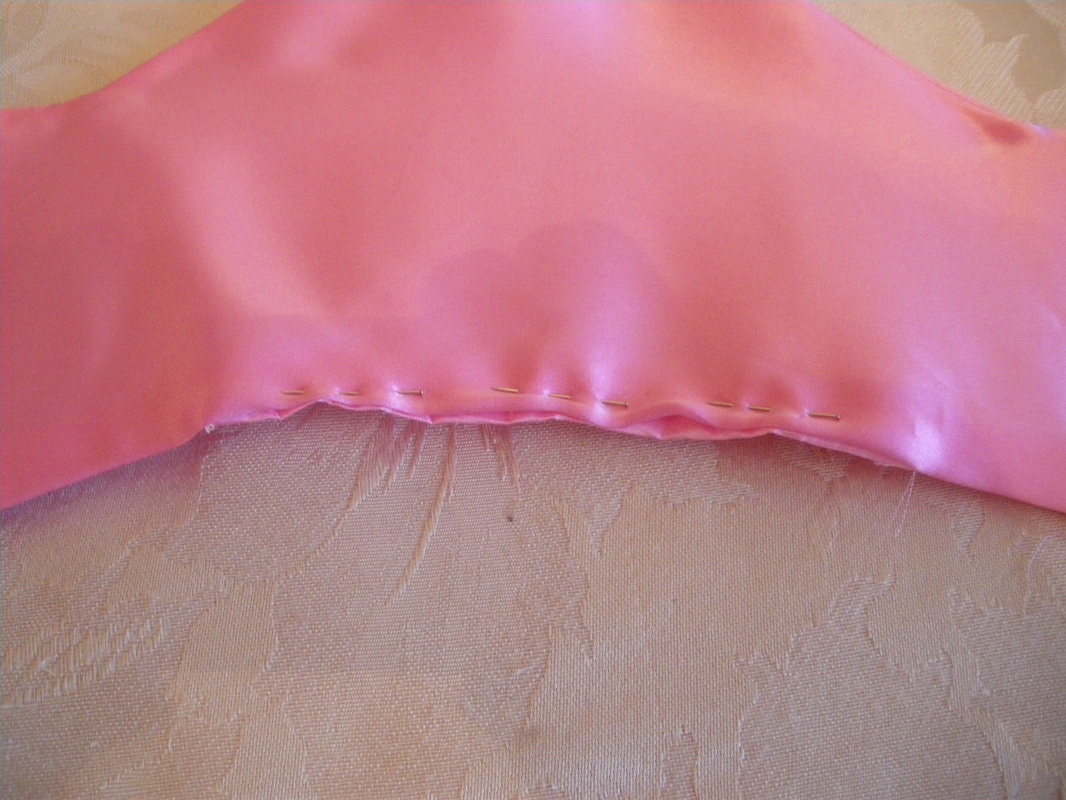
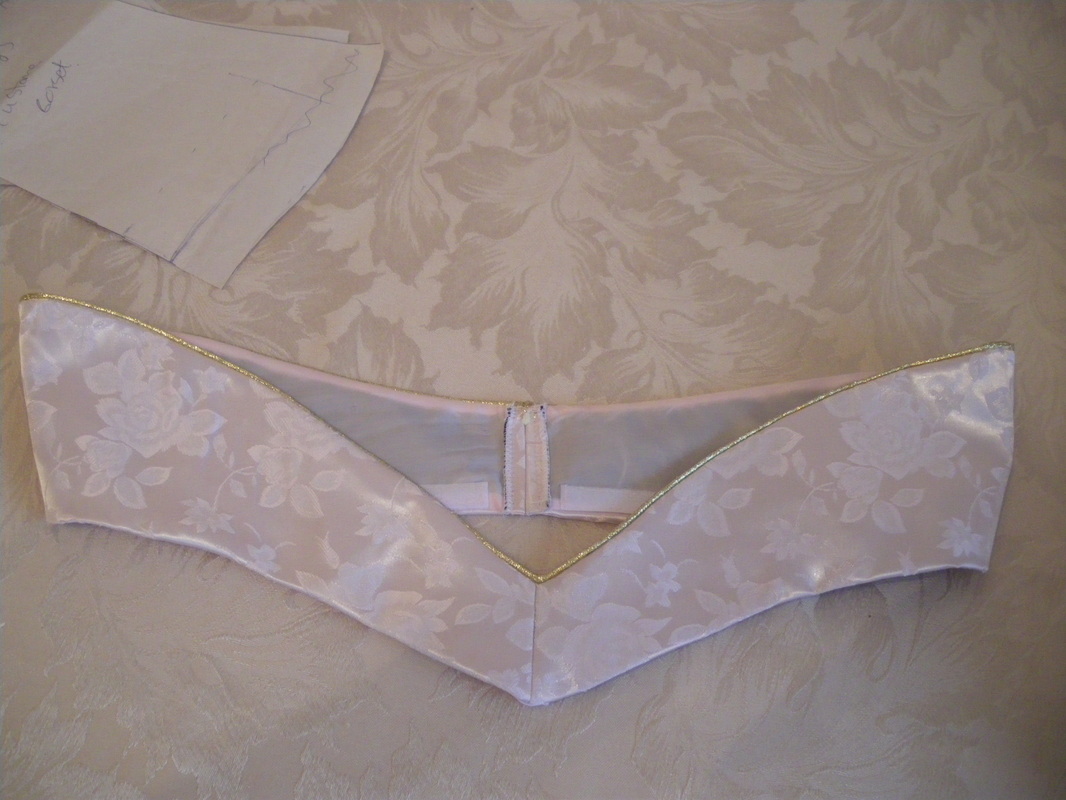
When I made a mock up of the collar (see pattern), I found it wasn't "sitting right" so I decided to split the centre front with a seam so I could change the angle. When sewing up both the liner and fabric at the centre, leave a seam allowance top and bottom unsewn. I then used the side seam allowances, to sew in a short length of spring boning. Make sure you leave plenty of space top and bottom so it doesn't catch in the seam.
|
|
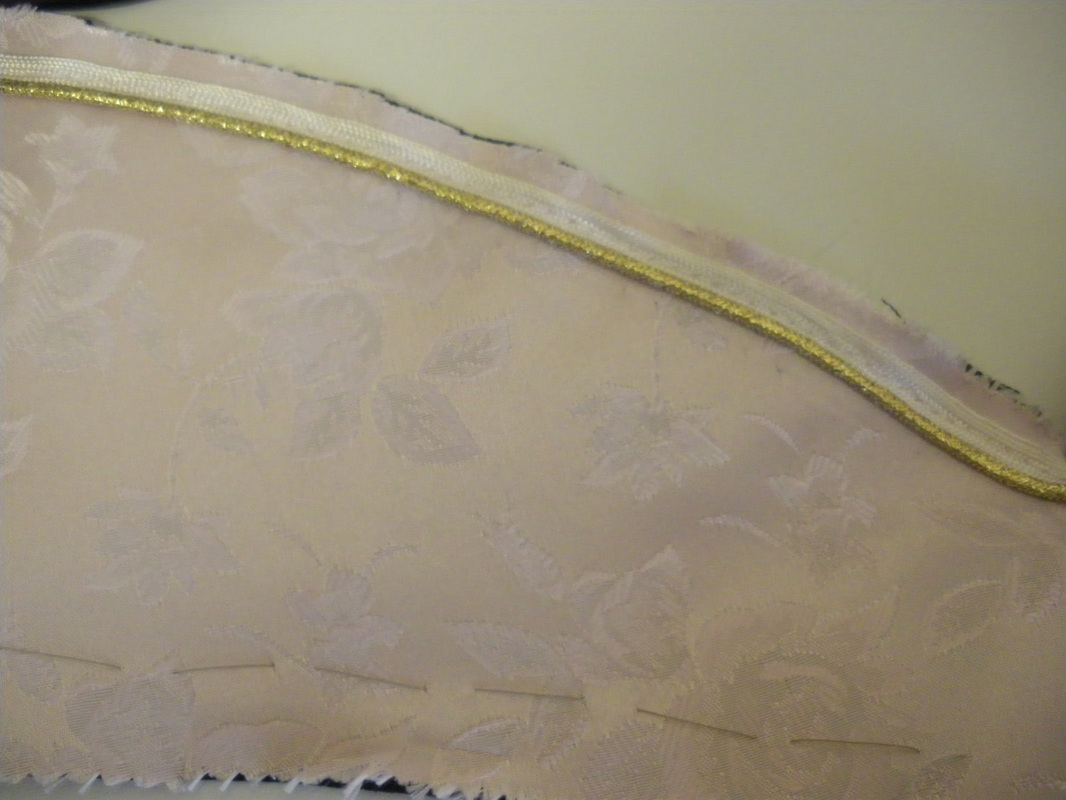
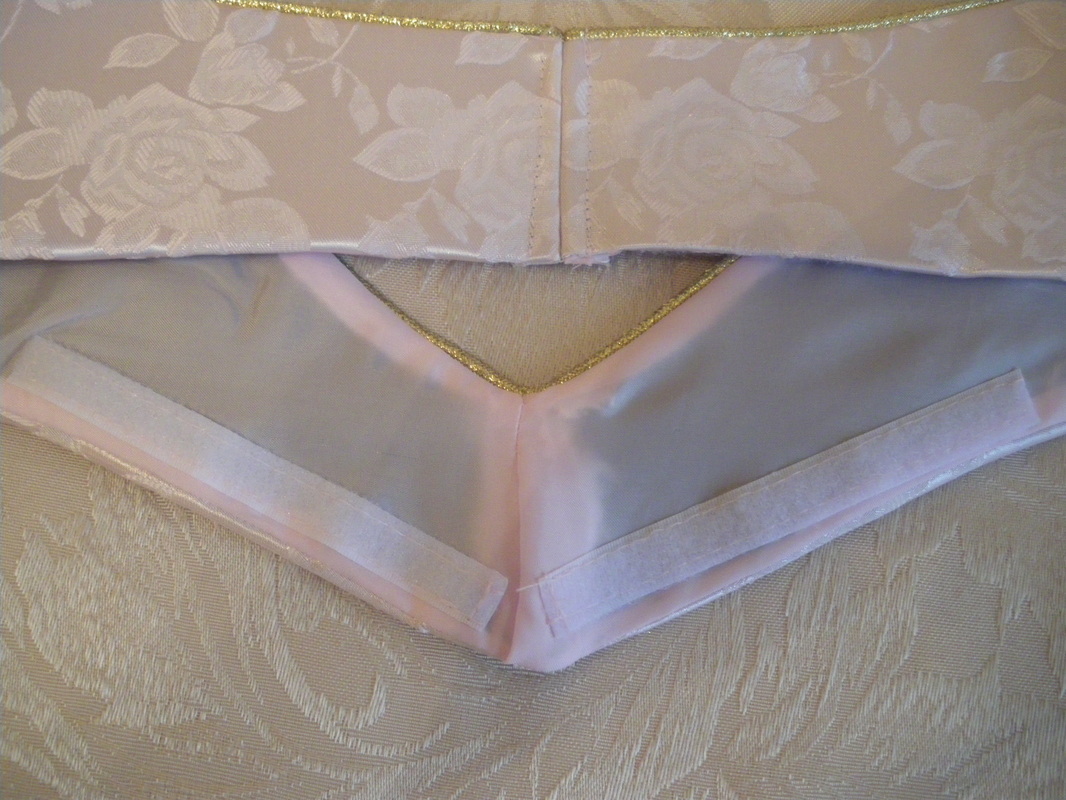
Tack a piece of coutil to each piece and sew up the front and sides seams, also sew the lining pieces together leaving the back seam open. Using the piping of your choice, sew this around the top of the collar.
|
|
|
|
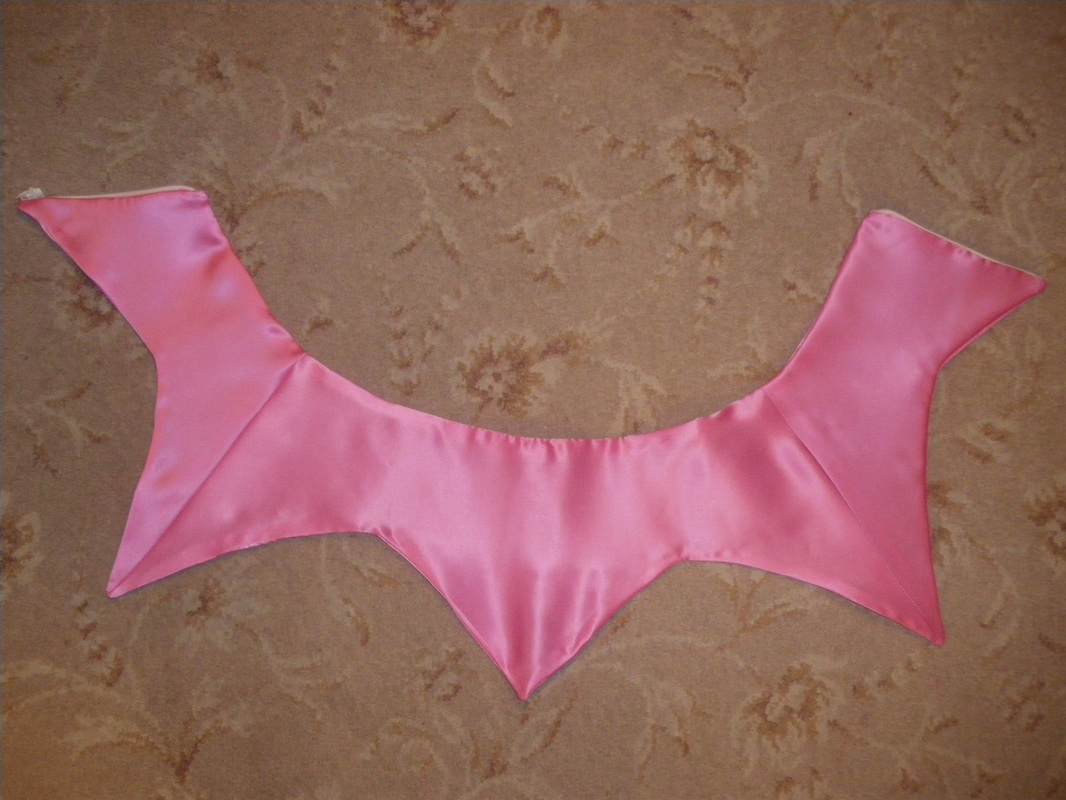
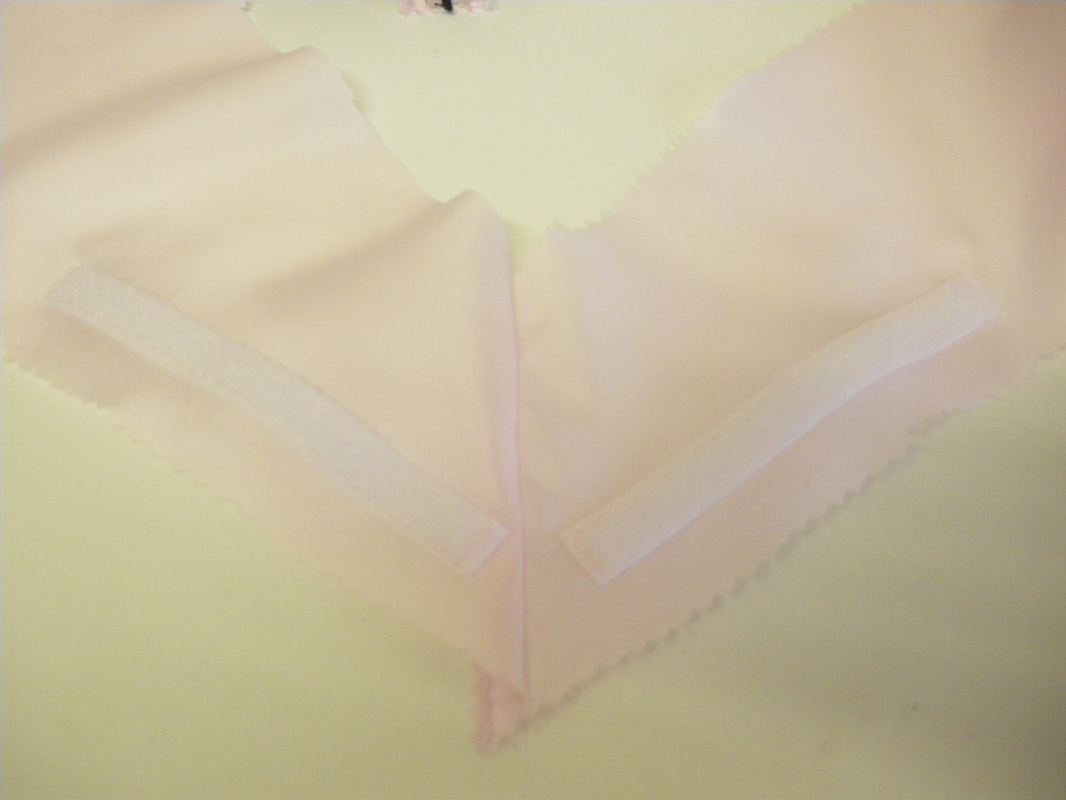
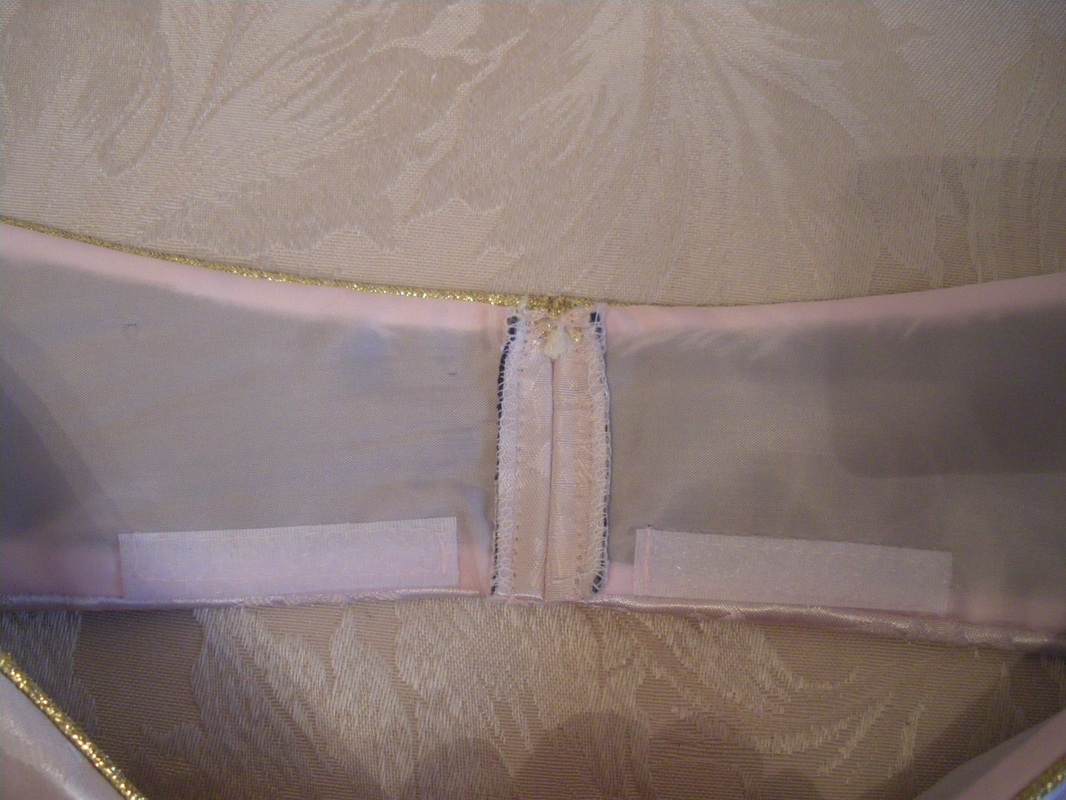
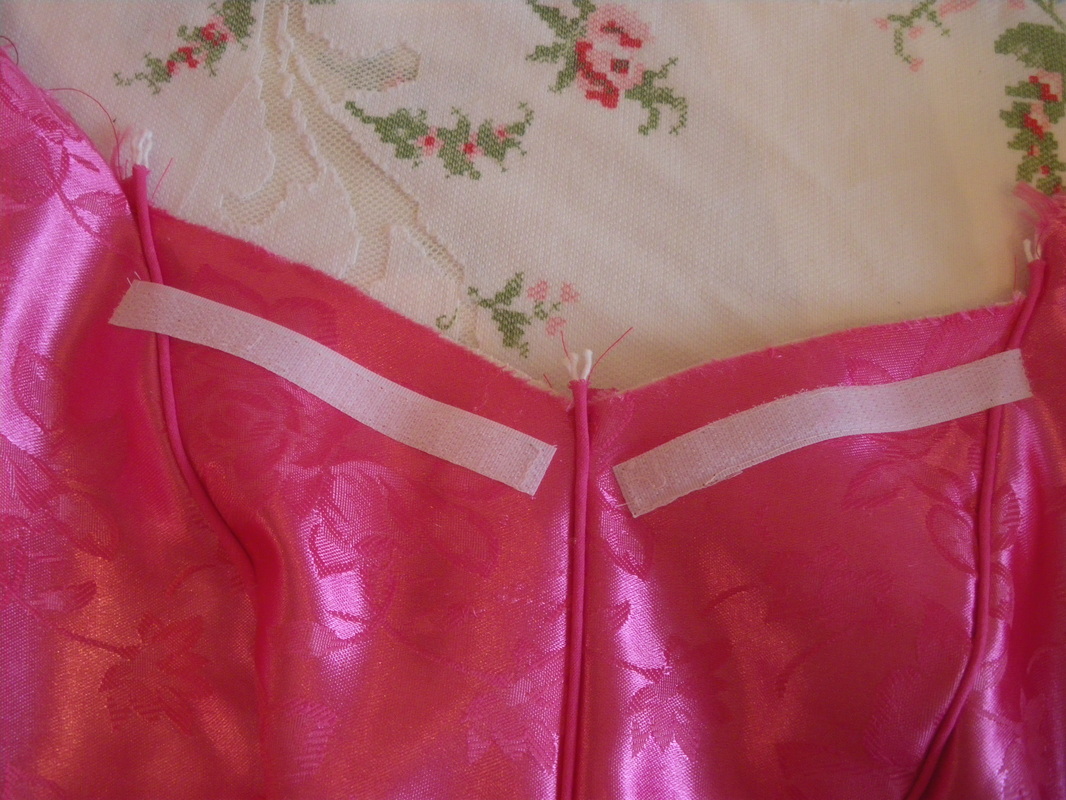
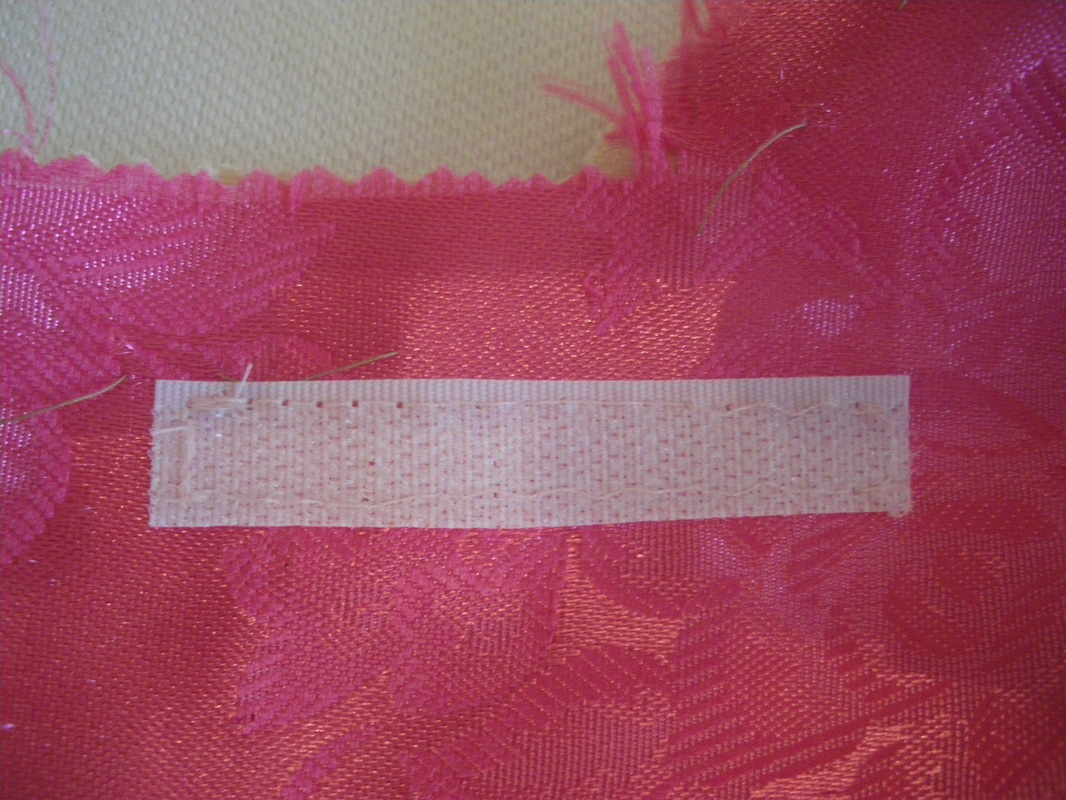
Sew a piece of velcro to the right side of the collar lining just above where the seam line is, you only need a short piece that doesn't quite reach the sleeves when it is on. Also sew a short piece of velcro at the back before the centre opening. Sew the lining to the outer fabric leaving the back seam open. Then VERY carefully pull the whole collar the right way out (this may be a bit fiddly so take your time). Once turned the right way, sew a seam at the centre back, open the seam allowance and sew down.
This completes the collar.
This completes the collar.
The Bodice:
1 Metre hot pink Brocade (www.syfabrics.com) (USA) "
3 Metres pink bias binding 1" wide
4mm Eyelets
2 Metres pink satin cord
1" or 1/2" wide velcro strips
1 Metre Coutil or Calico
1 Metre white or pink lining or your choice
Simplicity pattern with an alteration for straps
The same Charmeuse used on the peplum
|
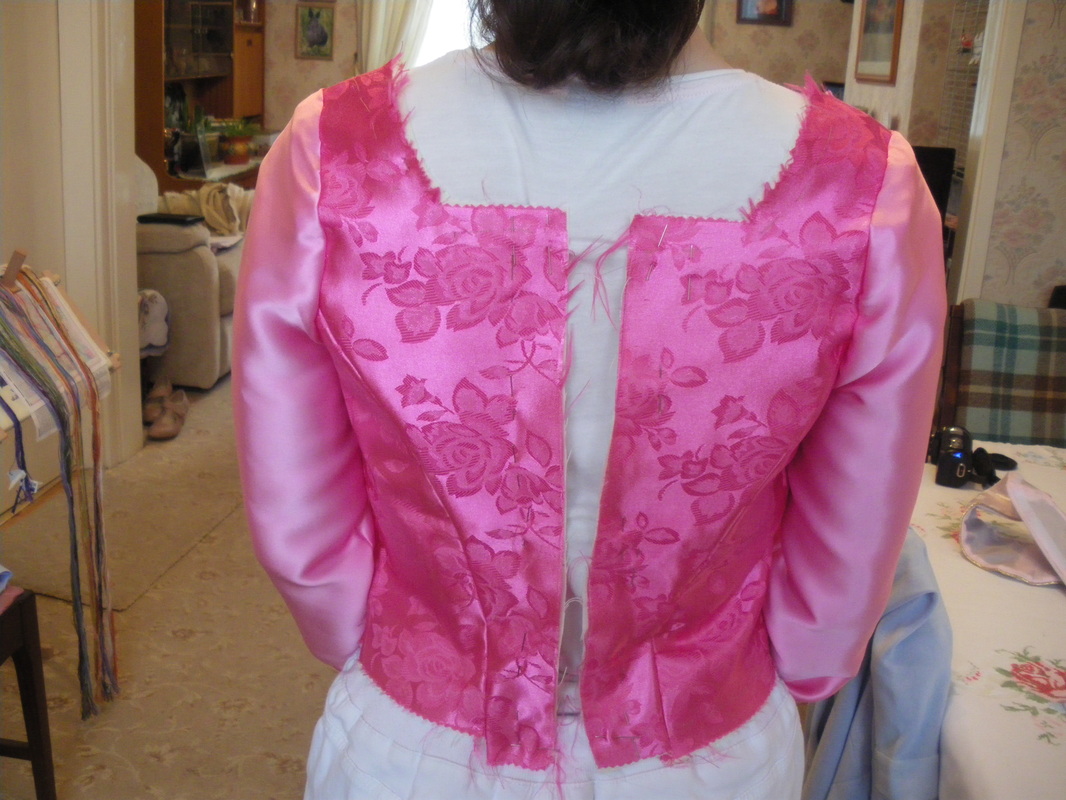
I wanted a proper strap for my bodice, so the front and back pieces were altered to allow the insertion of a sleeve.
|
|
|
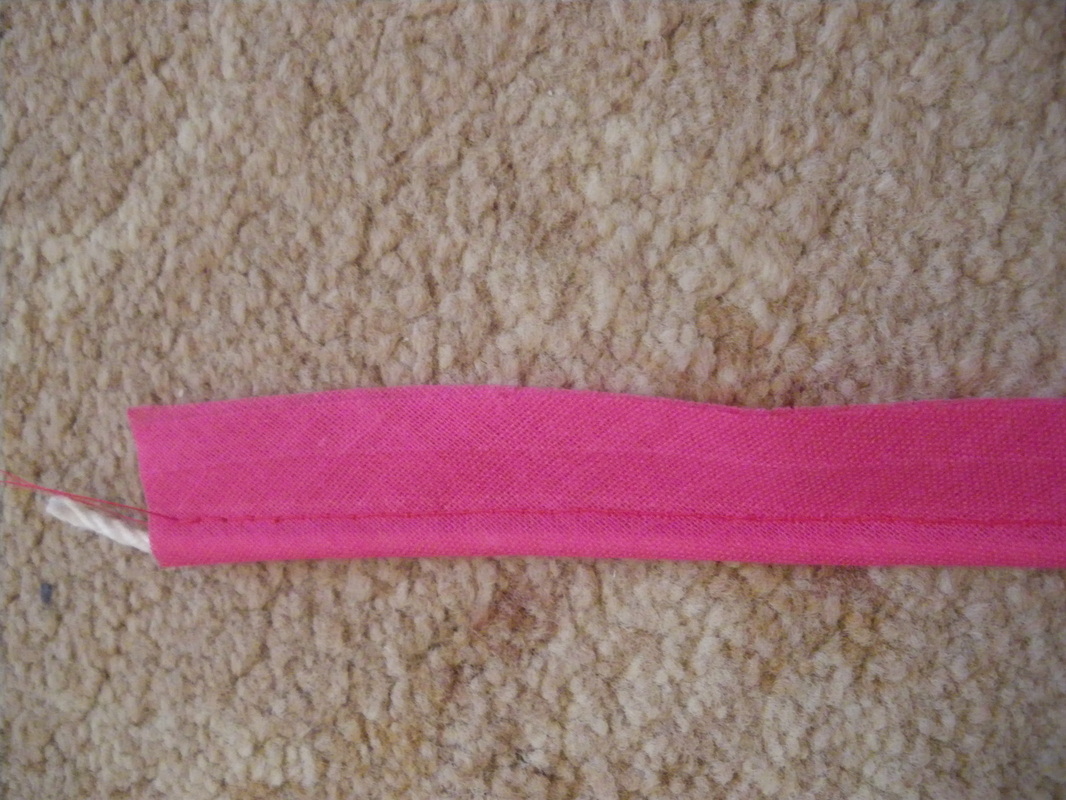
Pin and tack a piece of calico to all the pieces. Make enough bias binding for three front seams and the bottom of the bodice. You can if you want, use the same fabric as your bodice to make your own bias binding, but remember to cut it on the diagonal. I used ordinary cotton bias tape, ironed it open to start with, then folded it and sewed in the piping cord.

|
|
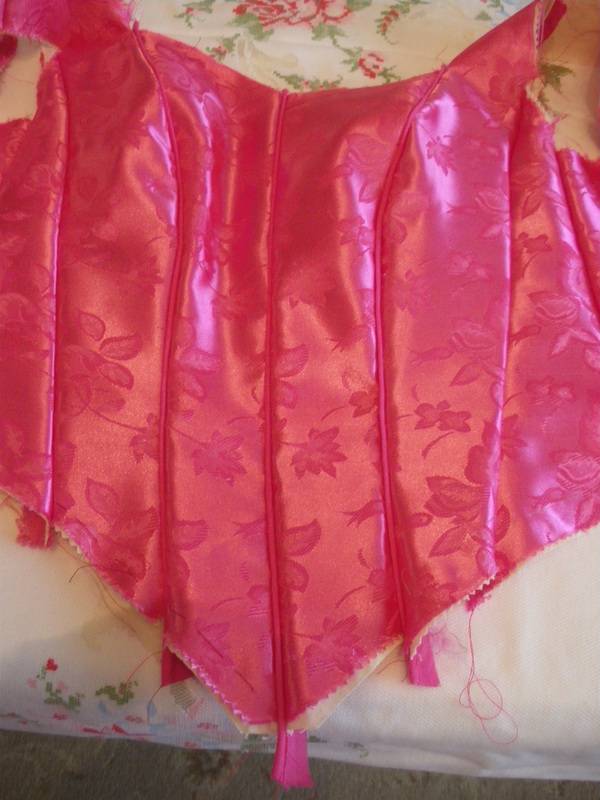
Sew the bias into the first three seams and sew up the rest of the seams including the shoulder straps.
|
|
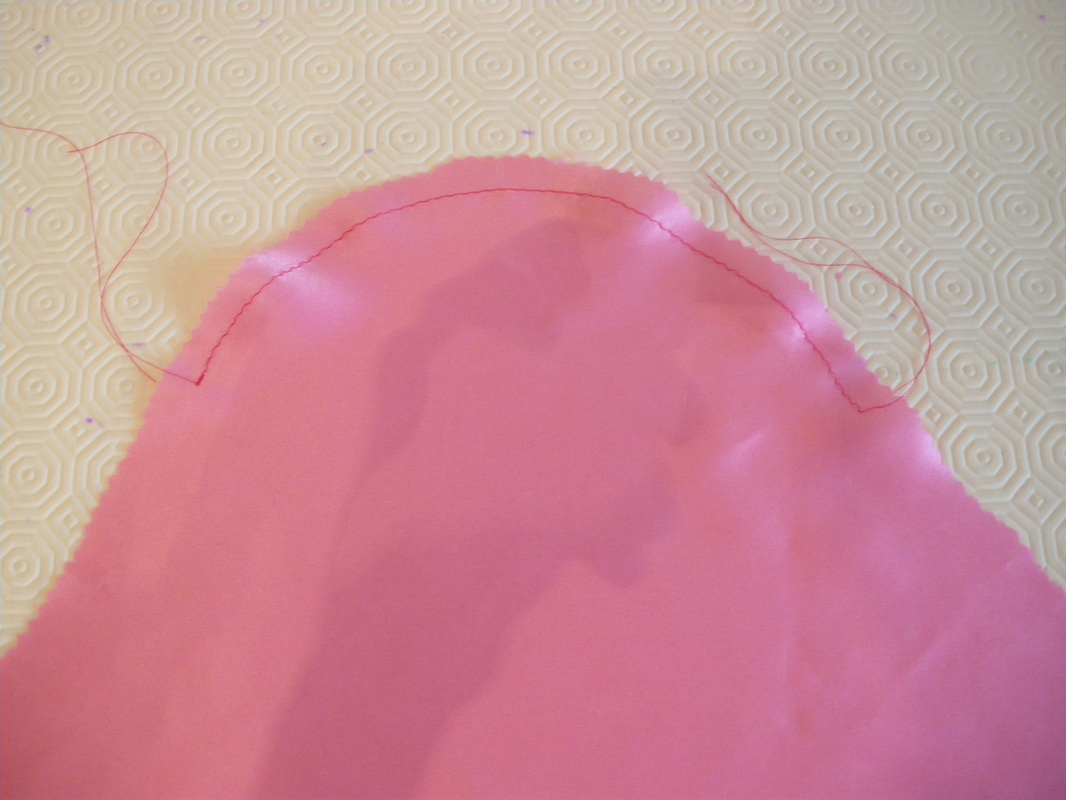
Using a conventional fitted sleeve pattern, sew an "easing" stitch around the top using a long stitch length.

|
|
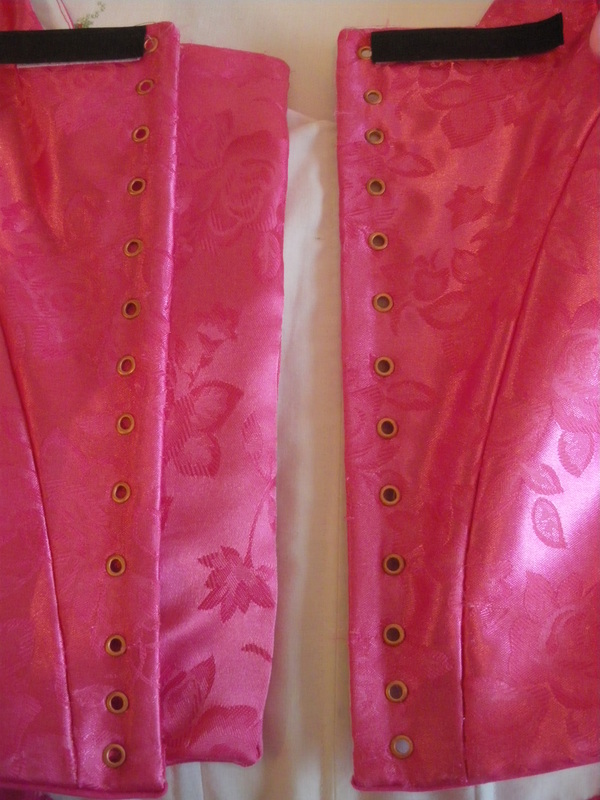
Sew in the sleeves and turn up to fit. If you are going to use eyelets, you will need to leave a gap of about 2" (5cm)
|
|
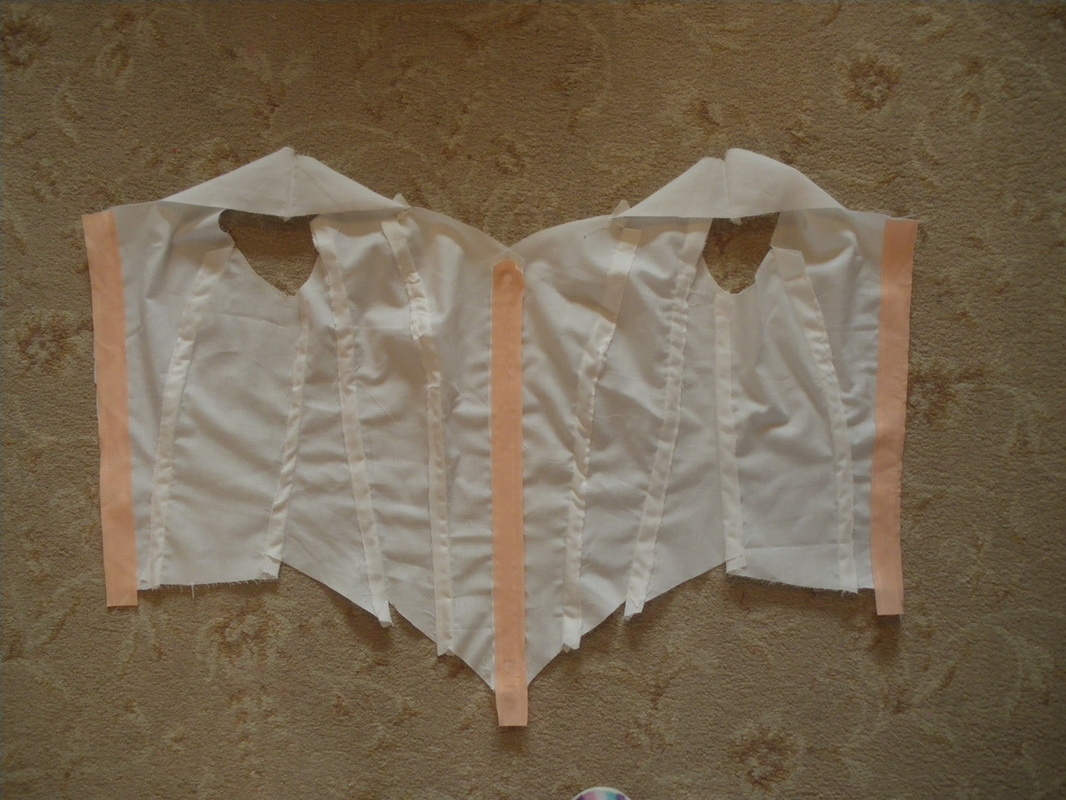
After making up the lining pieces, I am going to use straight steel boning for the back openings and the centre front, so I have used pieces of bias tape to create channels. The rest of the boning will be spring steel boning and I have sewn down the seams of the liner to create the channels for these. Next I need a modesty strip for underneath the eyelets. Cut a piece of folded fabric the length of the back opening x 9cm wide. Sew along the top and bottom with a decent seam allowance leaving one side open. Clip the corners and turn the right way out and press.
|
Line this up on the right side of the liner so that it sticks out about 2" (2cm) from the edge, sew this on and make sure you have a seam allowance top and bottom for turning the bodice up.
|

|
|
|
Put the bodice on with the collar and have someone mark where the collar sits comfortably over the top. Just above your marks, sew on the corresponding velcro to the top of the bodice, remembering to allow for a seam allowance, on the back, make sure you leave enough room before the centre back as well.
|
Sew the lining to the outer fabric up both sides and along the top, leave the bottom open for now. Pin back the modesty strip clear of any seams lines. Remember to cut your corners and clip any curves on all your pieces before turning the right way out.
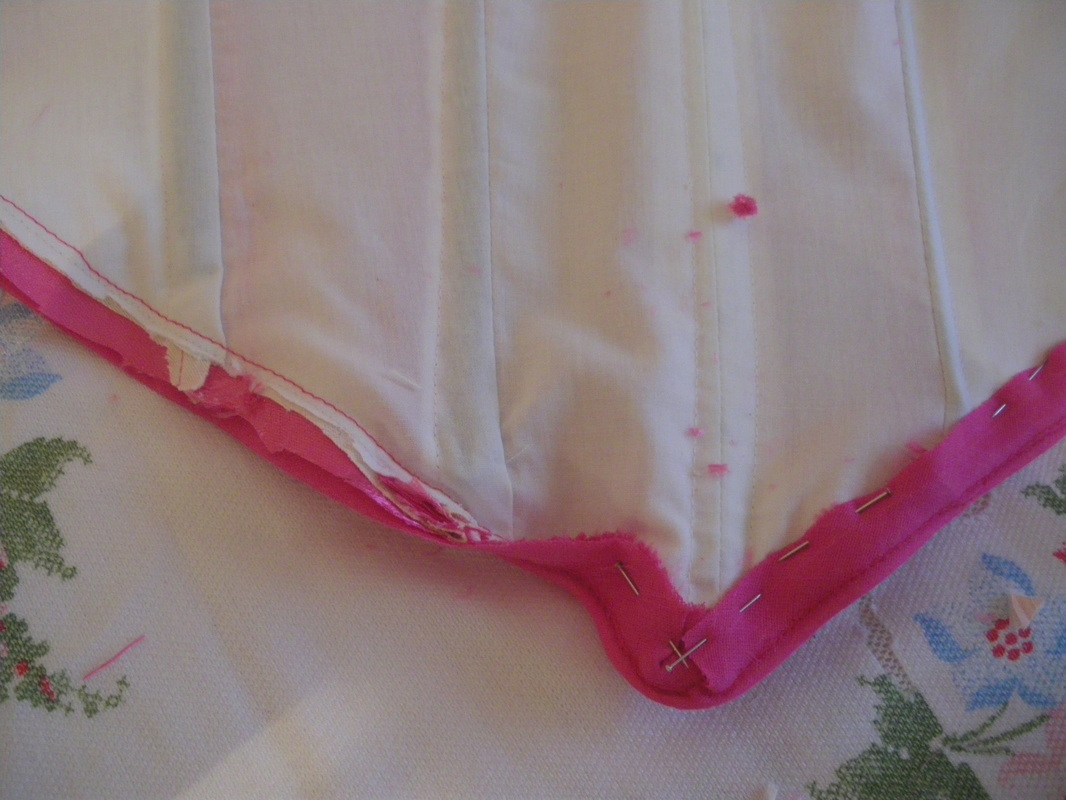
Push all your boning into their channels as far as they will go and place a pin at the bottom of each so they don't come down while sewing the bottom edge. Having worked out the line of your bodice, put a sewing line for guidance.
|
|
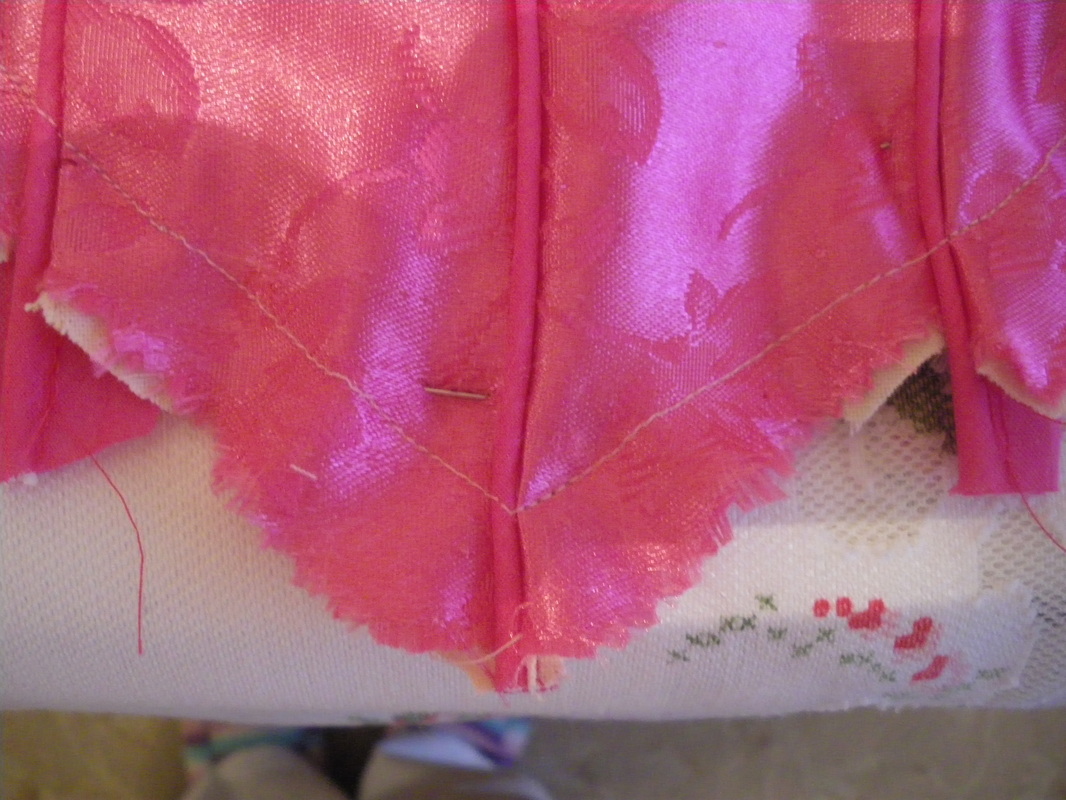
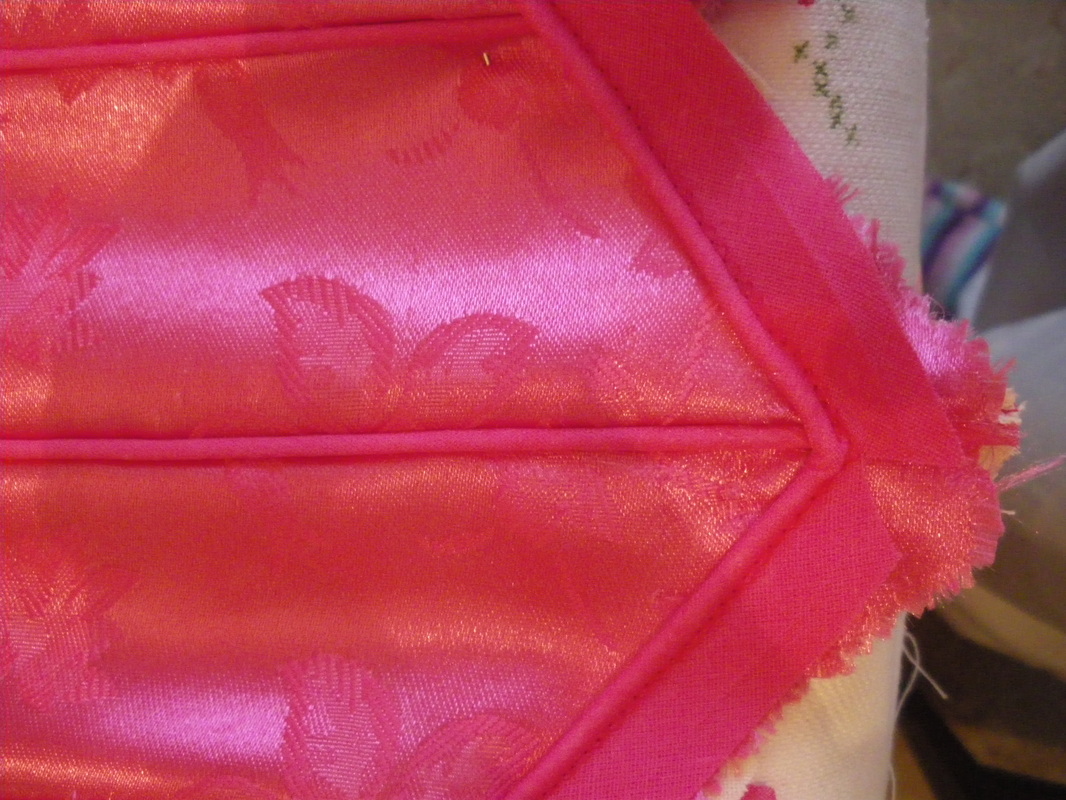
Using this guidance line, sew on your piping along the bottom, clip up to the centre front to enable the piping to turn.
|
|
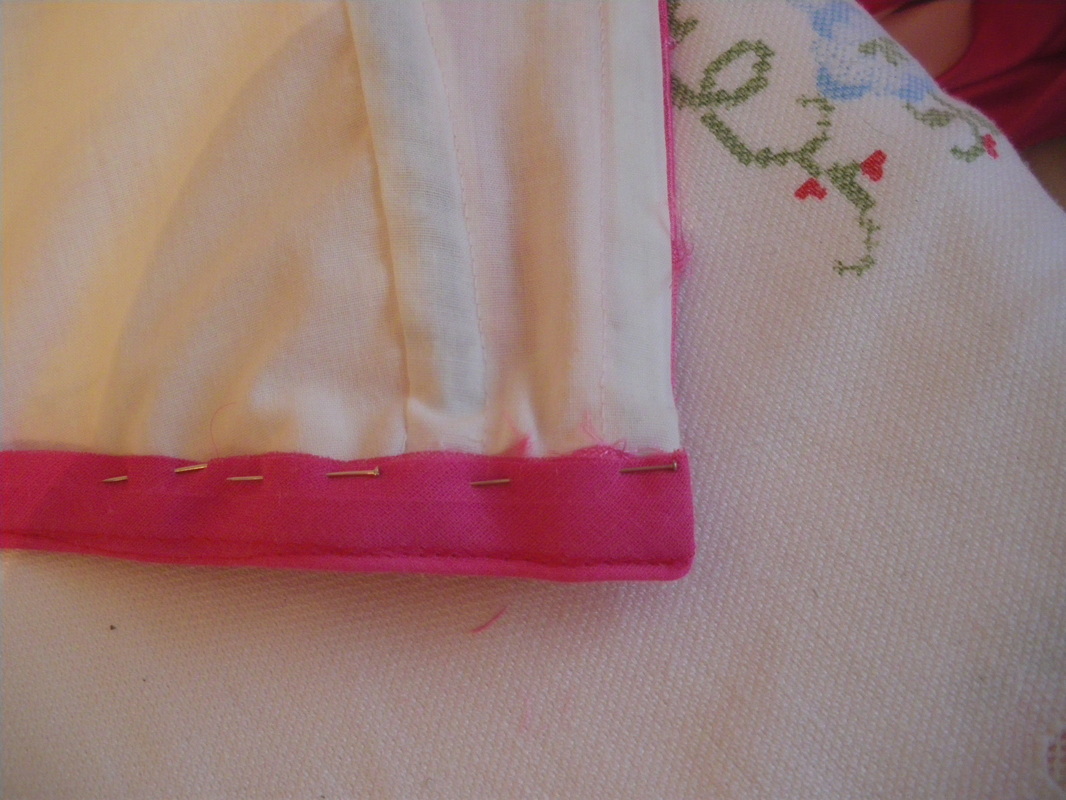
Cut away as much excess material as possible especially at the corners. Turn the bias to the inside and hand sew.
|
|
The black strips of velcro are just spare pieces that are put on so that the hooks don't catch on anything and is useful for storing the bodice that way. Attach your eyelets. Next sew the lining to the sleeve seam.
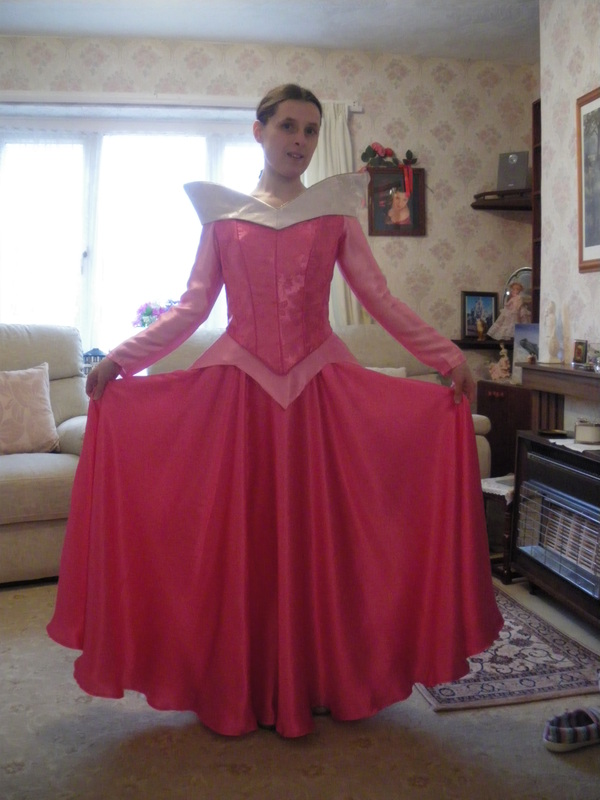
This completes the costume.
