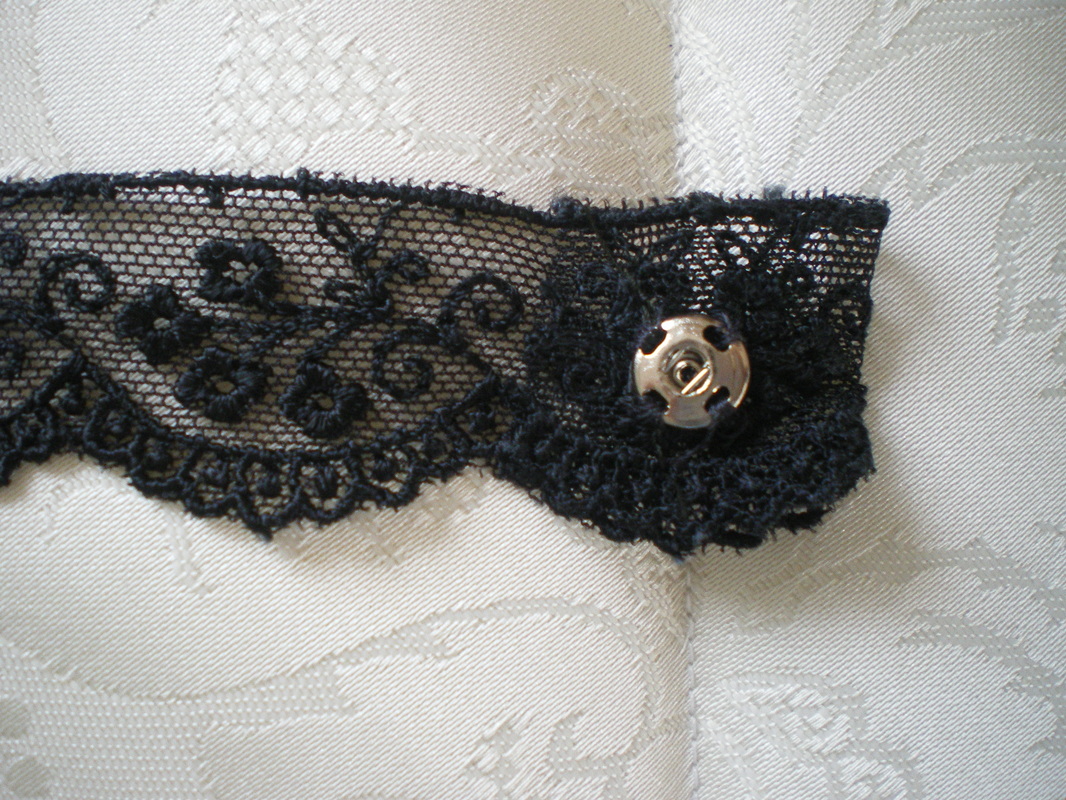
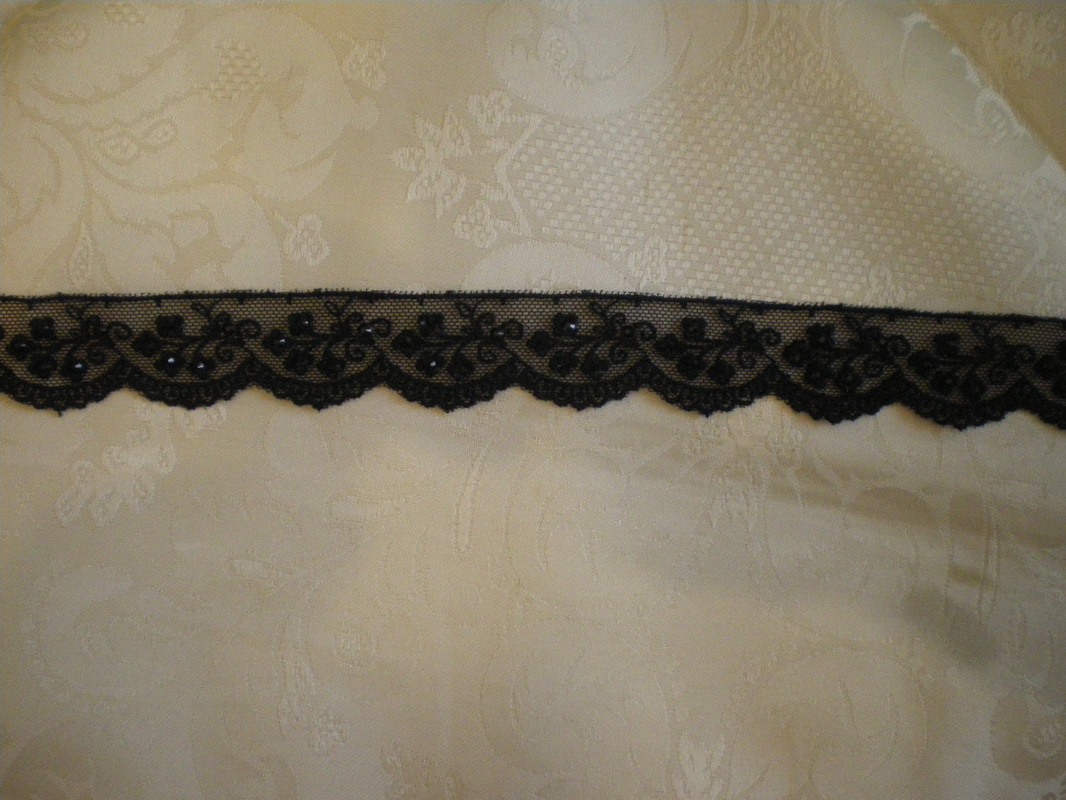
To make the choker
To Make the Wig. (All instructions for the wig details are in my video tutorial)
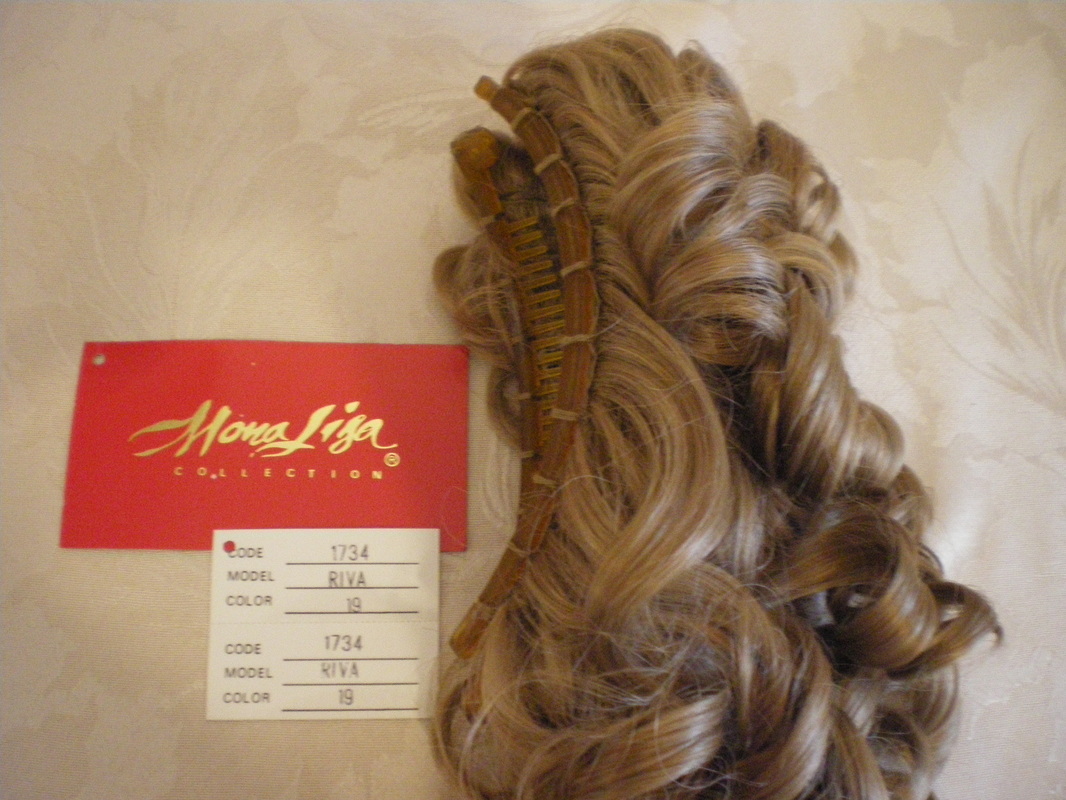
Both wig and extension, were bought from Wildcatwigs.com
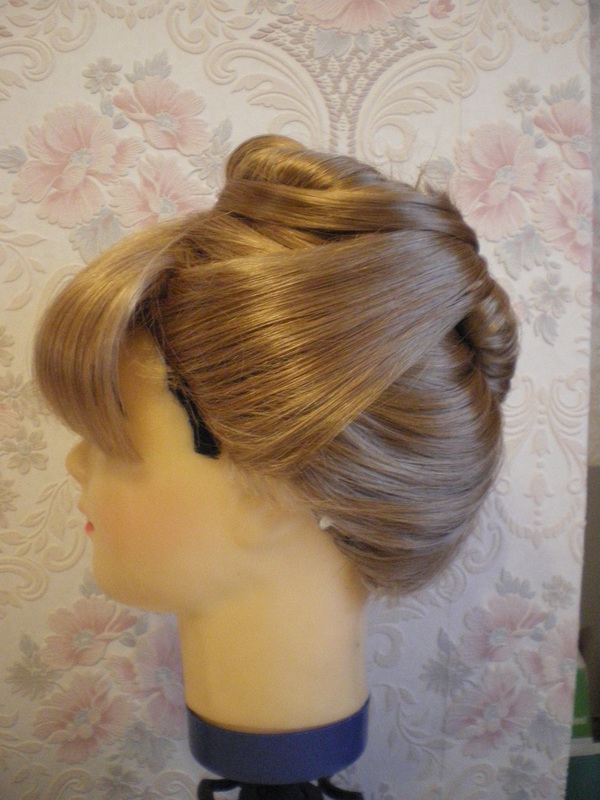
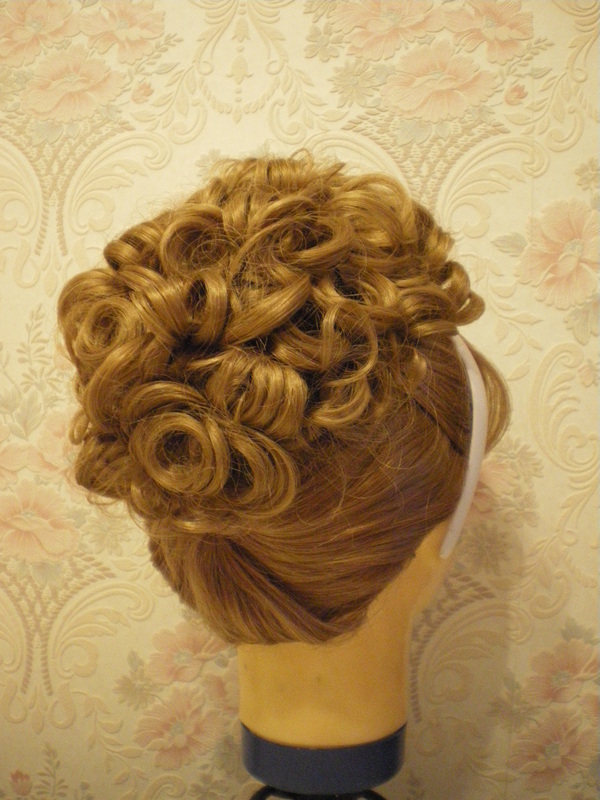
Before and after shots. Having watched several videos on Youtube, I decided on this version for my wig. The style of wig is entirely up to you.
This completes the wig.
This completes the wig.
To make the Headband
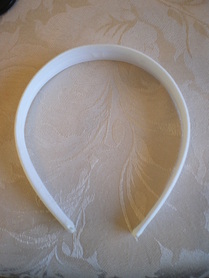
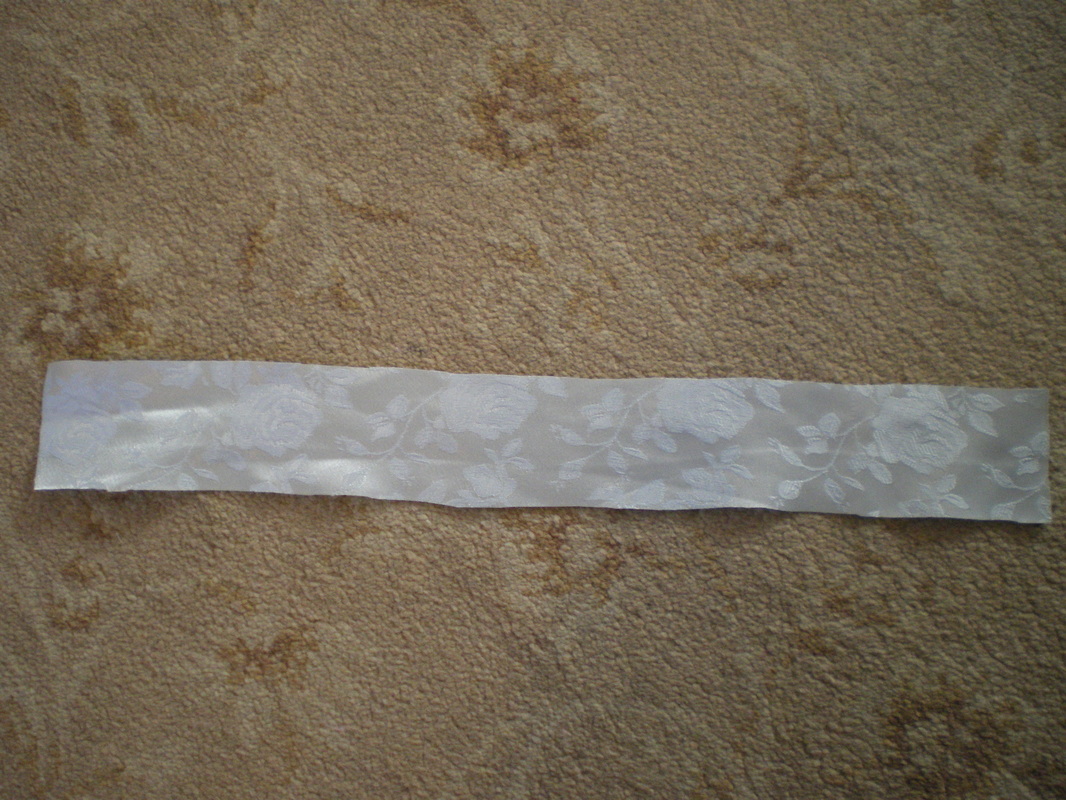
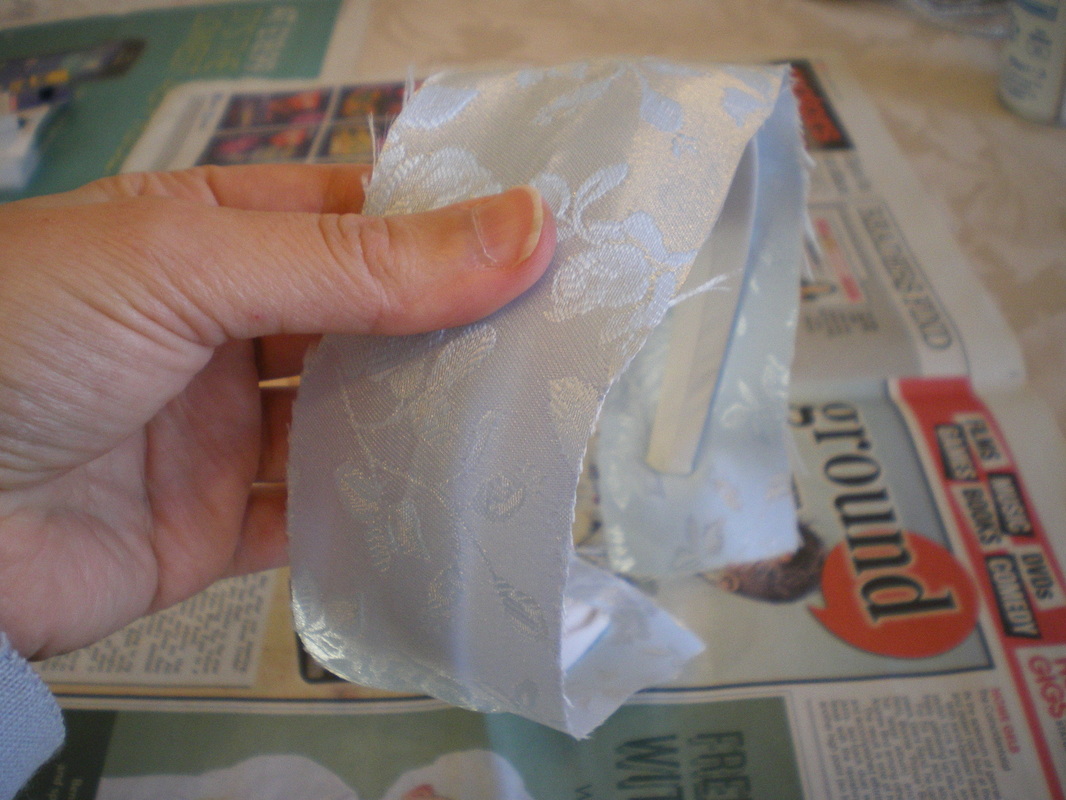
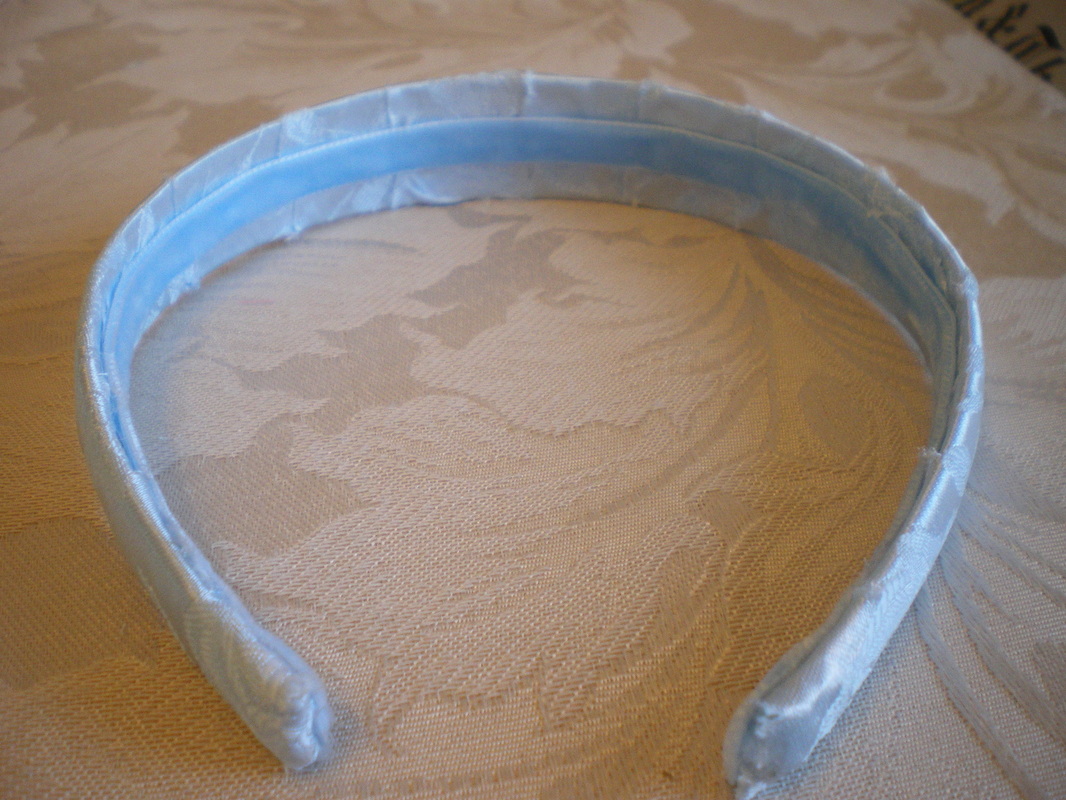
You can use any plain Alice Band. The one I used was already covered, but this does not matter. Cut a strip of fabric at least twice the width of the band and at least 4cm longer than the band. I used the same brocade from the bodice.
All instructions for the Headband and Wig can be found in my video tutorials.
All instructions for the Headband and Wig can be found in my video tutorials.
You can use fabric glue, but it does take longer to dry, so I used a hot glue gun. Put a dab of glue at one end of the headband and secure the fabric, (you do do need to put glue all over the headband, just on both ends) pull the fabric around the band and put another dab of glue at the other end.
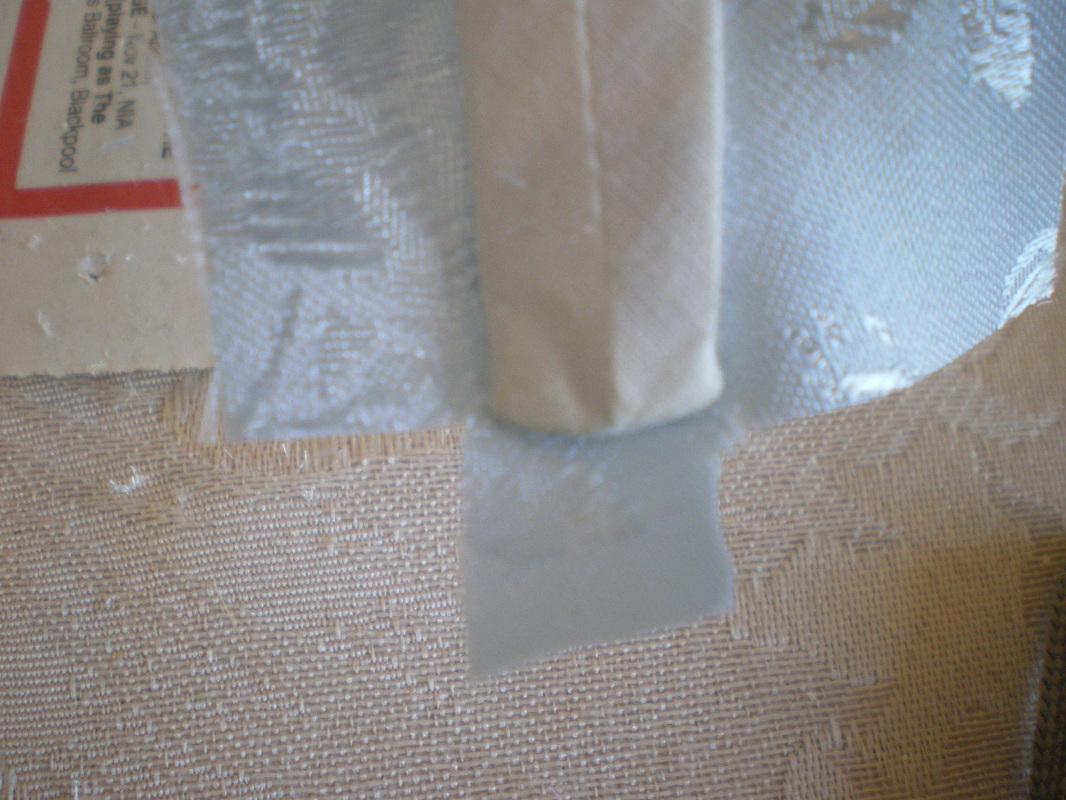
Cut your fabric into a "T" shape. Put a dab of glue on the bottom tab and fold it up and secure it to the band. Do the same for the other end.
Cut your fabric into a "T" shape. Put a dab of glue on the bottom tab and fold it up and secure it to the band. Do the same for the other end.
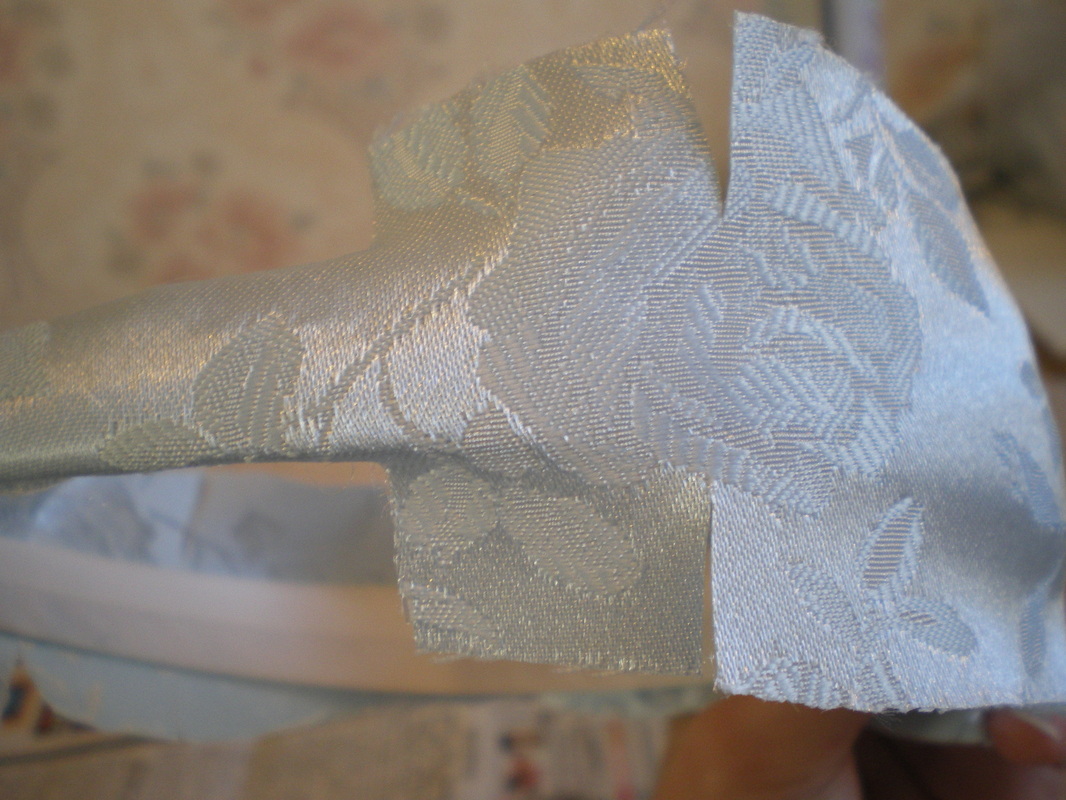
Reduce the amount of fabric on either side of the band, but enough to turn underneath. Approximately every 3cms, cut in towards the band (but not too close!) Put a dab of glue on each tab and fold under to secure.
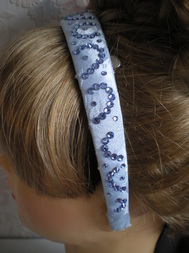
Using a scrap piece of ribbon (the colour is not important as you will not see it), glue this to the inside to neaten. I then put a decoration of Swarovski crystals along the band, this is optional.
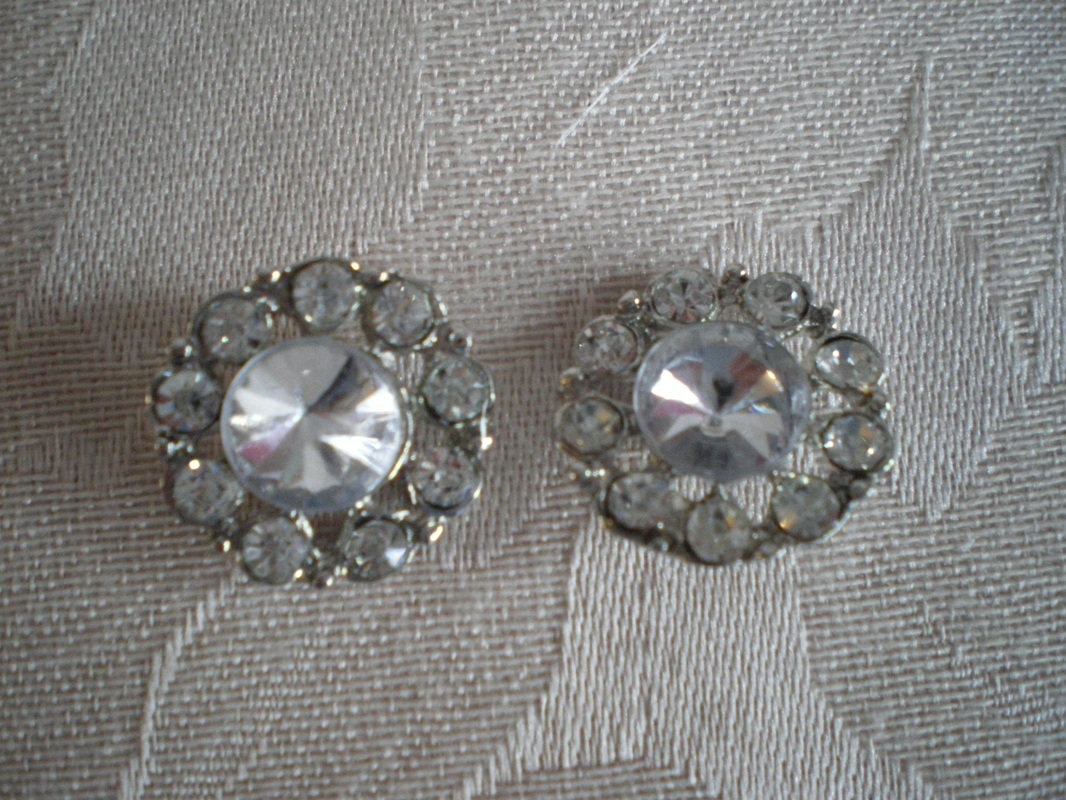
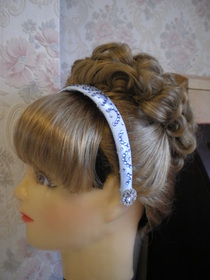
I bought two crystal buttons with shanks and cut the shanks off then sewed them onto the band.
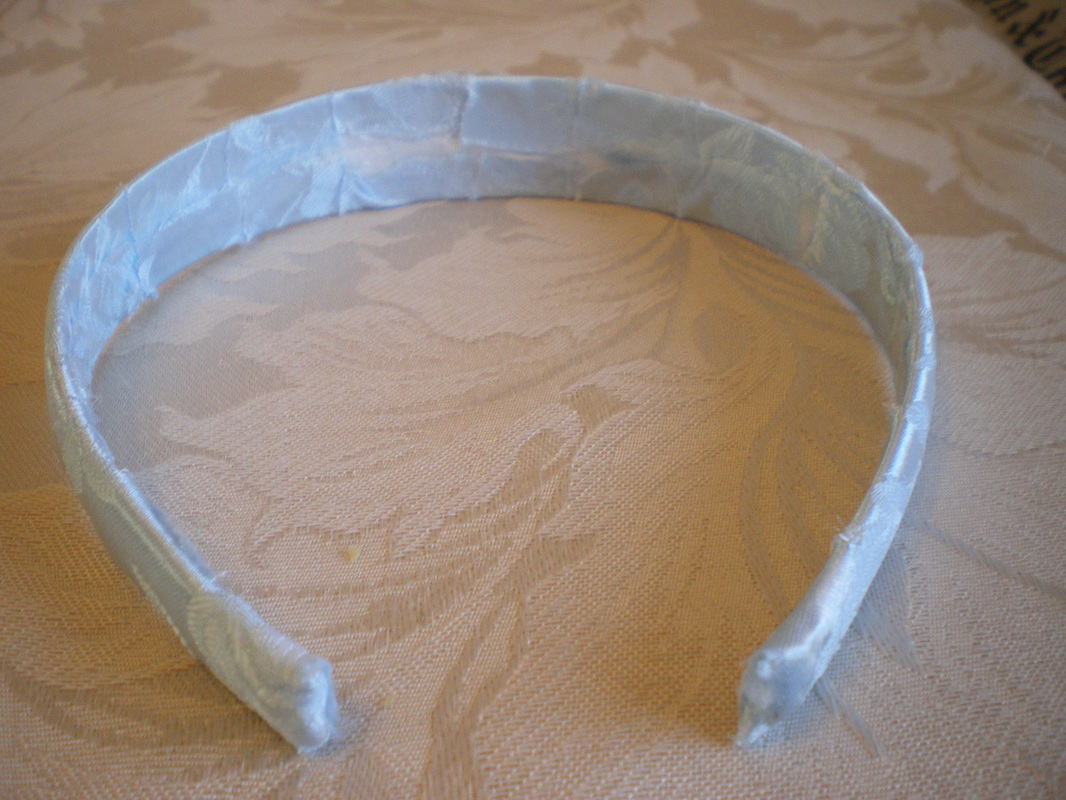
This completes the band.
This completes the band.
