How to make Ariel's Wig
|
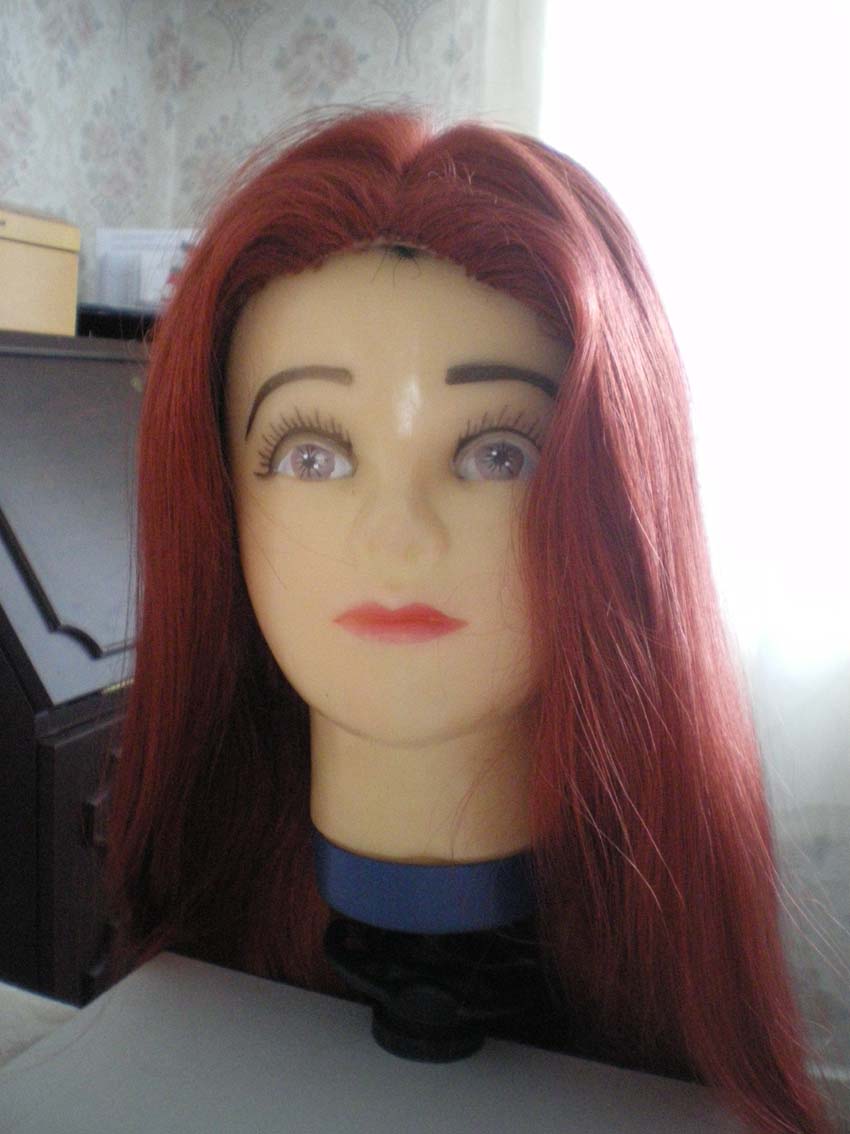
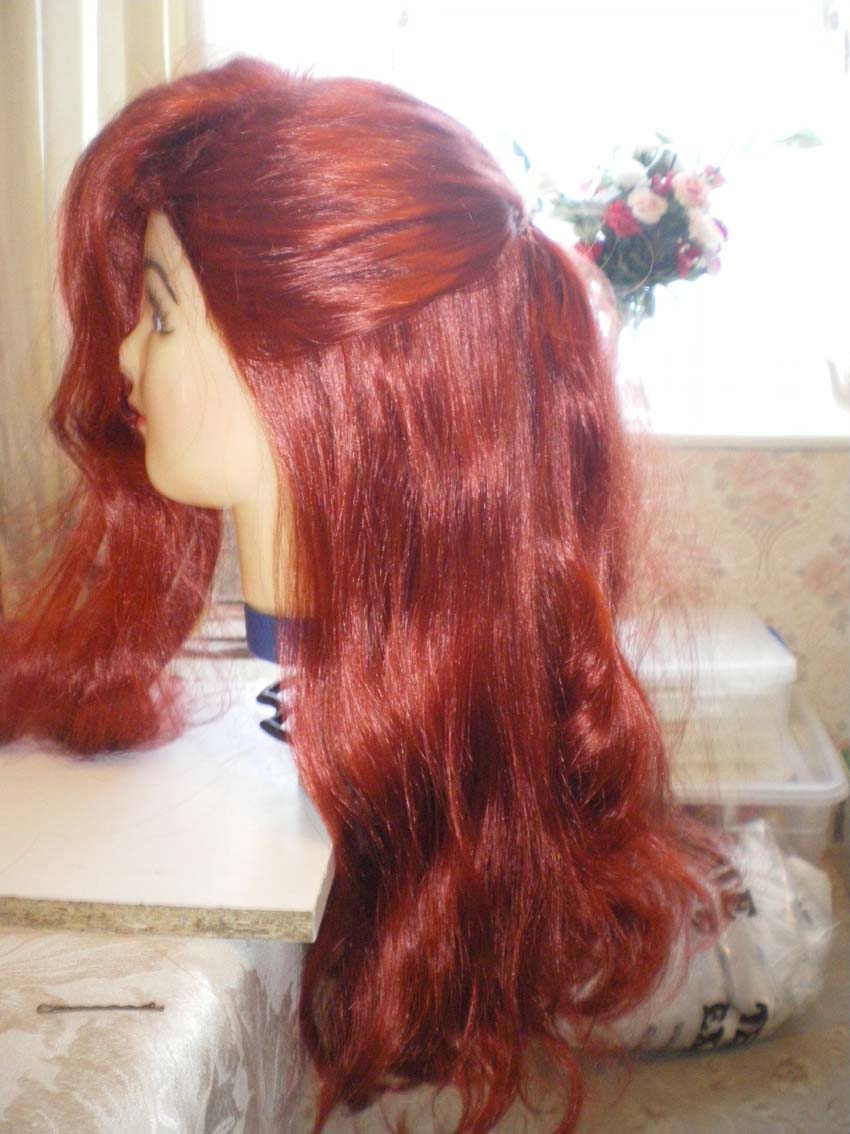
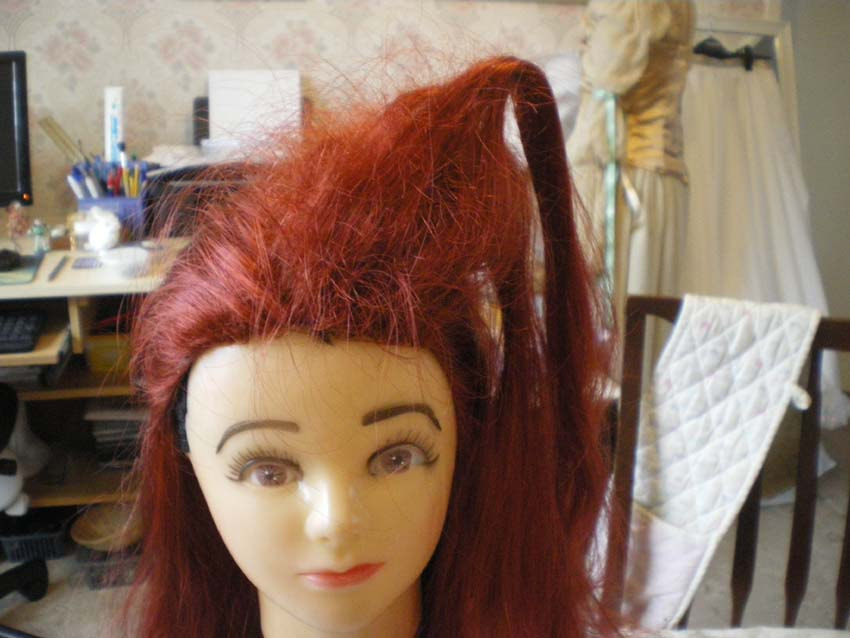
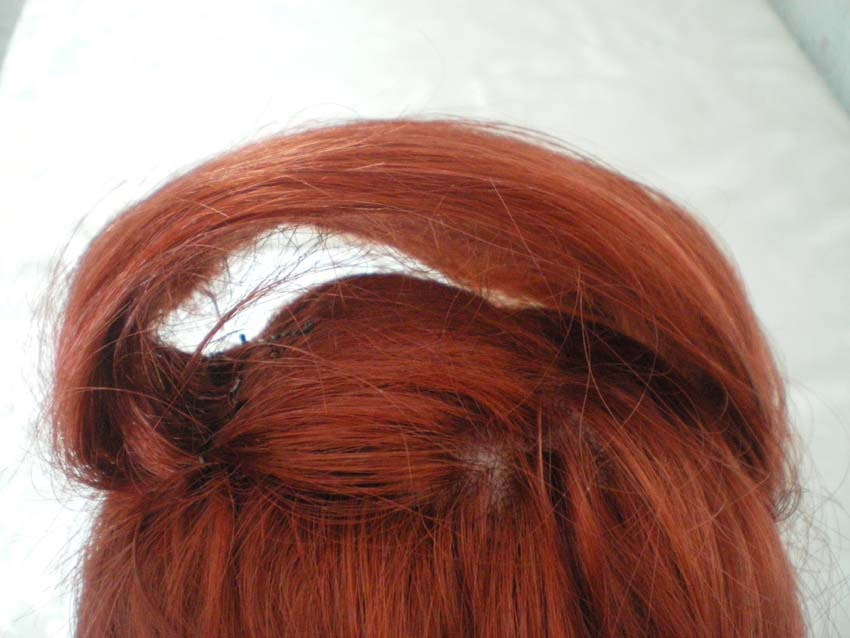
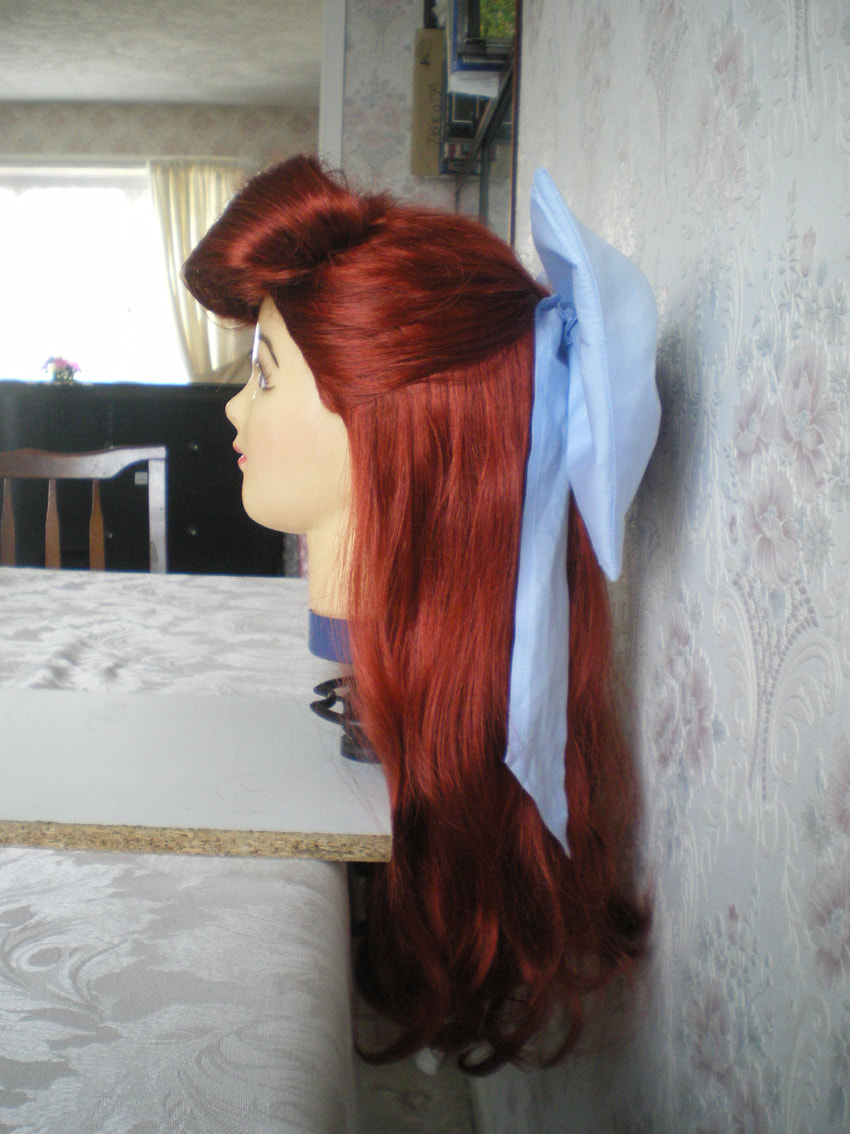
I split the top of the frintge away from the bottom of the fringe,Then back comb the underneath part of the fringe and spray a little but of hair spray underneath to hold the hair.
Becareful with your back combing as you can knott the hair. I then backed combed the top of the fringe layer but nly a little near the parting edge, I then smoothed hair over and pinned with hair grips. |
|
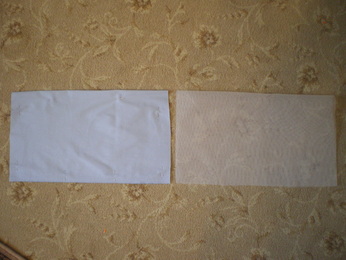
The ribbon is made up of 4 parts. The main ribbon oblong is approximately 43cm x 23cm, cut two. Also cut the same shape from very stiff netting and the same shape wadding piece
|
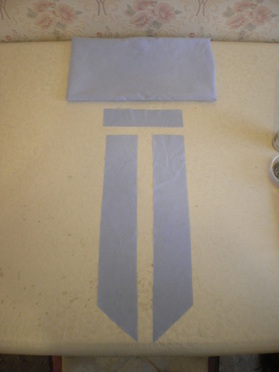
Put the net, wadding and two pieces of oblong fabric together, sew all the way round the oblong, but leave approximately 5cm open at bottom in the middle (to enable you to turn the oblong the right way out. When it is turned the right way, hand sew the slit closed. Cut a small oblong of fabric approximately 7cm x 12cm, fold it long ways and sew a seam, turn it the right way out. Cut two long strips for the tails approximately 8cm x 40cm and cut a 45 degree angle at the bottom. I overlocked these pieces, turned the edge under, then put a sewing line all the way round. If you do not have an overlocker, allow for a seam all the way round to neaten.
|
|
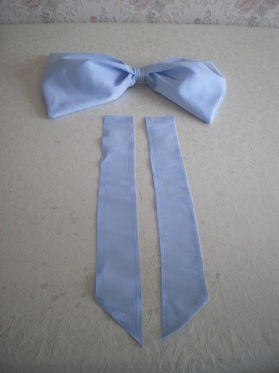
Wrap the small oblong around the large oblong and scrunch to form the bow. Hand sew the small oblong closed around the bow.
|
Attach the tails to the back of the bow with a few stitches.
|
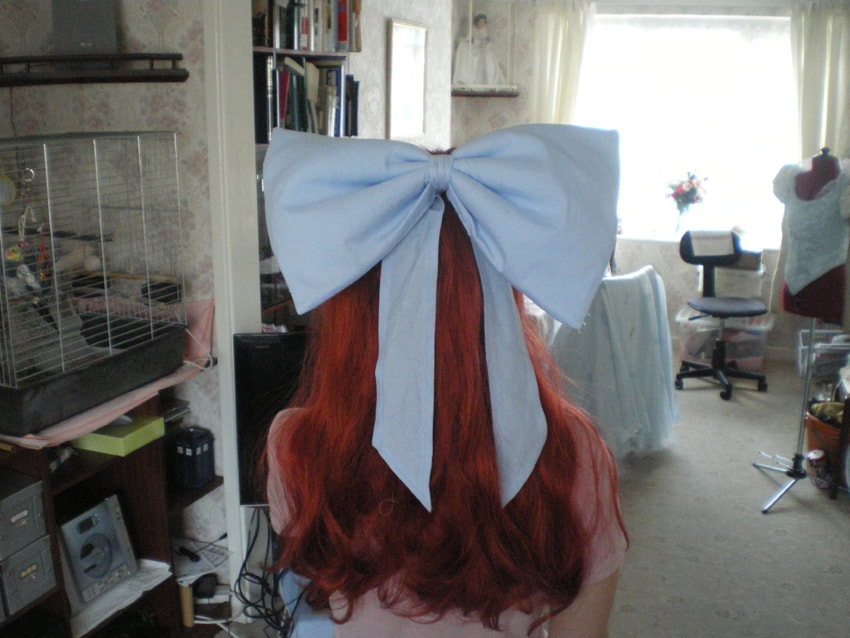
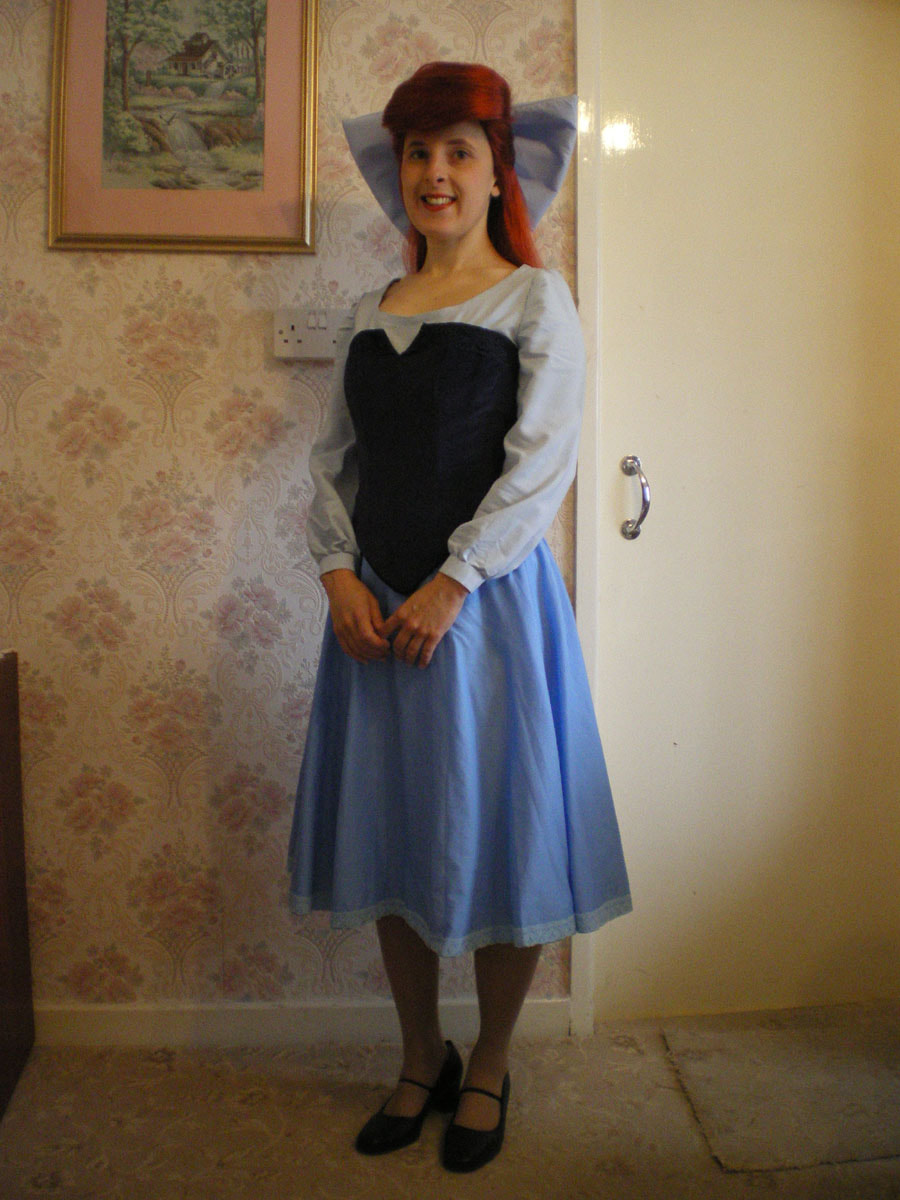
Either attach a hair clip to the back of the bow and attach to the hair, or sew the bow directly to the wig.
