For this costume, you will require beginner to intermediate experience in sewing and experience with putting in eyelets.
All videos for making the complete costume can be found in our "video tutorials" link
Difficulty factor 5 - 10
All videos for making the complete costume can be found in our "video tutorials" link
Difficulty factor 5 - 10
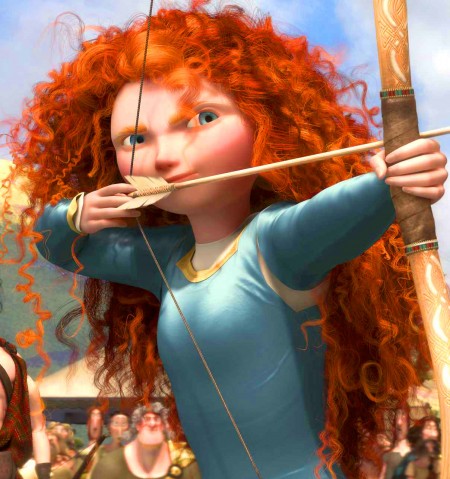
Merida From Brave
Blue Formal Dress
Blue Formal Dress
Materials:
McCall's 9456
Petticoat/Chemise:
3 metres Ivory Cotton Voile
1 metre Velcro
1 Metre piping cord
Dress:
4 metres Aqua Truella Fabric
Small piece of Brocade fabric
1 Metre Gold velvet ribbon
1 metre Gold trim
Approximately 30 silver eyelets
2 Metres lacing of your choice
Small scrap of Gold Lining
Length of interfacing
Acrylic Metallic Antique Gold Paint
2 Stud Fasteners
Belt buckle
2 Metres Beige Duchess Satin
1,500 x 6mm half pearls
Extras:
Disney Bow and Arrows from Disney Store
To Make the Petticoat:
|
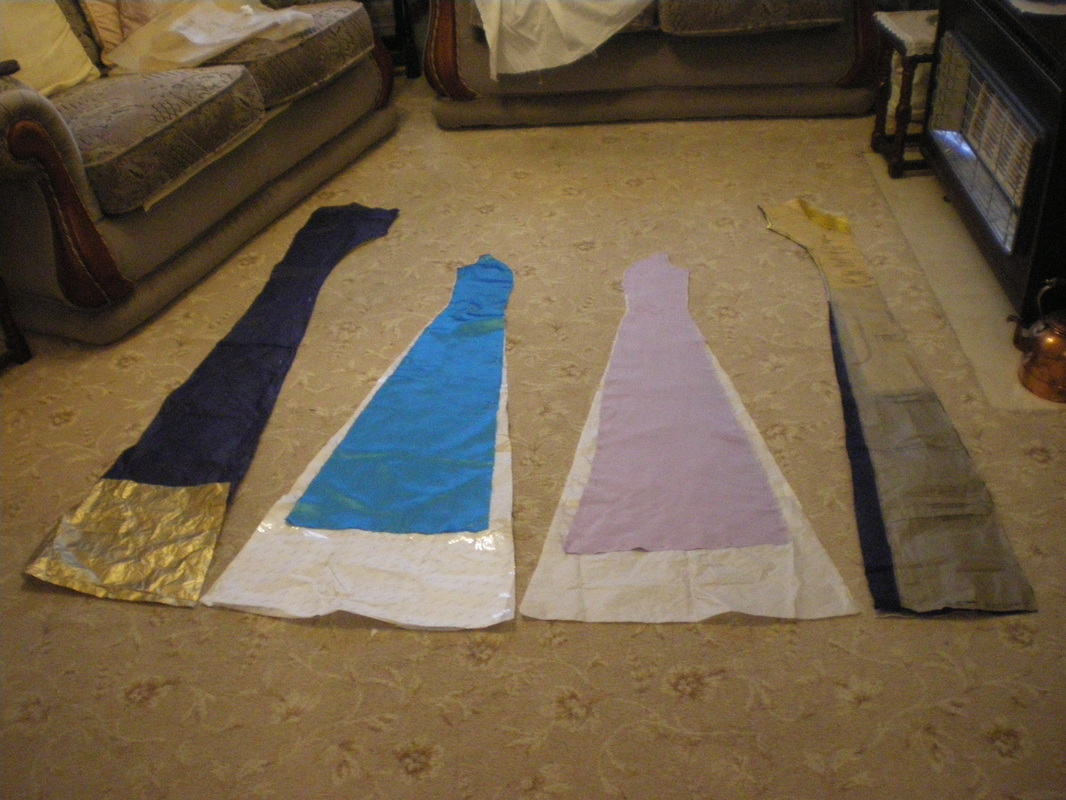
After making our mock up to fit the dress. Each piece was extended out by 2" (5cm) either side of each pattern piece, except the front panel, which was extended only on one side and extended to floor length.
Move the neck opening up on the front piece with a slight curve. |
|
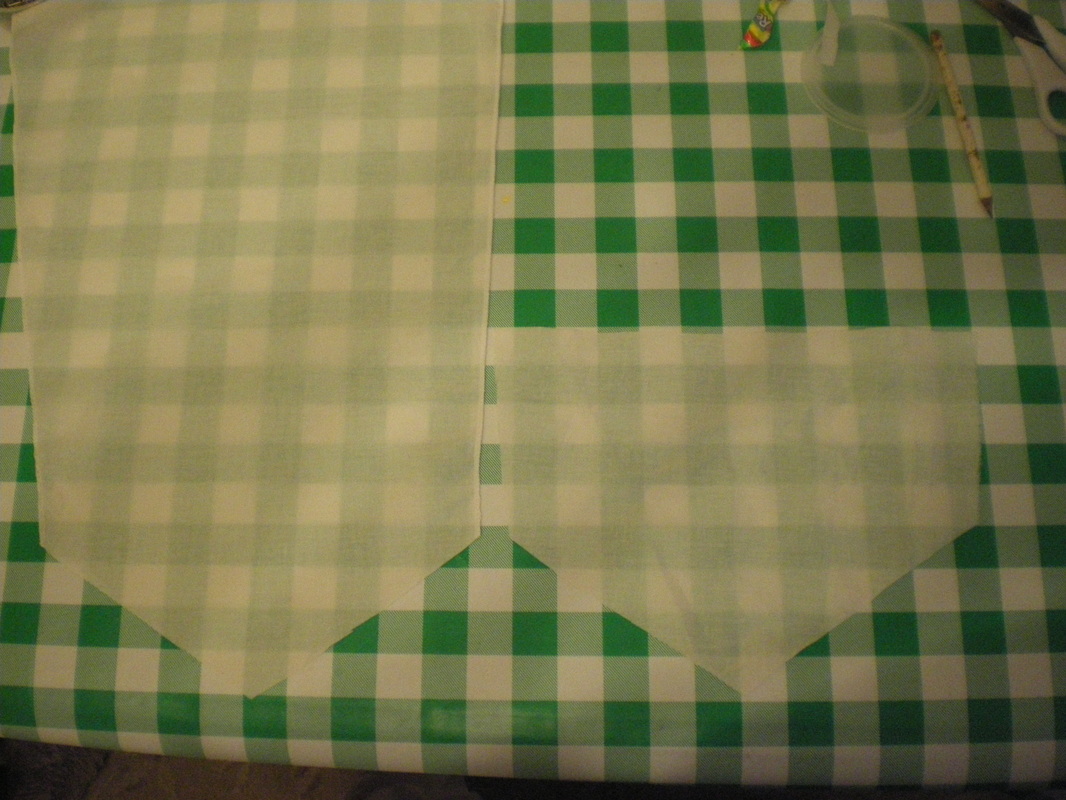
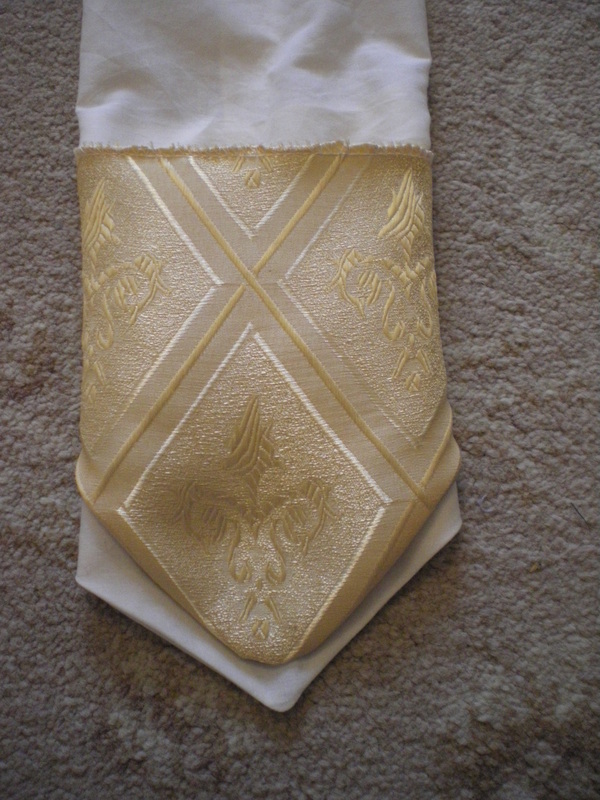
The sleeves are cut as per the pattern, except the bottom is shaped into a point, finishing at the first knuckle joint of the fingers. Also cut an interlining piece
|

|
Sew down to the point on both sides, leaving the side seam open. Turn the right way out.
|
|
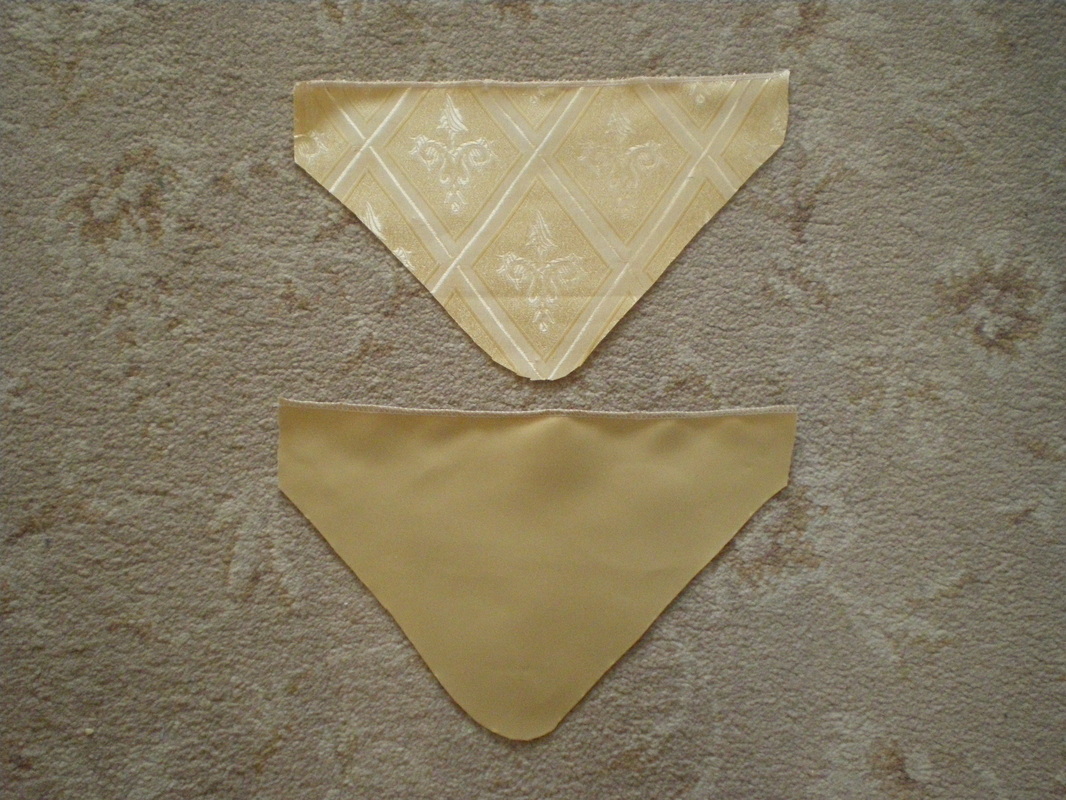
Cut a piece of brocade as wide as the sleeve and also a lining and cut a curve instead of a point. Sew down both sides to the curve, but leave the side seam open. Turn the right way out and place this on the bottom of the sleeve.
|
|
Sew along the top of the piece to the sleeve. Close the back seam
|
|
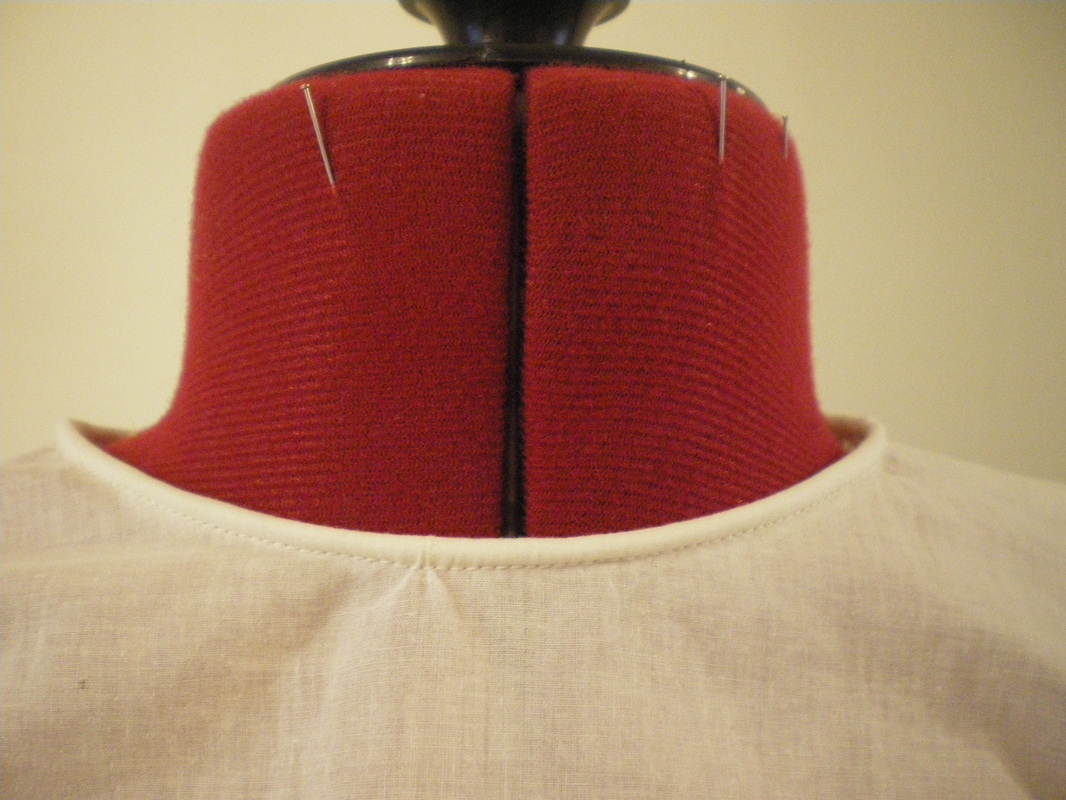
Neaten the neck edge, then insert a length of piping and sew down
|

|
Sew up the back seam from the bottom edge to the hips using a generous seam of about 1" (2cms) Sew in a length of velcro to finish.
|
|
Turn up the hem to your desired length. This completes the Petticoat.
|
Making the Dress:
|
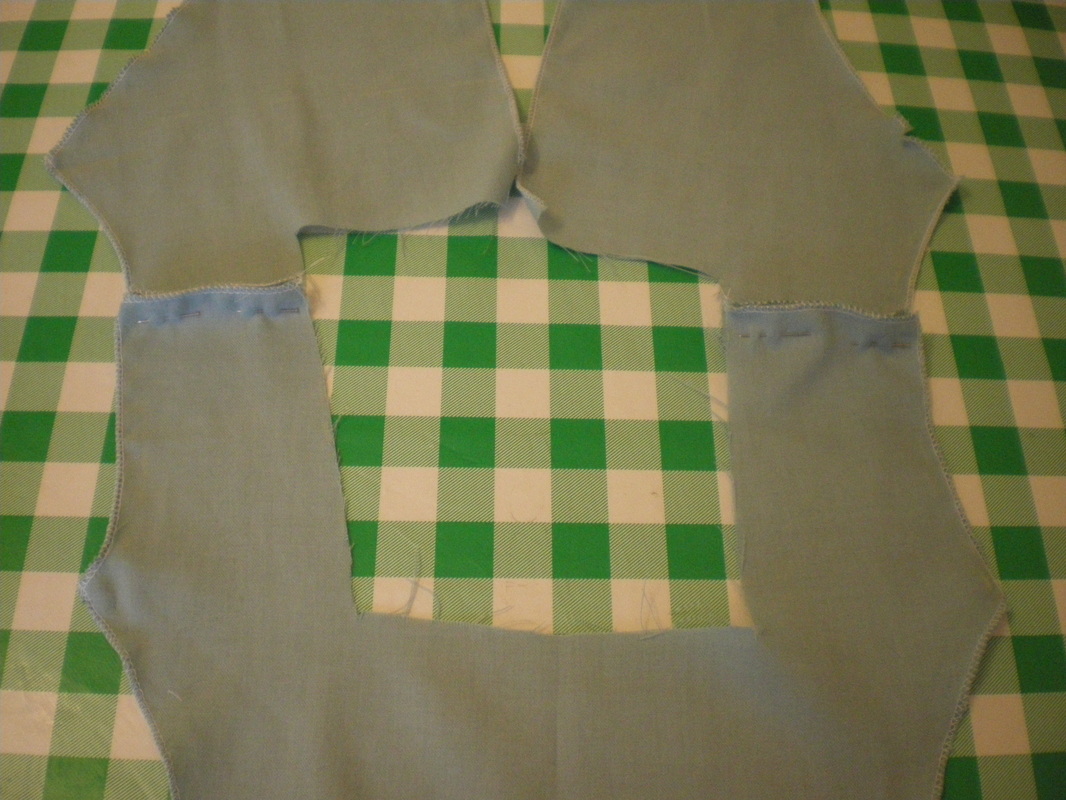
Using the same pattern as the petticoat cut out your pattern pieces for the dress. There are a few minor alterations to make first. When cutting out the petticoat each seam was extended by 2" (5cm) each side. For the dress I allowed 6" (150cms) on each seam. Starting at the waist on the pattern, draw a straight line down to the hem, the extra allowance is added to the width at the bottom.
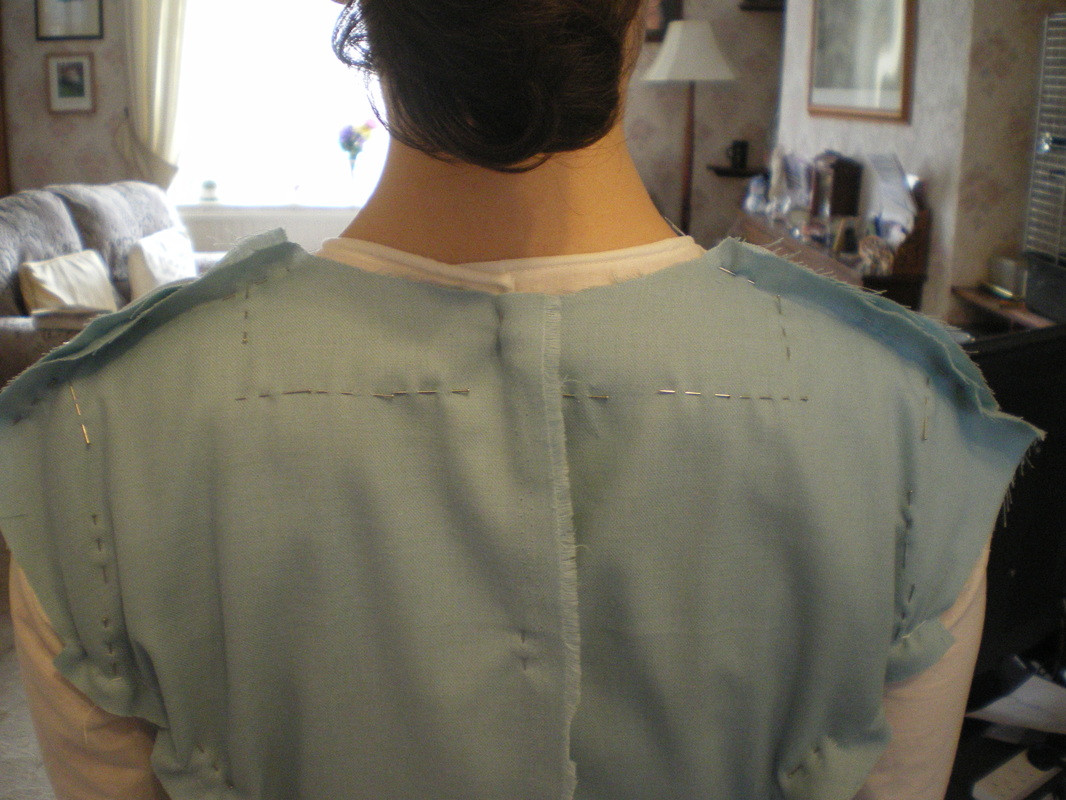
Also, after pinning the sections together, mark where the square cut needs to be made for the neck, front and back. I have also placed pins to reduce the width of the shoulder |
|
Using the new shapes for the front and back, cut out interlining to match. This need only be for the top part of the dress as the dress is not lined. Sew the shoulders together.
|
|
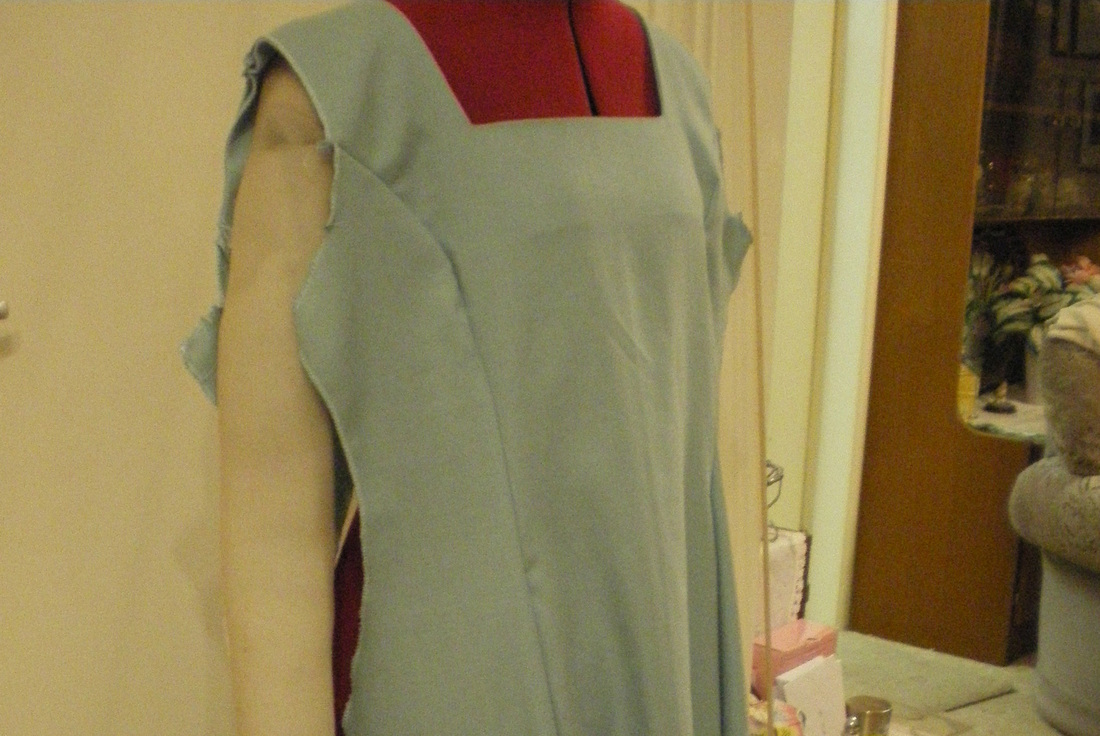
Join the front two sections and back two sections and the shoulders. put the interlining on right side to right side, pin, tack and sew to the dress around the neck edge, snip the corners and turn the interlining to the inside of the dress.
|
|
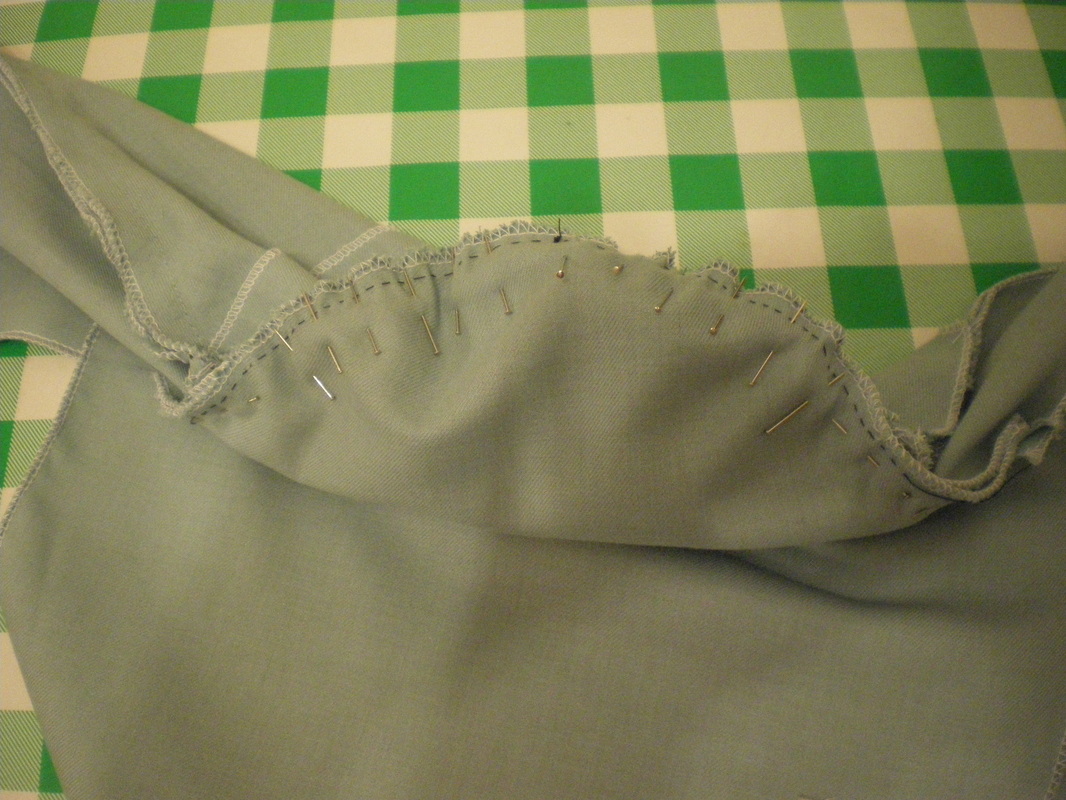
Sew "ease" stitches to the top of the sleeves, slightly gather, then attach to the sleeve opening. The side seam of the dress is still open at this point as it is a lot easier putting a sleeve in this way.
|
|
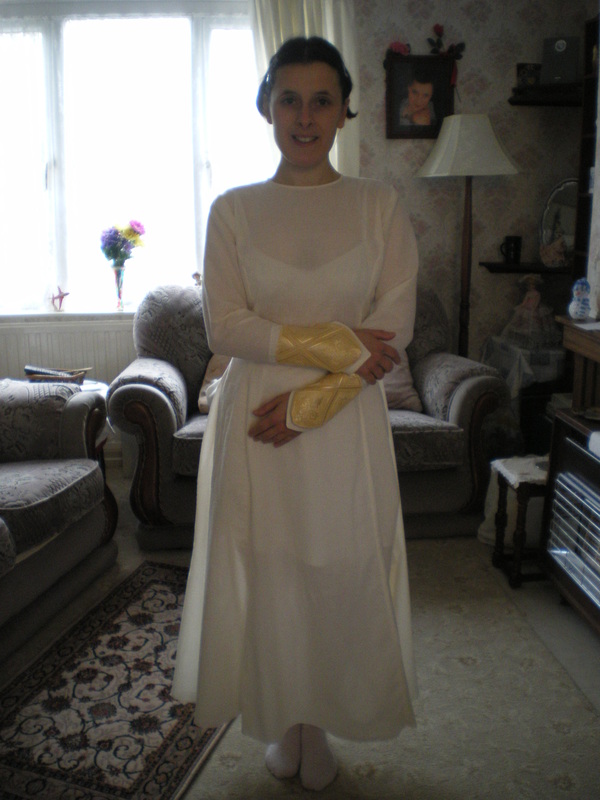
Showing the sleeves in place.
|
|
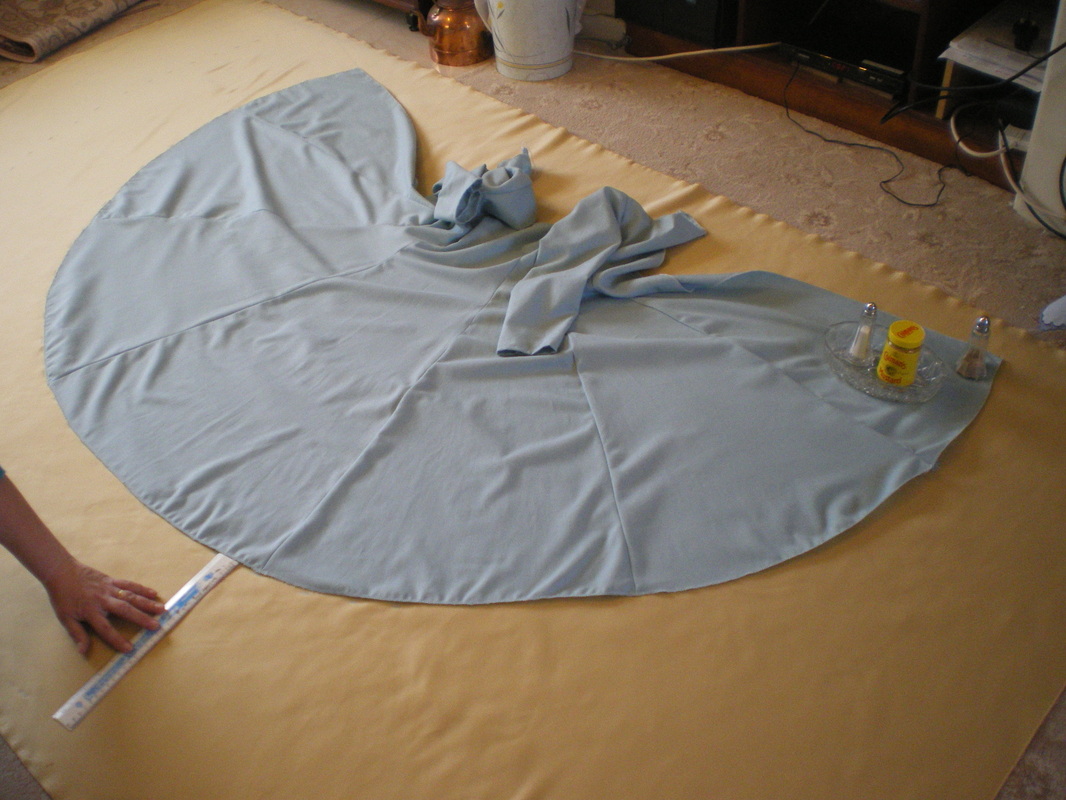
Lay out the Duchess Satin and spread the dress open to create a curve. Measure approximately 12" (30cms) or however deep you want the valance to be. Cut a curved circle.
|
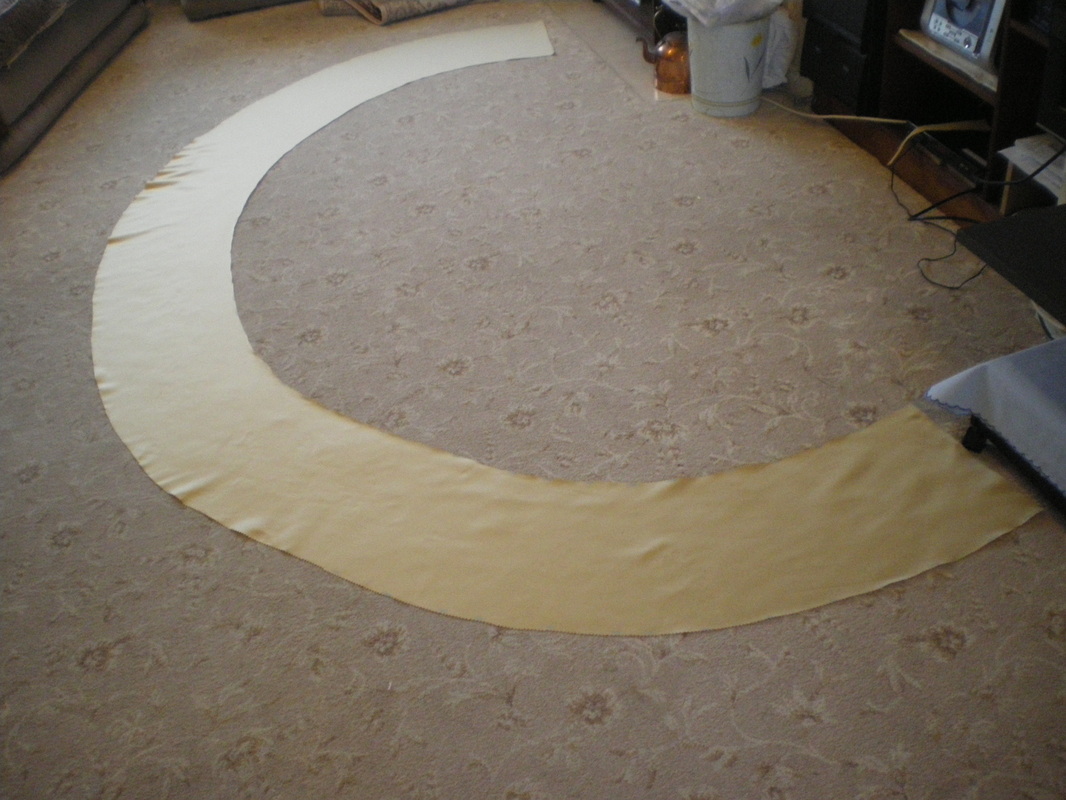
|
I want to paint this first before it goes on the bottom of the skirt.
|
|
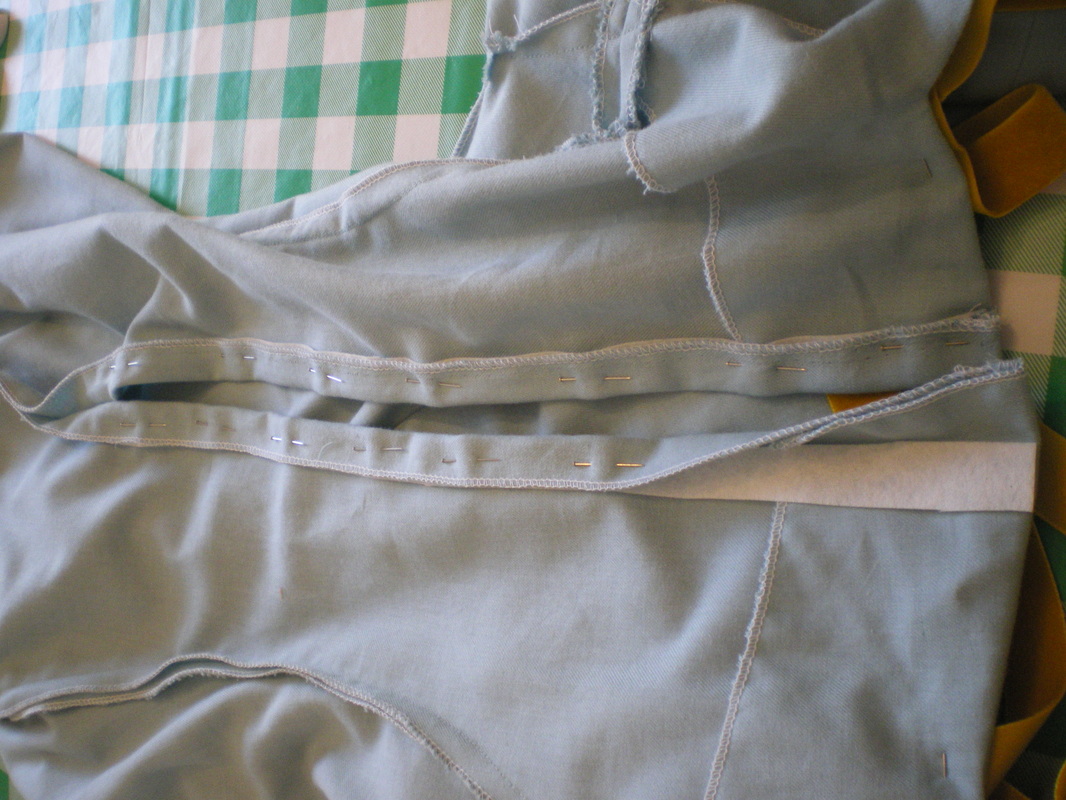
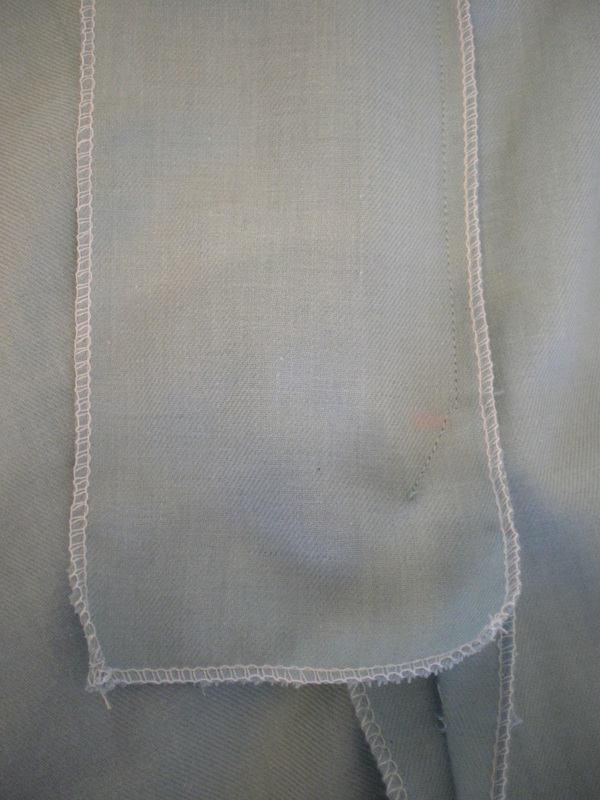
Sew up the back seam from the hem to the hips, allowing a generous seam of 1" (2cms). cut a strip of interfacing as long as the opening. Turn over the seam to cover it. Just pin for now as we are going to make a placket.
|
|
Cut a piece of fabric approximately 2" (5cms) longer than the opening and approximately 4" (10cms) wide and neaten all the edges.
Attach to the right side opening against the seam edge. |
|
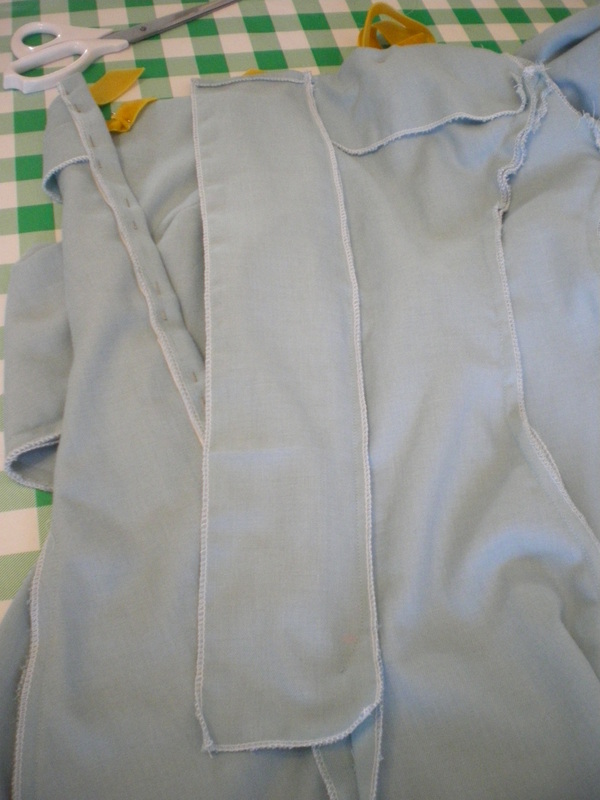
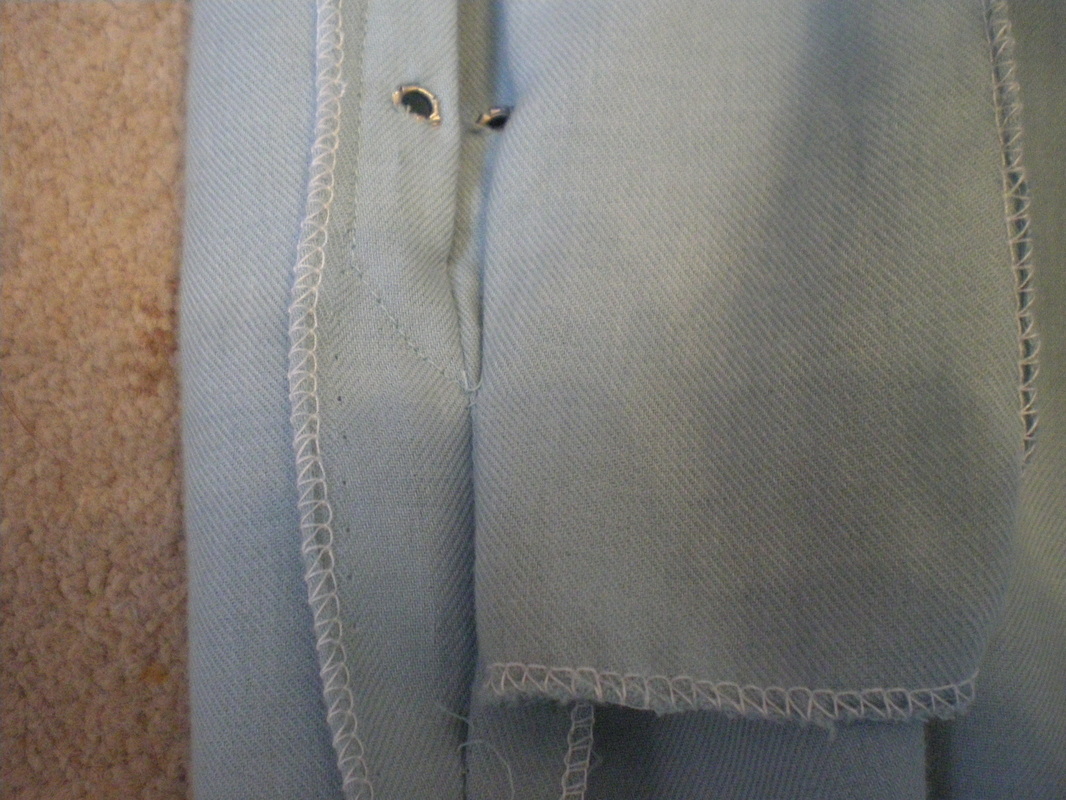
Sew the right side. At the opening come into a point at the centre seam. Pull the sewing thread through to the inside and tie a knot.
|
|
Move the placket out of the way, sew the left hand seam. On reaching the back seam opening, slant down towards the seam and stop at the same point. Pull the sewing thread to the back and knot.
NOTE: I forgot to take a picture of this stage of work, so please ignore the fact that the eyelets have been put in, I need to put the neck trim on first |
|
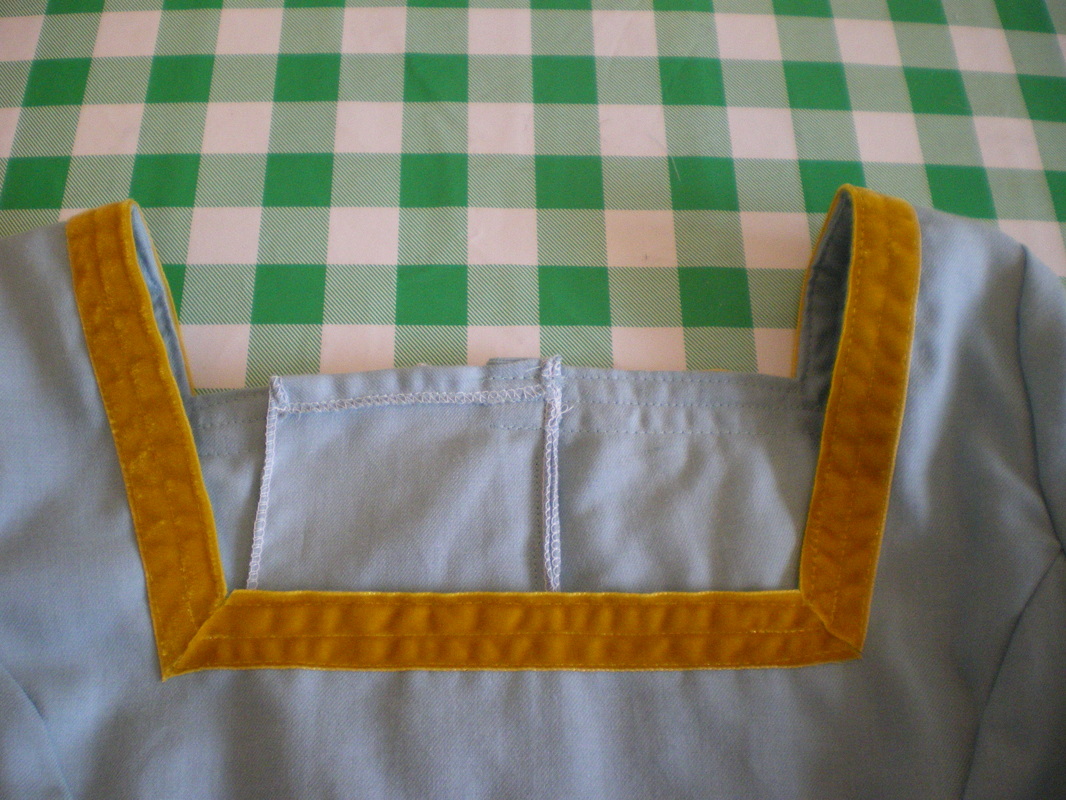
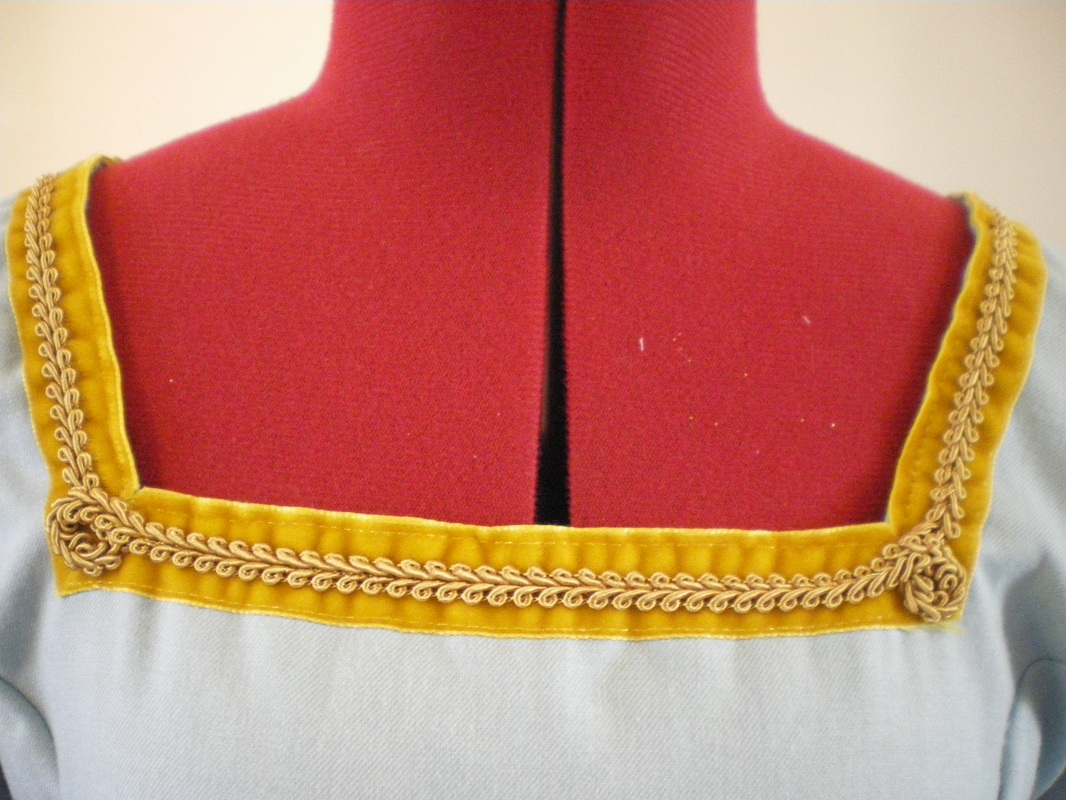
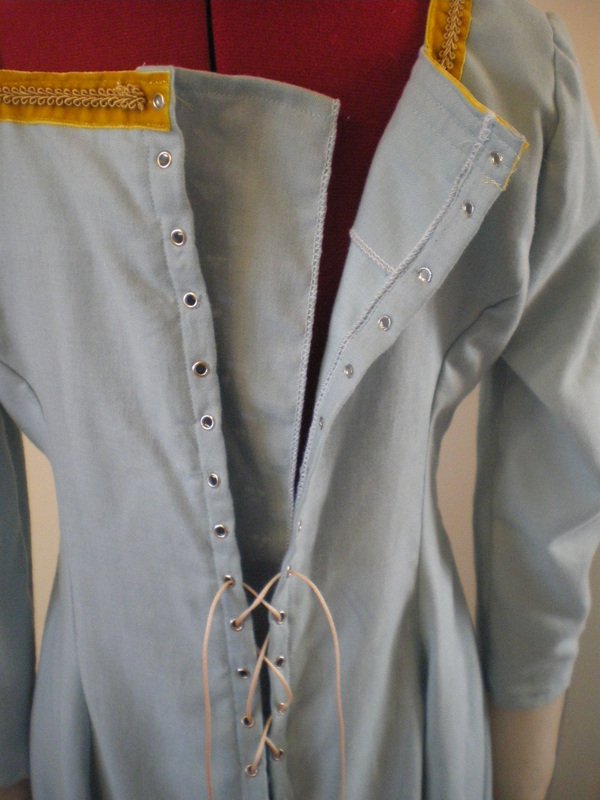
Sew on your chosen trim to the neck edge and neaten at the back opening.
|
|
Sew on the gold trim and neaten at the back opening.
|
|
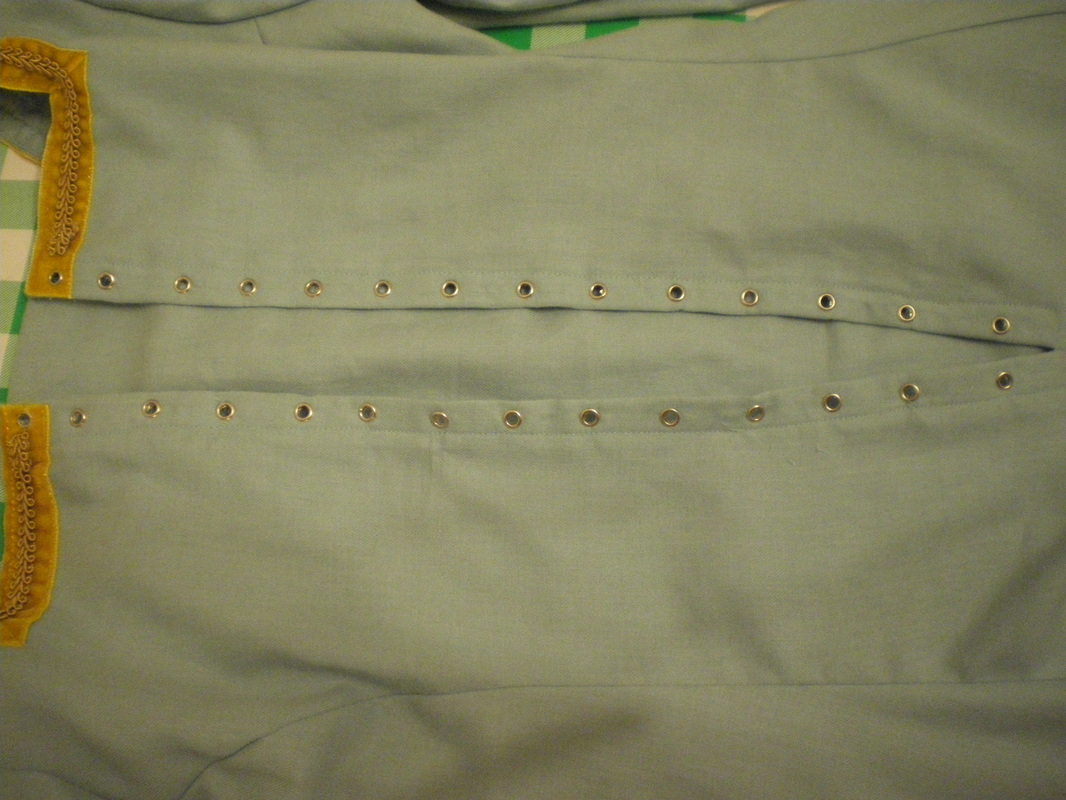
Insert the eyelets 1" (2cm) apart.
|
|
Lace from the bottom to the top.
|

|
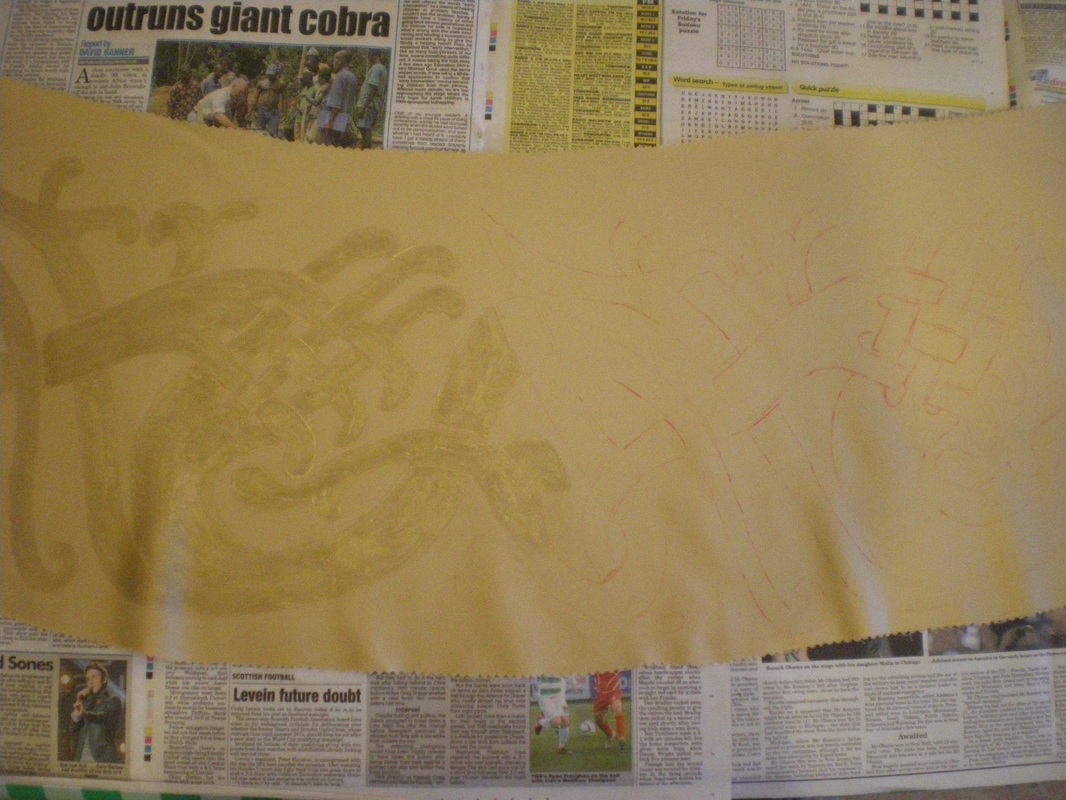
I copied the Celtic pattern as best as I could. Put it in Adobe to create a slight curve to it, then using Trace Down paper, copied the image onto the beige satin. I made it multicoloured to make the detail stand out.
|
|
You should just be able to see the marks made by the Trace Down paper.
|

|
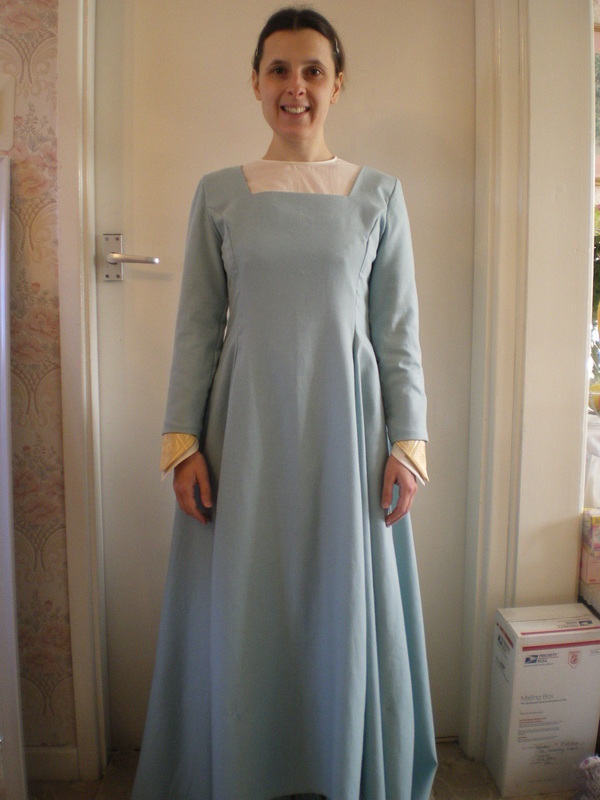
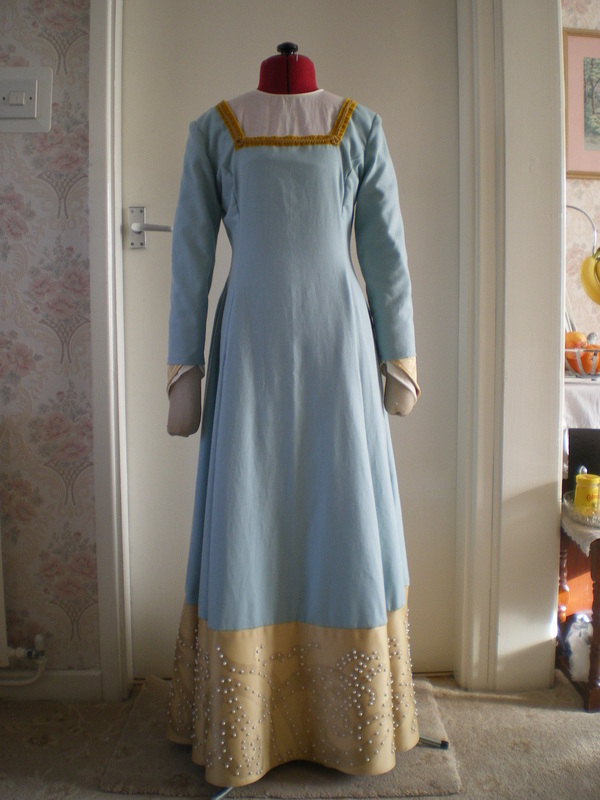
Sew the valance to the bottom of the dress and turn it up to the desired length. Using fabric glue, glue on the half pearls.
|
|
Almost finished, just need the belt.
|
|
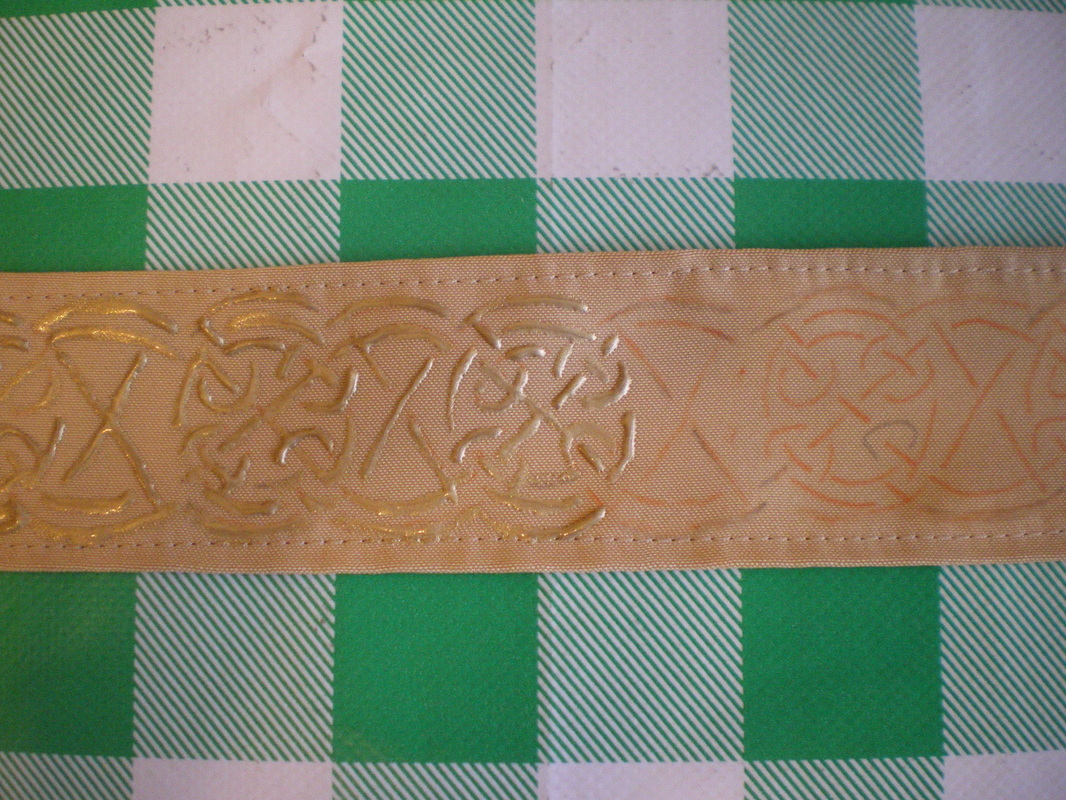
Cut a length of beige satin, long enough to go around the waist to approximately 6" (15cms) off the floor and slightly wider than the buckle you are going to use. Neaten the edges. I used a Celtic pattern off the internet and used Trace Down paper to apply the design to the belt. Paint over the lines with Acrylic paint.
|
|
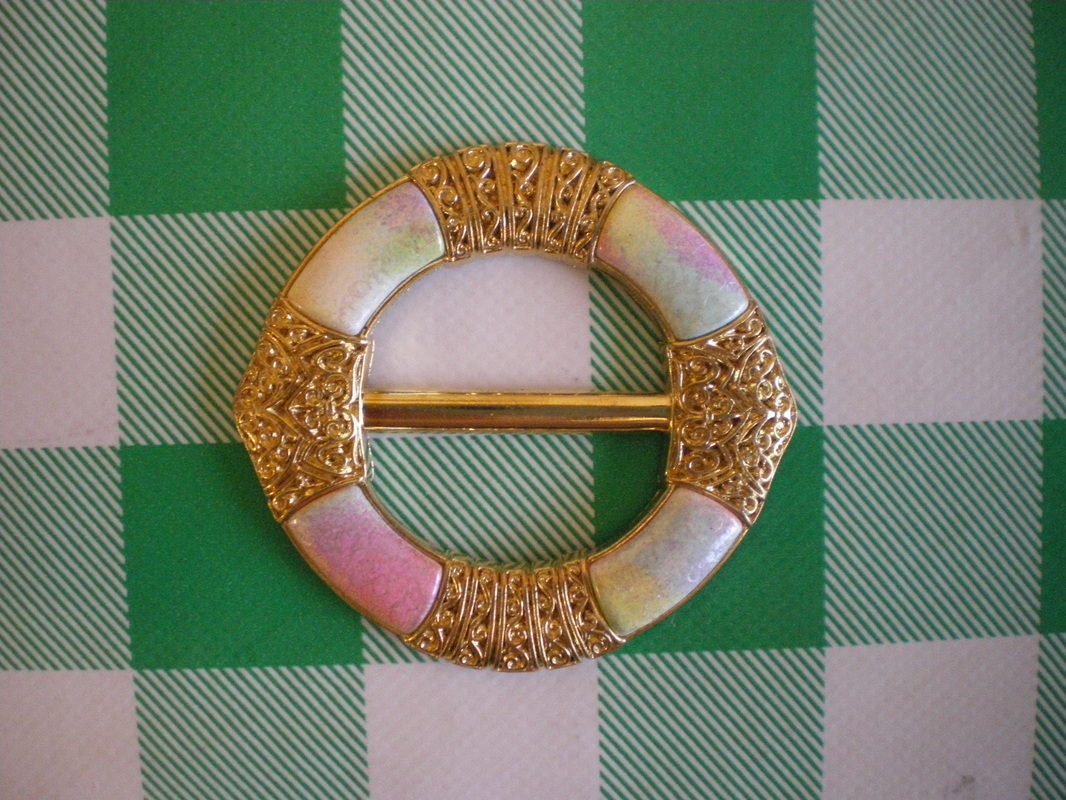
I acquired a Celtic style buckle for my belt.
|
|
|
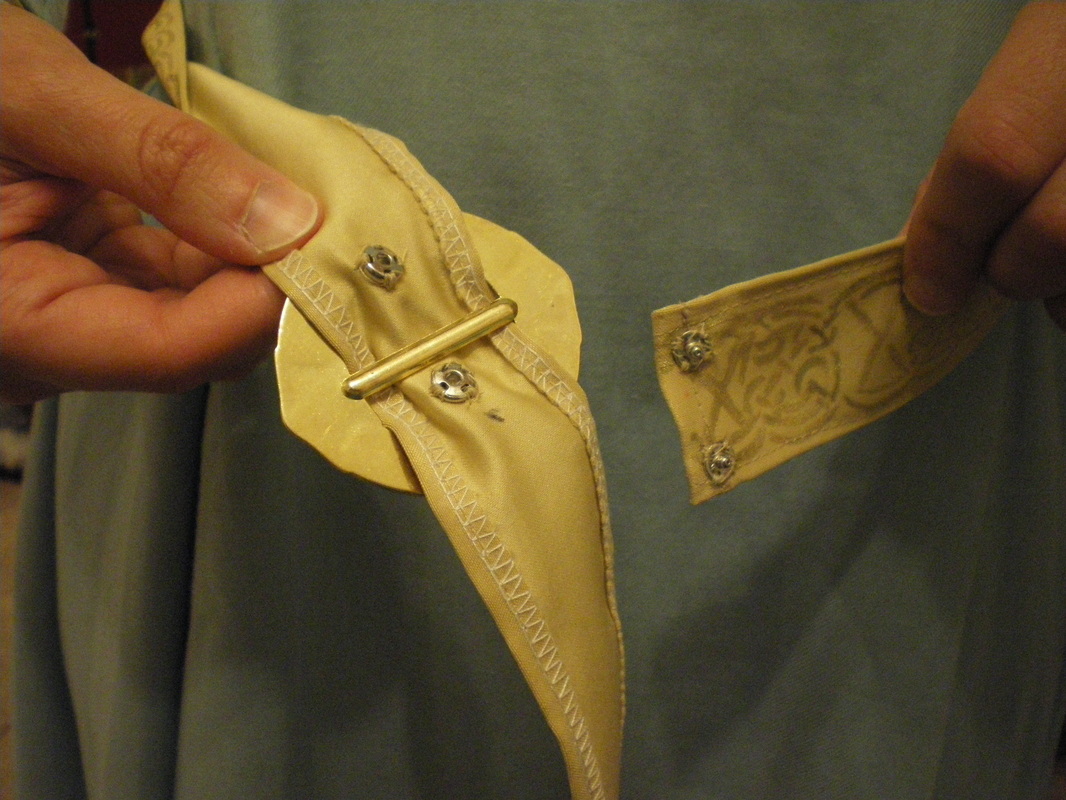
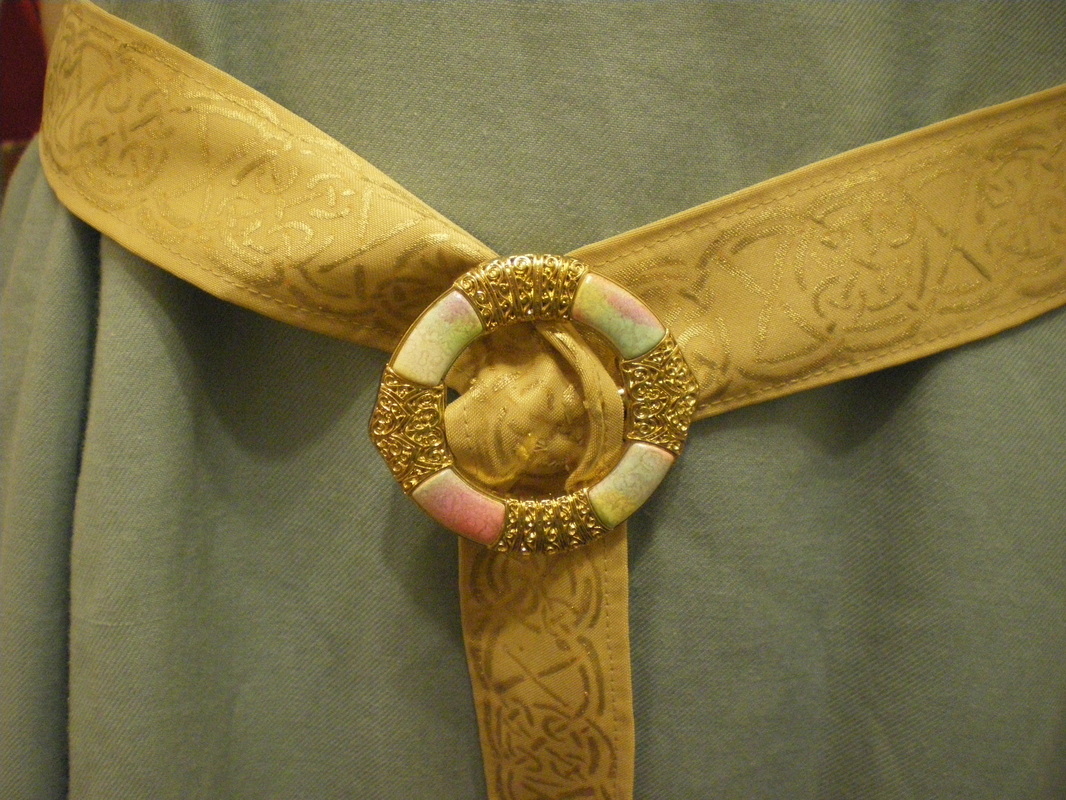
Thread the belt through the buckle, around the waist and rest comfortably on the hips, when you are happy with the position, sew on two stud fasteners to straddle the buckle bar.
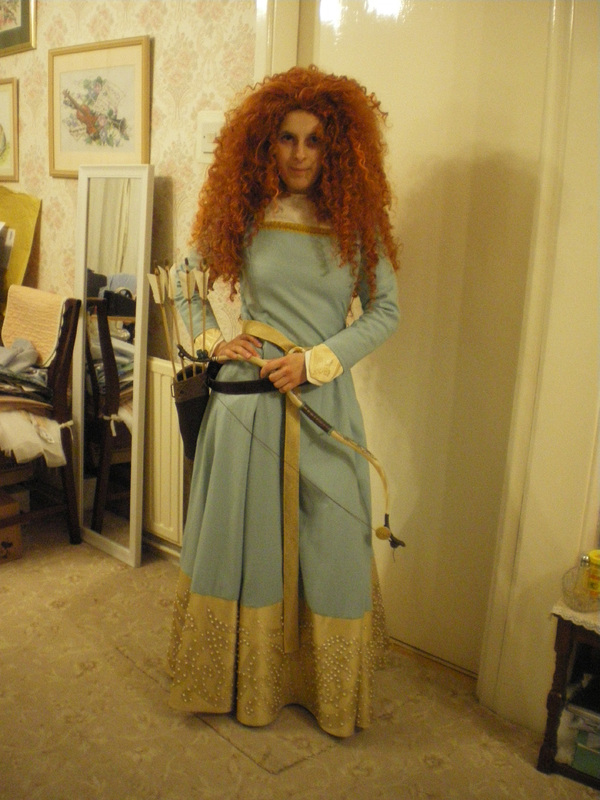
This completes the costume.
