Georgian Bodice
For this costume, you will require intermediate experience in sewing
Difficulty factor 5 - 10
Please note, that we do not make costumes to order or to hire. These are one off costumes designed for Tracy.
Please use these instructions in conjunction with our videos, as they contain more information on items needed, their sources and technique
Difficulty factor 5 - 10
Please note, that we do not make costumes to order or to hire. These are one off costumes designed for Tracy.
Please use these instructions in conjunction with our videos, as they contain more information on items needed, their sources and technique
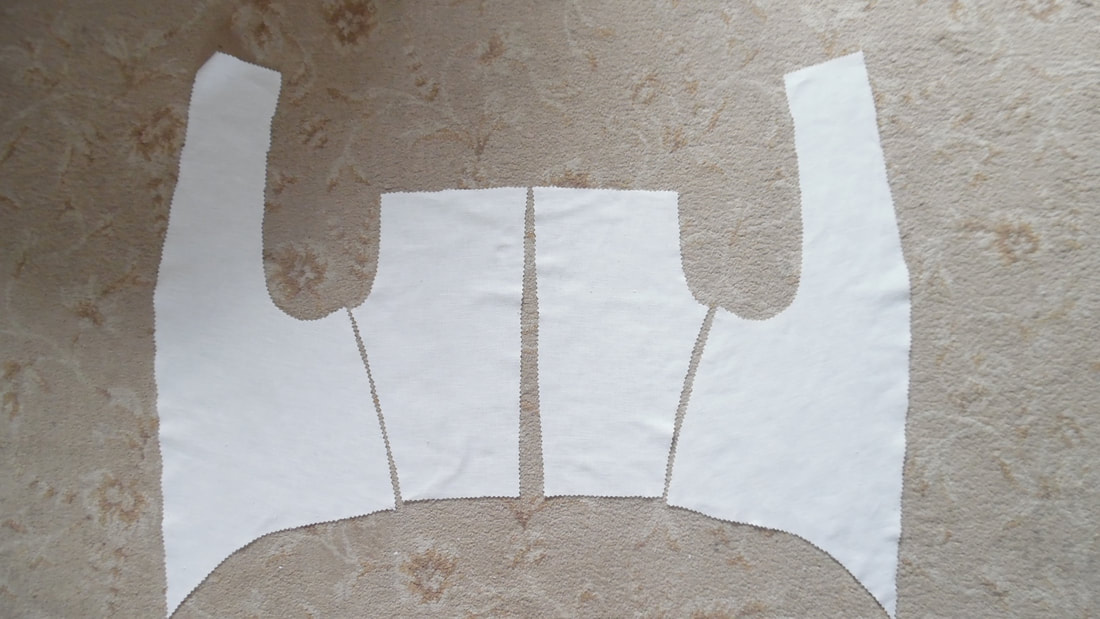
This is a crucial fit, get this wrong and your gown won't fit right. We tried at least 3 different bodice shapes from different sources. In the end, I made the bodice pattern myself from scratch.
|
|
This is showing the mock up of the bodice to create the pattern.
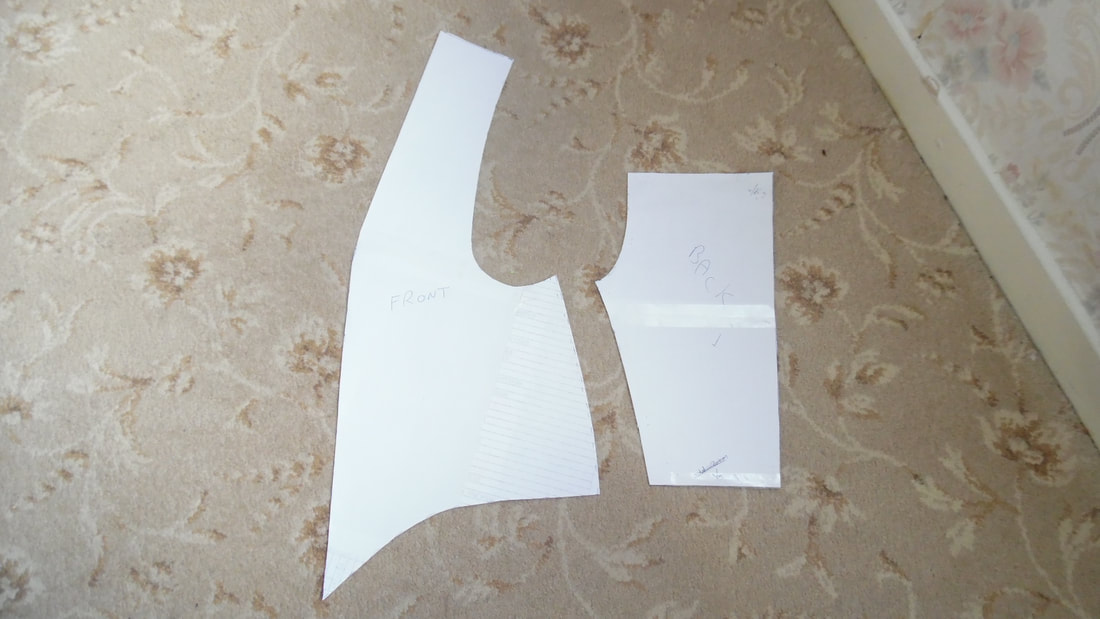
Tracy has a very shallow back which has always made it awkward to make patterns for her. The majority of authentic sacques, have a back section that either uses ties or lacing, there are also examples where it is just a back seam. Because Tracy has not changed shape since 2006 and I don't envisage her changing shape in the next 12 years either, we have foregone the ties, as these were built in to adjust the size and shape because of dieting, putting on weight, pregnancy etc., I have also made sure I have a seam allowance for the front edge.
Make sure you have plenty of seam allowance for the shoulder straps to overlap at the back. Some people do the shoulder strap as a separate piece, this choice is up to you.
If you are going to be traditional, you will need to incorporate your ties or lacing into the back panel, if not, sew up the back and side seams.
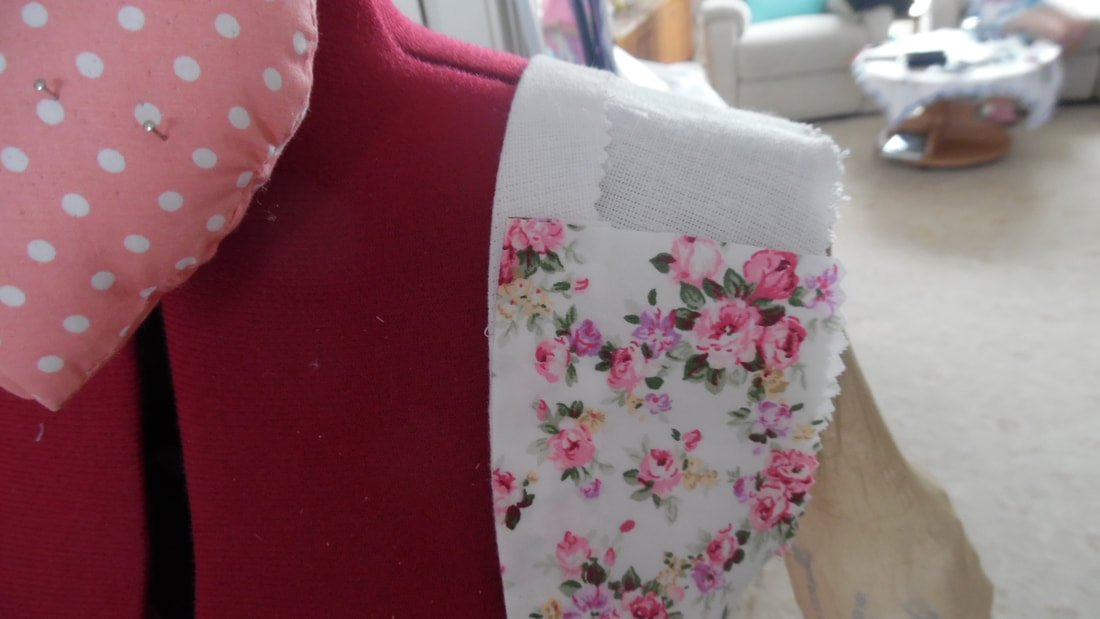
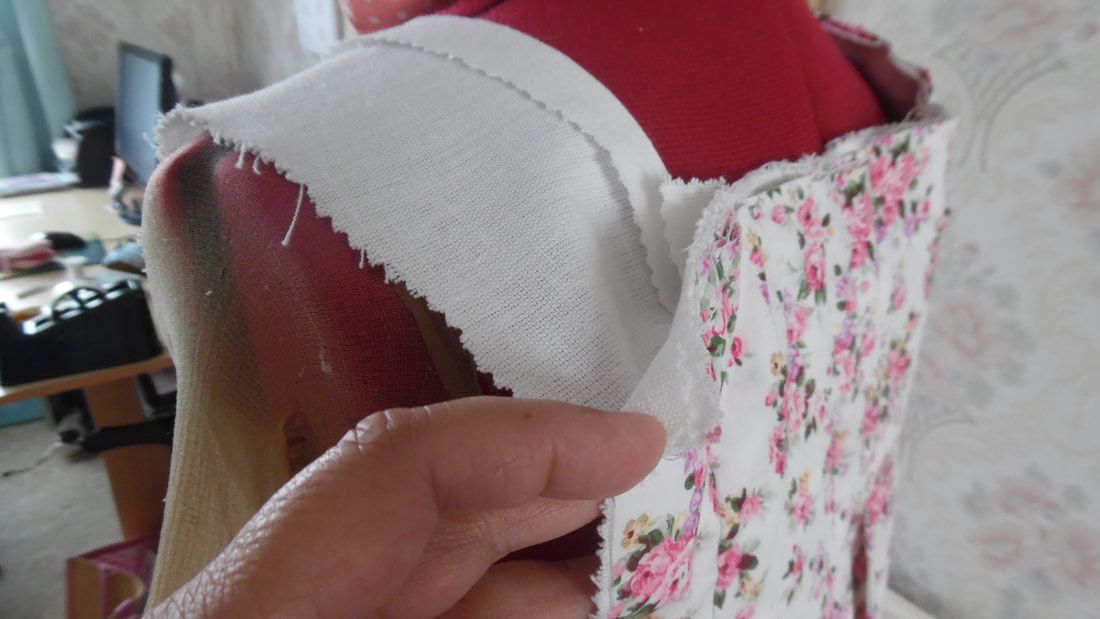
You will need to cut 2 pieces of outer fabric for the front edge only.
To mount, or not to mount that is definitely a question to consider, as either method would have been acceptable - we have decided not to mount. Also, if you are going to hand sew your front edge, you will need to turn the liner and the outer fabric when joining together, but as we are going to machine sew the front edge, we are going to treat it as a modern seam.
Materials:
1/2 Metre White Linen
1/4 Metre from your length of Fabric

|
Put your bodice pieces together if you are doing it this way. Turn a hem of 1.5cm at the bottom.
|
|
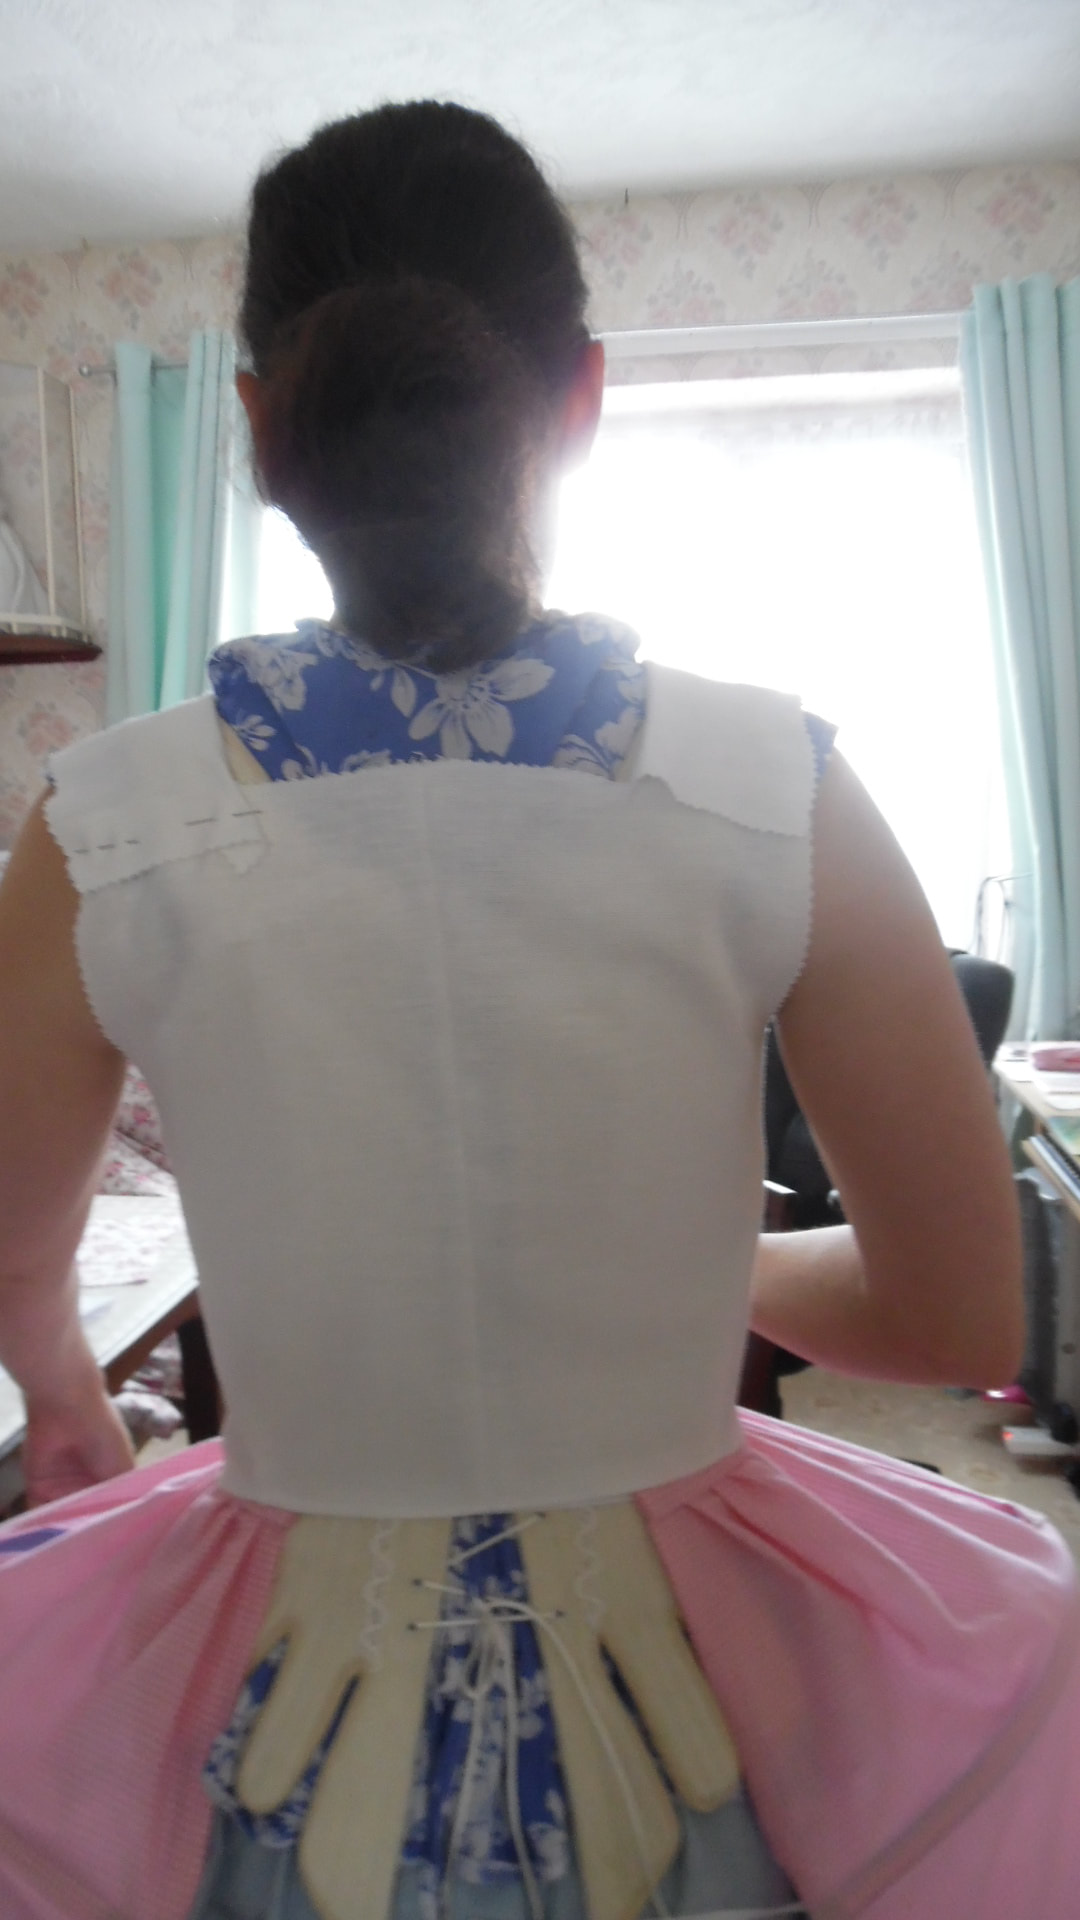
It should fit like this at the back. Sew the straps in a seam onto the bodice.
|
|
PLEASE NOTE: As explained in the video, I went slightly wrong at this stage and completely forgot that the fabric for the shoulder should NOT go all the way over to the back. The shoulder strap is a completely separate item. I carried on with this wrong method and got stuck when I tried to fit the sleeve in and it wouldn't work. So in the video, I have shown how the shoulder strap was taken off.
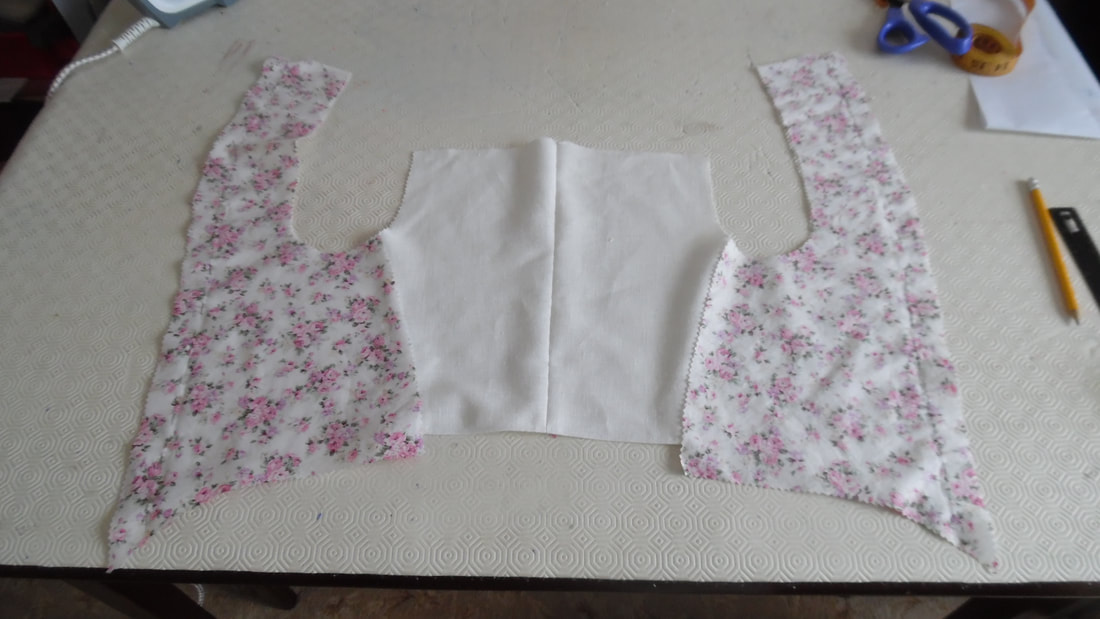
Cut two pieces of fabric for the front bodice and sew on right side to right side. Turn the right way out and iron the edge. You will note that the fabric piece is slightly longer than the bodice, this is intentional. This is the end of the bodice make-up, next we will make the pleated back. |
|
I had to unpick the stitches and cut across the shoulder to remove the fabric.
|
|
I then had to make a seam at the back and attach it to the sacque. Obviously, I couldn't undo the pleats, but as all of this will be covered later, it won't be seen.
|
