For this costume, you will require embroidery experience.
Difficulty factor 10 - 10
All videos for making the complete costume can be found in our "video tutorials" link
Please be aware that
we do not make
costumes to sell or hire
Difficulty factor 10 - 10
All videos for making the complete costume can be found in our "video tutorials" link
Please be aware that
we do not make
costumes to sell or hire
TUTORIAL FOR MAKING
THE
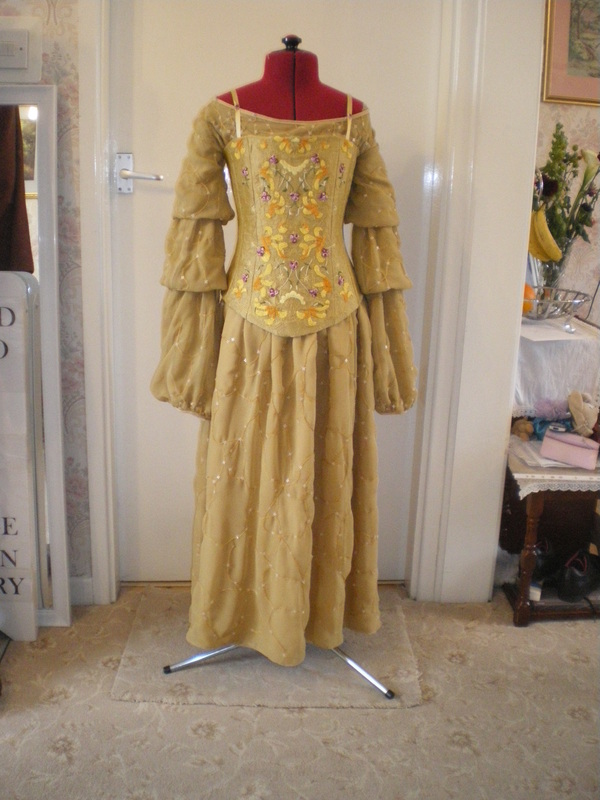
PICNIC DRESS
To make the corset:
I used New Look pattern number 6480, View A to make the corset
15 triple rose motifs
1cm wide gold/beige ribbon
Metallic Gold Thread
1 metre Gold 100% pure crushed silk
1 metre Beige coutil
1 metre Beige cotton fabric
Small hooks and eyes
Thread:
Anchor 314 Gold
Anchor cream
Anchor light and dark green
DMC 743 creamy gold
For the Cape
2 metres net curtain or tulle with a small flower or vine pattern on it
Gold Acrylic Paint
Variegated Thread YLI Foliage 23V
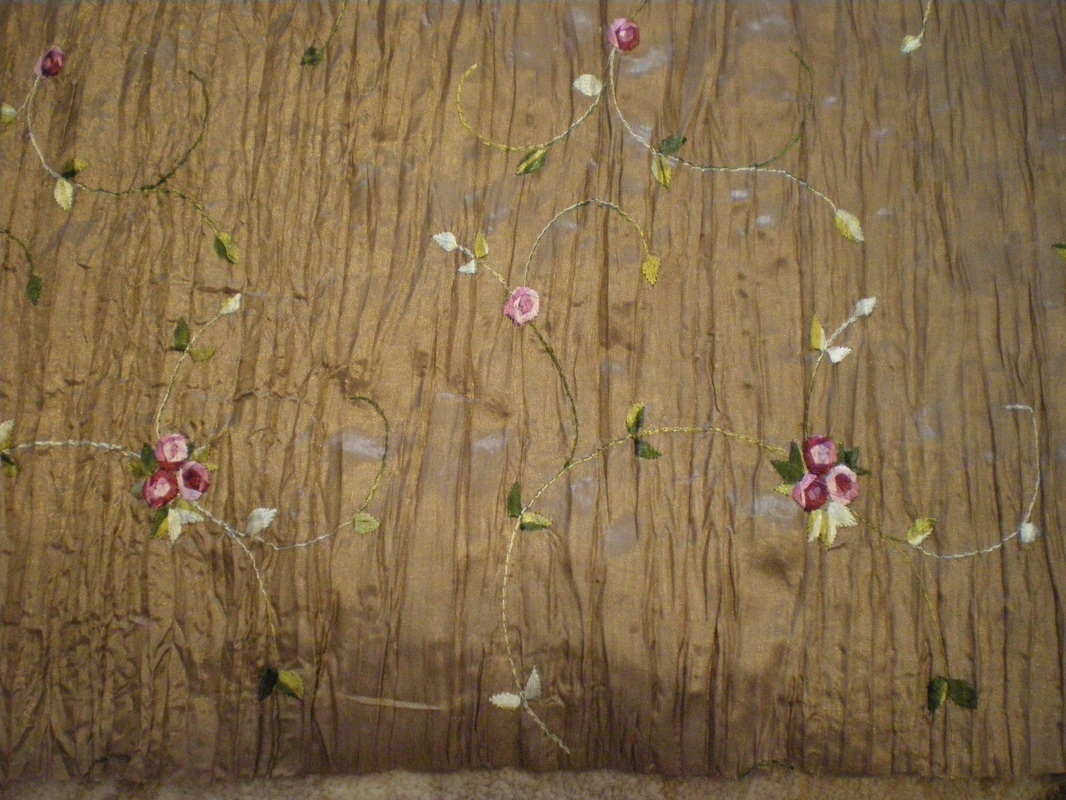
3m of Embroidered Floral Crinkle Taffeta - or
Approximately 130 single burgundy and dusky pink 10mm roses
60 triple rose motifs
To make the Brooch
1 pack of Premo Sculpey in Silver
Assortment of 2mm flat back crystals
6 x 4mm faceted oval
Brooch Pin
Silver paint
To Make the Skirt
8 metres Mid Gold Georgette (made in two layers, plus 2 metres left over for the blouse)
3 metres light weight gold polyester satin
Small piece of satin to make the yoke
Small piece of velcro
To make the Blouse
2 layers of georgette
2 metres of shearing elastic
2 metres beige bias binding
Simplicity Costumes for Adults 5843, view A for the blouse top
Approximately 10 skeins of Anchor 890 Gold thread
Stud fasteners
Extras:
1000 plastic flower motifs
6 metres each of 1" wide ribbon in Dark Green, Light Green, Beige and Pink
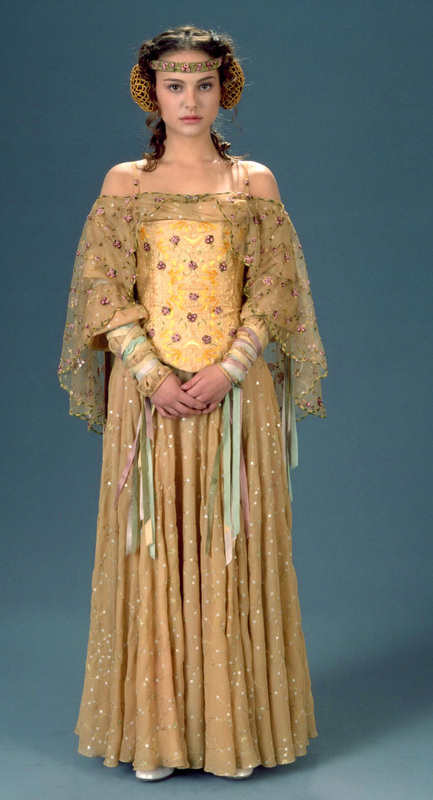
The original dress worn by Natalie Portman as the character Padme Amidala from Star Wars 2
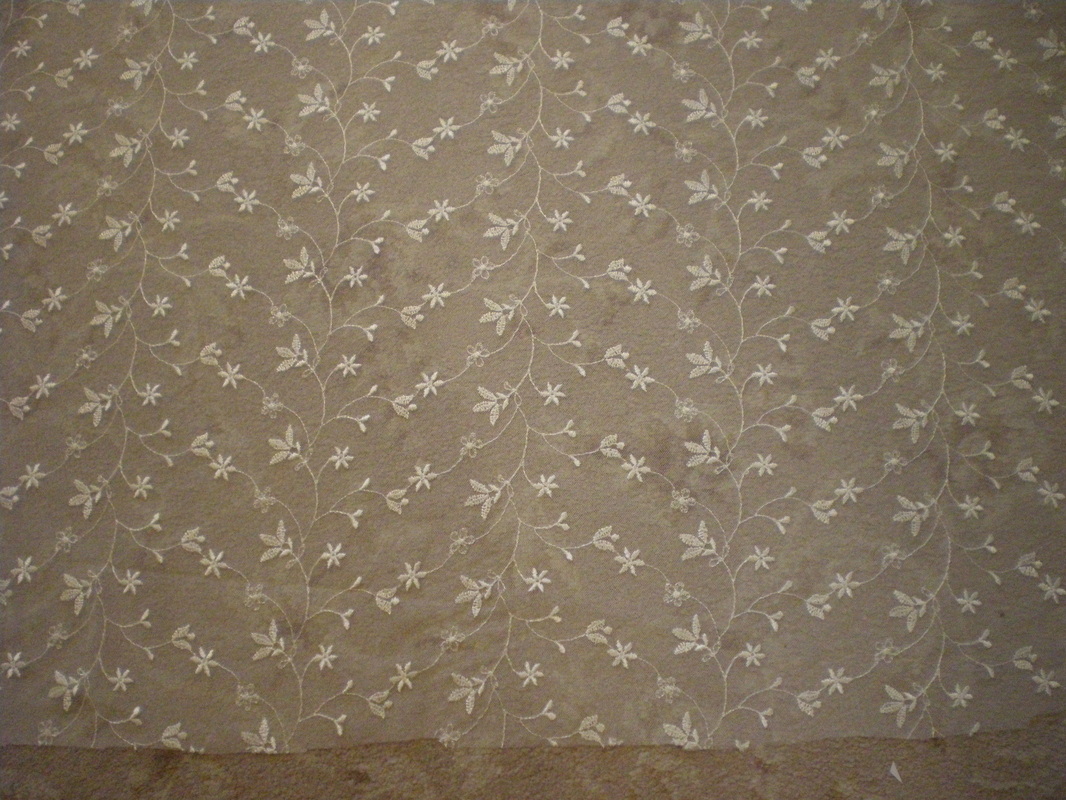
To Make the Cape:
To Make the Cape:
|
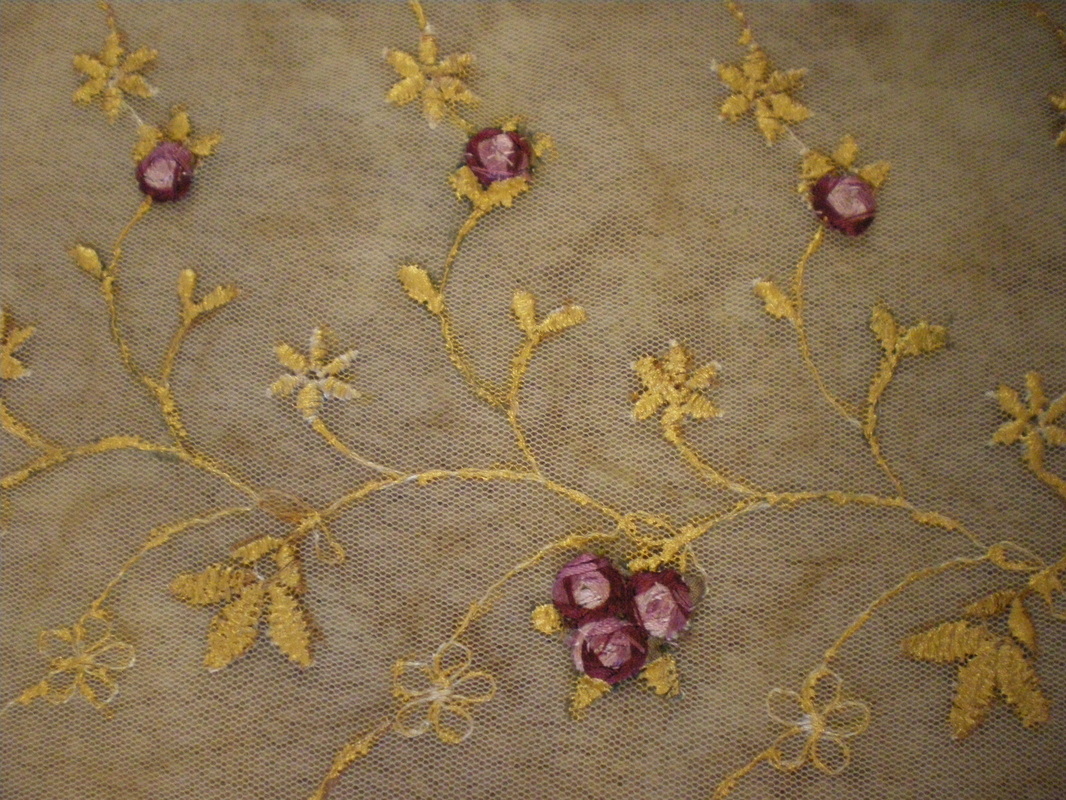
2 metres of embroidered Tulle bought from Millcroft Textiles in Ivory
|
|
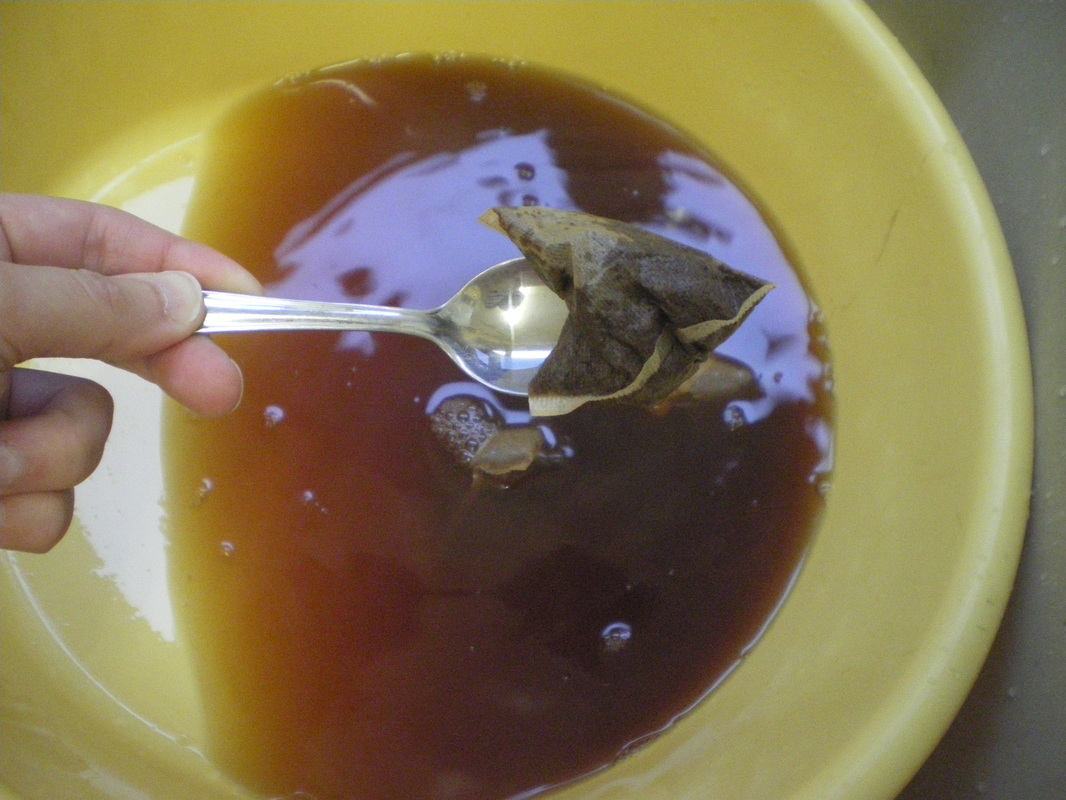
First I needed to tone down the ivory colour by tea dying. Put enough hot water into a bowl to cover your fabric and put in 5-6 tea bags and leave overnight.
The next day remove the tea bags and strain the liquid through a fine sieve or muslin Put your fabric into the water and leave for a few hours or overnight. Carefully wring it out and let it dry. If necessary, give it an iron cool-medium setting |
|
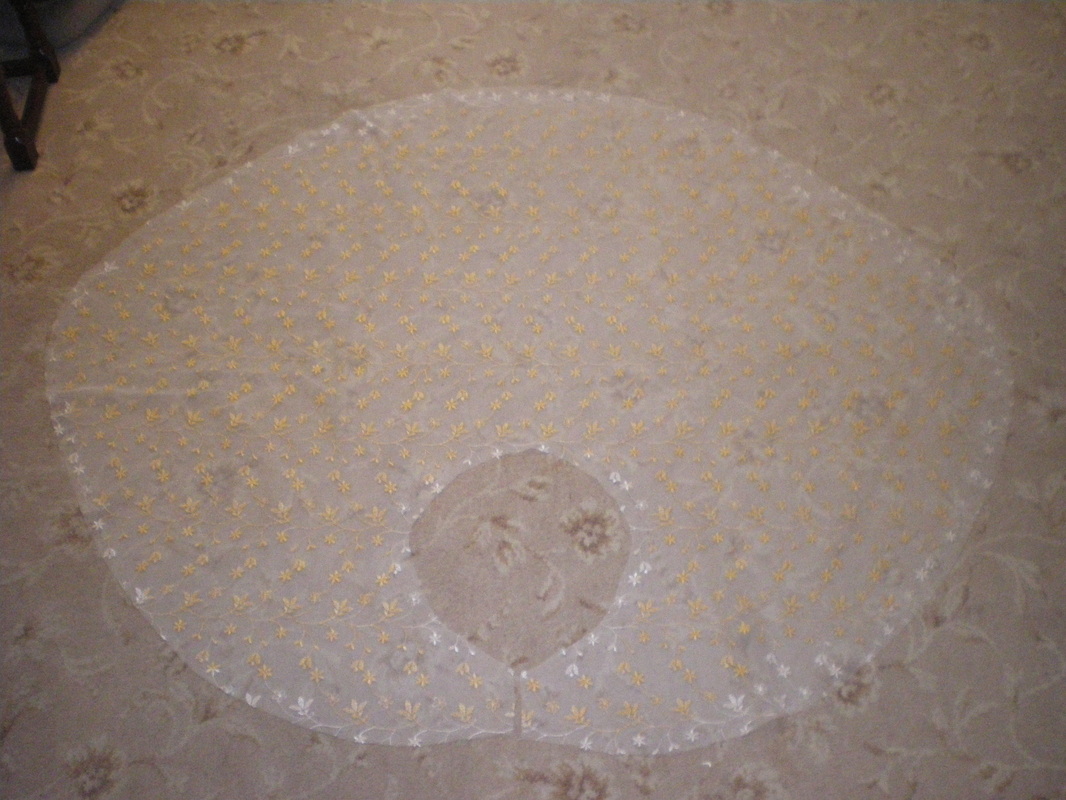
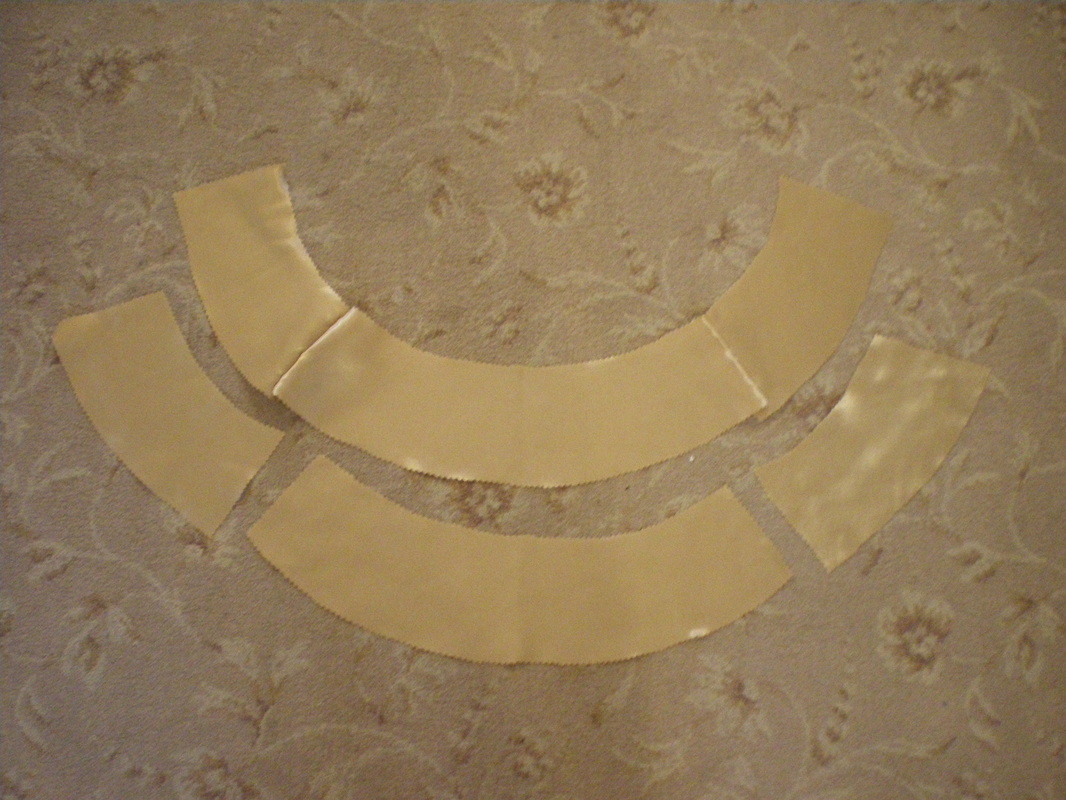
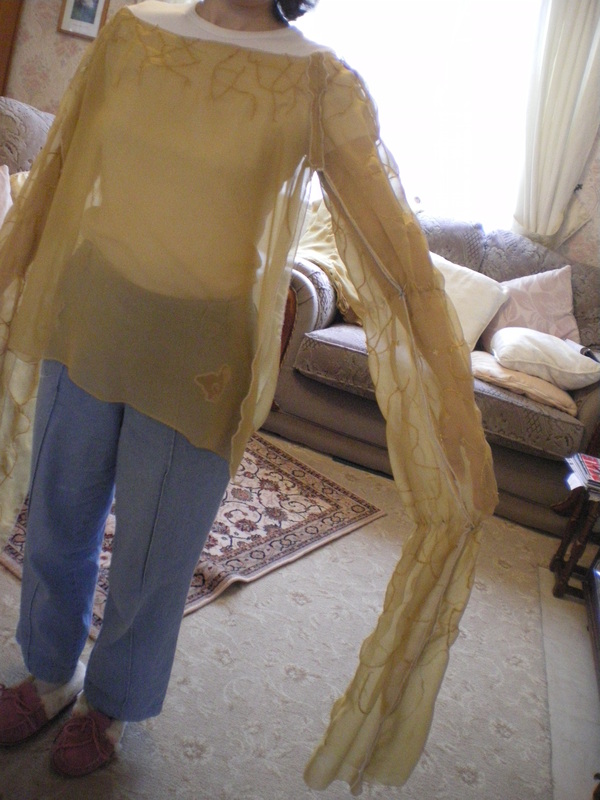
I found this shape worked best, it is approximately 70-80cm deep by just over a metre wide. The central hole is the circumference of the shoulders, plus a couple of centimetres added on. Cut a split up to the hole.
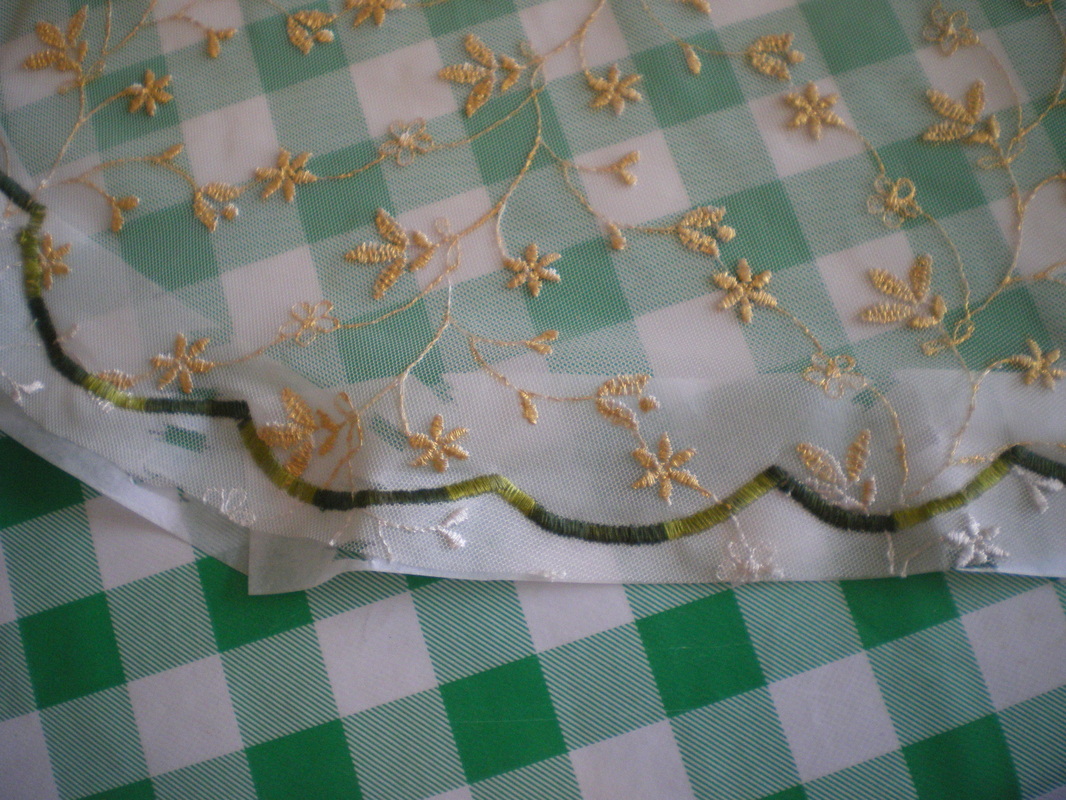
Using a cup or glass draw evenly spaced scallops around the edge, make sure you leave some excess, so don't go all the way to the edge of your fabric. 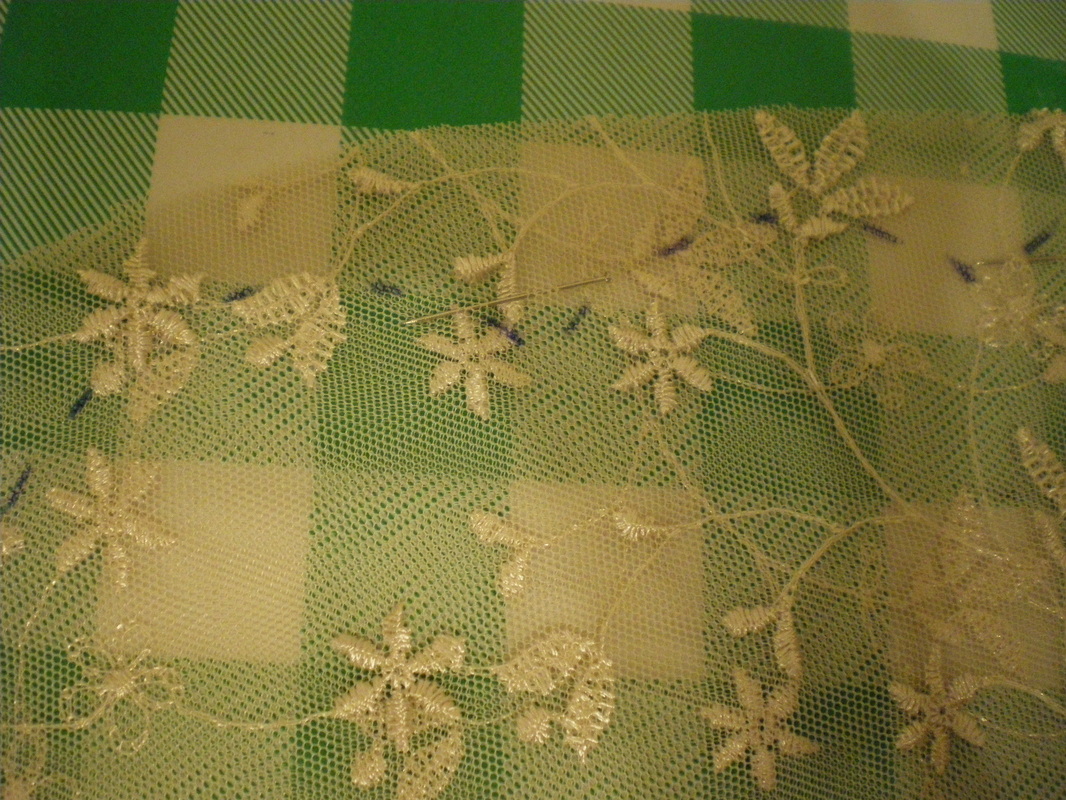
|

|
Use gold metallic acrylic paint on all the vines and flowers.
|
|
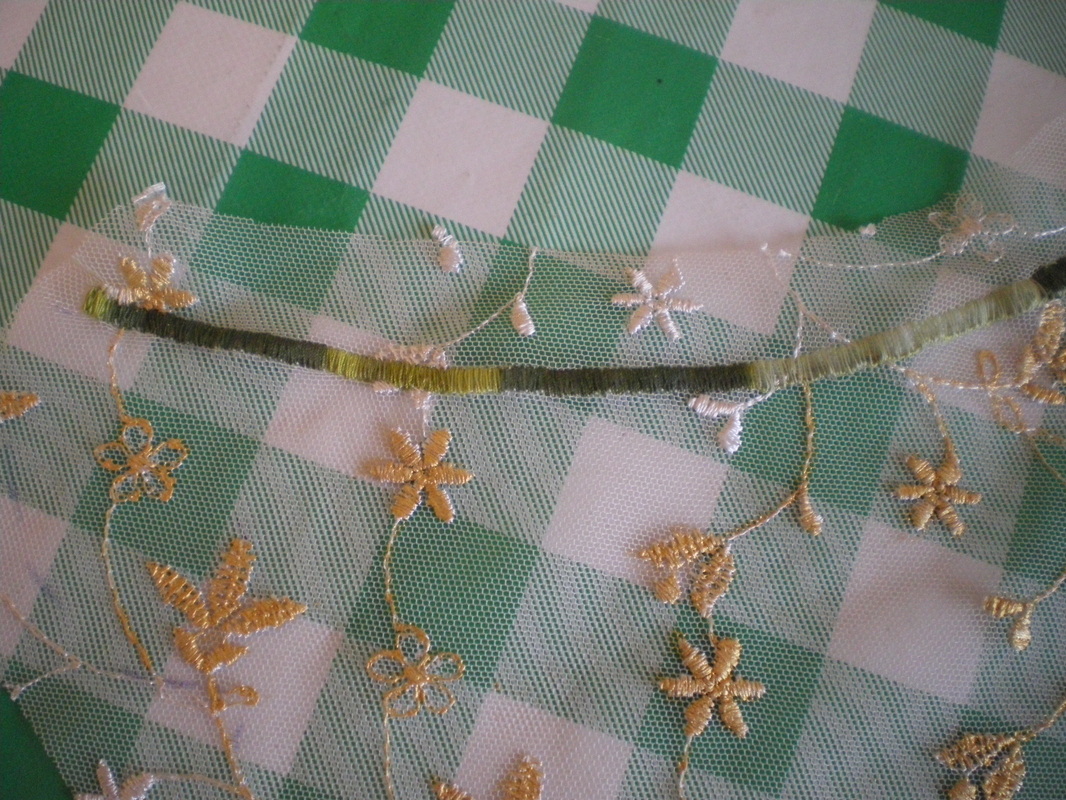
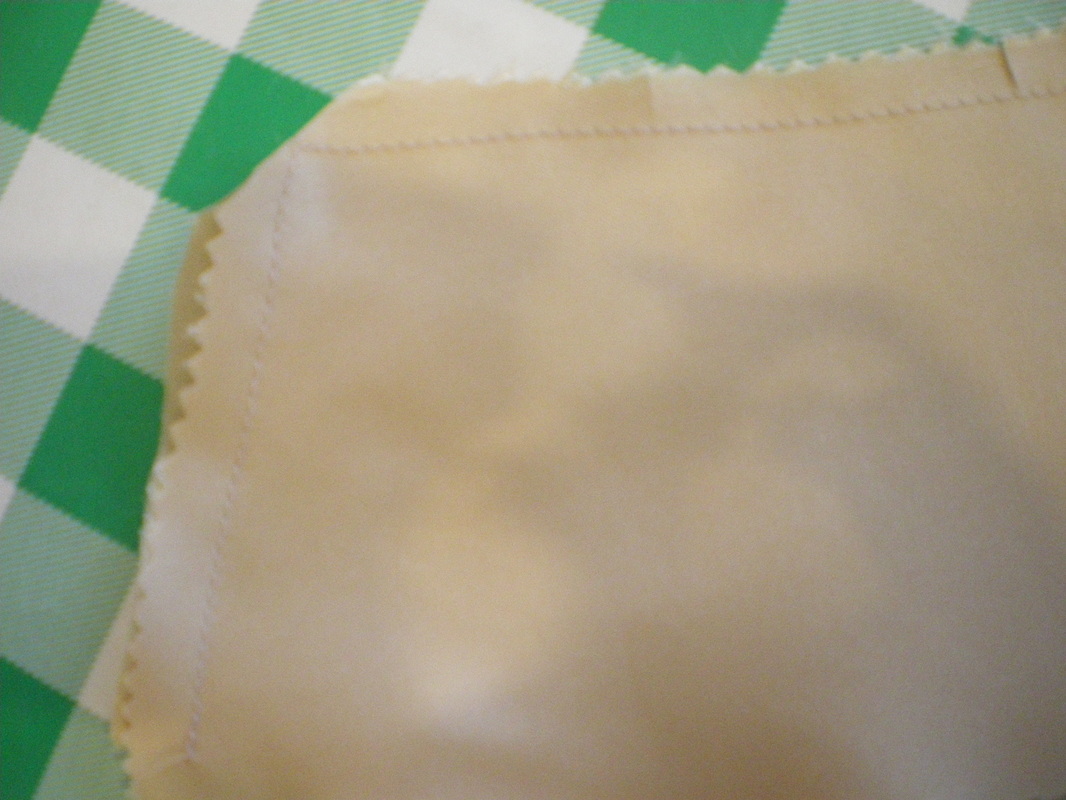
For the shoulder edge, I just sewed a straight satin stitch.
|
|
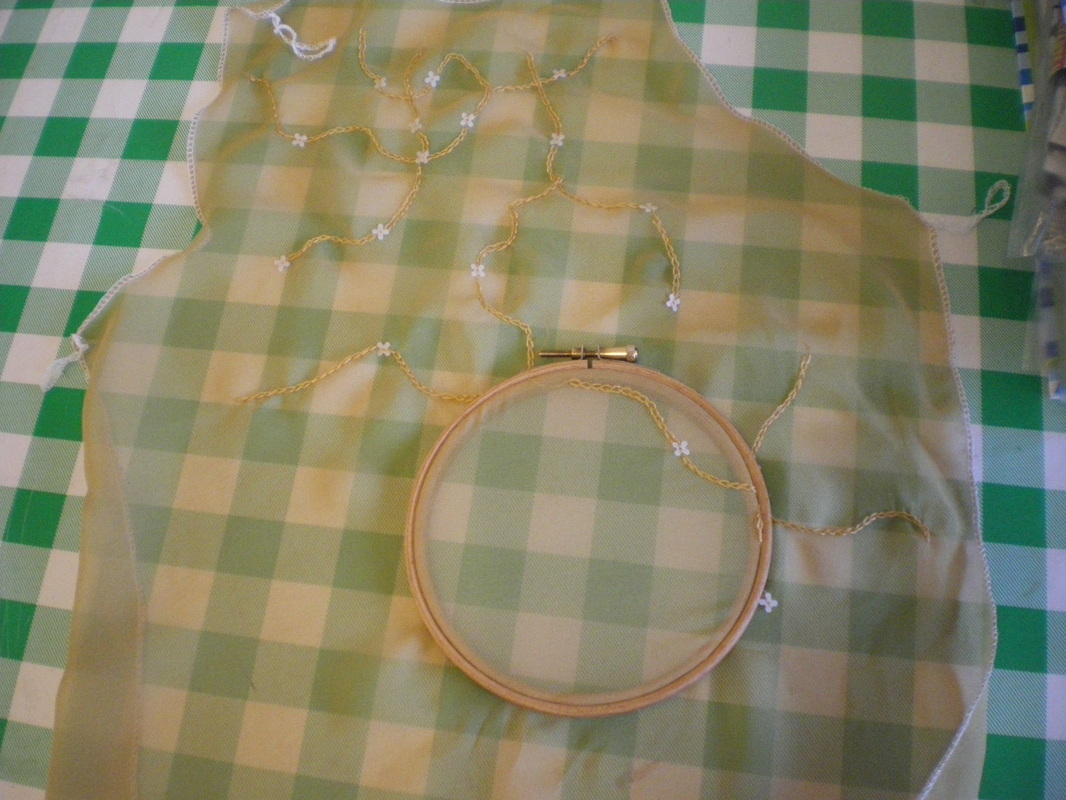
Using the variegated thread, go around the scallops using interfacing or tissue paper behind the tulle. (More instructions on the cape video)
|
|
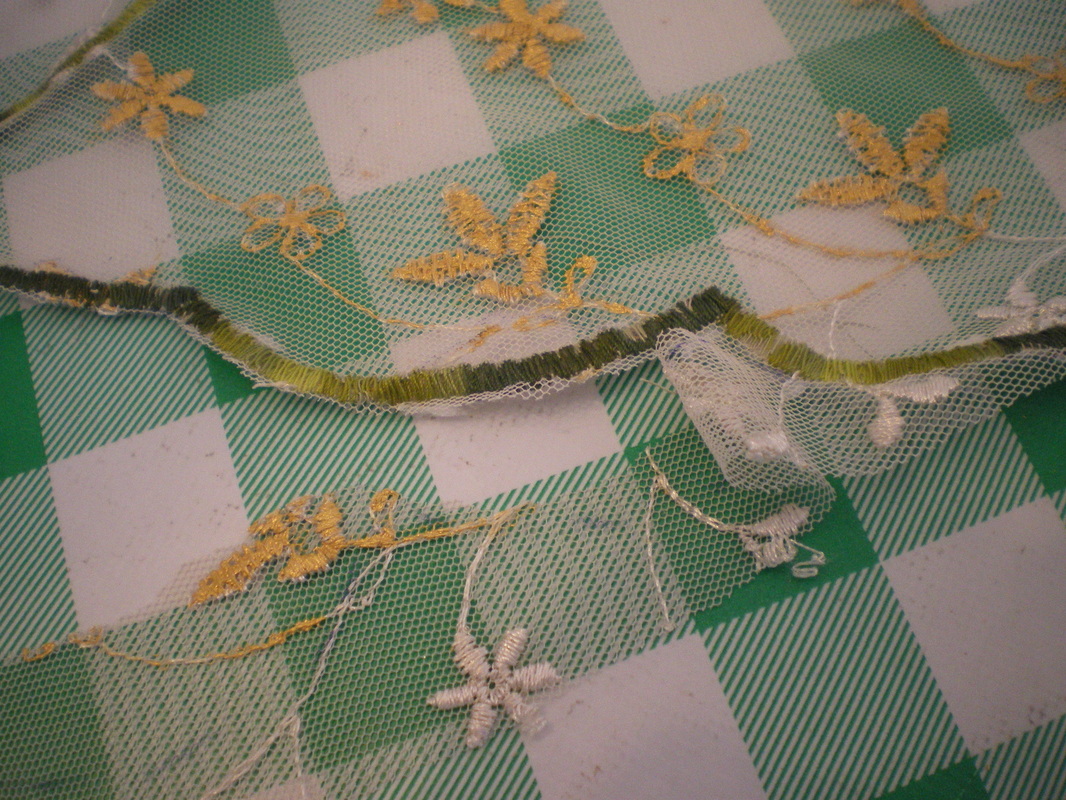
Very carefully cut off the excess being careful not to cut the stitching.
|
|
I found this embroidered floral crinkle taffeta from Ebay (the-world-of-fabrics) in bronze. Remove all the green stitching from around the flowers (which was very fiddly and time consuming!!), Then carefully cut around the flowers leaving an excess of about 1cm.
|
|
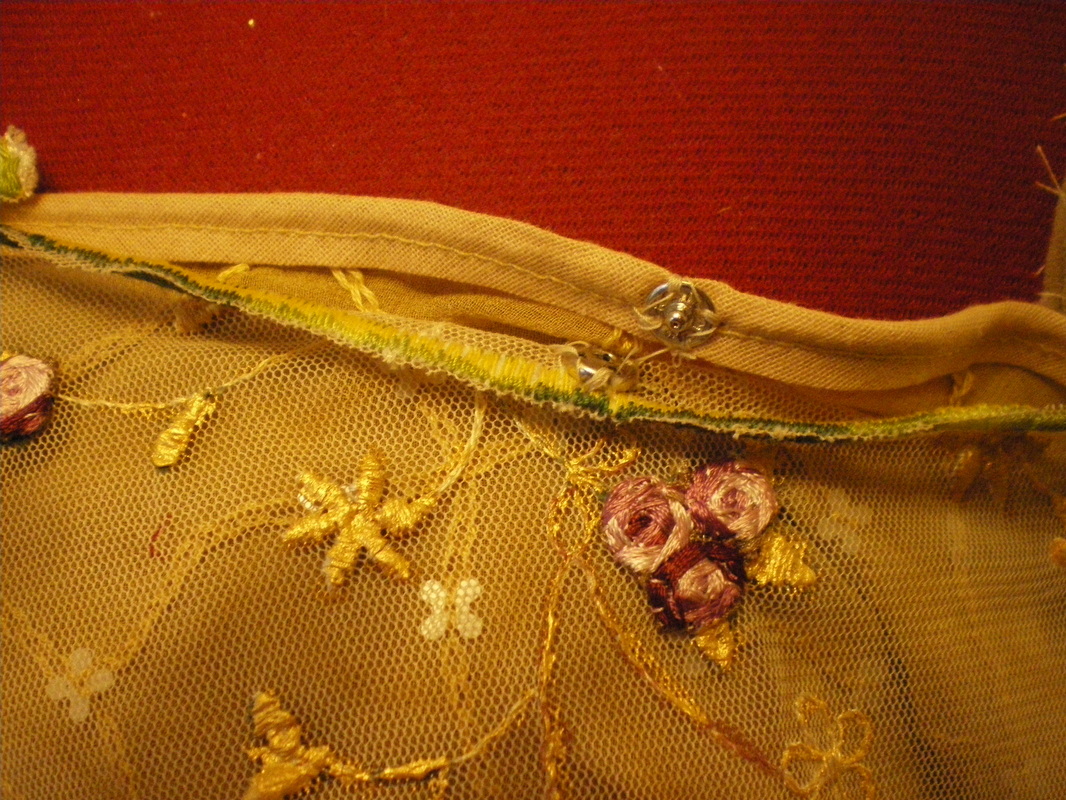
Turn the excess under on the roses and sew onto the tulle. When the blouse has been completed, it will use snap fasteners to connect the cape to the blouse.
|
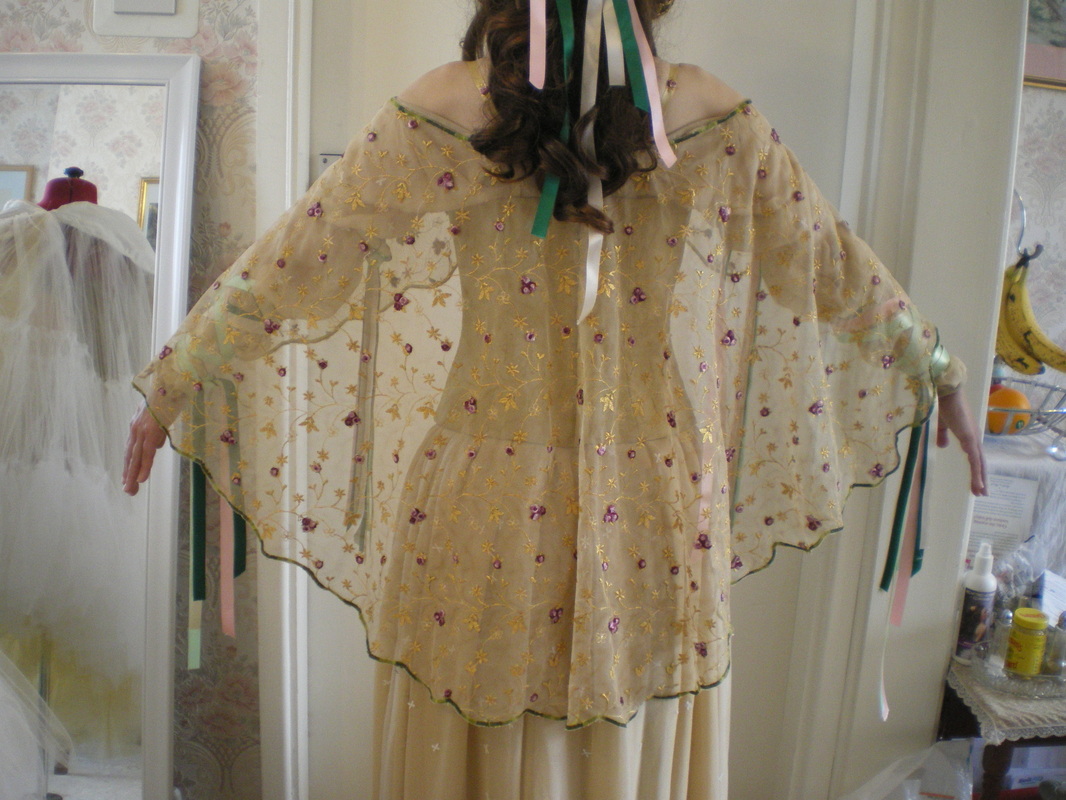
The completed cape.
|
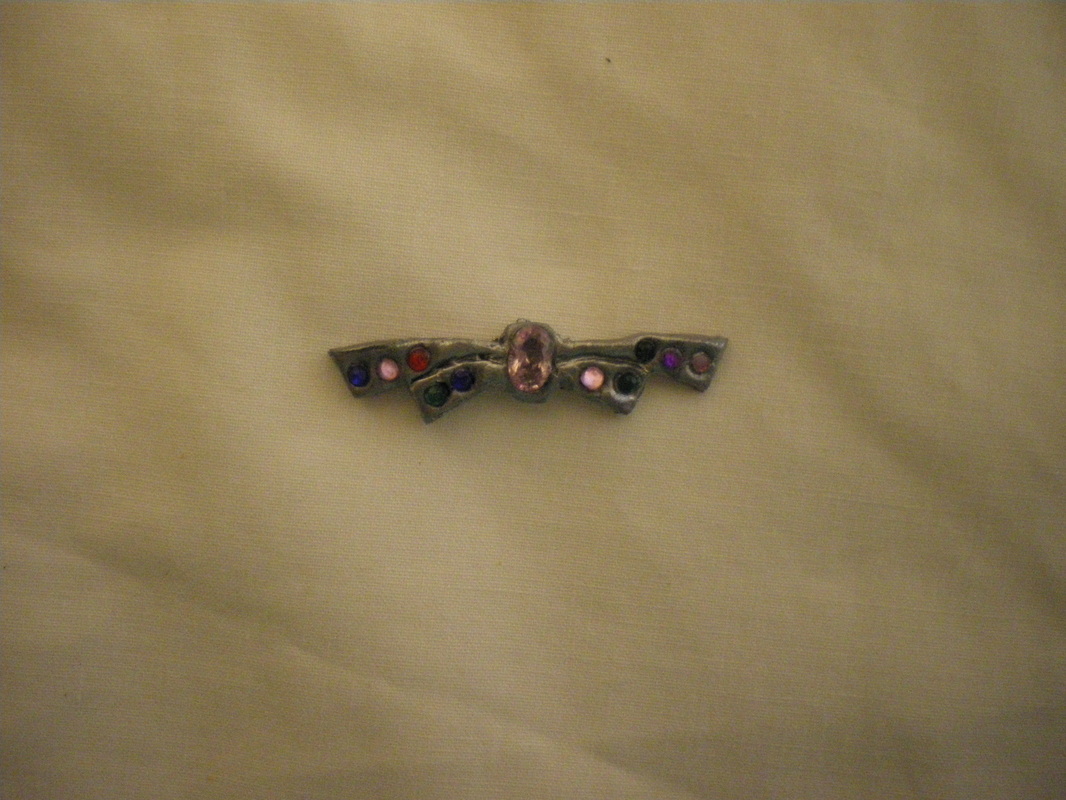
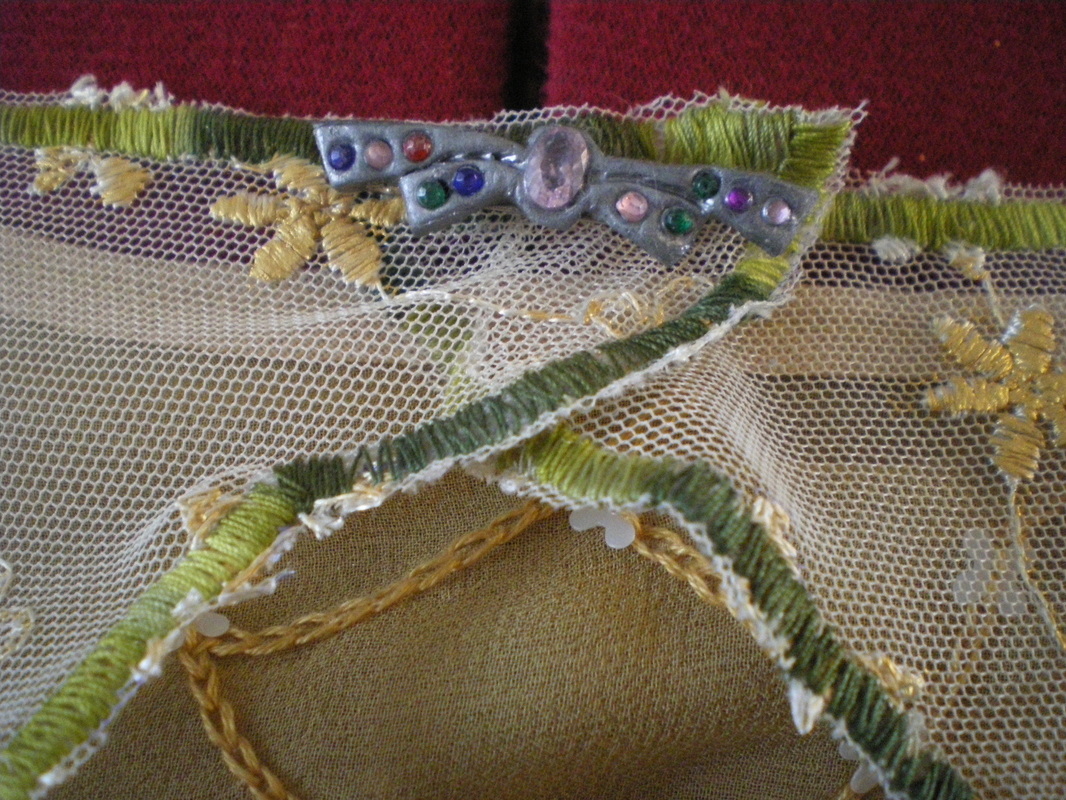
The brooch was made using Premo Sculpey in Silver and painted silver. I used an assortment of 2mm flat back crystals and the centre stone is a Cubic Zirconia 6 x 4 faceted oval. You don't need to go to this expense, anything similar will do. A brooch pin has been super glued to the back. The overall size is 4cm x 1cm.
|
To Make the Corset
|
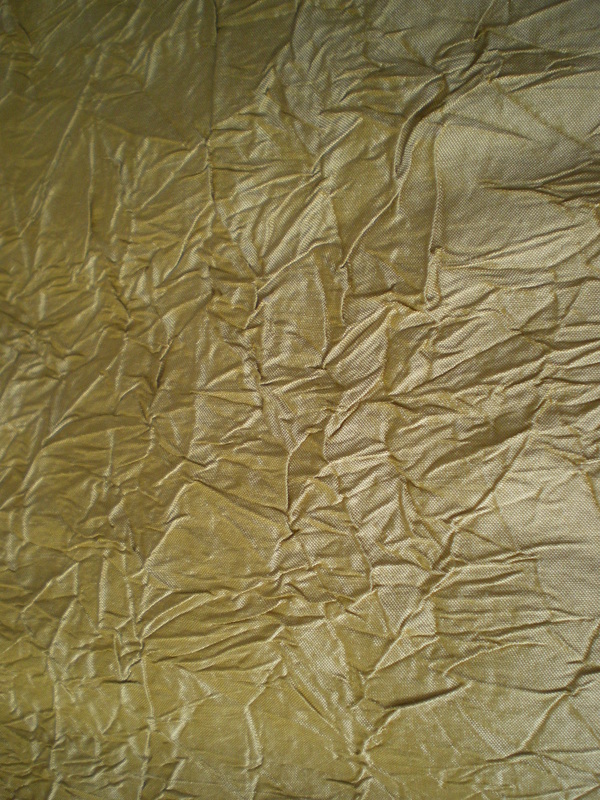
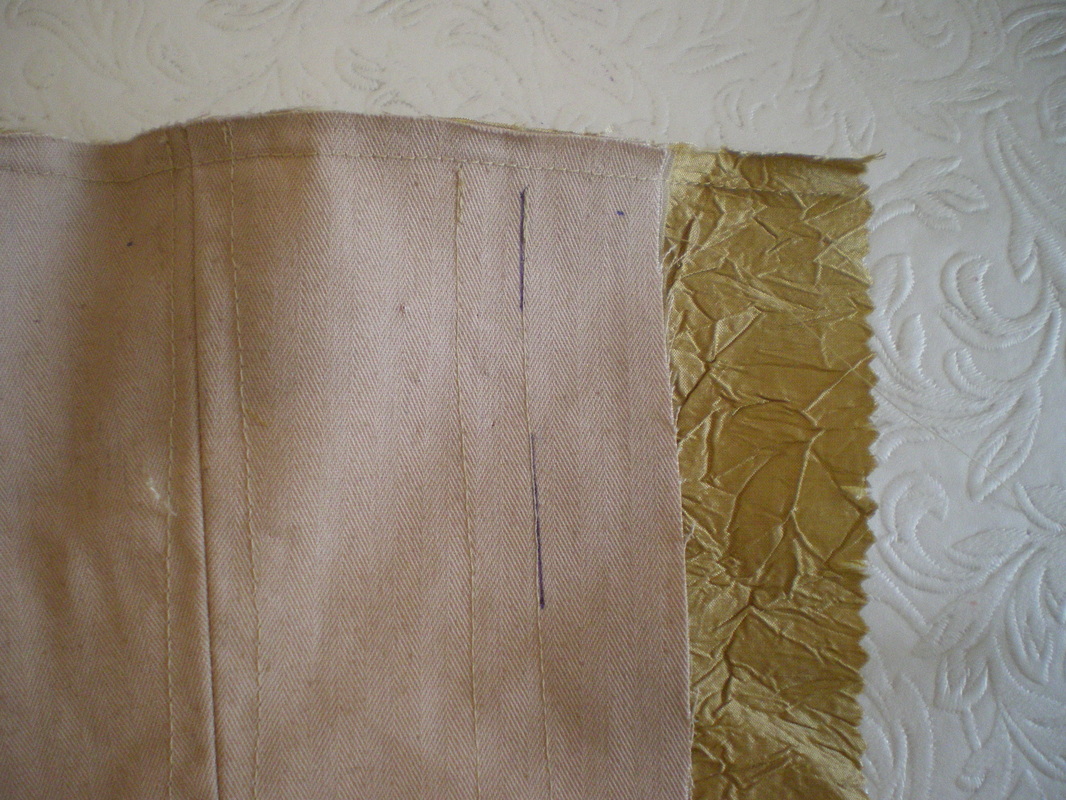
Found on the internet Gold 100% pure crushed silk.
|
|
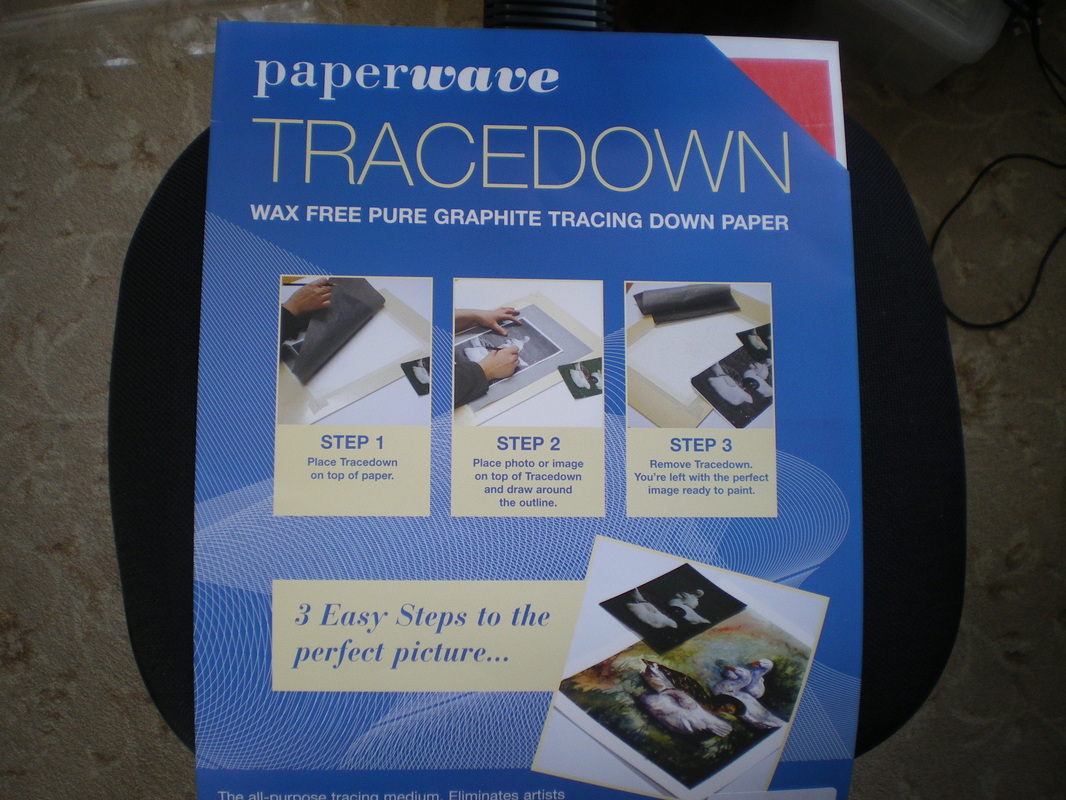
I have used Tracedown paper in red, so that the impression will show up on the fabric.
|

|
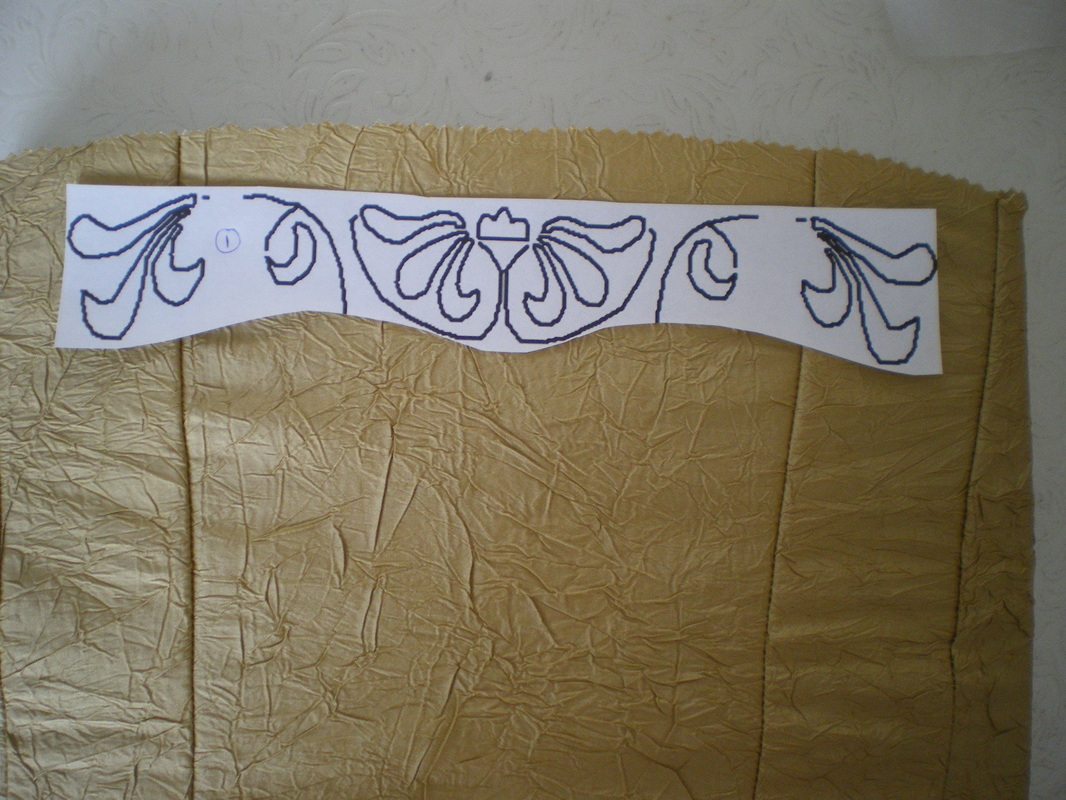
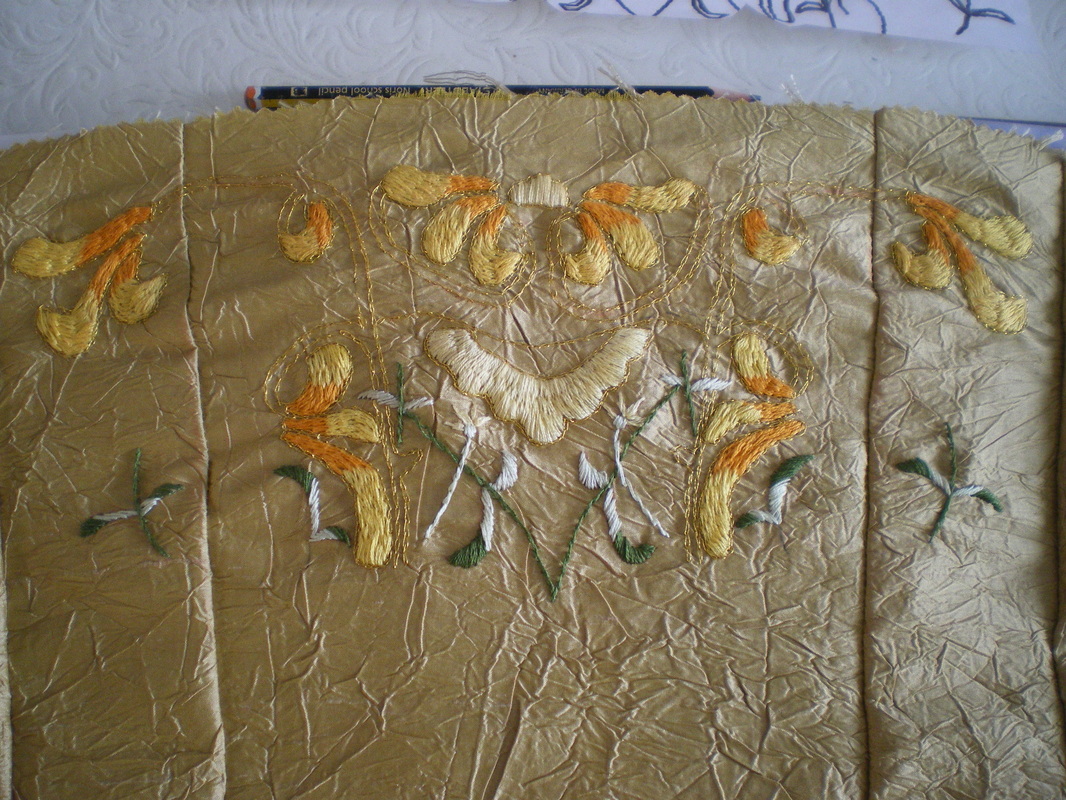
Using a combination of sources from Obi Dawn and Kay Dee from The Padawansguide.com, my previous embroidery and pictures from Dressing A Galaxy book, I put together a scaled version of the embroidery pattern, using the panels on my corset as reference. The finished pattern fits into the main middle panel and two adjacent panels. This was then cut into manageable chunks, starting with the top panel, make sure it is central and the two outer petal designs fit into the second sections of the corset. I placed the tracedown paper underneath and went over it with a blunt pencil. If you try to trace too much, it gets rubbed off as you are handling the fabric.
|
|
Put the front panels together on the corset, centre the first part of the pattern. Place the trace down paper underneath and draw over the lines.
|
|
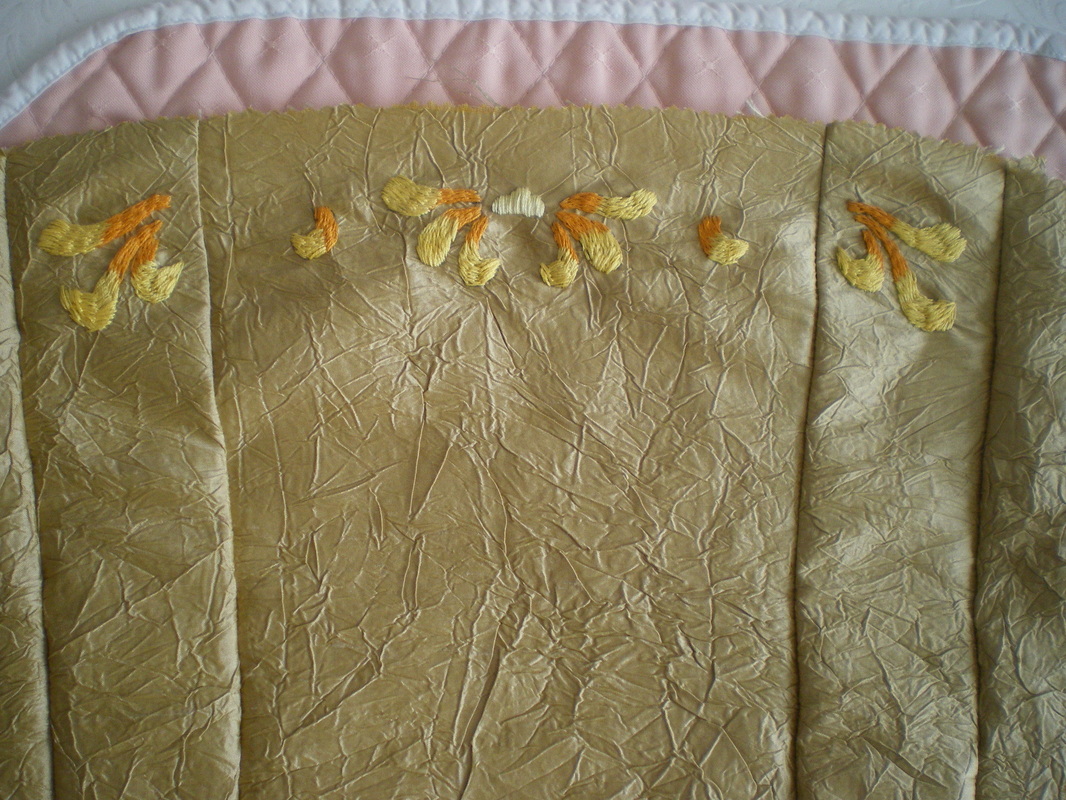
Embroider one section at a time before moving onto the next.
|
|
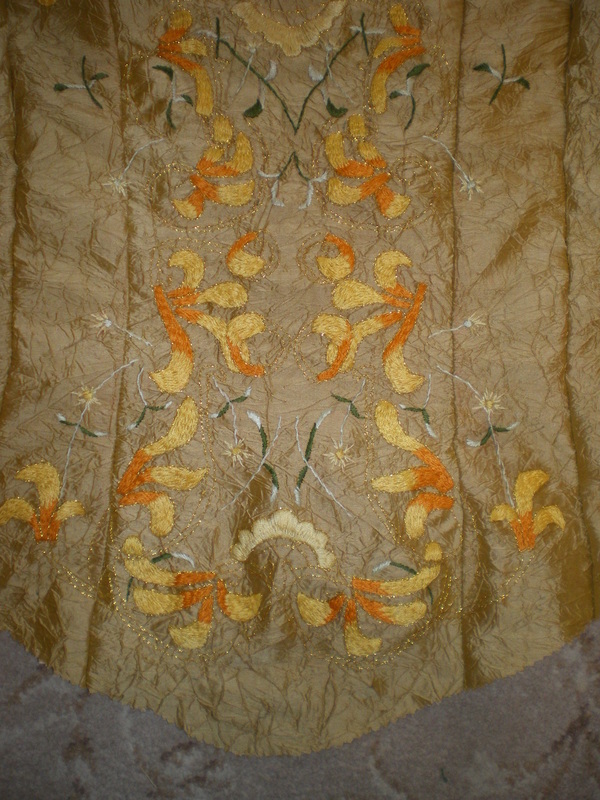
Now that I have two section done, I can start to put in the gold "tramliines" that run throughout the pattern. Also sew gold thread around all the petals
|
|
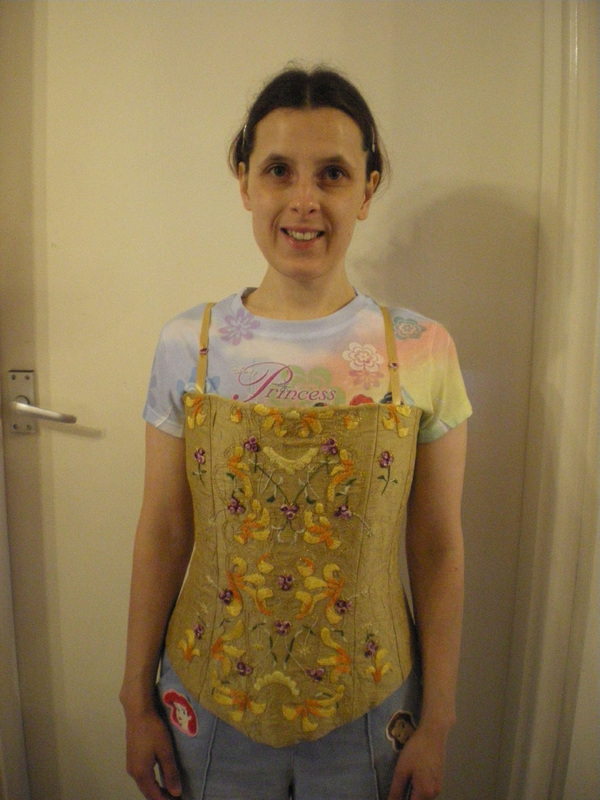
Completed embroidery.
|
|
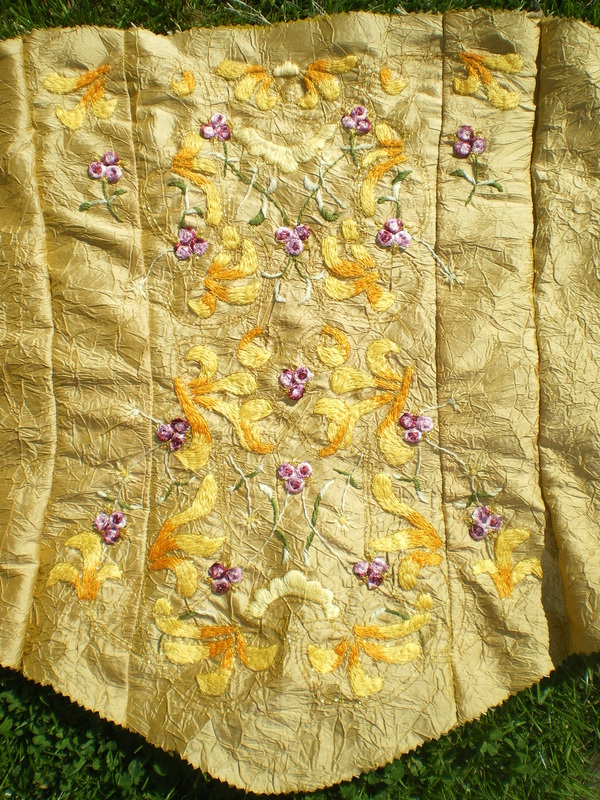
Keep back 15 triple roses from the crinkle material and sew these onto the bodice.
|
|
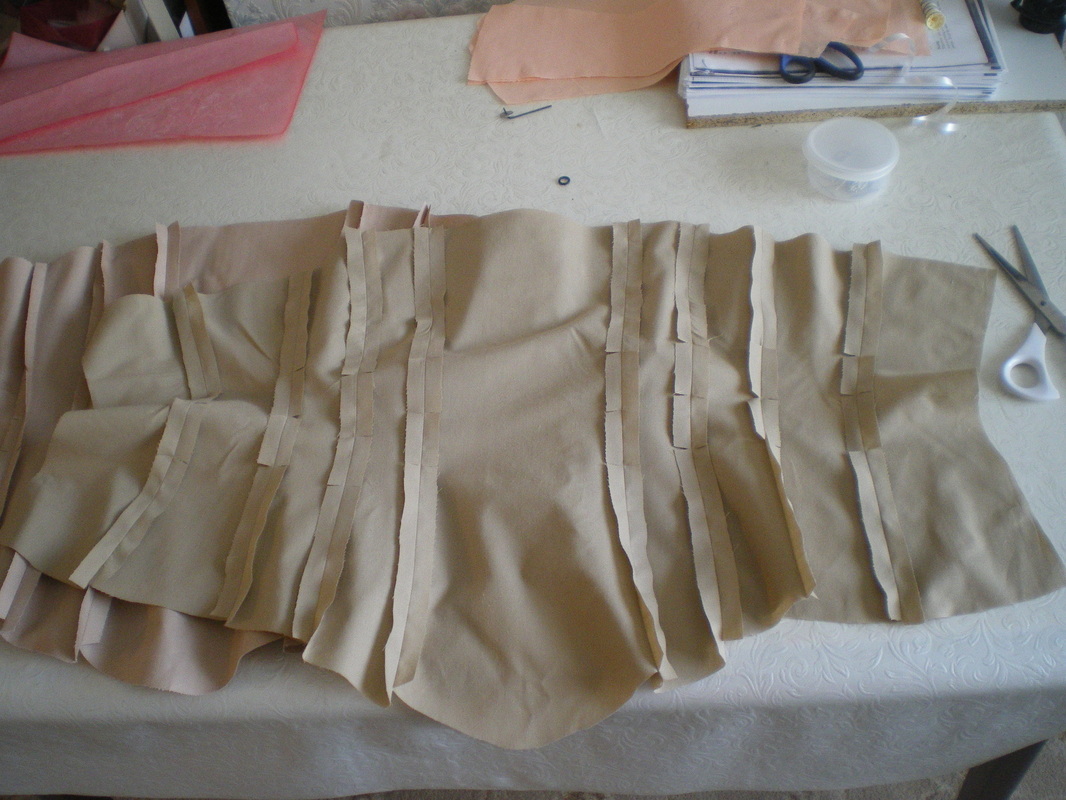
Cut two more bodice patterns, one of coutil and one cotton lining and following the video instructions for the bodice, put the two sections together.
|
|
Follow the video instructions on how to sew in the boning channels, making sure you leave extra material at either end which will be used to neaten the back opening.
|

|
Turn the edges over and sew down, then evenly space the hooks and eyes down the back opening
|
|
Sew onto the inside, two pieces of ribbon as shoulder straps and attach two single roses to the front and back.
This completes the corset. |
To make the skirt:
|
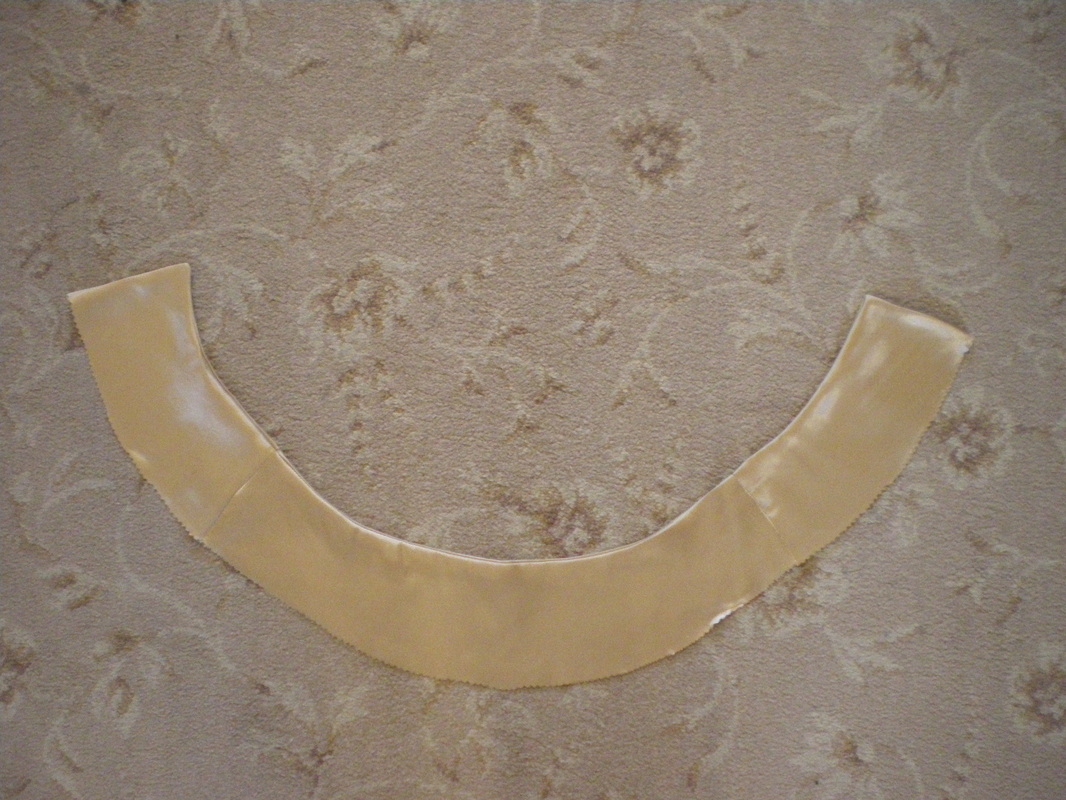
Using the gold satin, make a yoke to fit around the waist, slightly flared. Make two lots and sew them together back to back and turn the right way out. When measuring for the waist, add at least 10cm to allow for an overlap for the opening.
|
|
Remember to clip the curve and corners before turning the right way out.
|

|
The skirt is in three layers, 2 layers of georgette and one layer of satin. 3 metres wide x the length from waist to the floor. The width of the skirt will depend on your size, but this was enough for a size 10, you can make it wider if you wish for more folds.
I over locked all the edges because of excessive fraying!! |
|
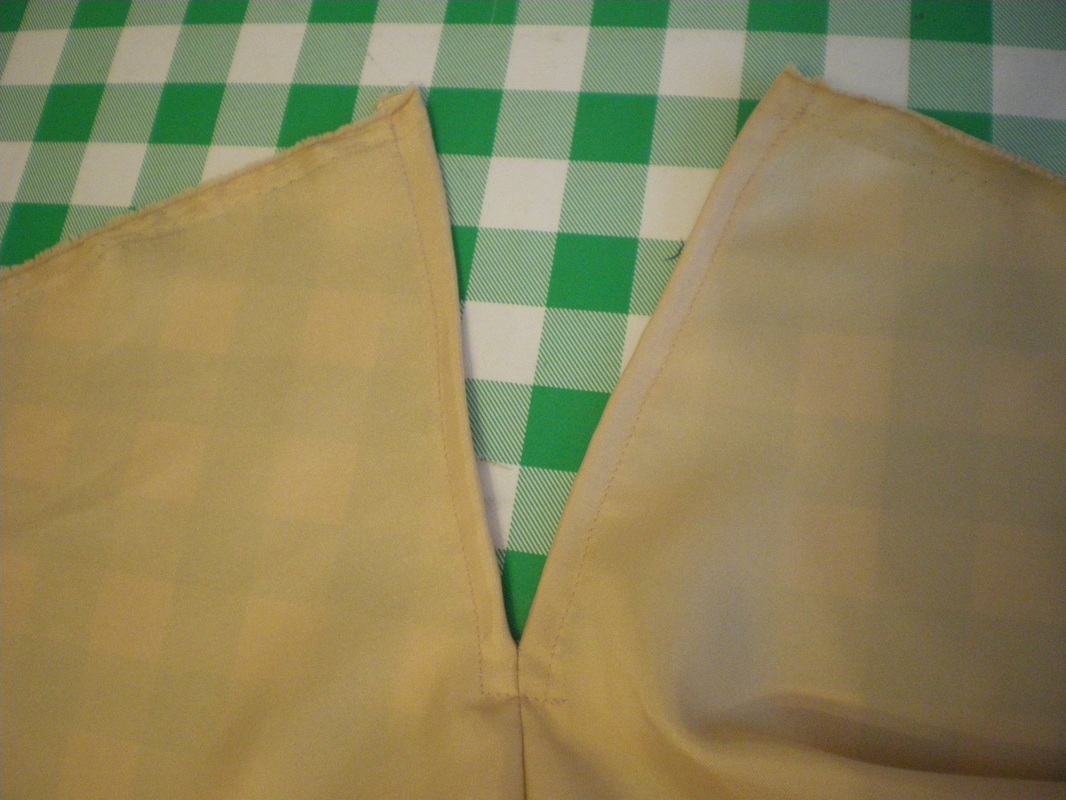
Sew a back seam on all three layers and leave approximately 6"-8" at the top for an opening.
|
|
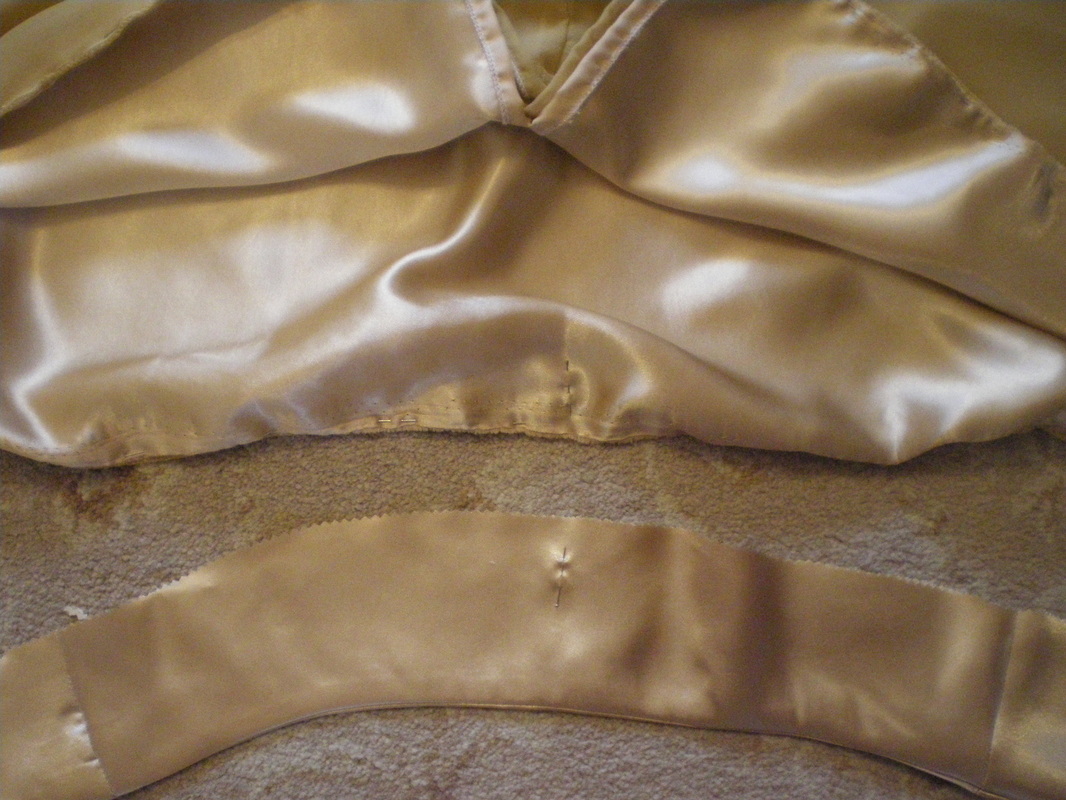
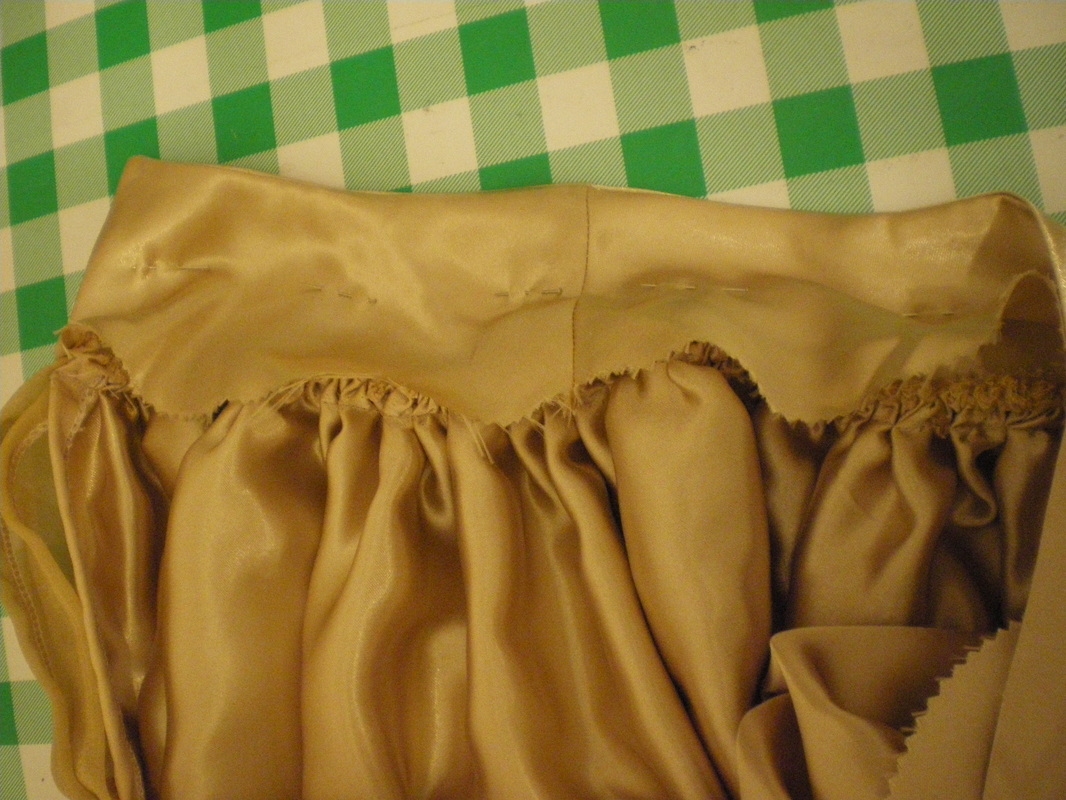
Tack all three layers together with a long gathering stitch, find the centre front of the skirt and centre front of the yoke.
|
|
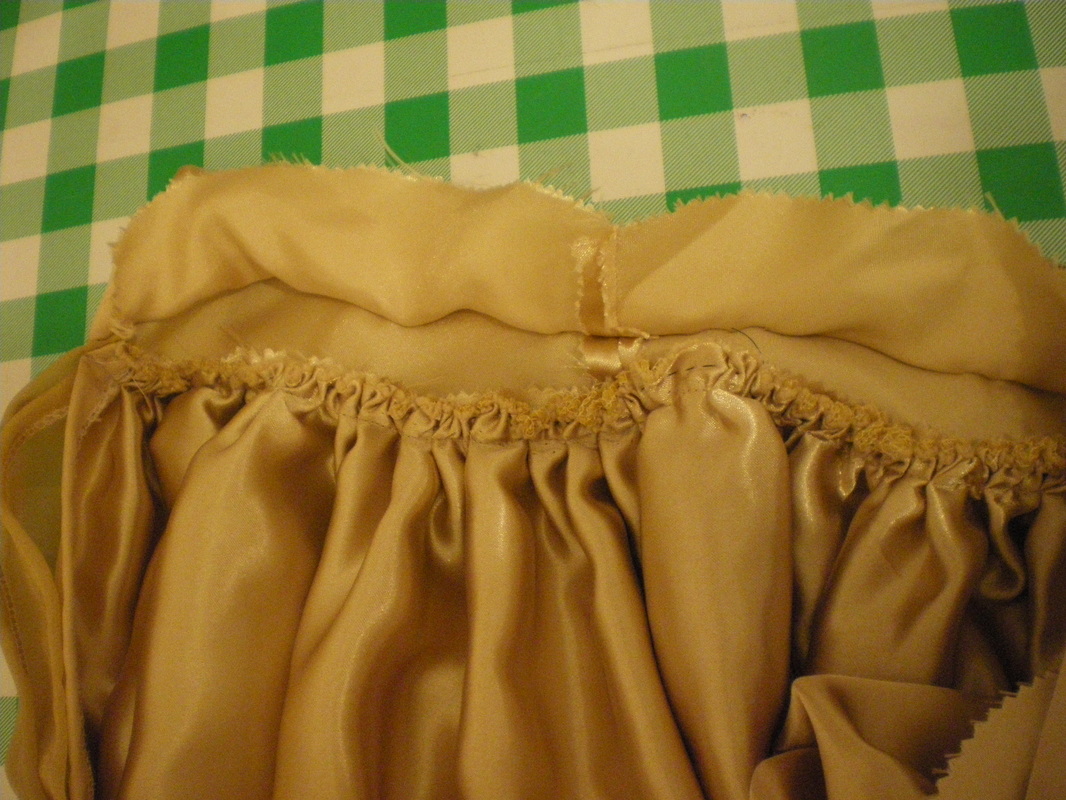
Pull the gathering stitch and evenly gather the skirt and sew onto the yoke.
|
|
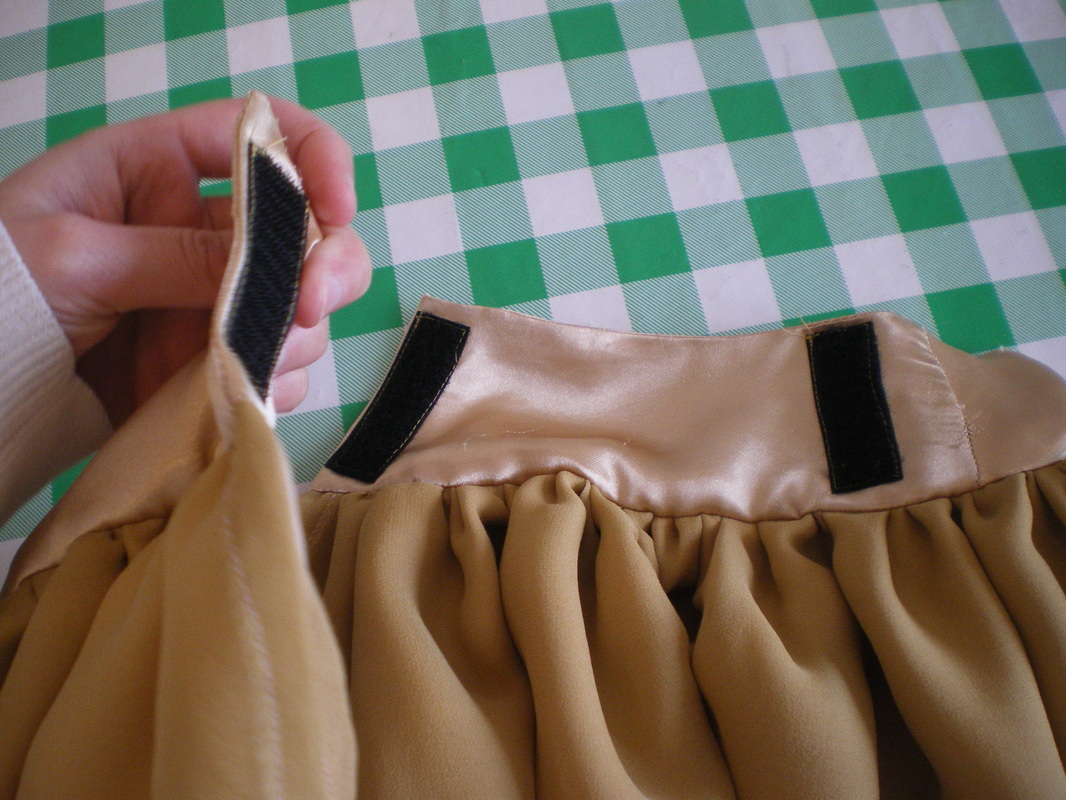
On the inside of the yoke, turn under a seam and hand sew the yoke closed over the gathered skirt.
|
|
I added two strips of velcro on the yoke to close the back opening.
|
|
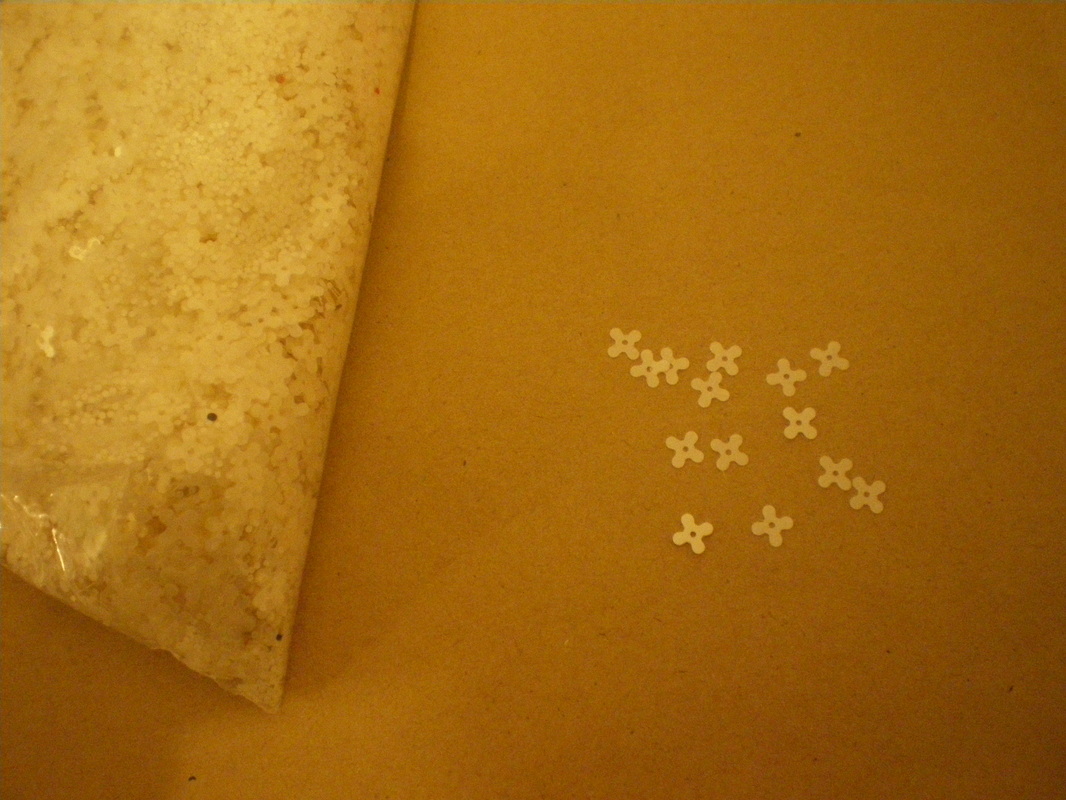
I acquired these flower motifs that are exactly the same as on the original dress. I will incorporate these into my chain stitch as I go along.
|
|
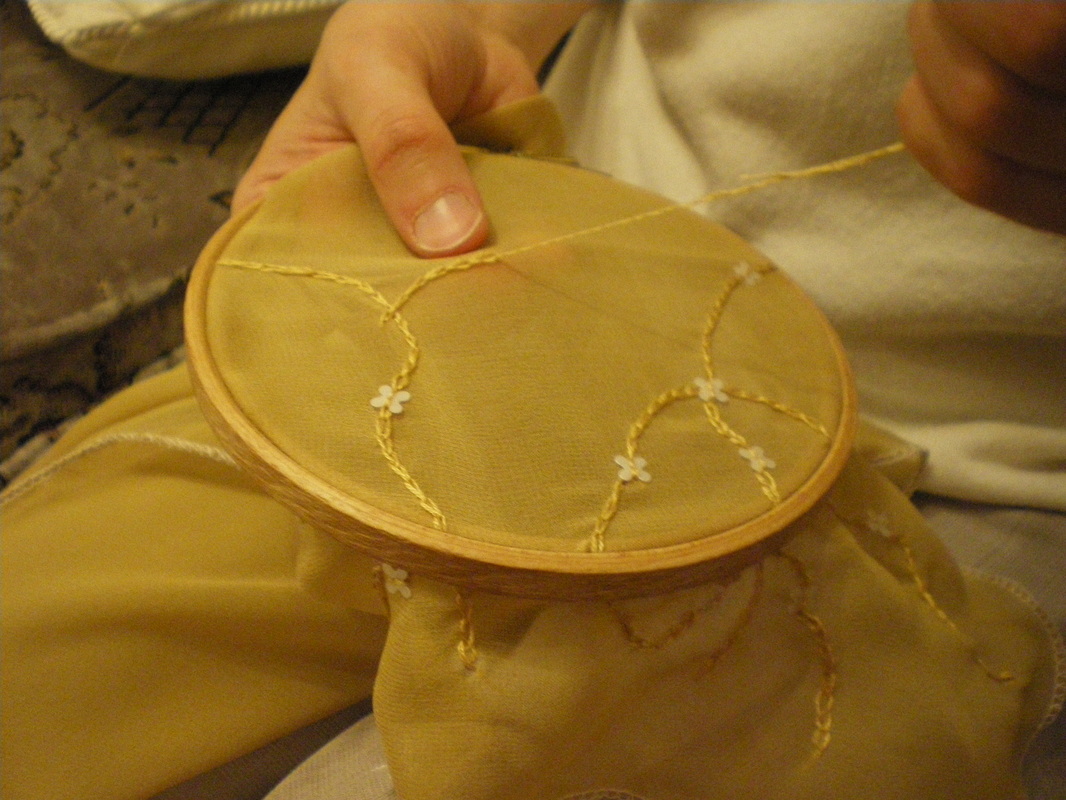
I am making a random pattern of chain stitch all over the skirt and sewing in a motif as I go.
|

Use a roll edge foot to turn up the hem, or overlock.
This completes the skirt.
To Make the Blouse:
This completes the skirt.
To Make the Blouse:
|
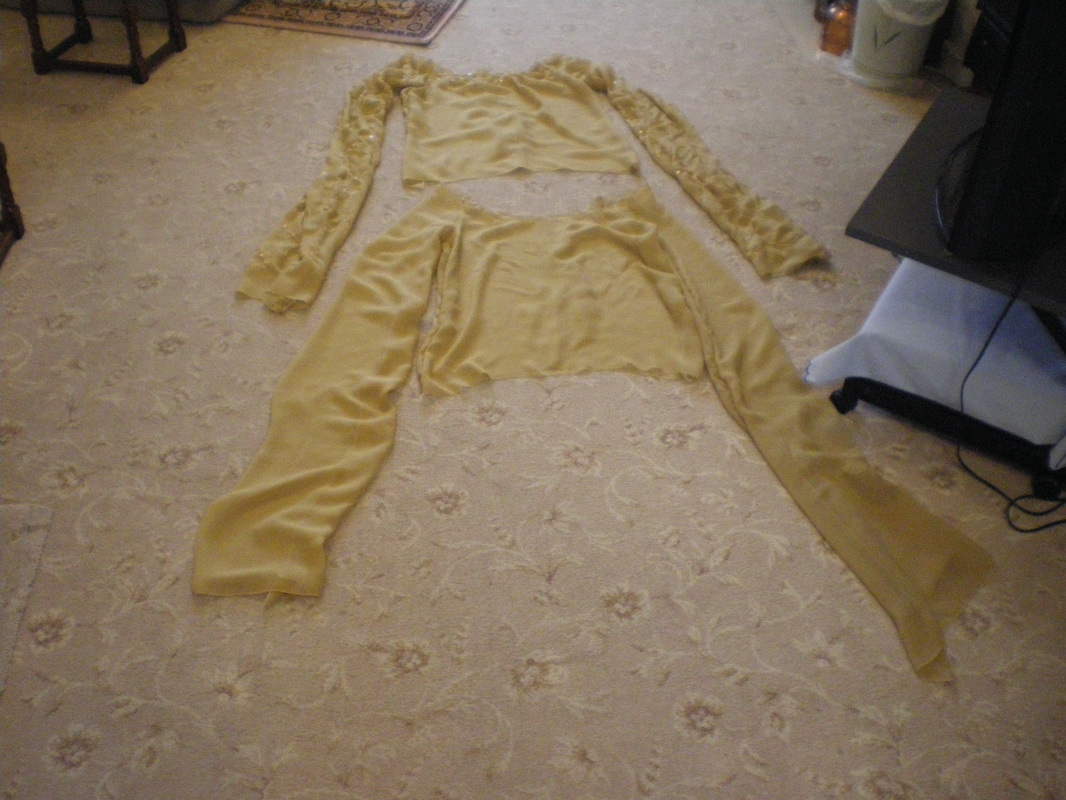
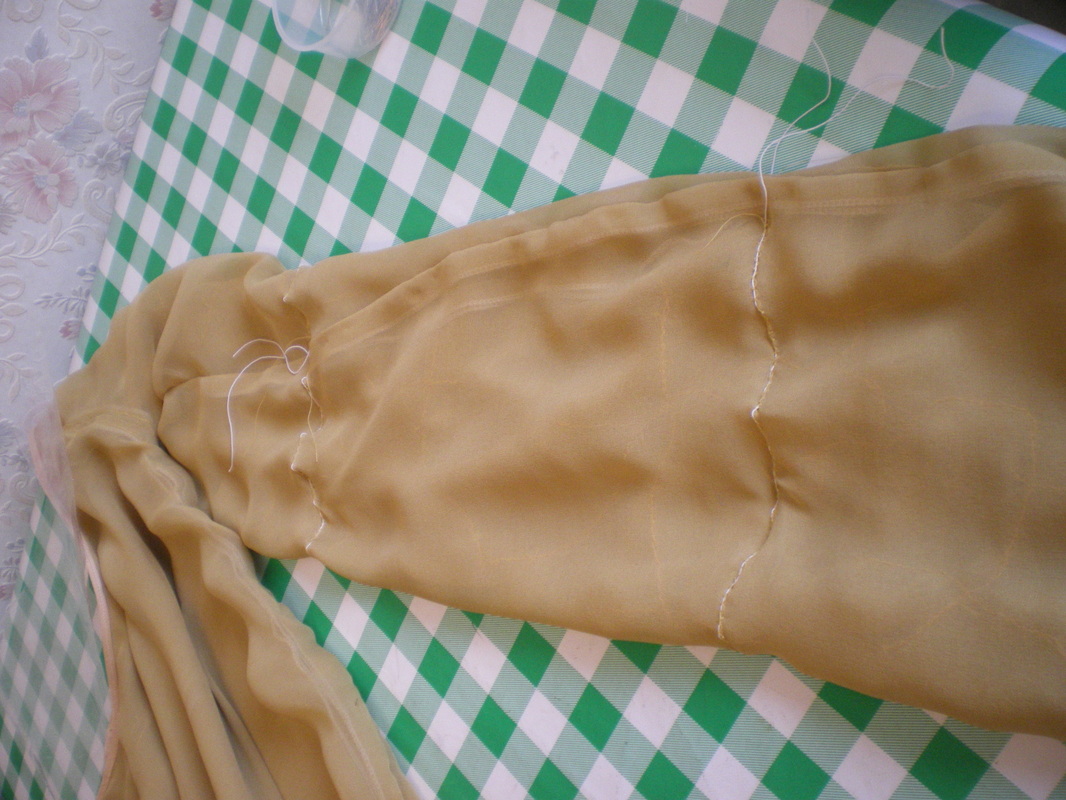
Make the blouse as per the pattern, but only cut as far as the hips and it would help if you reduce the width as well, but make the sleeves twice as long as your arm length.
|
|
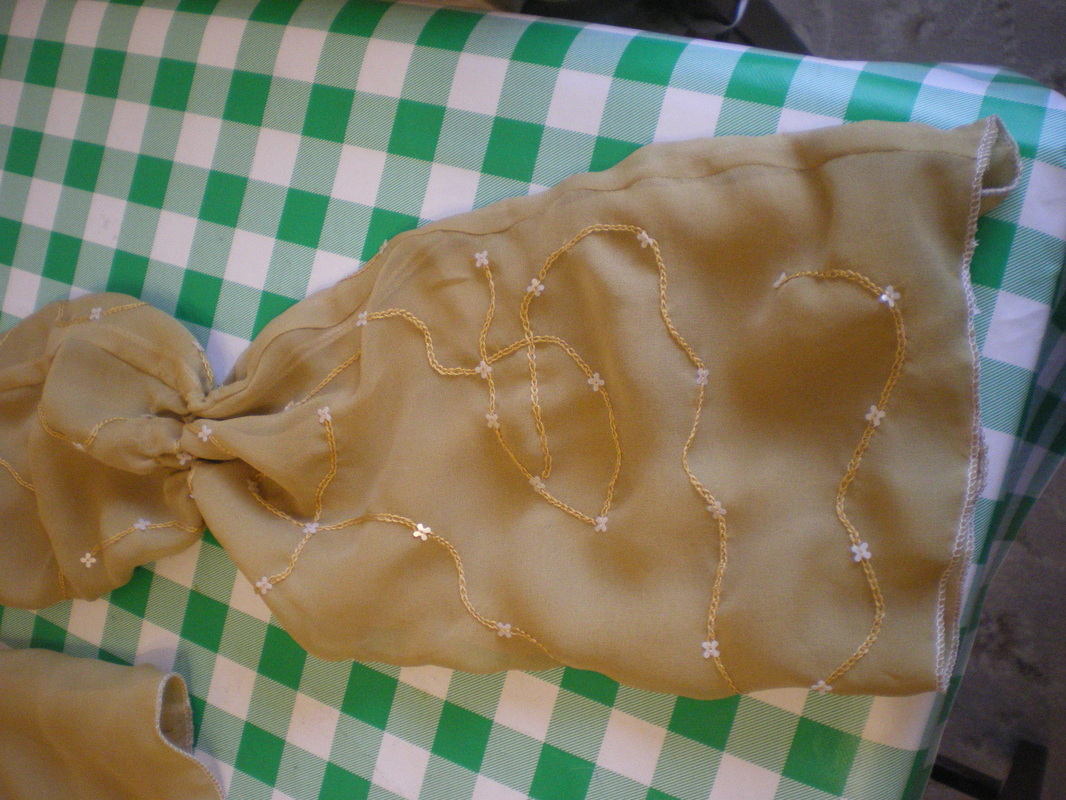
As with the skirt, sew a random chain stitch over one set of sleeves and around the top of the blouse (see video for instructions)
|
|
Make two identical blouses
|
|
Put one blouse inside the other, then using bias binding, sew both neck edges at the same time.
|
|
Turn the blouse inside out and run two rows of shearing elastic around the arm through both layers. Approximately one third intervals.
|
|
Put the blouse on inside out, pull the sleeve up so the elastic is just under the armhole, pull the elastic to fit (but not too tight). Pull the sleeve up again and pull the second elastic to fit, just above the elbow.
|
|
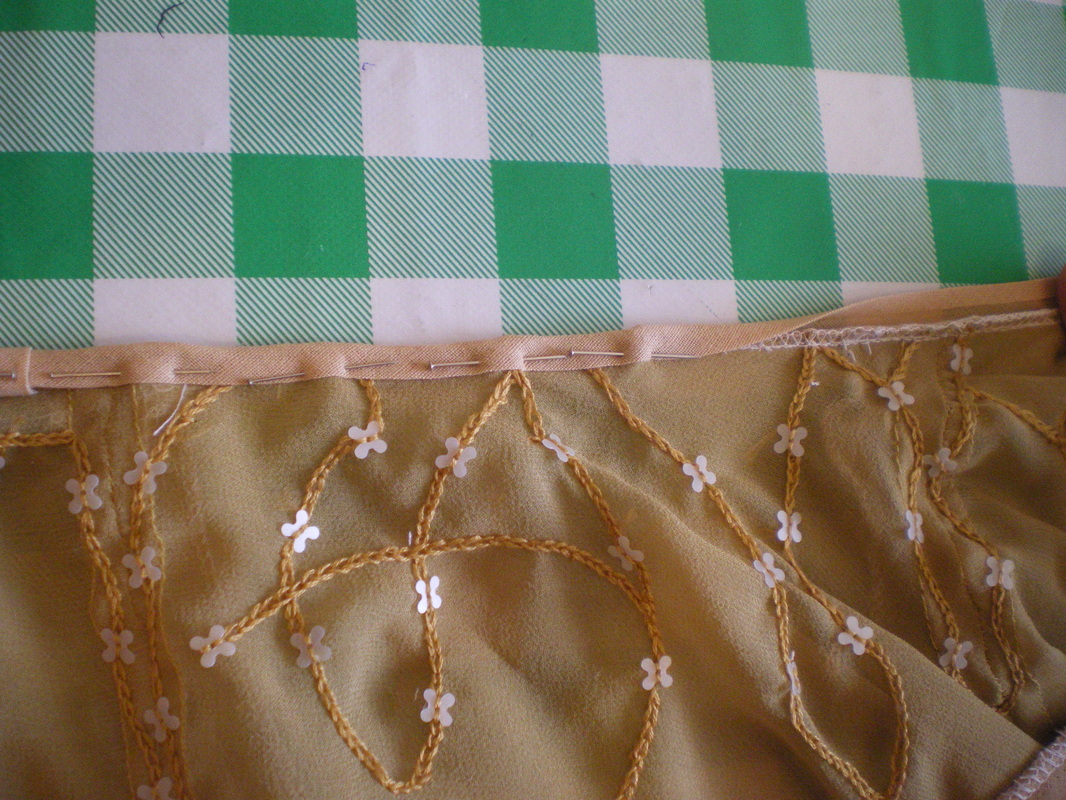
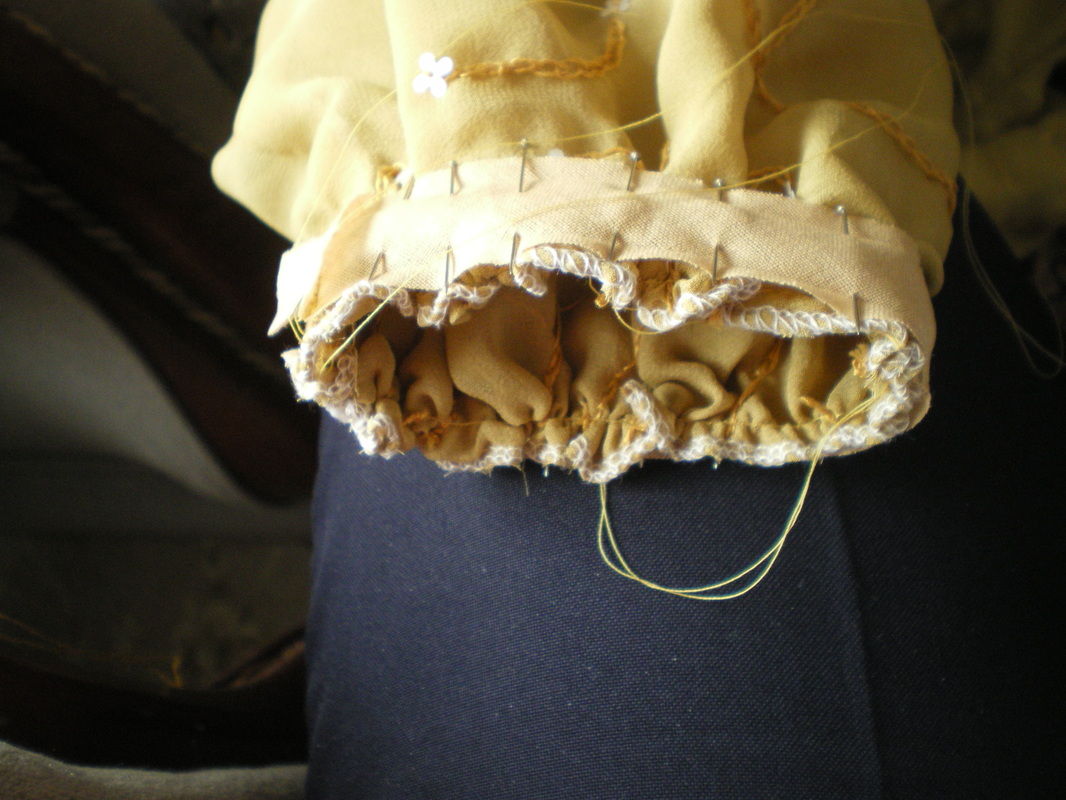
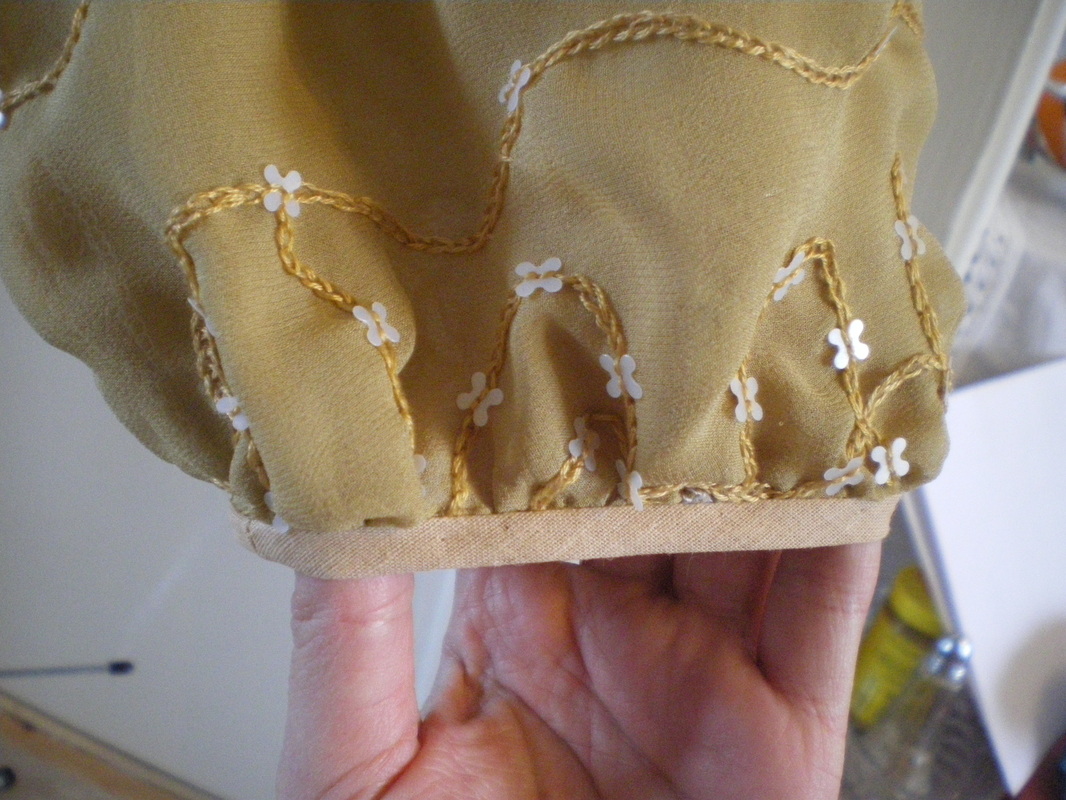
Cut a strip of bias, so it fits around the wide part of your hand with 4cm over. Attach the bias to the bottom of the gathered sleeve.
|
|
Do it exactly the same way as the neck edge. For the bottom edge of the blouse, either overlock the two layers together or just sew a hem.
This completes the blouse. |
Put the blouse on first and tuck it into the skirt.
|
Sew on snap fasteners around the edge of the blouse and sew a corresponding fastener onto the cape. Remember that the cape overlaps at the front slightly. Close with your brooch.
|
|
|
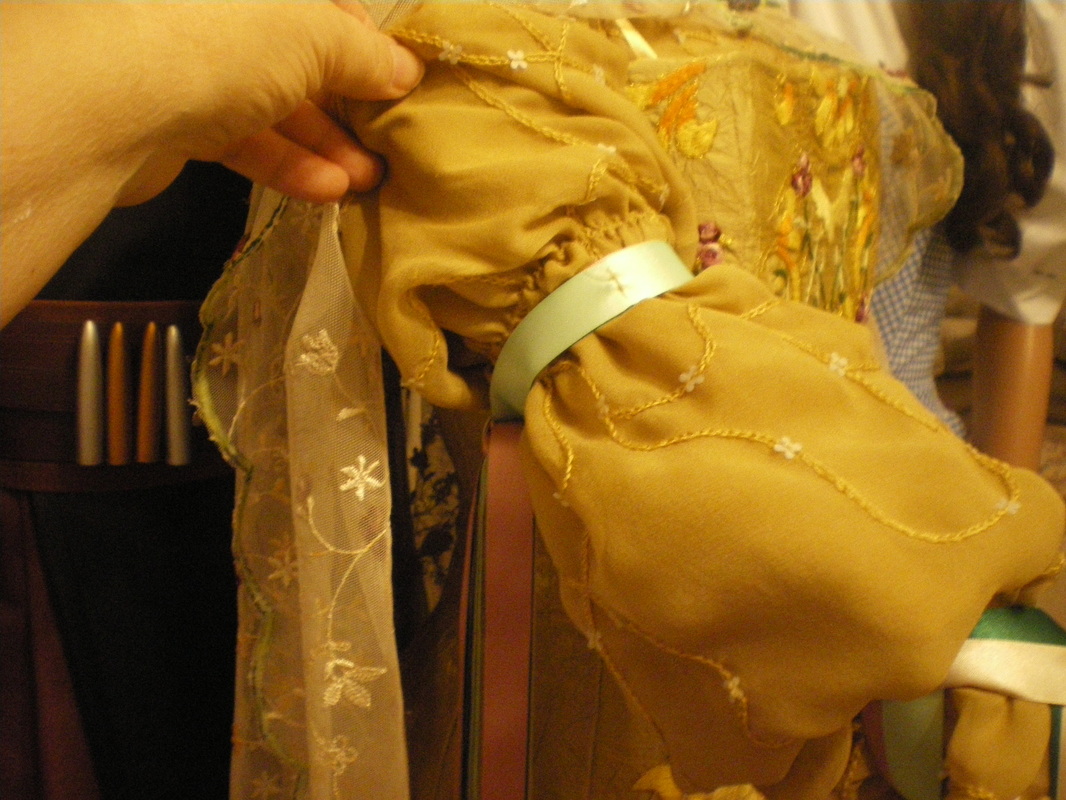
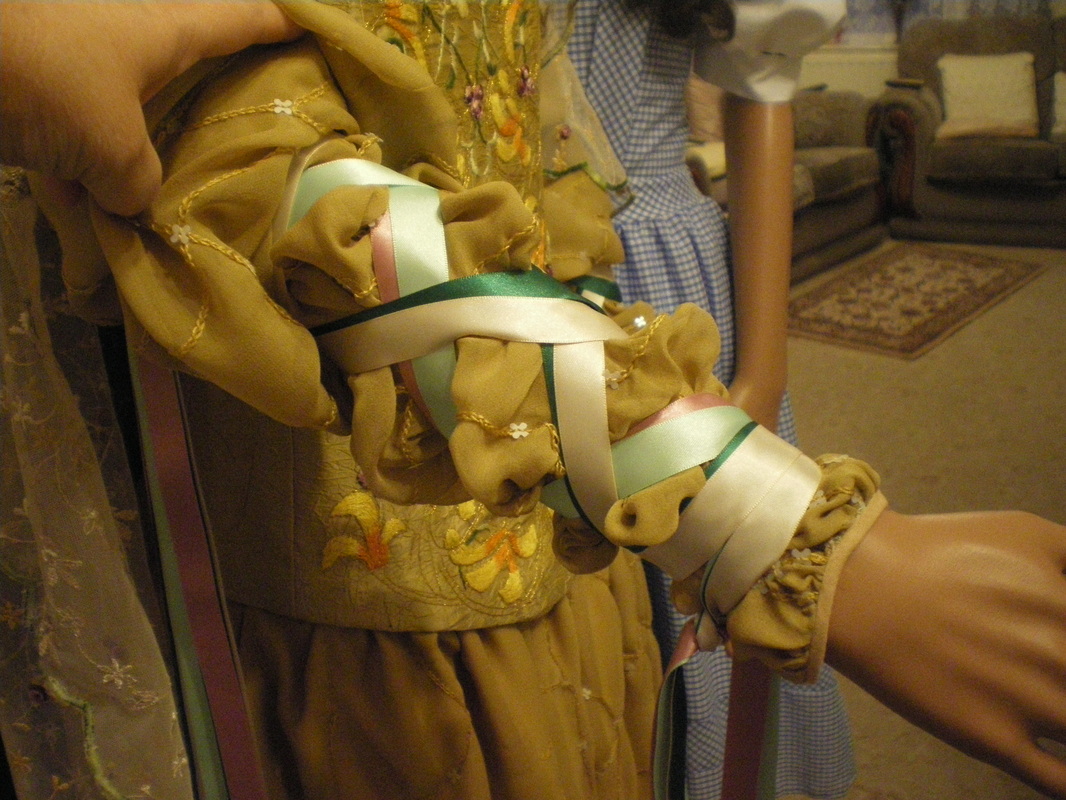
Using a metre of each ribbon colour, put them altogether, wrap around the upper arm and tie with a knot. Pull the fold of the sleeve down over it. I found it helped to put a stitch through all four ribbons at the centre point so I don't get all the ribbons confused with one another.
|
|
Put two coloured ribbons together (it doesn't matter which colours you choose and long as you do the same for the other arm), find the half way point, start at the elbow and criss cross the ribbons around the arm. Take the other two colours and do the same but wrap in the opposite direction. Tie all four ribbons behind the wrist to finish.
|
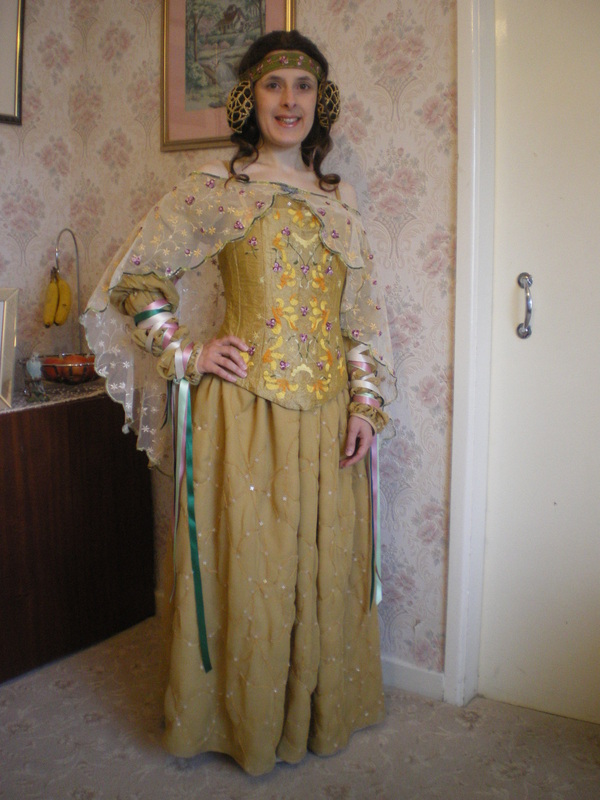
This completes the costume
