For this costume, you will require beginner to intermediate experience in sewing.
Difficulty factor 7 - 10
All videos for making the complete costume can be found in our "video tutorials" link
Difficulty factor 7 - 10
All videos for making the complete costume can be found in our "video tutorials" link
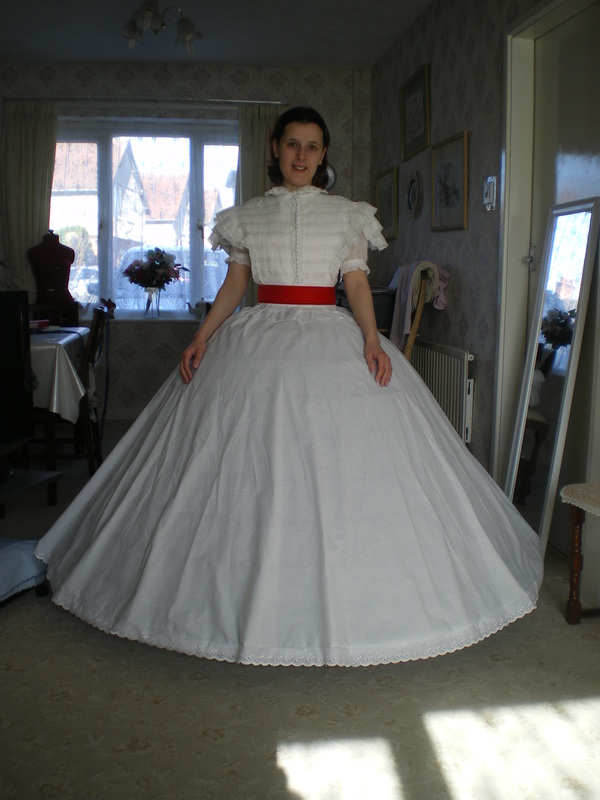
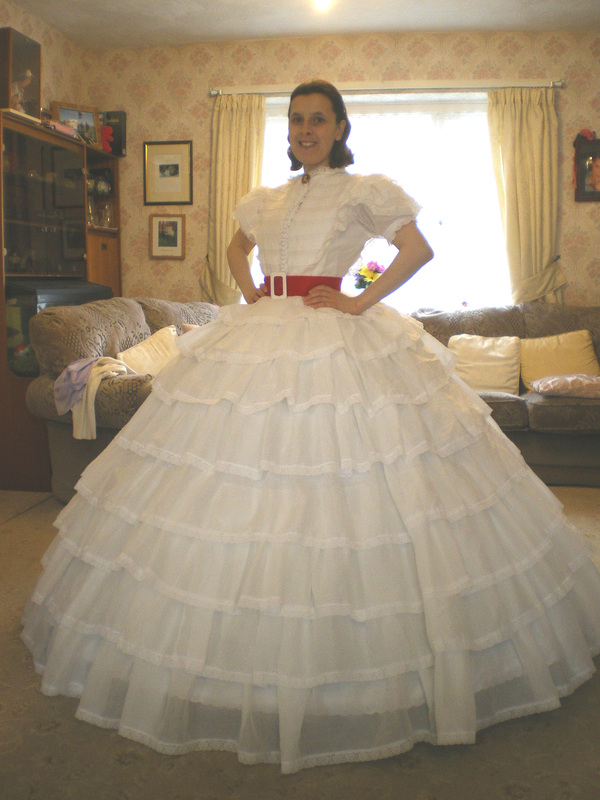
Making Scarlett O'Hara's
White Prayer Dress
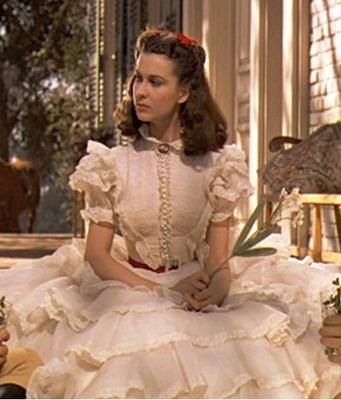
The original costume worn by Vivien Leigh as the character Scarlett O'Hara from the film Gone With The Wind.
Materials:
Petticoat:
9 boned hoop
6 metres 2" wide lace
Piece of velcro
4 metres white cotton
Bodice:
1 metre white cotton
1 metre medium interfacing
1 metre cotton Organdy
8 metres 1" wide lace
1/2 metre stud fastener tape
1 metre ruffled lace
30 x 1cm white shank buttons (fabric to cover)
Skirt:
17 metres white cotton
65 metres 1" wide lace
1 metre Petersham
Piece of velcro
Extras:
1 metre x 2" red velvet ribbon
White rectangle buckle
Brooch
2 stud fasteners
|
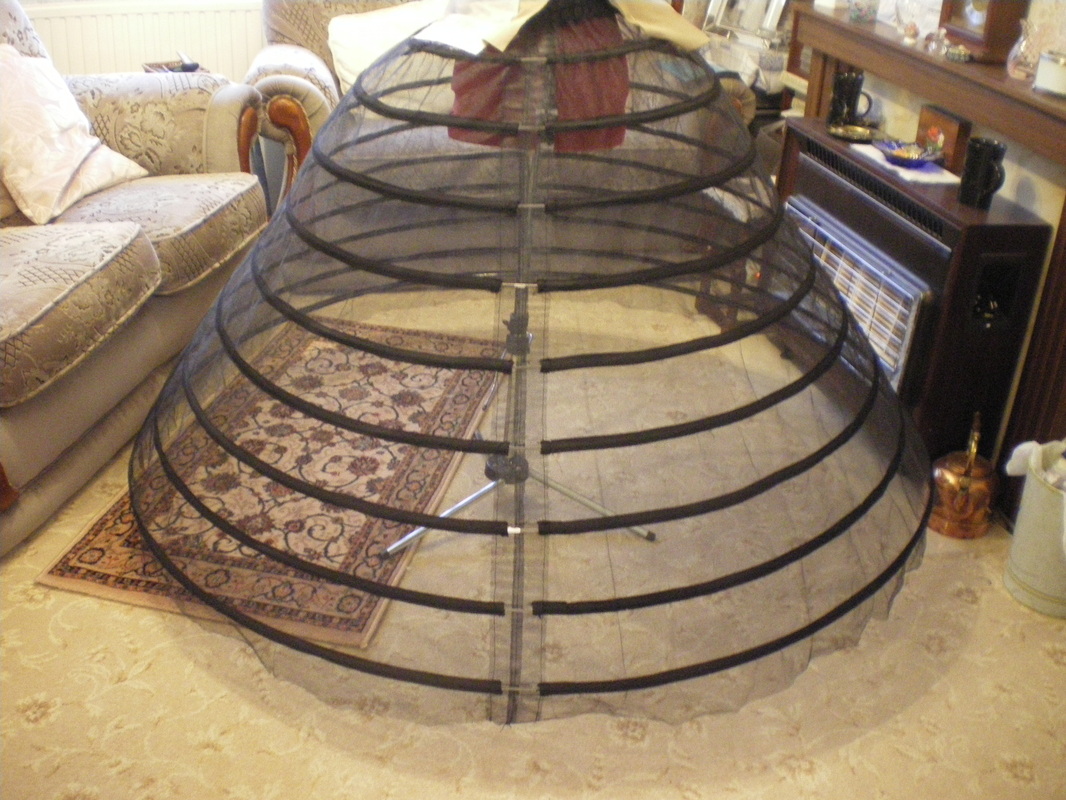
I bought a 9 boned hoop from Ebay, ID: brauttrends.
|
|
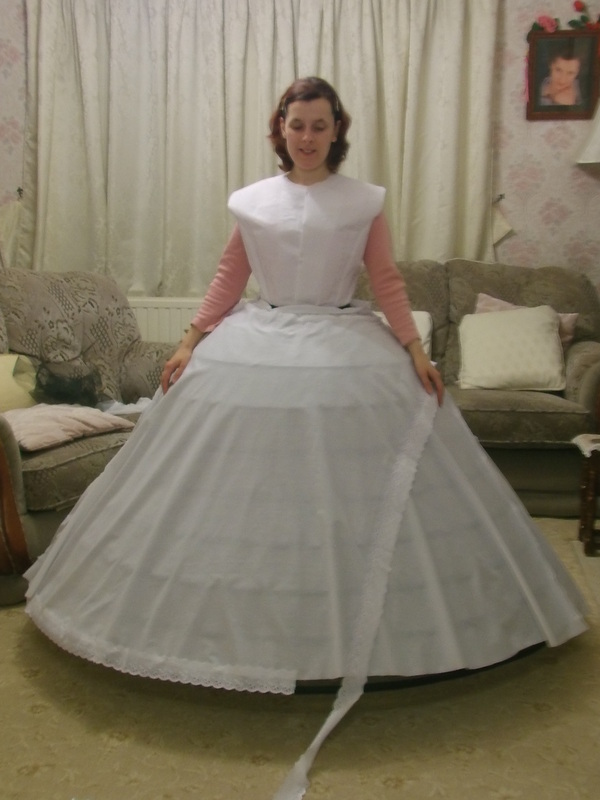
Petticoat under construction. I used McCall's Costumes 3609 and used the hoop pattern to make the petticoat, this was attached to a waistband with velcro to close. It was edged with 2" lace.
|
To make the Bodice
|
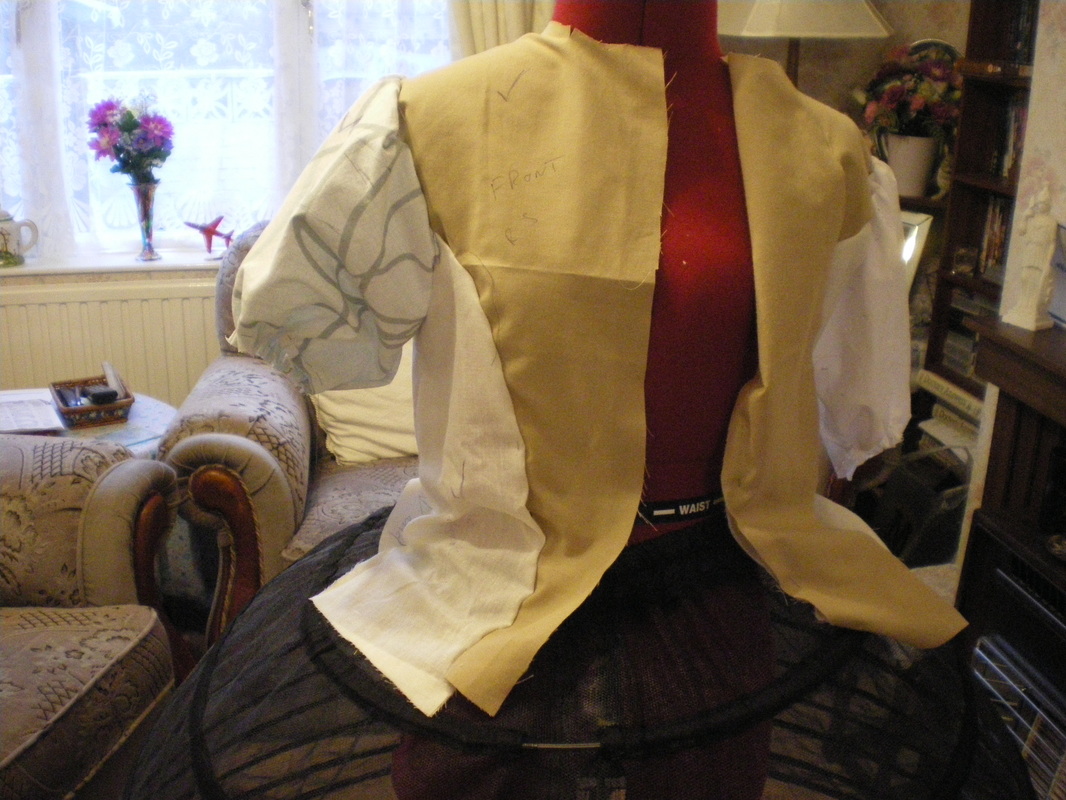
Bodice mock up. I used McCall's M5426 for the bodice as the lines of the shirt were very close to what I needed. The front had to be altered at the sleeves. The back was almost perfect for the curve needed, with the sleeve alteration.
|

|

|
Cut 3 sets for the bodice, I cotton layer, 1 interfacing and 1 Organdy. Sew the interfacing with the cotton for the lining. After cutting the Organdy, sew the lace across the 3 sections, making sure the lace matches up on the front and back. Join the shoulder seams.
|
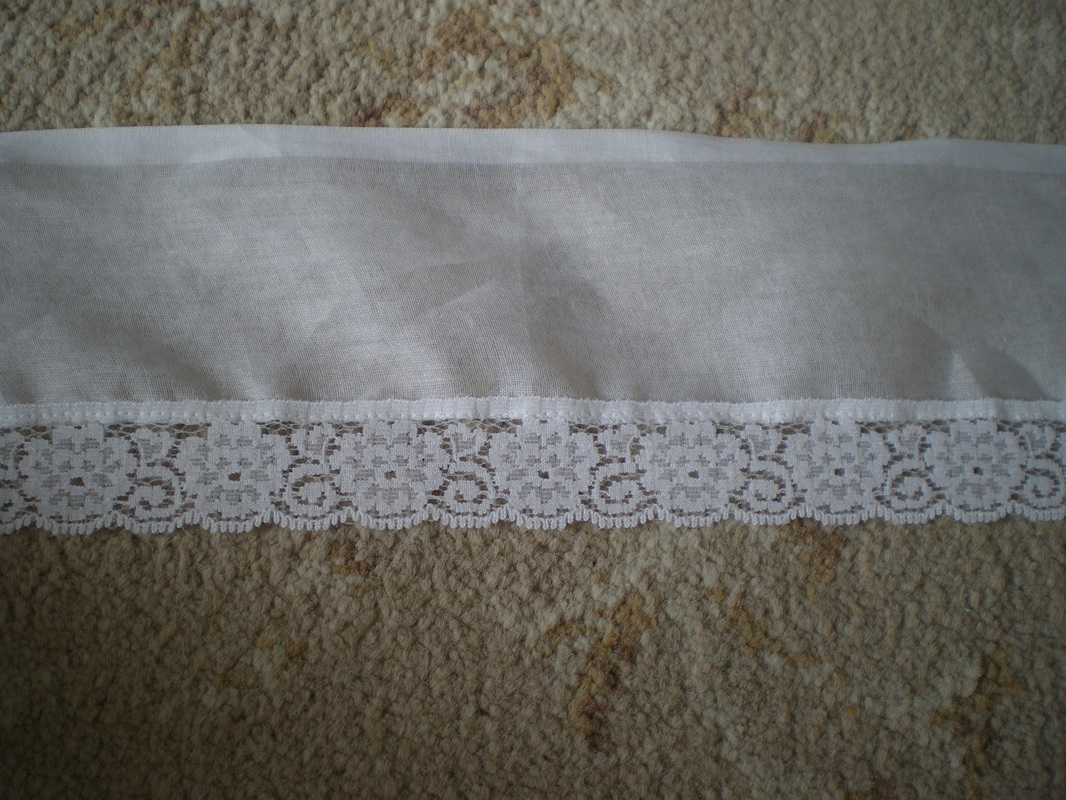
Cut 2 pieces of Organdy 160cm x 6cm, sew lace onto one edge.
|
|
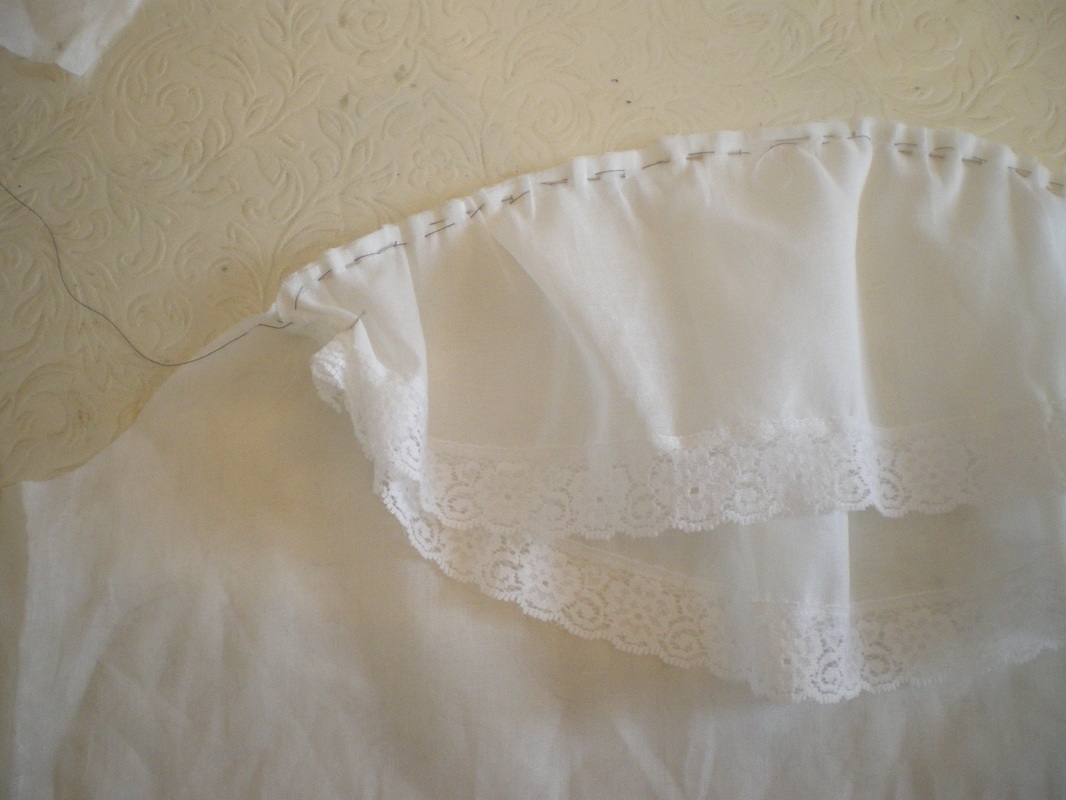
Run a gathering stitich along the raw edge and starting from the shoulder seam, do a medium gather as far as the armhole curve. Then slightly gather for the rest of the section. Leave 5cm of fabric showing on top of the sleeve, but as you progress further down, show less and less until it is down to 1cm. Machine sew this with a .5cm seam.
|
Now sew the side panels in, but leave the side opening as this makes it easier to put the sleeves in later.
|
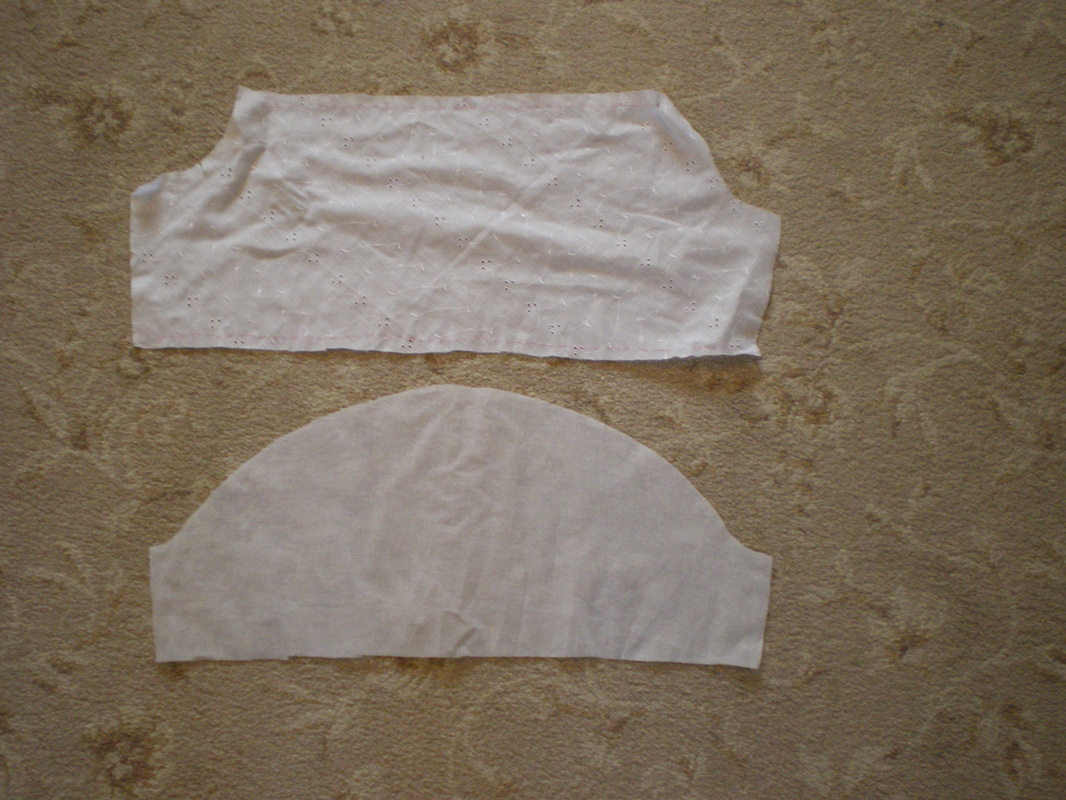
The top sleeve is the pattern that comes with the shirt, this had to be changed to a more conventional sleeve.
|
|
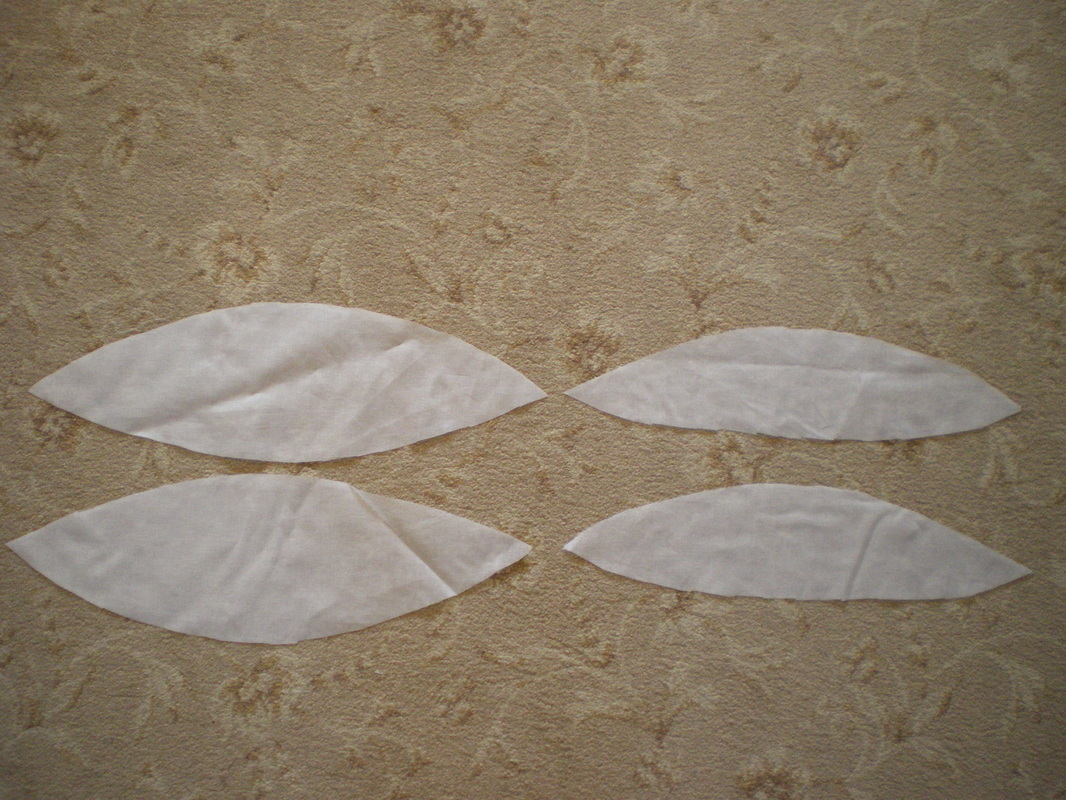
After experimenting with various shapes to achieve the sleeve frills, we came up with this "eye" shape. They need to be slightly gathered so allow for extra length when putting on the sleeve.
|
|
After gathering, tack onto the sleeve starting from approximately 3" in at both ends. Then run a gathering stitch through all three layers and gather again to fit the arm on the bodice, being careful not to sew the lace into the seam.
|
|
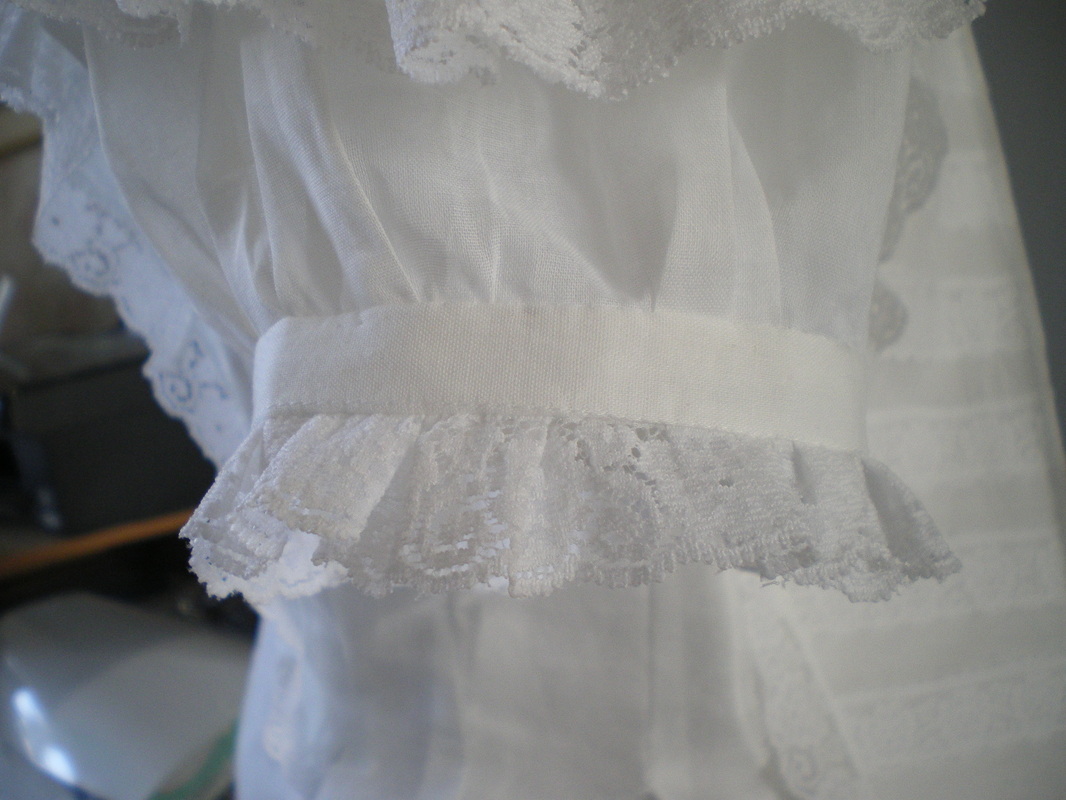
Gather the sleeve into a plain band, just long enough to go around the upper arm and sew on a gathered piece of lace to finish. Sew up the seam for the sleeve and side of the bodice.
|
|
The finished sleeve.
|

|
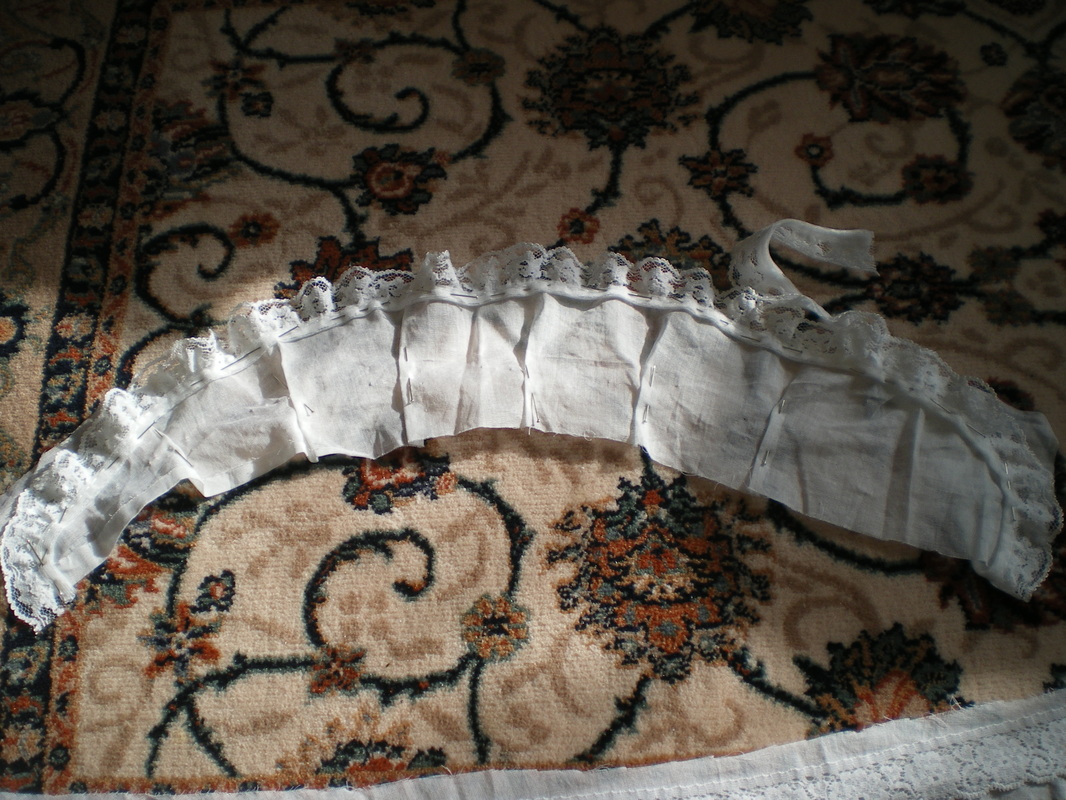
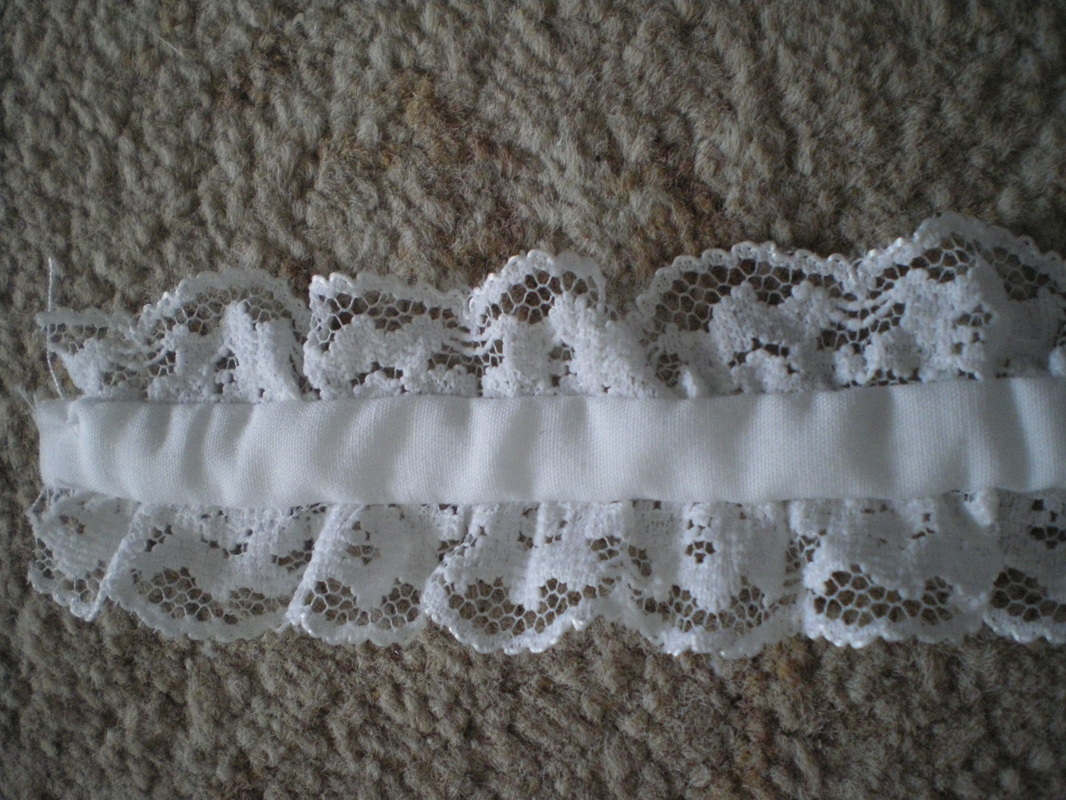
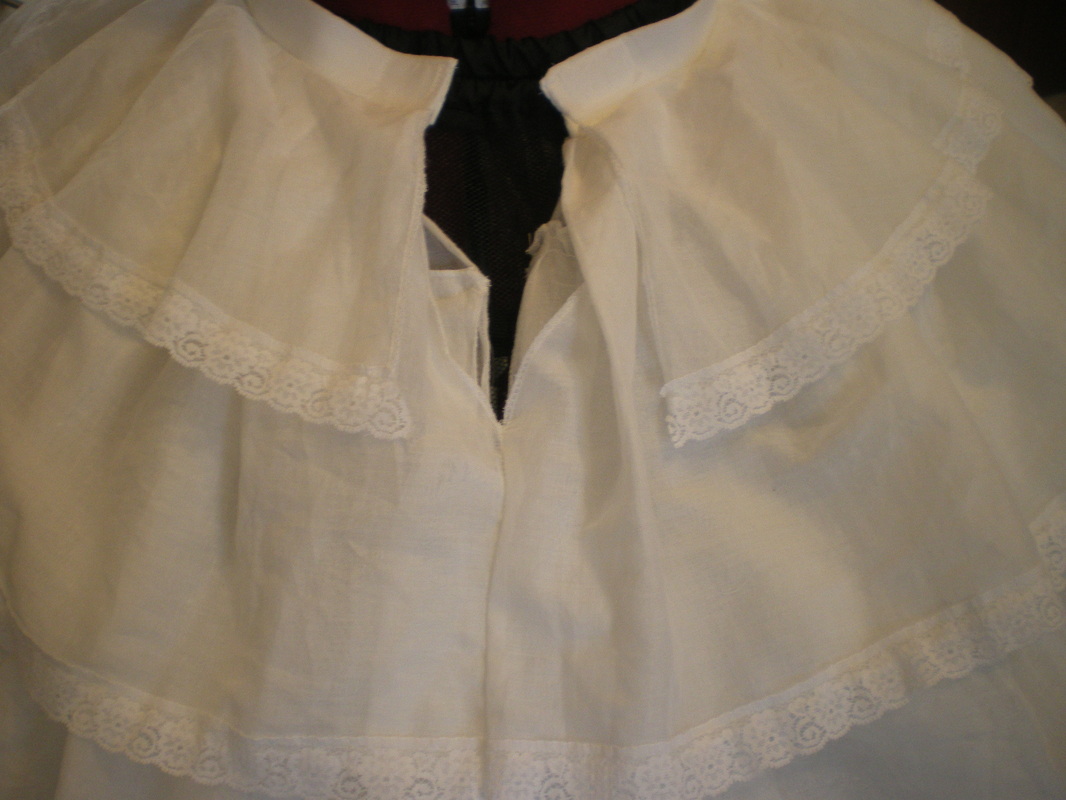
For the collar we will need a band. This is basically a curved piece of fabric 3cm wide and long enough to go around the neck edge with 1cm to spare at each end. Pin on a piece of lace so there is a margin top and bottom.
|
|
I will use a piece of Organdy for the frilled collar. Cut a rectangle 6cm x 1.1.2 times the length of the band. Sew on a piece of lace and dip it 90 degrees at the ends, cut off any excess. Pin tucks will be put it to gather it to fit the band. Measuring from 5cm in on the left hand side and 2cm in on the right hand side.
|

|
This shows how the collar will look with the band on, but first you will need another curved piece of fabric for the back of the band, this will sandwich the frilled collar.
|
|
Showing the collar in place.
|
|
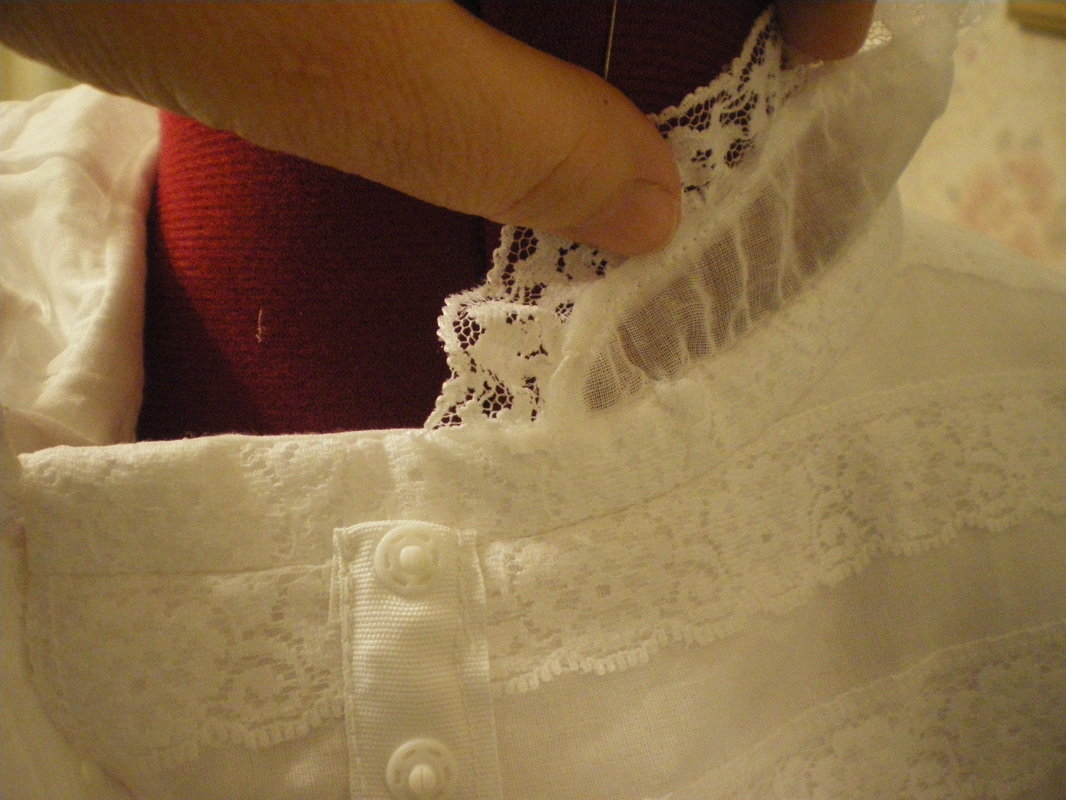
Using the stud fastener tape, sew one section on the edge of the right side and the other section, just before the collar starts. The first stud is just below the collar band.
|
|
To make the front frill. cut a piece of cotton 3cm wide x the length of the bodice front. Sew on two pieces of lace either side then turn under and hand sew on the back.
|
|
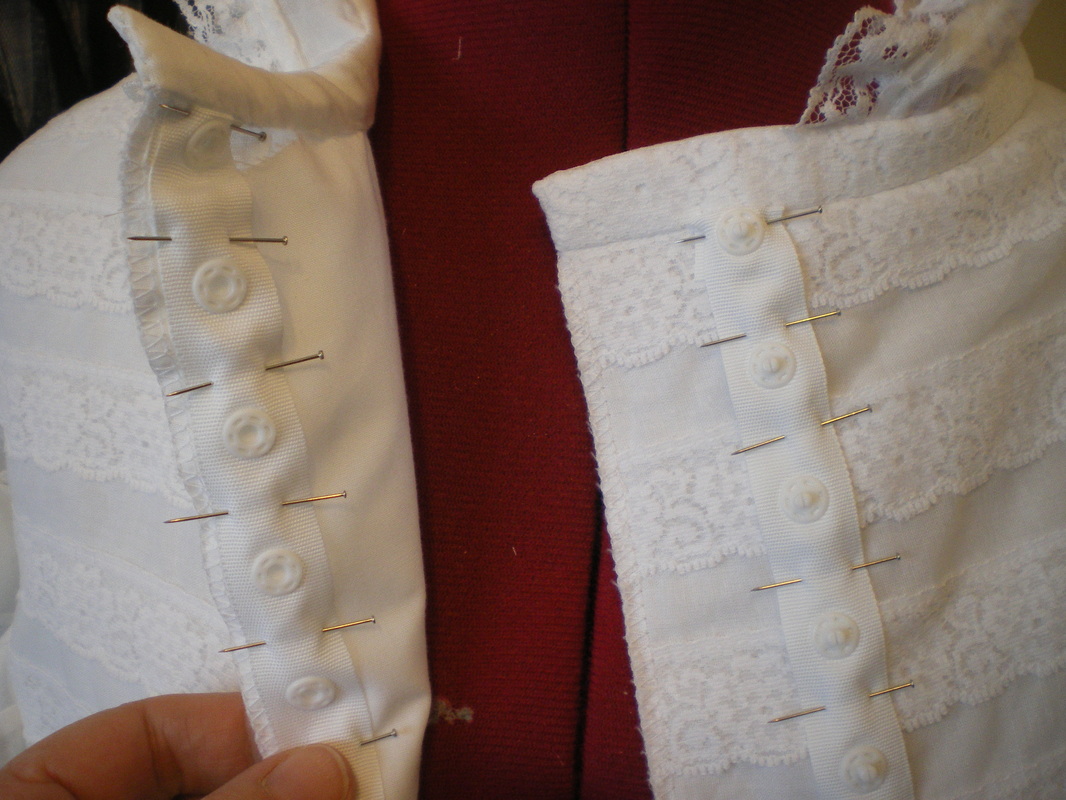
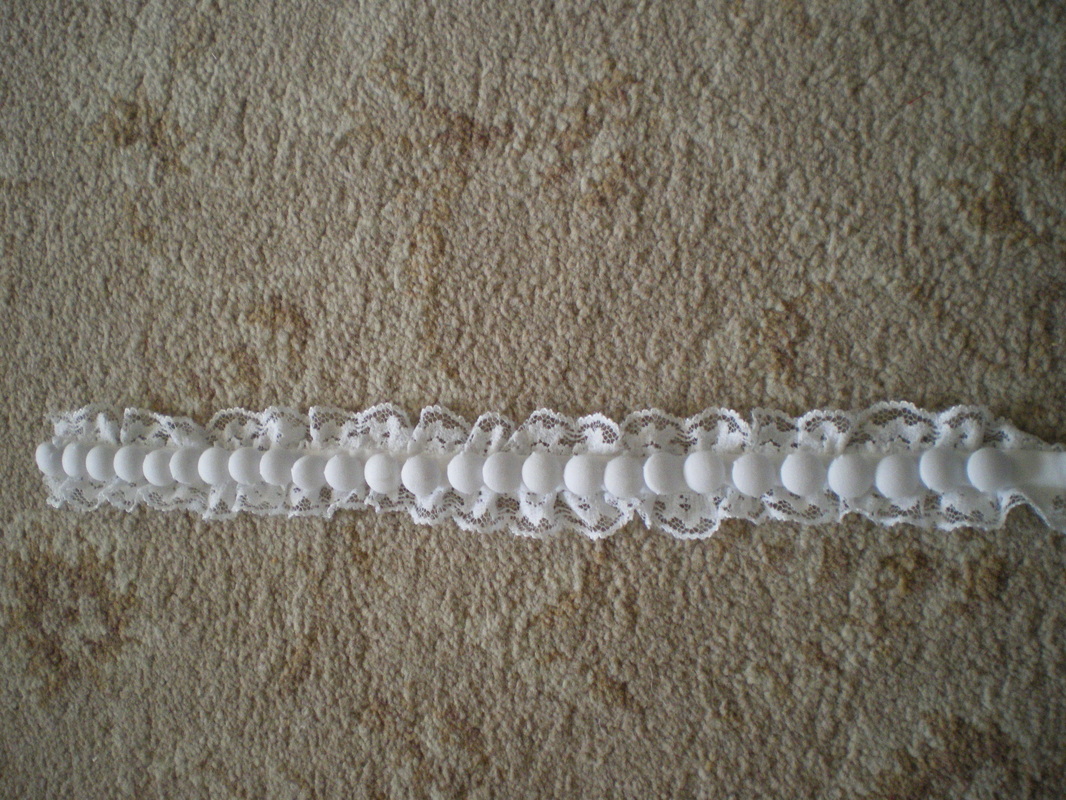
Cover the shank buttons with fabric and sew them onto the middle of the strip.
|

|
Sew the strip onto the edge of the bodice. You only need to put buttons on as far as the top of the belt.
|

|
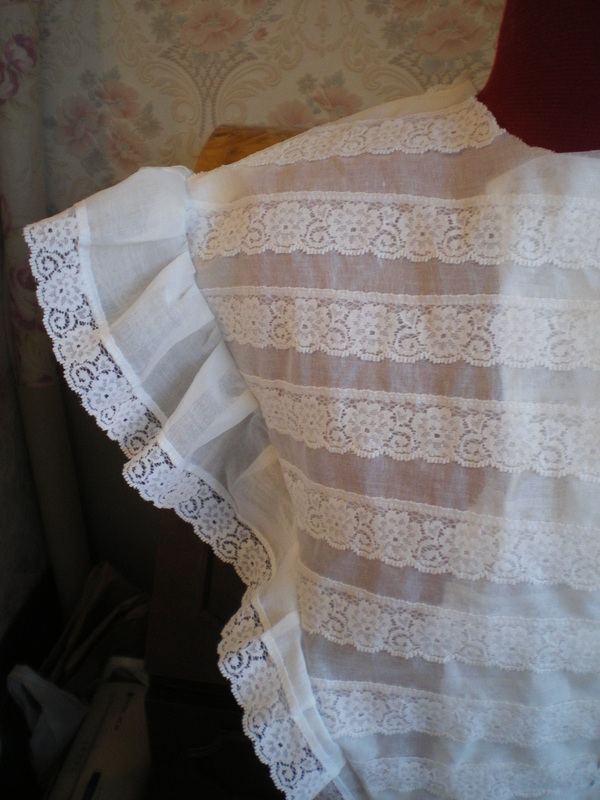
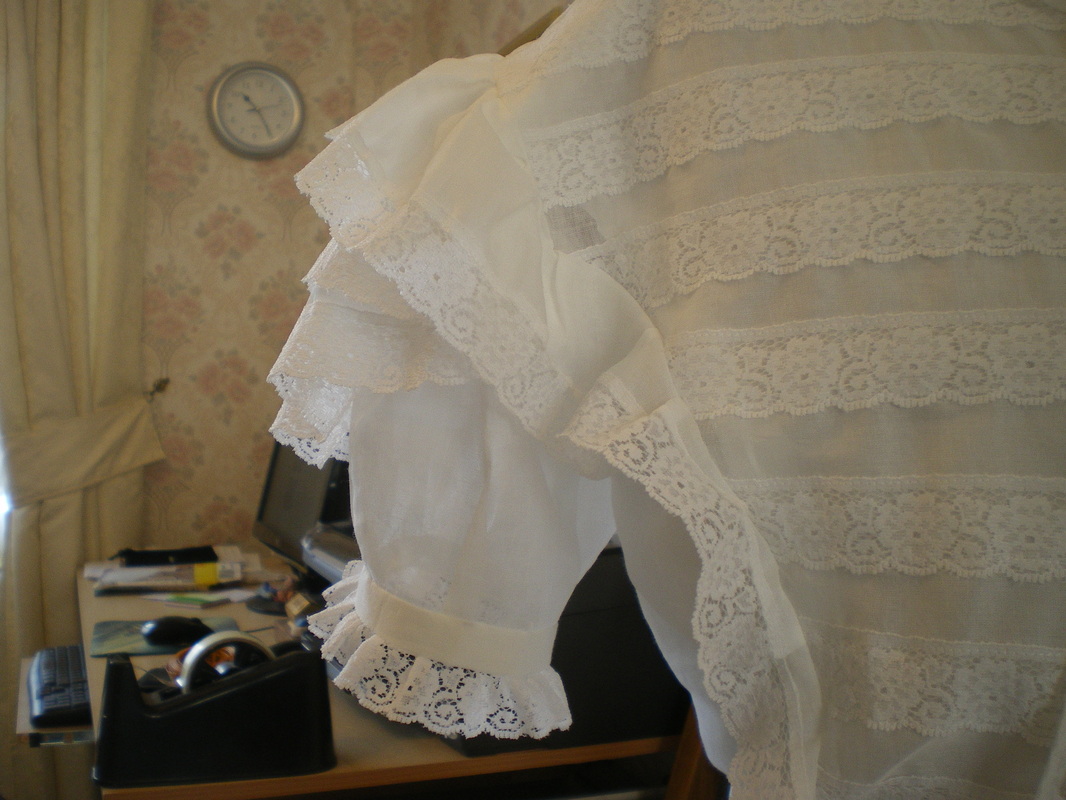
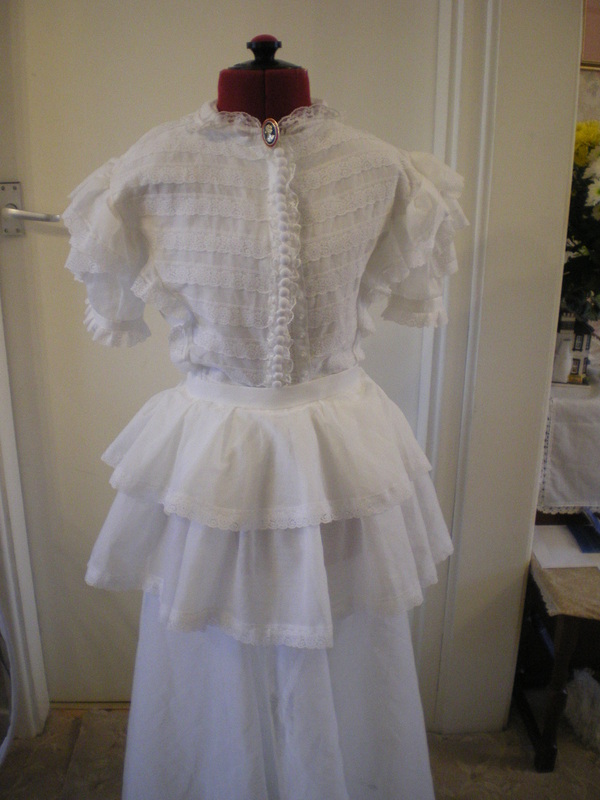
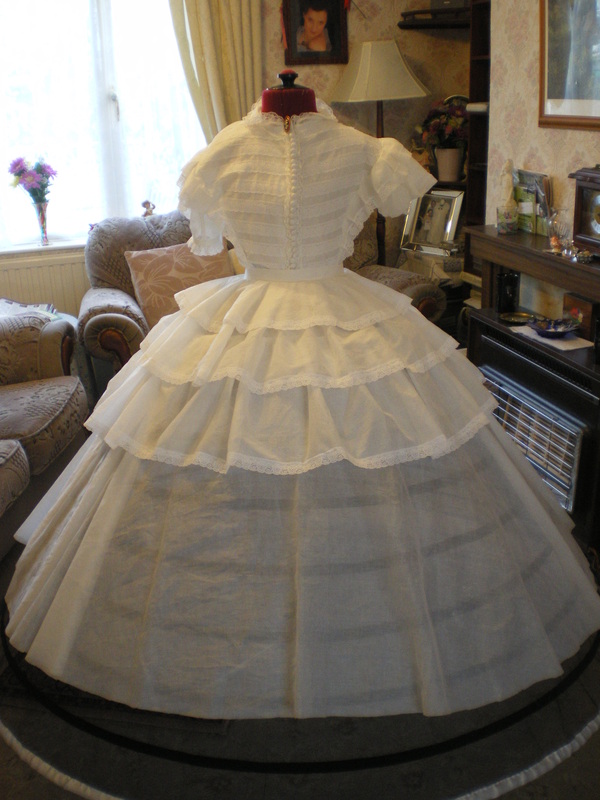
The completed blouse.
|
To make the Skirt:
|
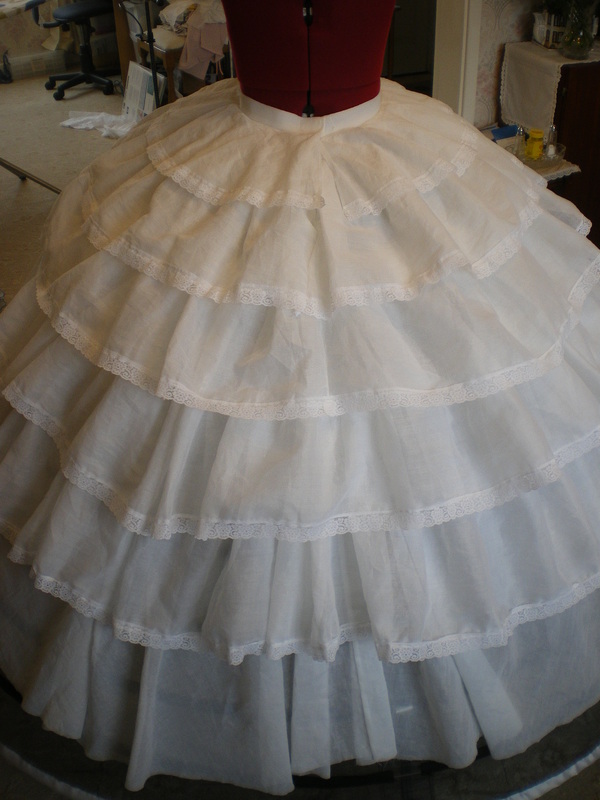
This picture shows the completed petticoat. The skirt base is made using the same pattern, except the panels have been increased in width and the length is 30cm shorter than the petticoat. This was done, because the last layer of frills doesn't have anything underneath so it has to be cut short, you can only see the petticoat through the last layer.
|
|
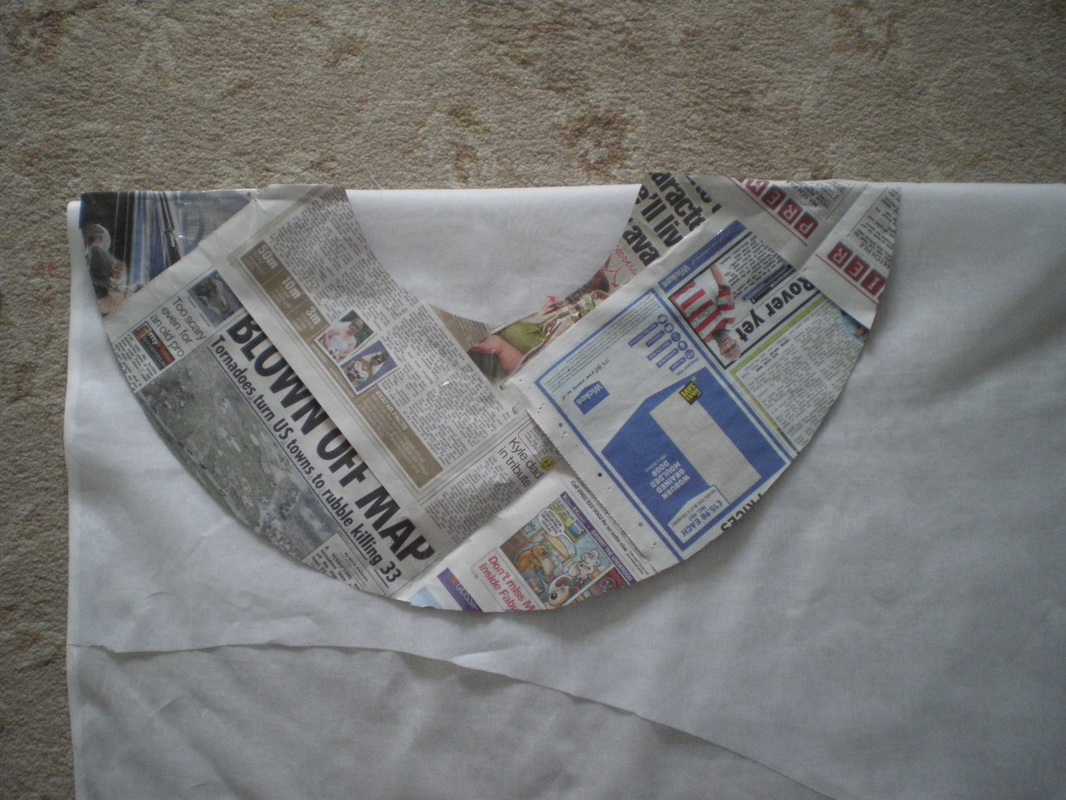
The first two layers are made from circles. So taking the waist measurement, cut the centre hole to this radius. I calculated for my height, that each layer is 15cm deep, yours will vary depending on your height. Cut out the circle, and put a split in it. The second circle is made the same, but 15cm wider than the previous one.
|
|
Gather both layers and the base into the waistband. I will be wearing a corset with this costume, so any measurements have to be taken while I'm wearing it.
|
|
Use a length of Petersham to strengthen the waistband and use velcro to close. I left an opening of 14cm in the base skirt. The first layer is neatened at the edges but not connected. The second layer only connects a few centimetres from the top of the ruffle to the lace.
After this, all layers connect together. |
|
From the third layer on, all the layers are ruffled first. Each layer is 35cm including the lace. These layers were done by ruffling the fabric. There is an overlay of approximately 20cm which is hidden. Only 15cm can be seen. I do not have a final measurement for the amount used, but the third layer is approximately 3.5 metres and the last layer is approximately 9.5 metres
|
|
5 layers done, 3 more to go!!
|

|
I found this brooch in our local charity shop.
|
To make the Belt:
|
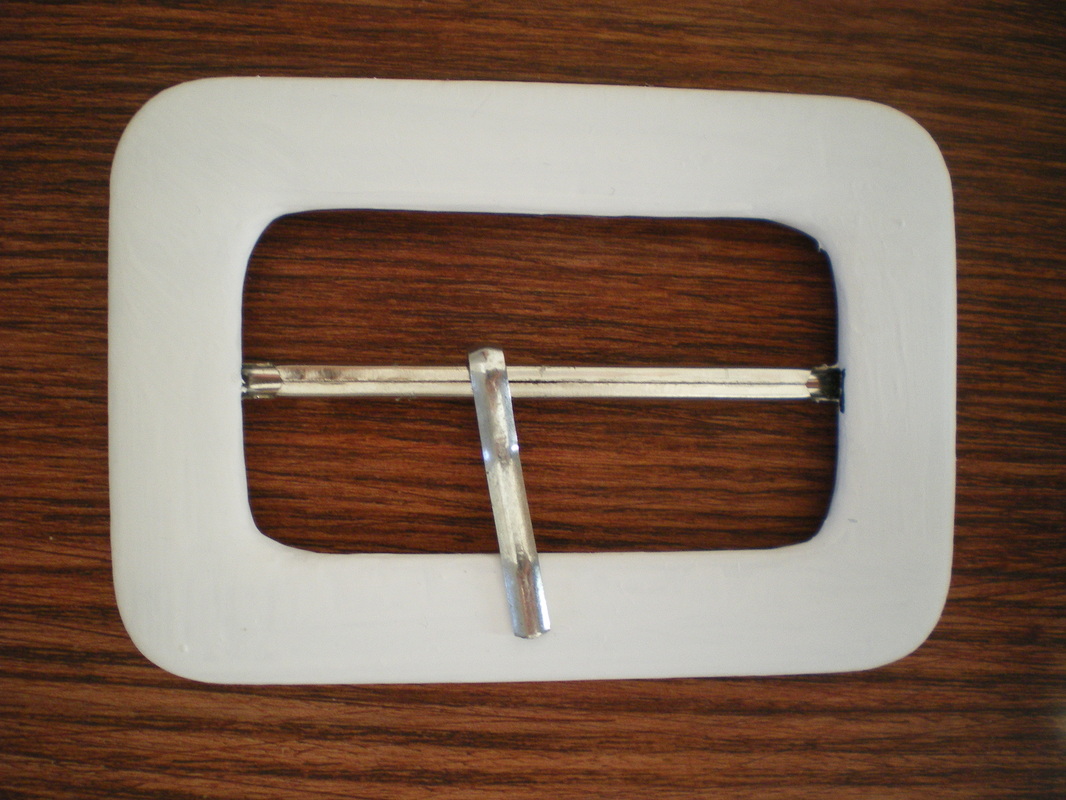
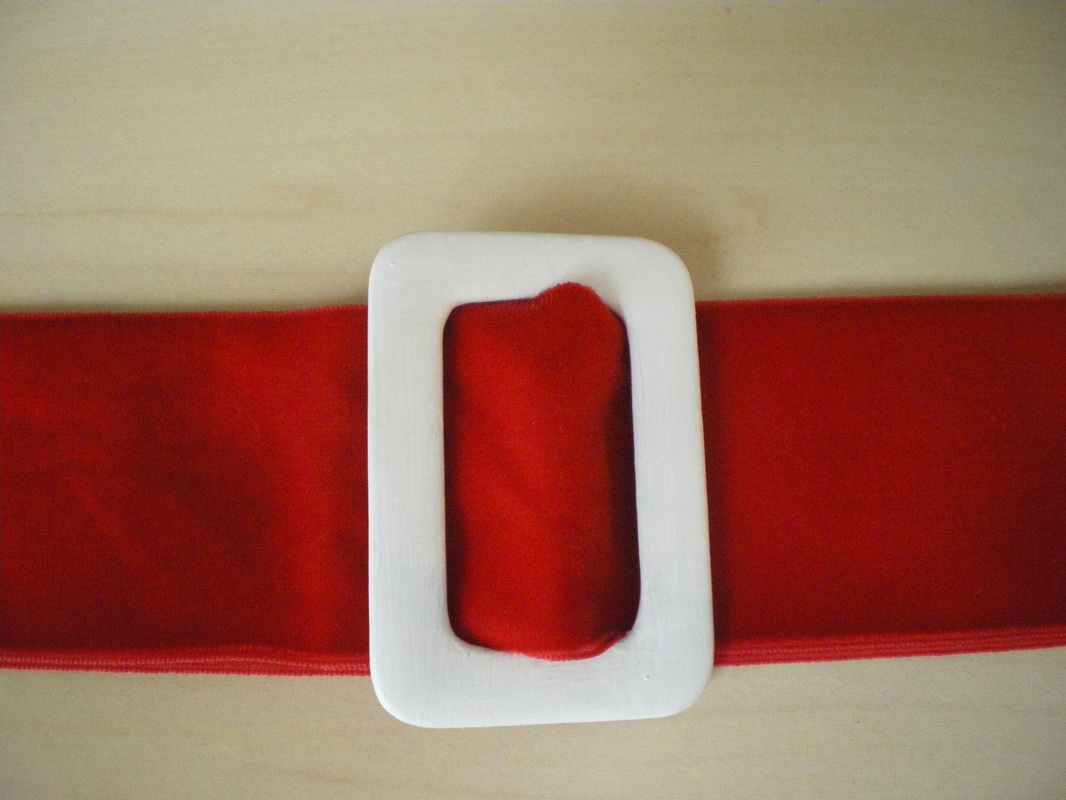
Having searched our local charity shops, I found a black belt buckle that I painted white and removed the pin.
|
|
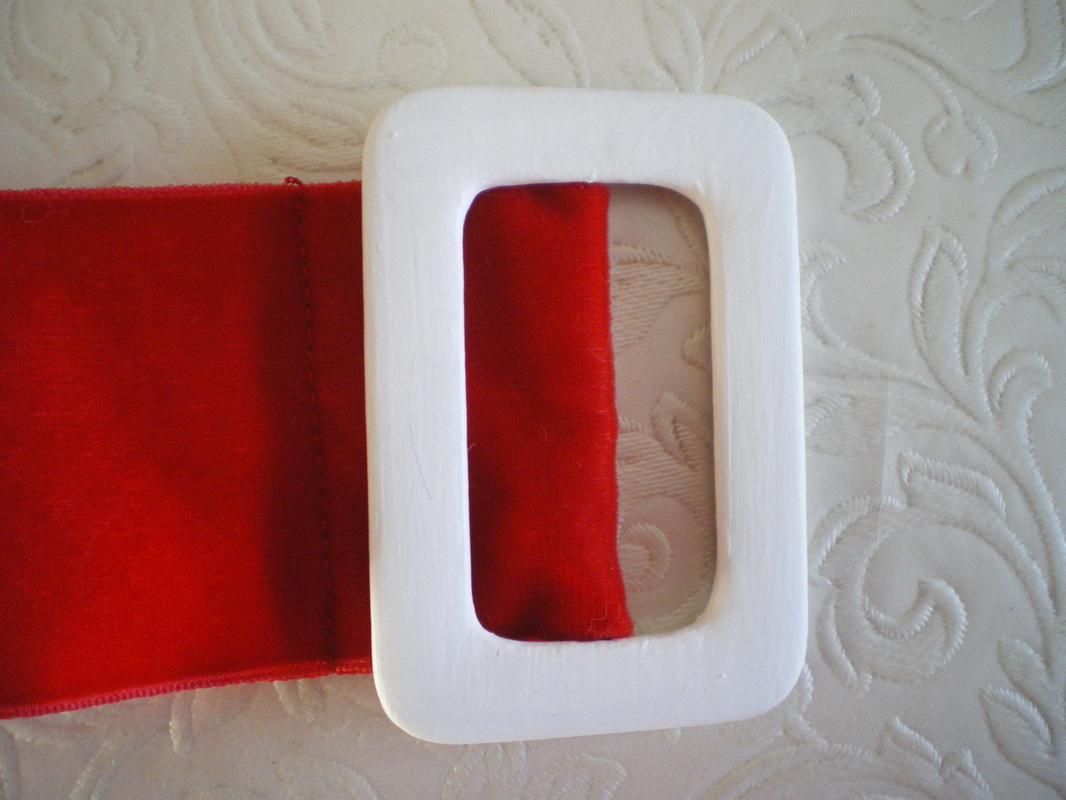
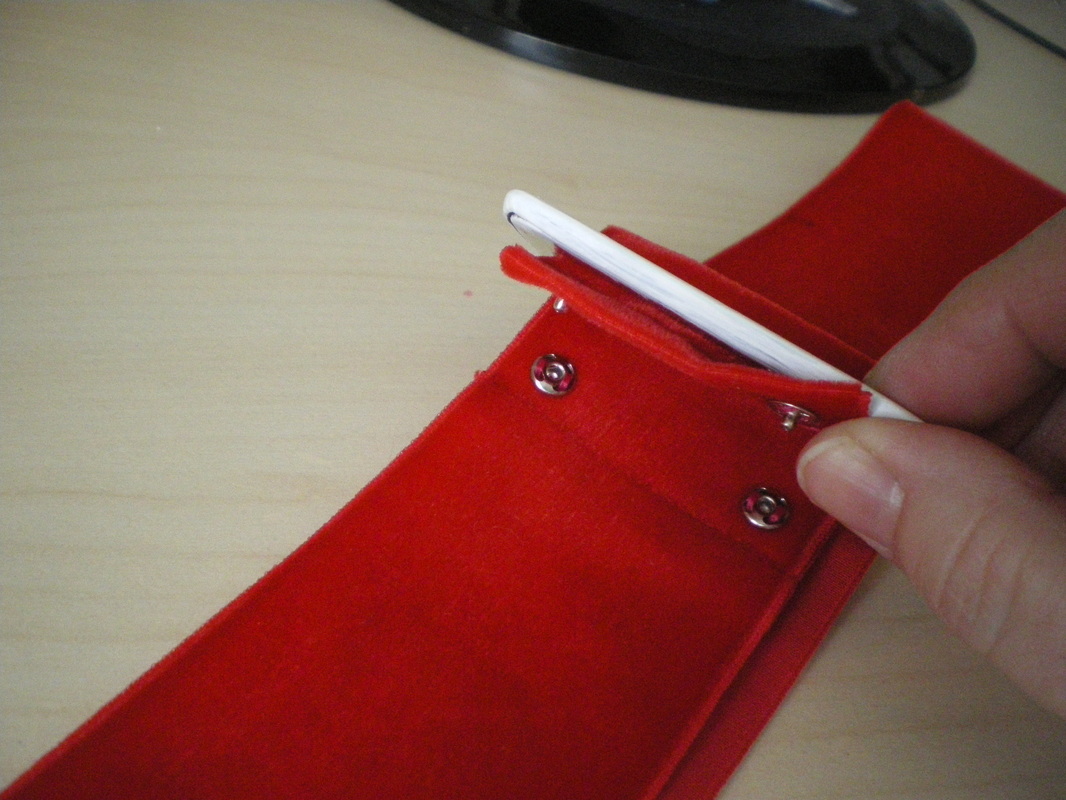
Fold the red ribbon around the central pin, turn over 1cm to neaten and sew closed.
|
|
|
I wanted a neat finish to the belt, so I added 2 stud fasteners which are hidden underneath the buckle. The making of this costume can be found in my video tutorials which is also on Youtube.
This completes the costume.
